Bakery Style Chocolate Chip Cookies
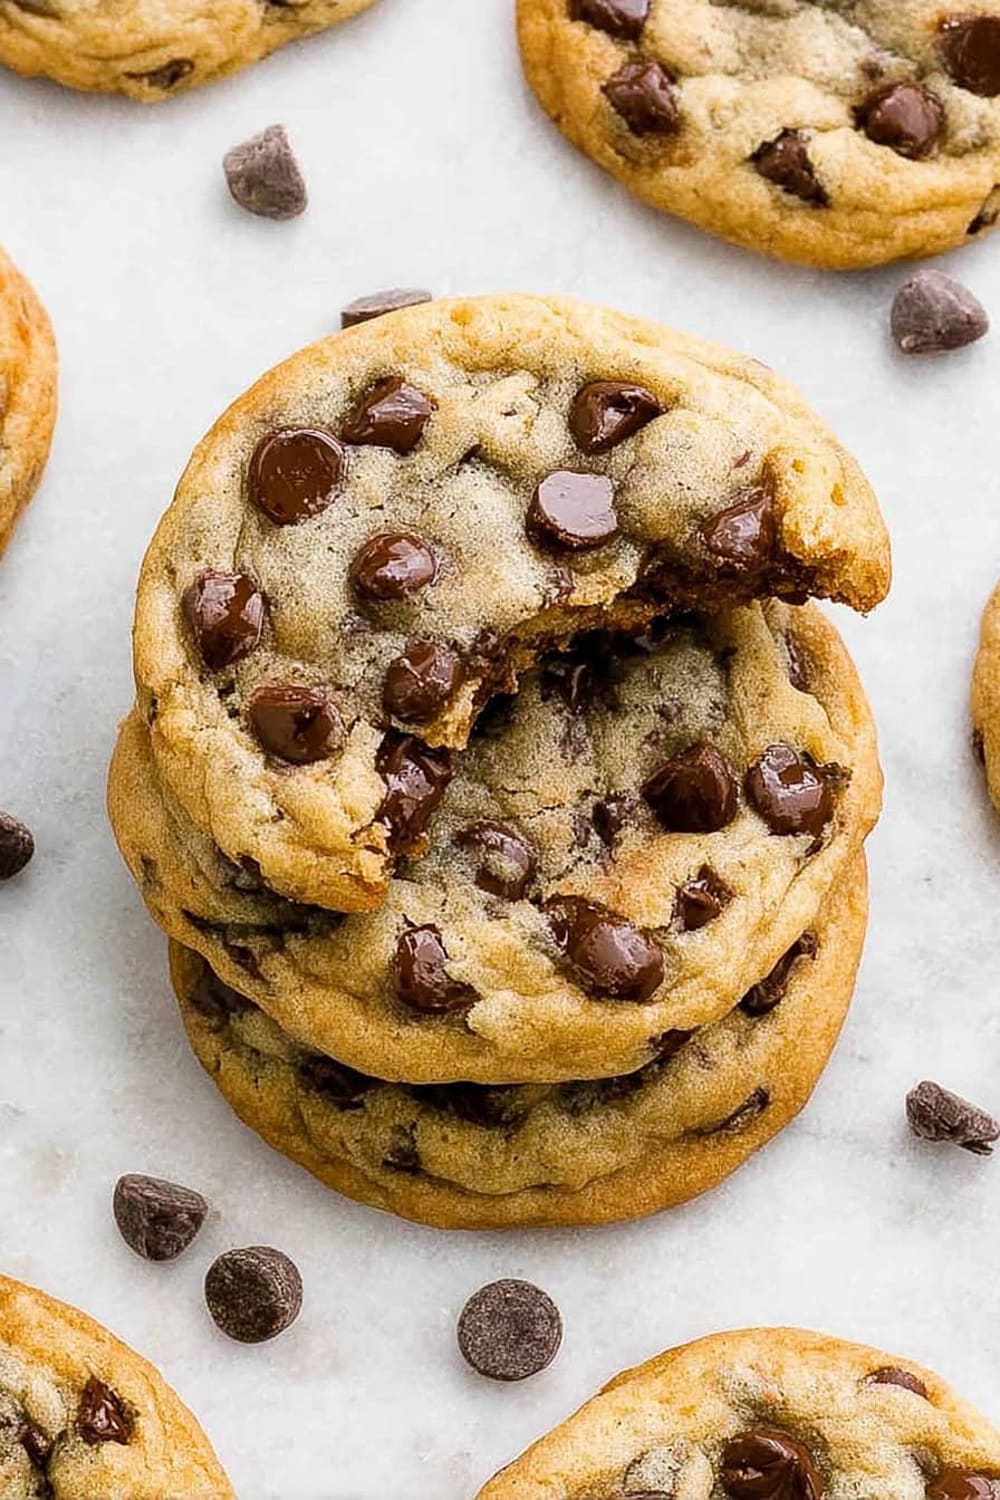
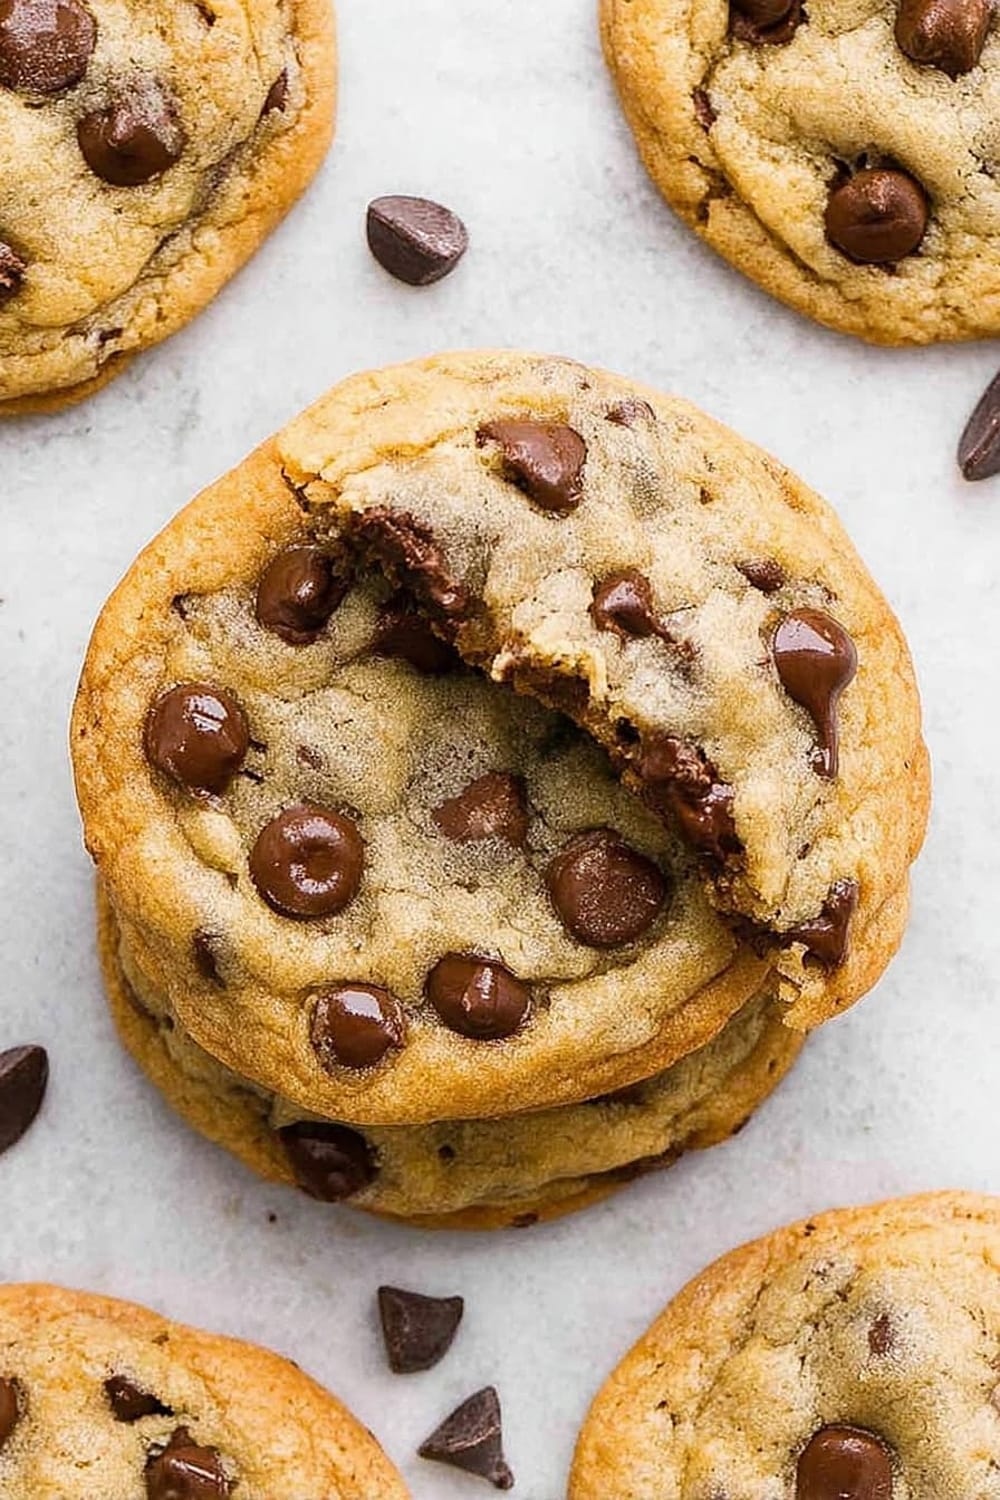
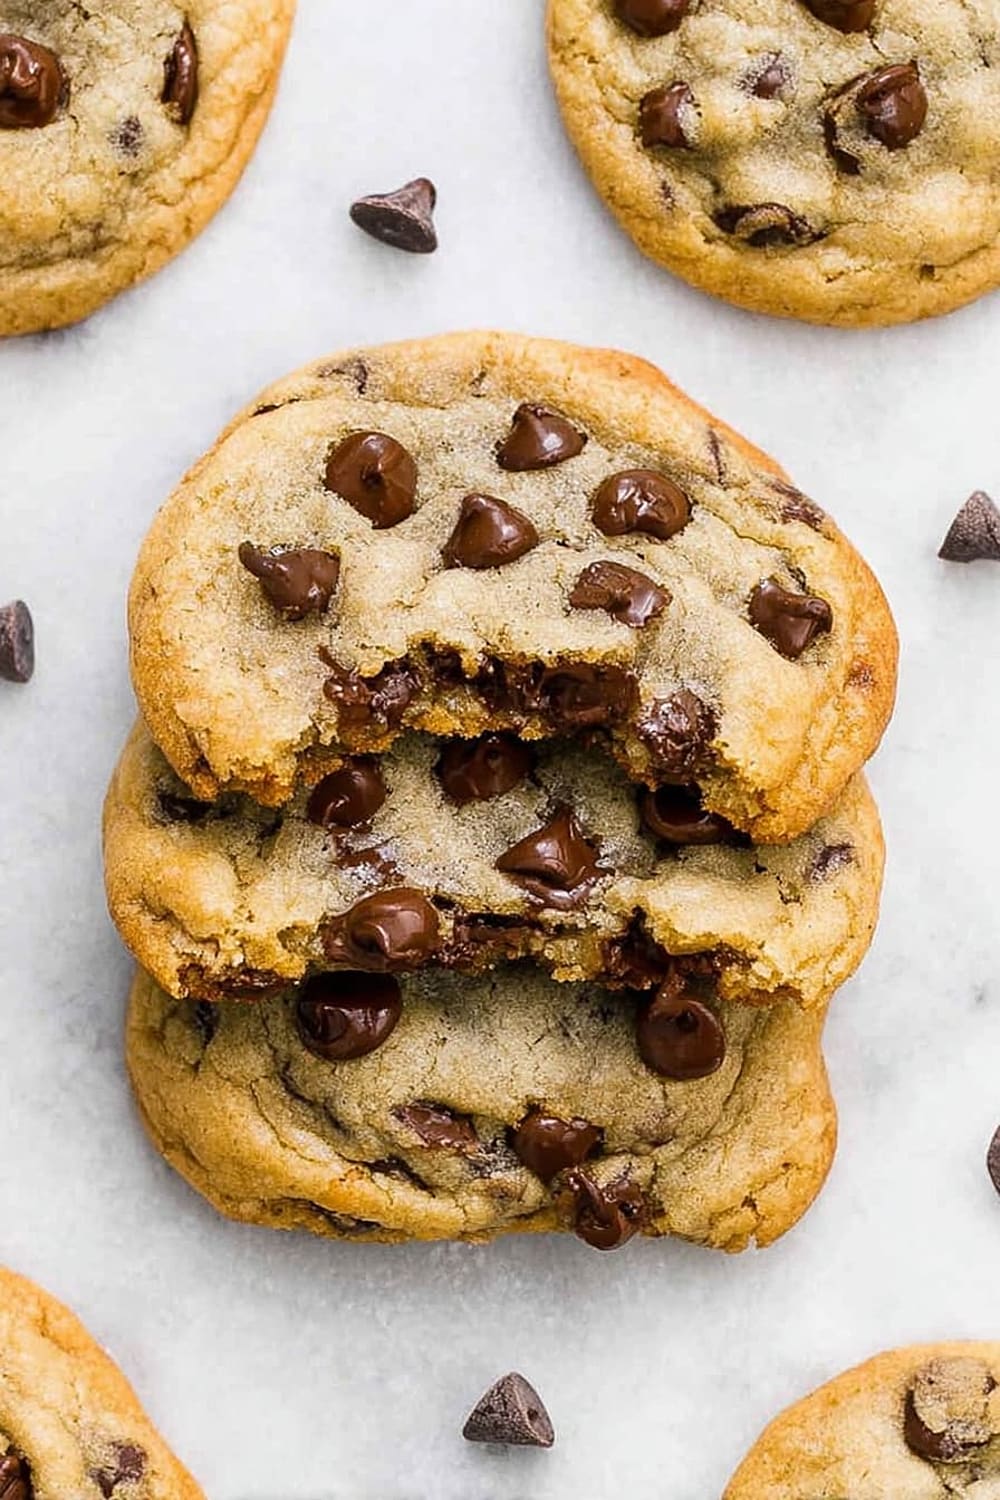
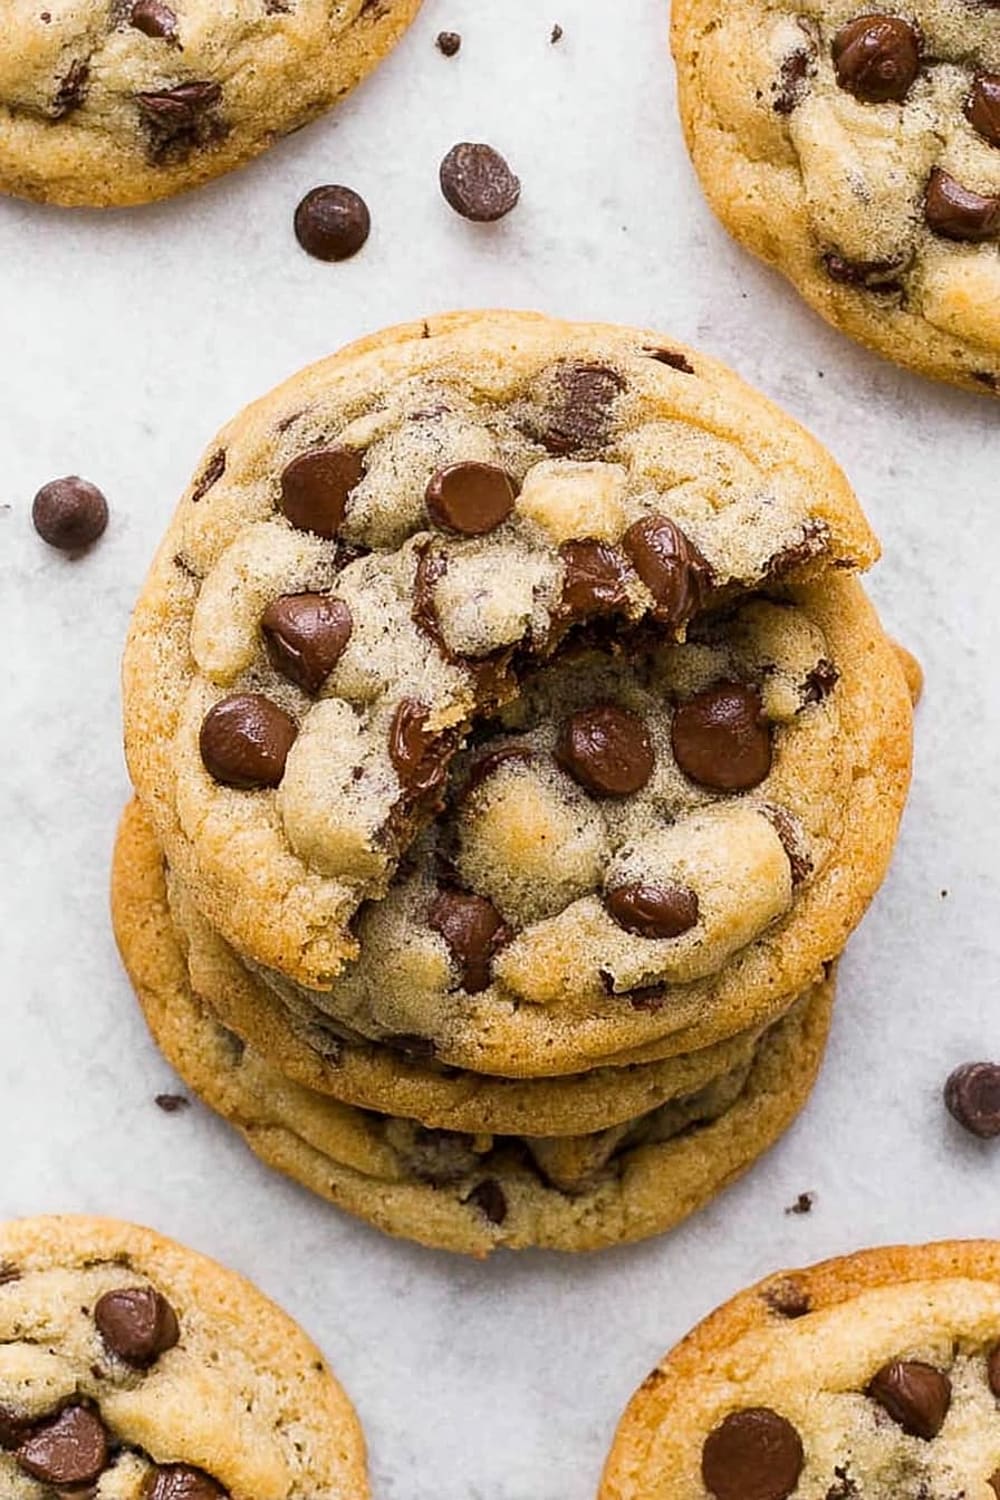
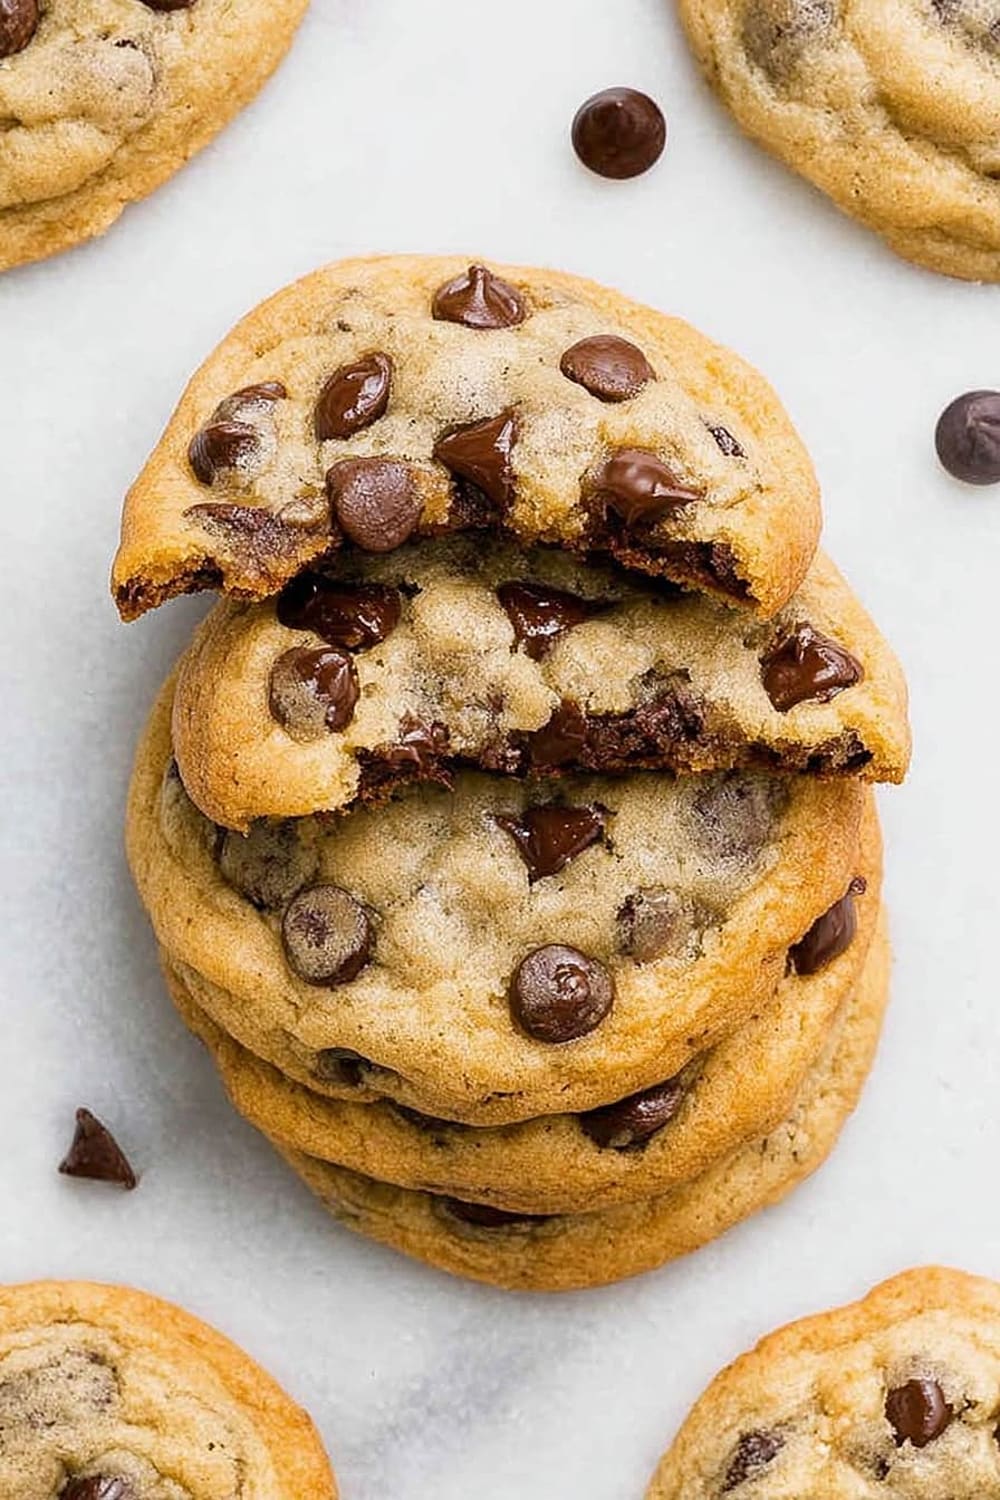
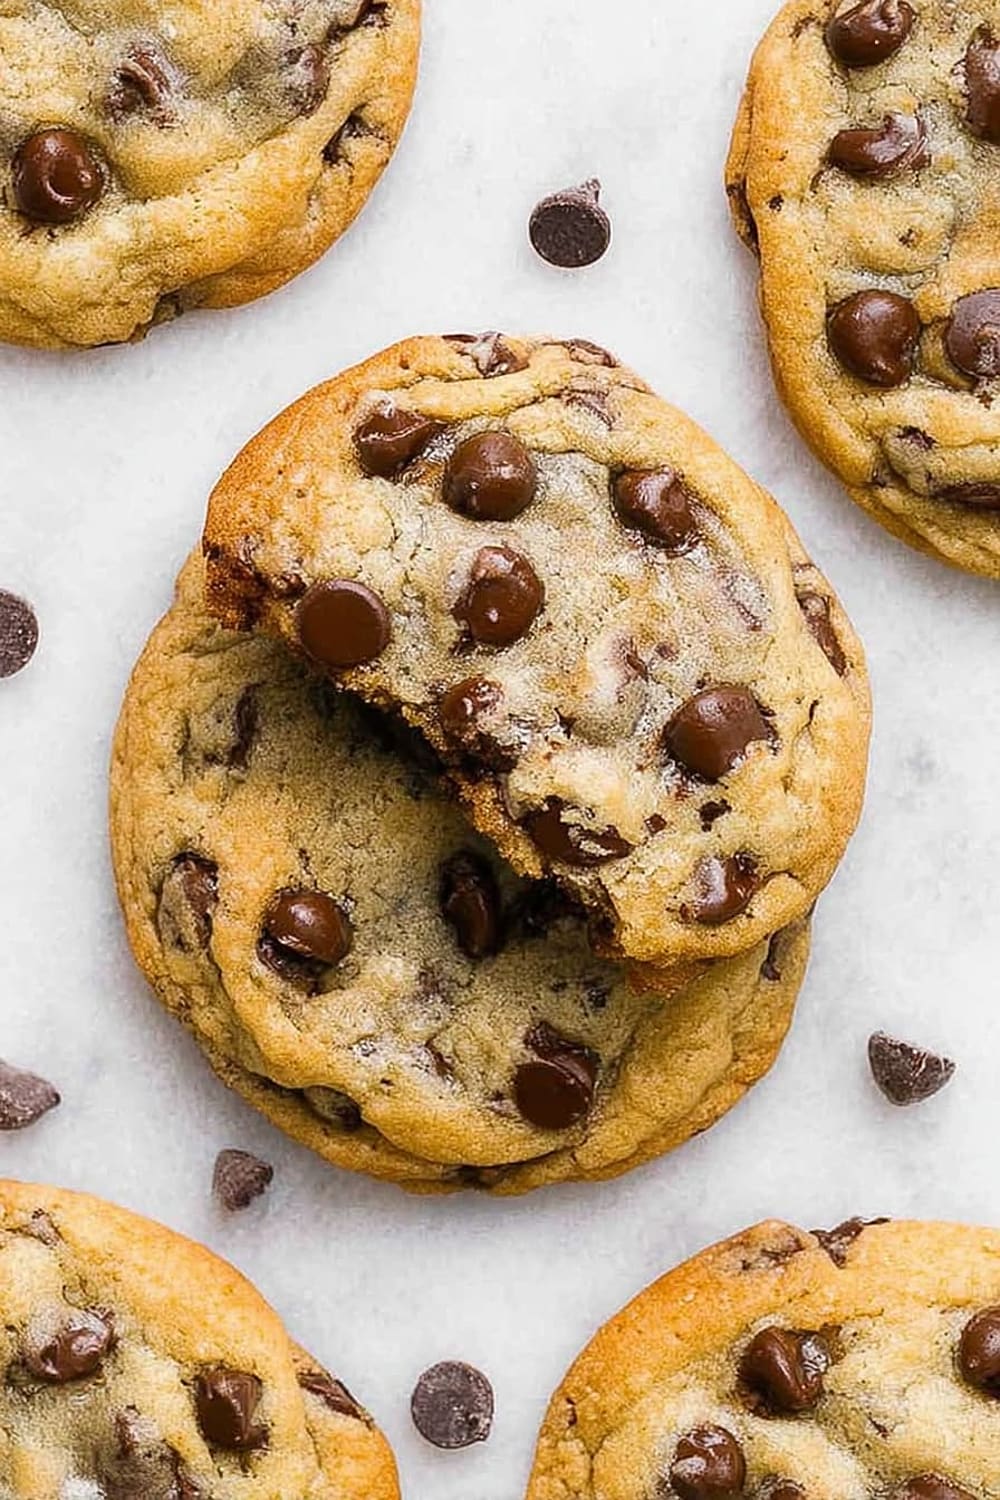
These aren’t just any chocolate chip cookies – they’re the thick, chewy monsters that make you question why you ever bought the store-bought kind.
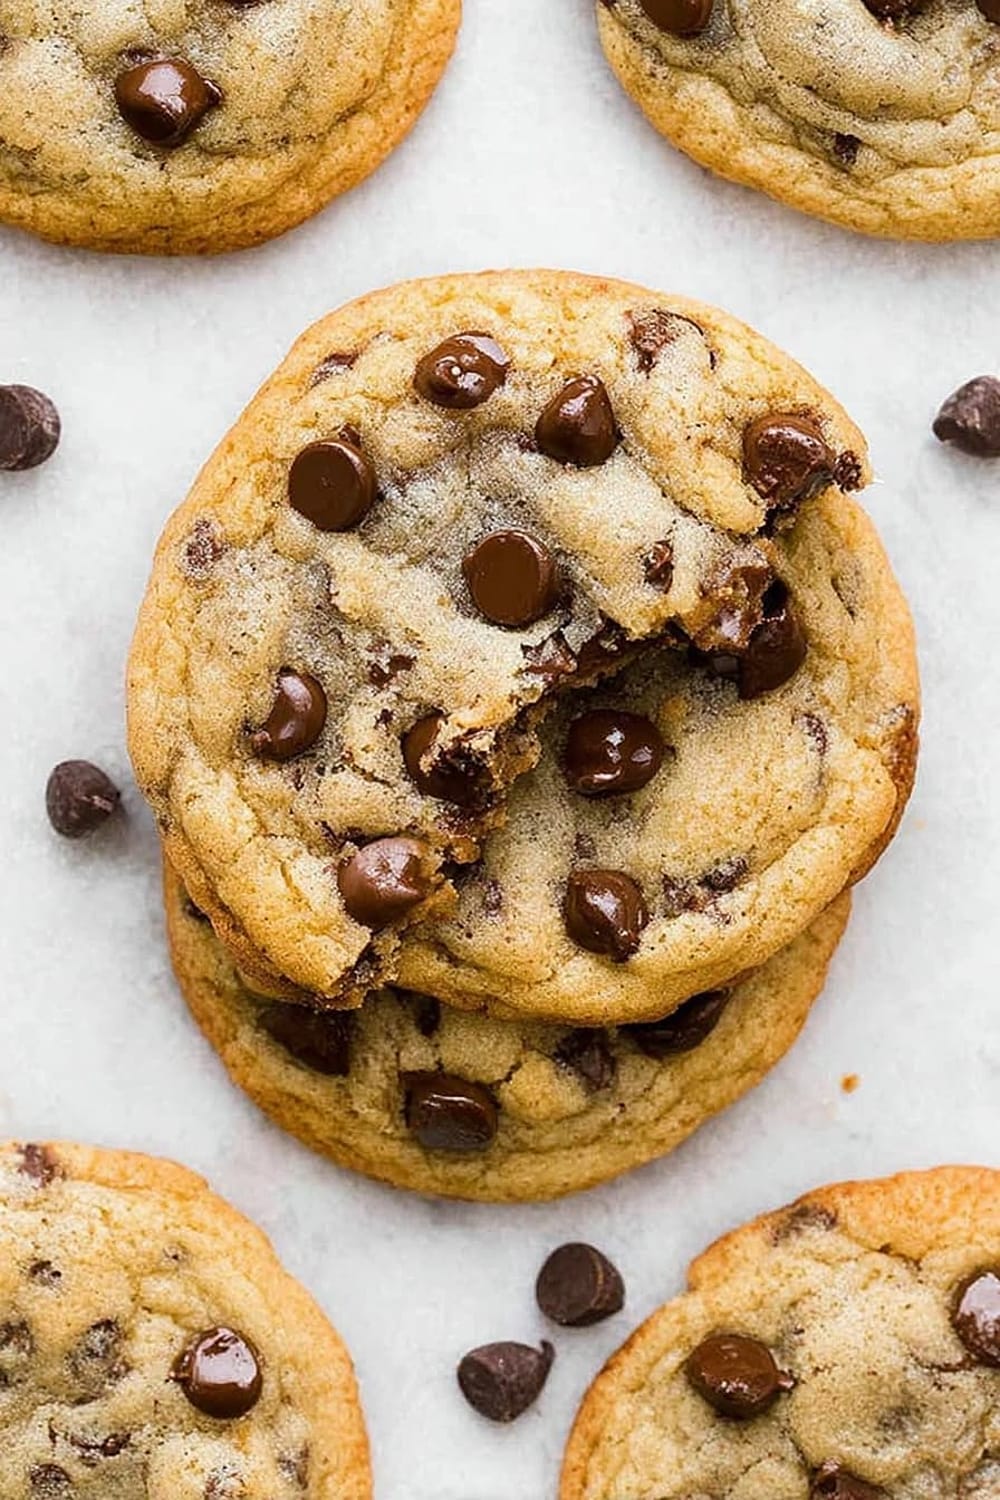
Picture this: golden brown edges that give way to centers so soft and gooey, you’ll need a napkin and possibly a moment to collect yourself.
The secret weapon here is that optional 24-hour dough rest, which transforms ordinary cookie dough into something that tastes like it came from a fancy bakery (but costs about 90% less).

We’re talking cookies so thick they practically need their own zip code, loaded with chocolate chips that stay perfectly melty even after cooling.
This recipe is basically foolproof – if you can cream butter and sugar without setting anything on fire, you’re already 80% of the way there.
Fair warning: making these will result in people asking for the recipe, showing up unannounced at your house, and possibly proposing marriage (results may vary).
Ingredients
For the Cookie Dough
- 3 cups (380 grams) all-purpose flour
- 1 teaspoon baking soda
- 1 teaspoon fine sea salt
- 2 sticks (227 grams) unsalted butter, at cool room temperature (67°F)
- 1 /2 cup (100 grams) granulated sugar
- 1 1/4 cups (247 grams) lightly packed light brown sugar
- 2 teaspoons vanilla extract
- 2 large eggs, at room temperature
- 2 cups (340 grams) semisweet chocolate chips
Instructions
Preparation
- 1 Preheat your oven to 350°F (175°C) and line two large baking sheets with parchment paper. This prevents sticking and ensures even browning on the bottom of your cookies.
- 2 In a medium mixing bowl, whisk together the 3 cups flour, 1 teaspoon baking soda, and 1 teaspoon salt until well combined. Set this dry mixture aside – you’ll add it gradually to prevent overmixing.
Create the Cookie Base
- 3 In the bowl of a stand mixer fitted with the paddle attachment, beat the 227 grams butter, 1/2 cup granulated sugar, and 1 1/4 cups brown sugar on medium speed for 2 minutes until the mixture becomes light and fluffy. The butter should be at cool room temperature (67°F) for optimal creaming.
- 4 Scrape down the sides and bottom of the mixing bowl with a silicone spatula, then add the 2 teaspoons vanilla and 2 large eggs. Beat until just combined, scraping the bowl as needed. Don’t overbeat at this stage – you want the eggs incorporated but not whipped.
- 5 With the mixer on low speed, gradually add the flour mixture to the butter mixture, beating just until combined. The dough should look slightly shaggy but hold together when pressed. Fold in the 2 cups chocolate chips using a wooden spoon or sturdy spatula.
Optional Marinating Step
- 6 For bakery-quality results, wrap the dough tightly in plastic wrap and refrigerate for 24-72 hours. This allows the flour to fully hydrate and the flavors to develop, resulting in thicker, chewier cookies with more complex flavor. Let the dough sit at room temperature just until soft enough to scoop.
Shape and Bake
- 7 Using a large cookie scoop or spoon, portion the dough into 3-tablespoon sized balls and place them on the prepared baking sheets, spacing them 3 inches apart. These cookies spread significantly, so don’t crowd them.
- 8 Bake for 11-13 minutes, rotating the pans halfway through for even browning. The cookies are done when the edges are golden brown but the centers still look slightly underbaked and soft. They’ll continue cooking on the hot pan after removal.
- 9 Let cookies cool on the baking sheet for 5 minutes before transferring to wire racks. This brief rest prevents them from falling apart while still warm.
Recommended Equipment and Kitchen Tools
Essential Tools (for best results)
- Stand mixer with paddle attachment – Creates the perfect creamed butter texture that makes these cookies so tender and thick
- Kitchen scale – Measuring ingredients by weight ensures consistent results every time, especially important for the flour ratio
- Large cookie scoop (3-tablespoon capacity) – Guarantees uniform cookie sizes that bake evenly and look professionally made
- Silicone spatula – Essential for scraping down the bowl and folding in chocolate chips without overmixing
Helpful Upgrades
- Parchment paper – Prevents sticking and makes cleanup effortless while promoting even browning
- Wire cooling racks – Allow proper air circulation for cooling, preventing soggy bottoms
- Instant-read thermometer – Check that butter is at the ideal 67°F temperature for optimal creaming
Nice-to-Have Options
- Bench scraper – Makes portioning dough easier and keeps your workspace tidy
- Multiple baking sheets – Allows you to prep the next batch while one is in the oven
- Mixing bowls in various sizes – Having the right size bowl for each step makes the process smoother
Recipe Variations and Dietary Modifications
Gluten-Free Adaptation
- Replace the 3 cups all-purpose flour with 3 cups gluten-free flour blend (one that contains xanthan gum)
- Add an extra 1/4 teaspoon xanthan gum if your blend doesn’t include it
- Expect slightly more delicate cookies that may spread less
- Increase chilling time to 48 hours for better structure
Dairy-Free Modifications
- Substitute 227 grams vegan butter (room temperature) for regular butter
- Choose dairy-free chocolate chips like Enjoy Life brand
- Results will be slightly less rich but still deliciously chewy
- May need an extra 1-2 minutes of baking time
Vegan Version
- Use 2 flax eggs (2 tablespoons ground flaxseed mixed with 6 tablespoons water, let sit 15 minutes)
- Replace butter with 227 grams coconut oil (solid but scoopable)
- Use dairy-free chocolate chips
- Add 1 tablespoon plant milk if dough seems too dry
Flavor Variations
- Double Chocolate: Replace 1/2 cup flour with 1/2 cup cocoa powder
- Oatmeal Chocolate Chip: Replace 1 cup flour with 1 cup old-fashioned oats
- Espresso Enhanced: Add 1 tablespoon instant espresso powder to dry ingredients
- Sea Salt Caramel: Press caramel pieces and flaky sea salt on top before baking
Nutritional Information and Health Benefits
Key Nutritional Highlights
Each cookie provides approximately 280-320 calories, with the majority coming from carbohydrates and healthy fats from butter. The all-purpose flour contributes B-vitamins and iron, while the brown sugar adds molasses-derived minerals like potassium and calcium. The eggs provide complete protein and essential amino acids that support muscle maintenance and satiety.
Health Benefits of Main Ingredients
The dark chocolate chips contain flavonoids and antioxidants that support heart health and cognitive function. Butter provides fat-soluble vitamins A, D, E, and K, plus conjugated linoleic acid when sourced from grass-fed cows. Eggs deliver high-quality protein, choline for brain health, and lutein for eye health. Vanilla extract contains vanillin, which has anti-inflammatory properties and may help reduce stress.
Dietary Considerations
These cookies contain gluten, dairy, and eggs, making them unsuitable for those with celiac disease, lactose intolerance, or egg allergies without modifications. Each cookie provides approximately 35-40 grams of carbohydrates, which should be considered by those managing blood sugar. The recipe yields 24 large cookies, making reasonable portion control important for balanced nutrition.
Smart Swaps and Ingredient Substitutions
Common Substitutions:
- All-purpose flour → Bread flour (for chewier texture) or Cake flour (for more tender cookies)
- Brown sugar → Coconut sugar or Raw turbinado sugar (1:1 ratio, slightly less sweet)
- Vanilla extract → Almond extract (use only 1 teaspoon) or Maple extract
- Semisweet chocolate chips → Dark chocolate chunks, white chocolate chips, or butterscotch chips
Budget-Friendly Swaps:
- Premium vanilla extract → Vanilla paste or Pure vanilla (store brand works fine)
- Name-brand chocolate chips → Generic chocolate chips or Chopped chocolate bars
- Unsalted butter → Salted butter (reduce added salt to 1/2 teaspoon)
Pantry Emergency Substitutions:
- Brown sugar → White sugar plus molasses (1 cup sugar + 1 tablespoon molasses)
- Baking soda → Baking powder (use 3 teaspoons instead of 1 teaspoon baking soda)
- Room temperature eggs → Cold eggs warmed in warm water for 5 minutes
Pro Tips for Substitutions:
- Store chocolate chips in the freezer to prevent melting during mixing
- When using salted butter, taste the dough and adjust salt accordingly
- Coconut oil can replace butter but must be solid, not melted, for proper texture
Make It Diabetes-Friendly
Sugar Substitutions:
- Replace 1/2 cup granulated sugar with 1/4 cup erythritol or stevia baking blend
- Substitute 1 1/4 cups brown sugar with 2/3 cup monk fruit brown sugar substitute
- Use sugar-free chocolate chips (Lily’s brand works well)
- Total carb reduction: approximately 15-20 grams per cookie
Flour & Carb Modifications:
- Replace 1 cup all-purpose flour with 1 cup almond flour for lower carbs
- Add 2 tablespoons coconut flour to maintain structure
- Consider 1/2 cup ground flaxseed as partial flour replacement
- Net carbs reduced from 35-40g to 20-25g per cookie
Portion & Timing Tips:
- Make smaller 2-tablespoon portions for 18-20g carbs each
- Pair with protein (nuts, cheese) to slow glucose absorption
- Best enjoyed post-meal rather than on empty stomach
- Freeze individual portions to control serving sizes
Total Carb Reduction: Modified recipe reduces carbs by approximately 40-50% while maintaining satisfying texture and sweetness.

Perfect Pairing Suggestions
Beverage Pairings
A cold glass of whole milk remains the classic companion, but try oat milk or almond milk for dairy-free options. Coffee lovers should pair these with a medium roast that won’t overpower the vanilla notes. For evening treats, consider dessert wine like Port or Moscato, or even bourbon for adults seeking a sophisticated combination. Hot chocolate creates an indulgent double-chocolate experience.
Side Dish Recommendations
Serve alongside fresh berries to cut through the richness, or create an ice cream sandwich with vanilla bean ice cream. Caramel sauce for dipping elevates these to restaurant-level dessert. A fruit salad with mint provides refreshing contrast, while whipped cream adds luxurious texture. For parties, arrange with other baked goods on a dessert platter.
Complete Meal Ideas
Perfect for afternoon tea with Earl Grey and cucumber sandwiches. Excellent potluck dessert alongside apple pie and brownies. Create a cookie decorating station for children’s parties with royal icing and sprinkles. Holiday cookie exchanges benefit from these crowd-pleasers packaged in decorative tins.
Occasion Suggestions
Ideal for bake sales, office parties, and welcome gifts for new neighbors. Birthday parties, graduation celebrations, and holiday gatherings all benefit from these impressive homemade treats.
Pro Tips and Troubleshooting
Professional Secrets
Room temperature ingredients are crucial – cold eggs and hard butter won’t cream properly, resulting in dense cookies. The 24-hour rest isn’t just suggestion; it’s the difference between good cookies and bakery-quality ones. Don’t overbake – cookies continue cooking on hot pans, so err on the side of underdone. Rotate pans halfway through baking for even browning, especially if your oven has hot spots.
Common Mistakes and Solutions
Flat cookies usually mean butter was too warm or dough wasn’t chilled enough. Tough cookies result from overmixing after adding flour – mix just until combined. Uneven baking happens when cookies aren’t uniform size – invest in a cookie scoop. Burnt bottoms indicate oven racks positioned too low – use center rack position.
Storage and Make-Ahead
Store in airtight containers for up to one week at room temperature. Freeze baked cookies for up to three months in freezer bags. Raw dough freezes beautifully for six months – scoop first, then freeze on trays before transferring to bags. Thaw overnight in refrigerator before baking.
Scaling Tips
This recipe doubles easily but requires longer mixing times for larger batches. Halving works but may affect texture slightly. For giant bakery-style cookies, use 1/4 cup portions and increase baking time to 14-16 minutes.
The beauty of these bakery-style chocolate chip cookies lies in their perfect balance of crispy edges and chewy centers, proving that sometimes the classics really are the best. Whether you’re baking for a crowd or treating yourself to homemade comfort, this recipe delivers consistent, impressive results that’ll have everyone asking for seconds.