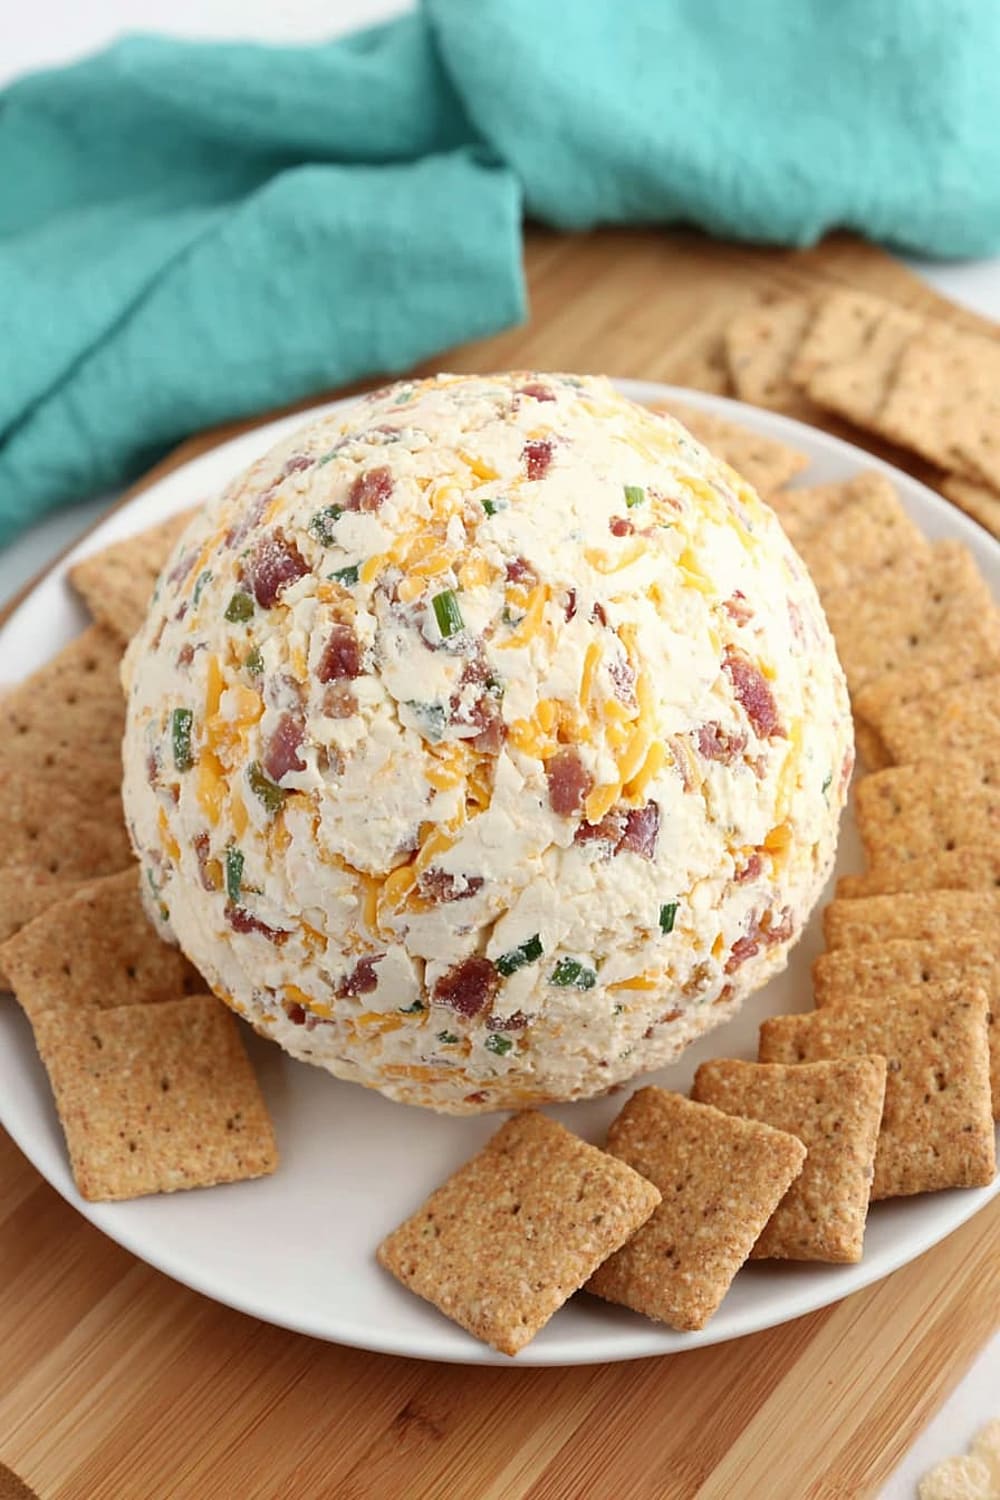
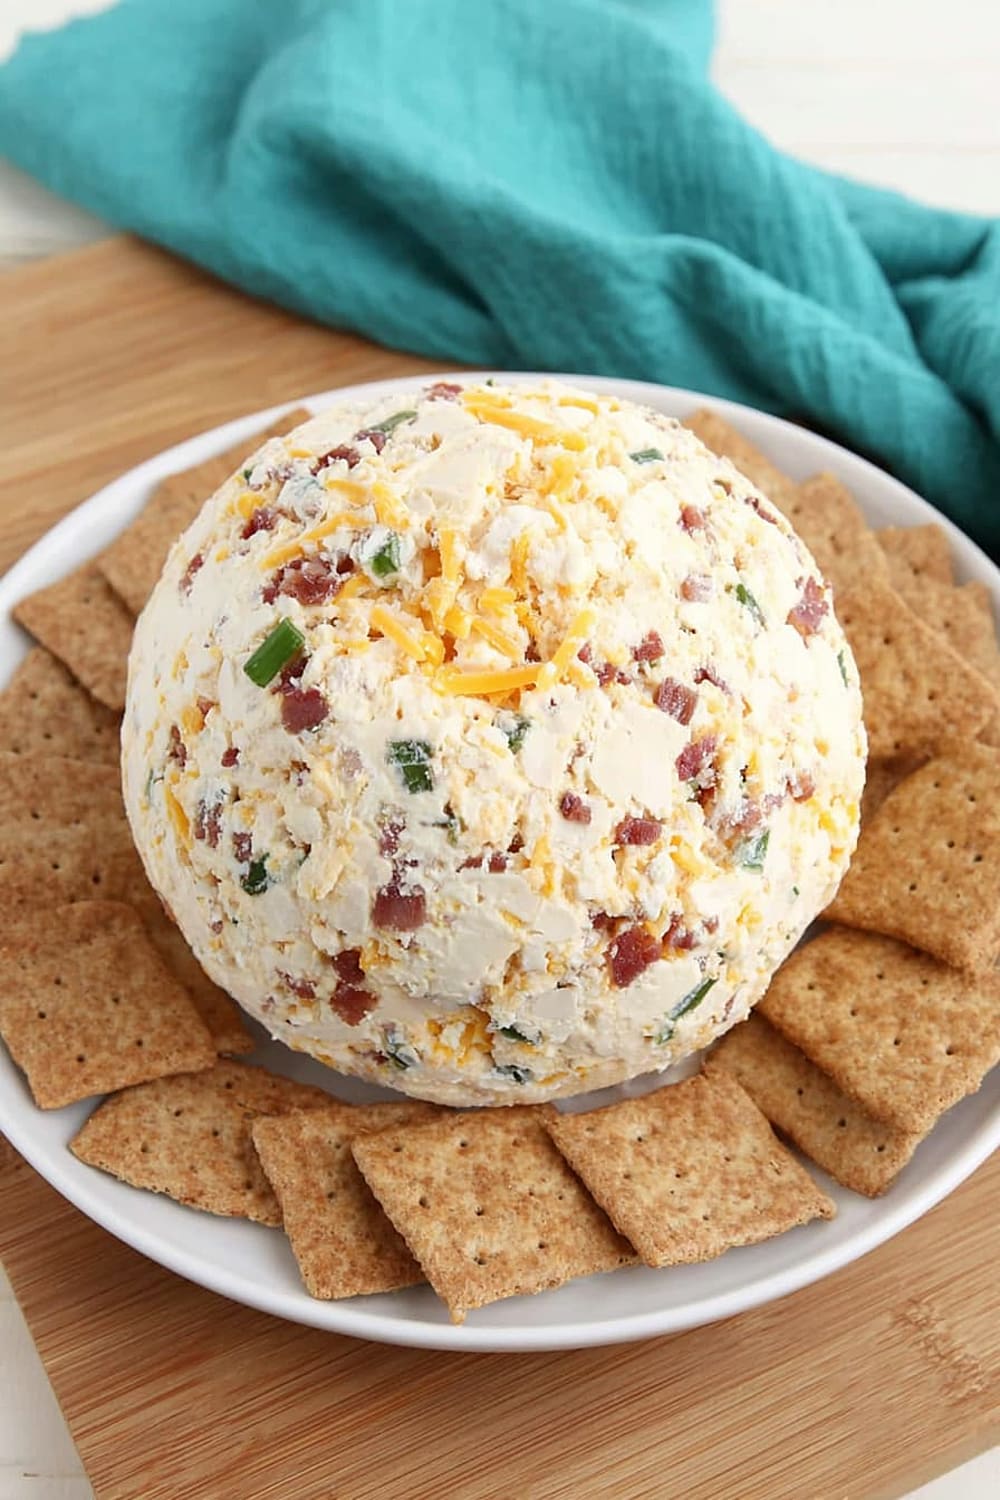
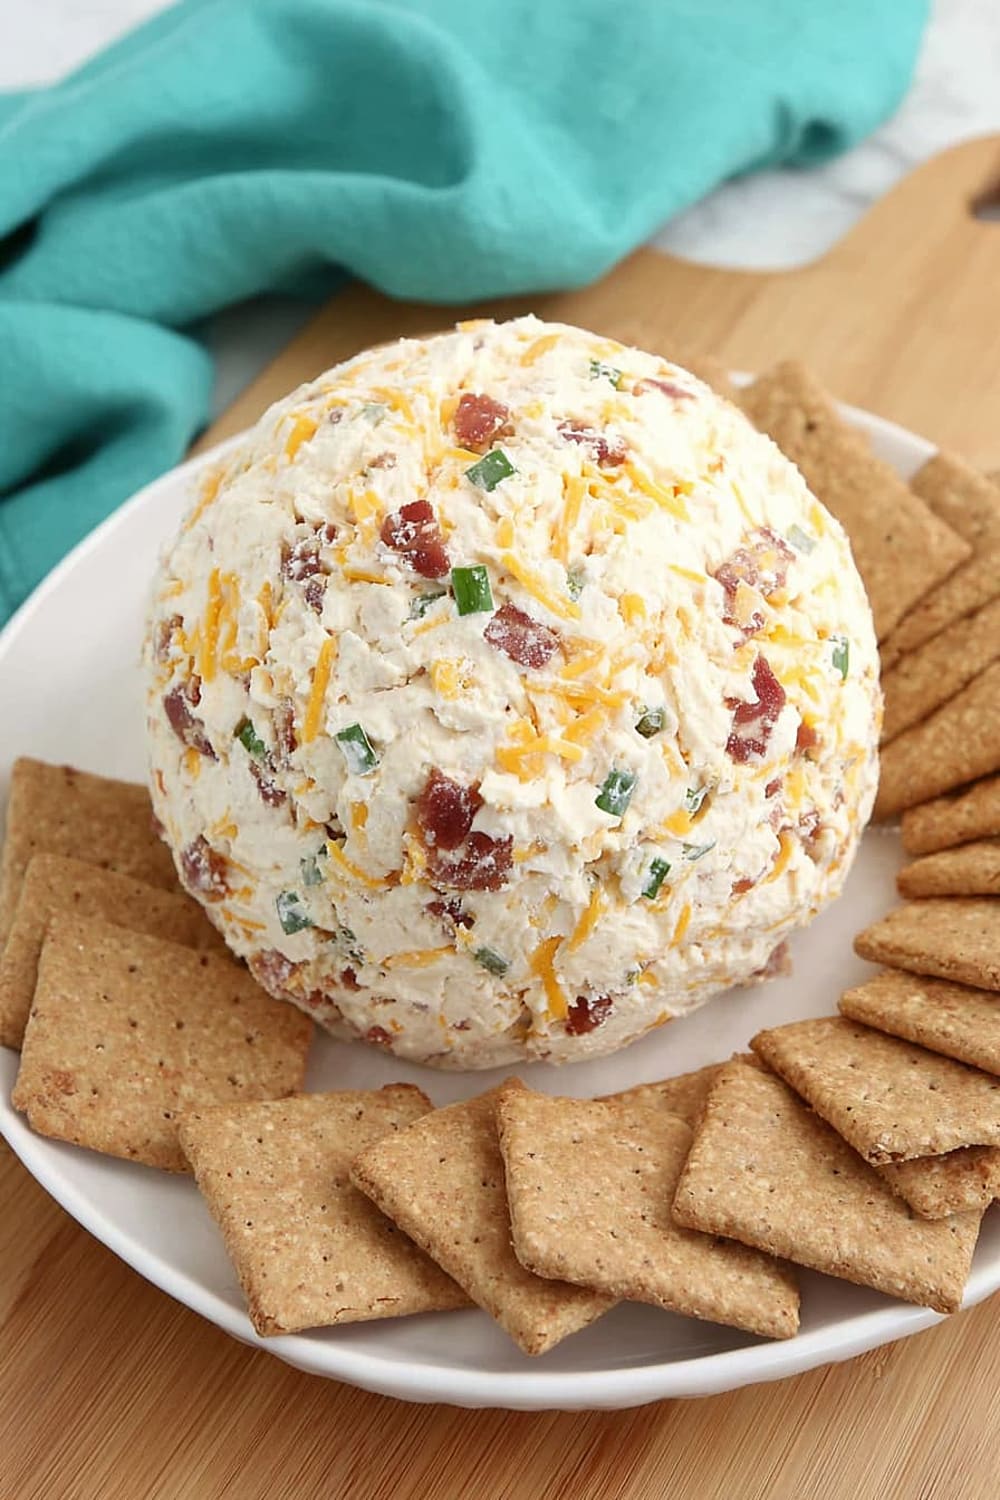
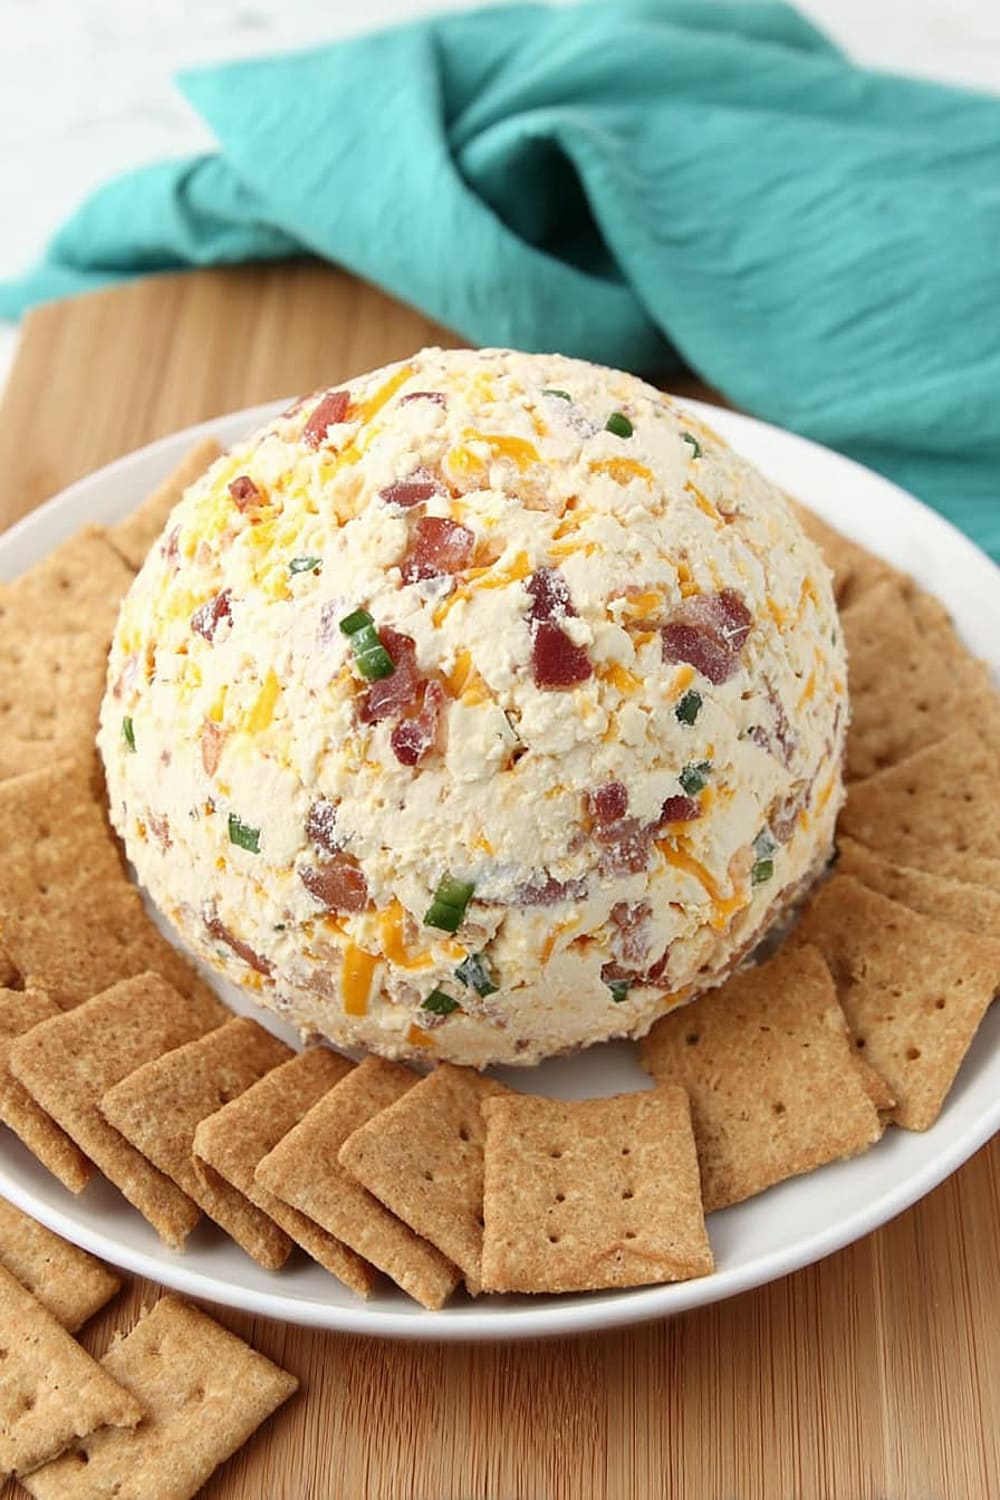
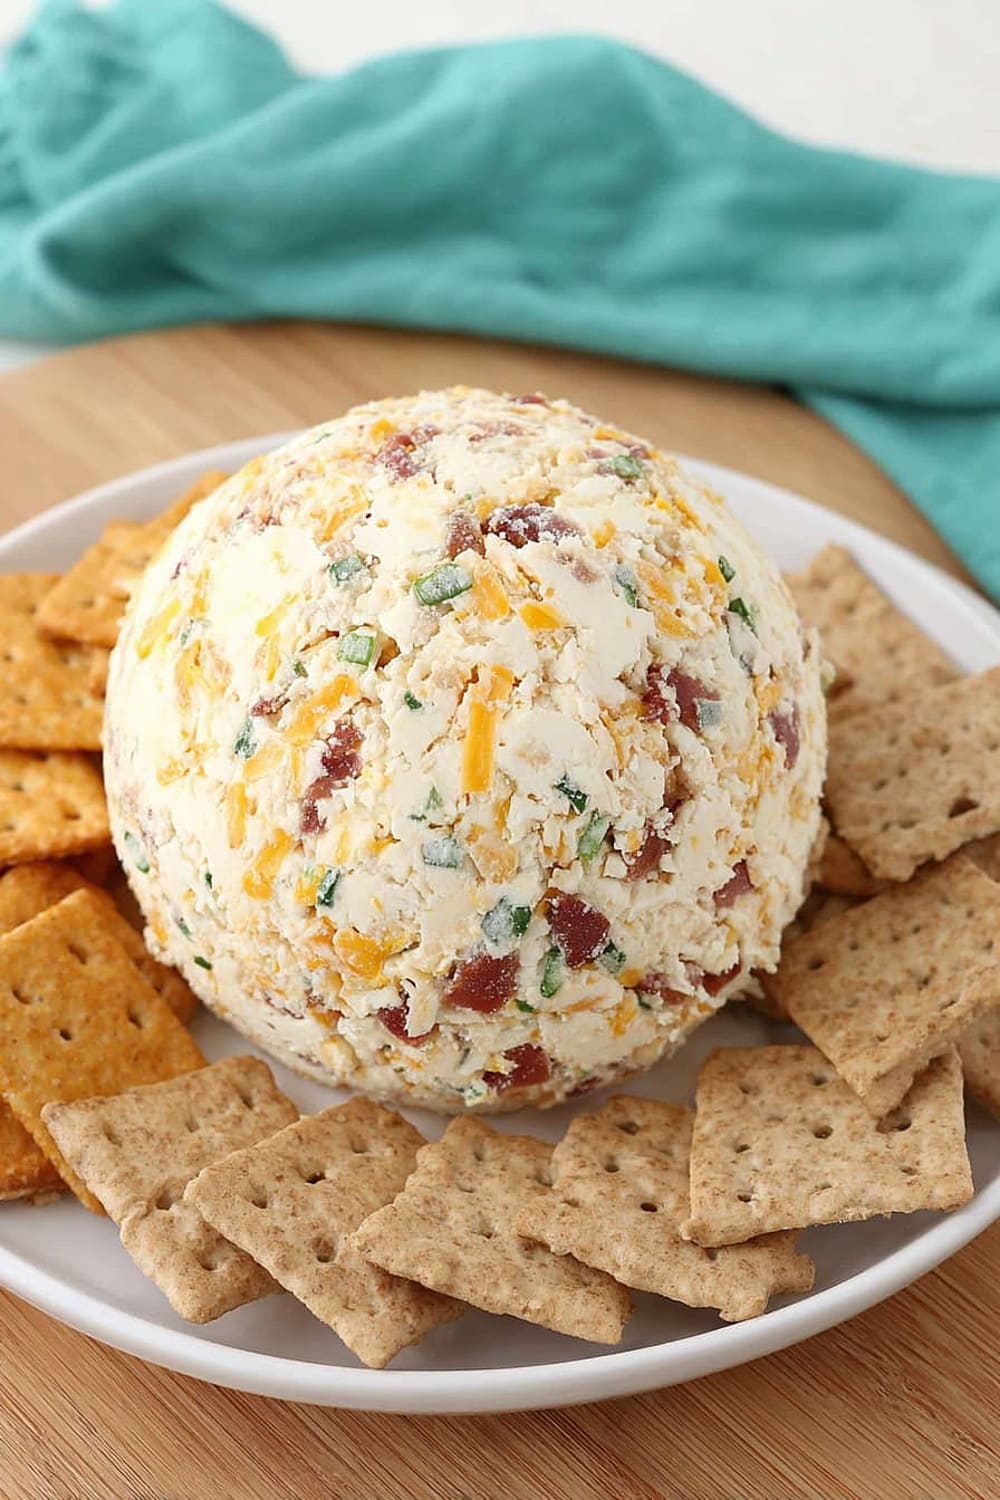
Cheese Ball
This cheese ball is basically your secret weapon for looking like the kind of person who has their entertaining game completely figured out, even if you’re frantically cleaning your house five minutes before guests arrive.
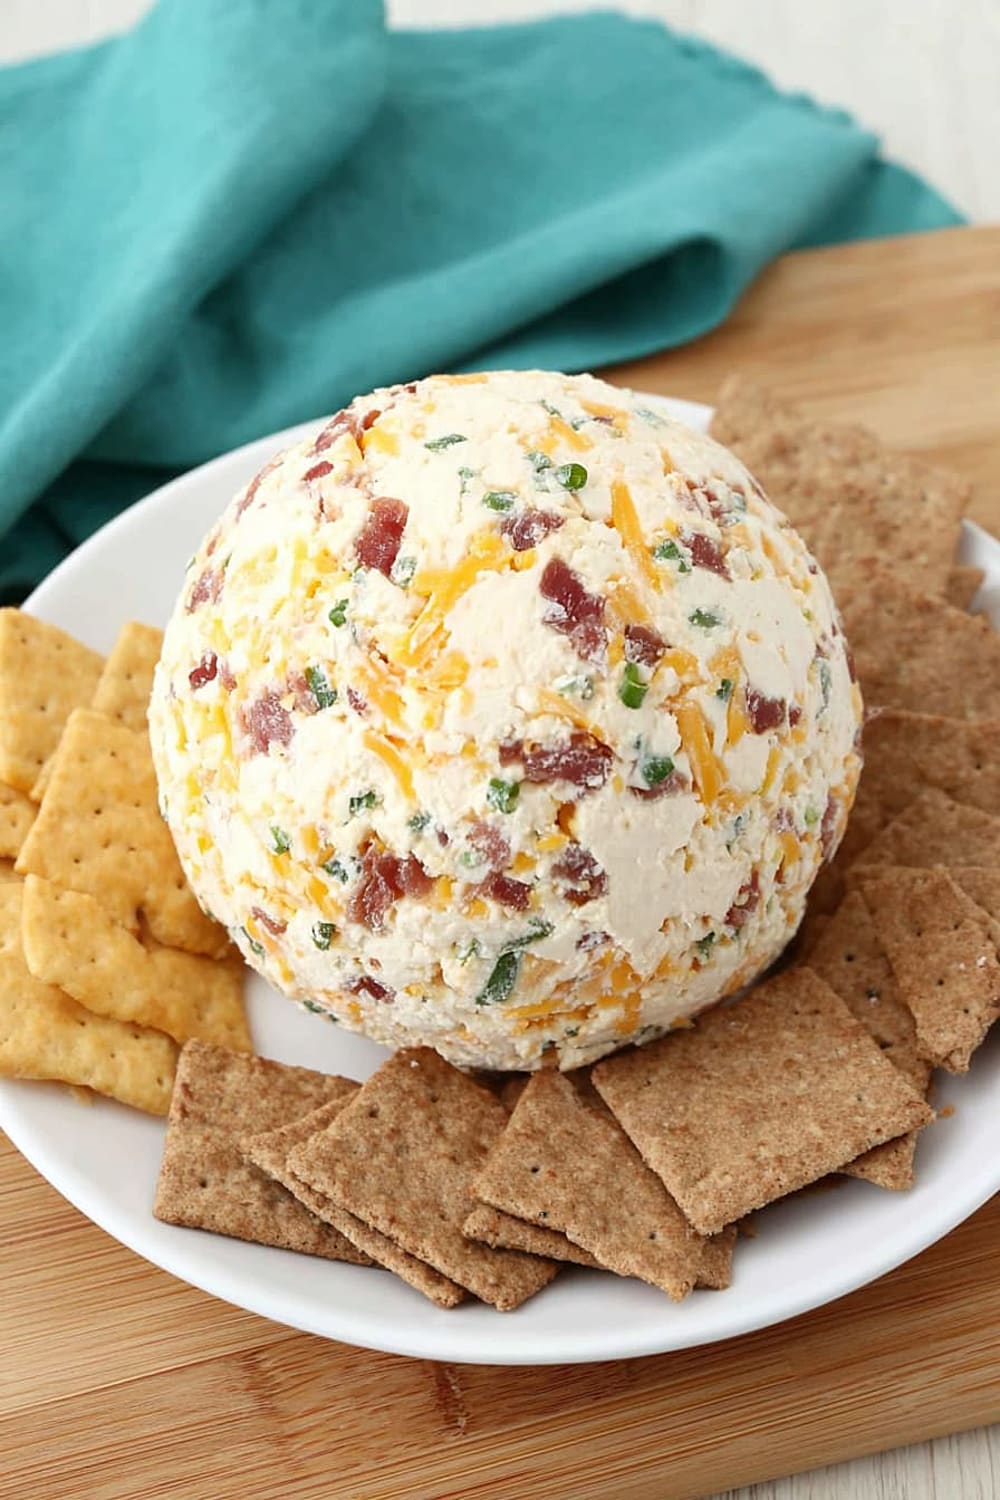
The combination of creamy cheese, smoky bacon, and zesty ranch creates this addictive flavor bomb that’ll have people hovering around your appetizer table like moths to a flame.
What makes this recipe absolutely genius is that it actually gets better as it sits in the fridge, which means you can make it the day before your party and then spend that extra time doing literally anything else.
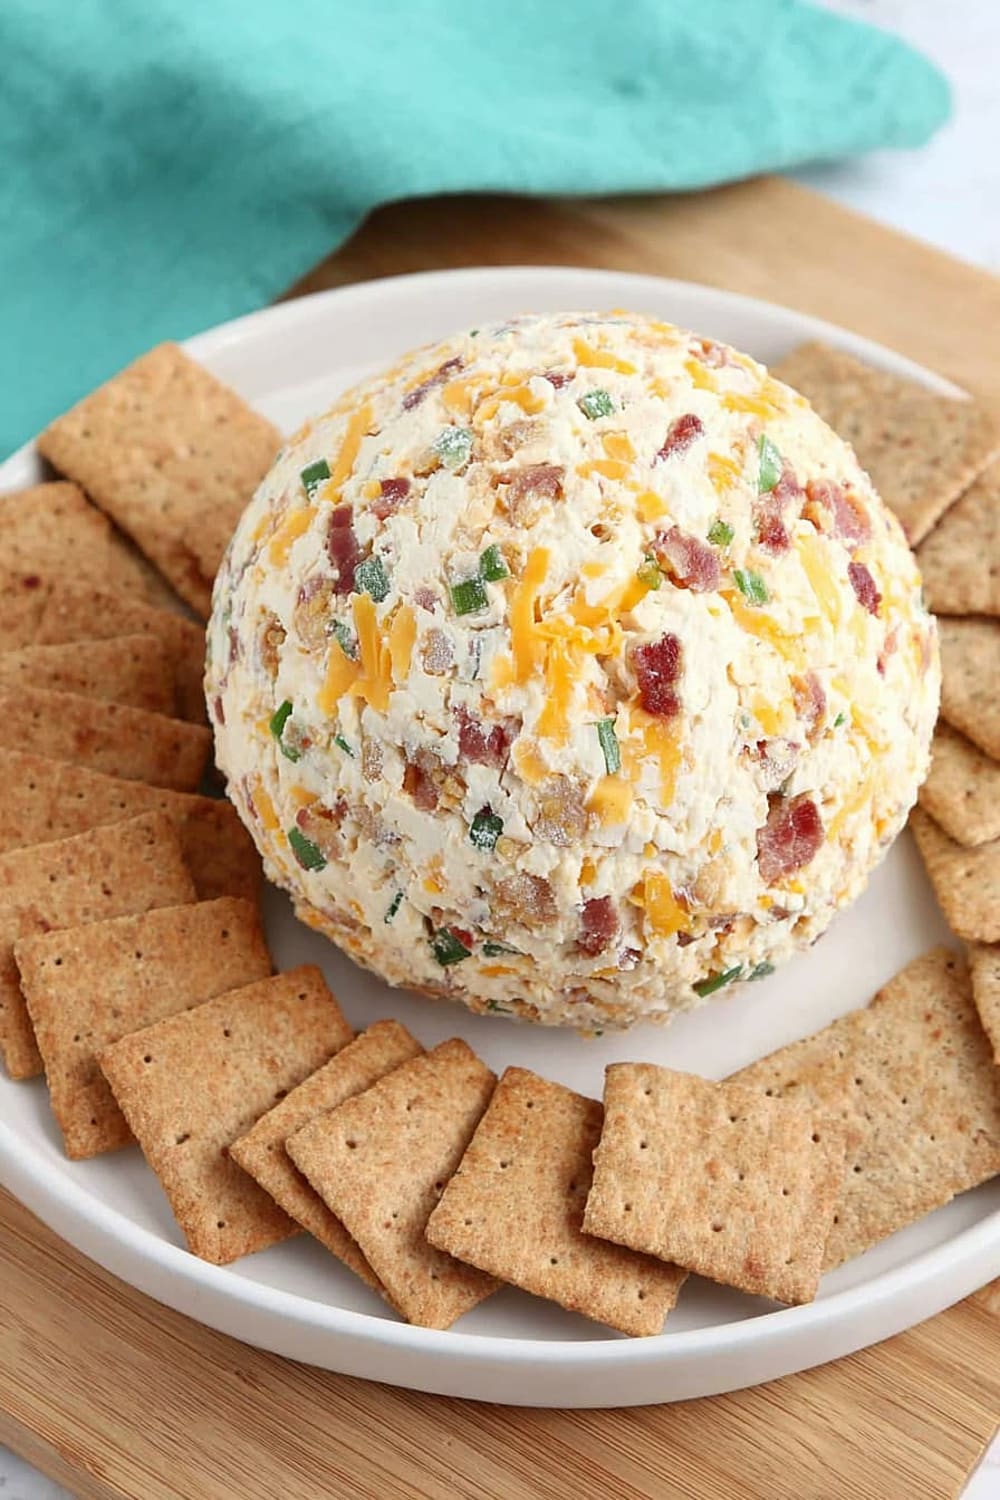
The texture is perfectly creamy yet firm enough to hold its shape, and every bite delivers that satisfying crunch from the bacon bits mixed throughout.

This is the kind of appetizer that makes people ask for the recipe, and you get to casually mention how “simple” it was to make while secretly feeling like a culinary mastermind.
Plus, it’s ridiculously versatile – serve it with everything from fancy water crackers to basic tortilla chips, and it’ll taste amazing either way.
Ingredients
For the cheese ball base
- 16 oz cream cheese, softened to room temperature
- 1¾ cups shredded cheddar cheese, sharp variety preferred
- 3 tablespoons sour cream, full-fat for best texture
For the flavor boost
- 1 (1 oz) ranch dressing mix packet
- 5 pieces bacon, cooked until crispy and crumbled
- 2-3 tablespoons green onion, finely chopped
Instructions
Prepare the mixture
- 1 Start by placing the softened cream cheese, shredded cheddar cheese, ranch seasoning, sour cream, bacon bits, and chopped green onions into a large mixing bowl. The cream cheese should be soft enough that you can easily press your finger into it – if it’s still cold and firm, let it sit at room temperature for another 15-20 minutes. Using a kitchen scale to measure your cream cheese ensures perfect consistency every time.
- 2 Use a silicone spatula or wooden spoon to stir everything together until the ingredients are fully mixed and completely smooth. This process takes about 3-5 minutes of thorough mixing. Make sure there are no large chunks of cream cheese remaining, as these will create an uneven texture in your finished cheese ball. The mixture should be uniformly colored with visible flecks of bacon and green onion distributed throughout.
Shape the cheese ball
- 3 Lay a large piece of plastic wrap inside a medium-sized bowl, leaving plenty of overhang on all sides. The bowl helps maintain the shape as you work with the cheese mixture and prevents it from spreading out too much. Choose a bowl that’s roughly the size you want your finished cheese ball to be.
- 4 Transfer the cheese mixture from the mixing bowl into the plastic wrap-lined bowl using your spatula. Use the plastic wrap to gently lift and shape the cheese mixture into a round ball. You can do this by pulling the edges of the plastic wrap up and around the mixture, gently pressing it into shape as you go. Don’t worry if it’s not perfectly round at this stage – the chilling process will help it hold its shape better.
Chill and serve
- 5 Once shaped, leave the cheese ball wrapped tightly in the plastic wrap and place it in the refrigerator to chill for at least 4 hours. Chilling allows the flavors to meld together beautifully and the cheese to firm up significantly, making it much easier to serve without falling apart. For absolutely best results, let it chill overnight – the extra time really allows the ranch seasoning to distribute evenly throughout.
- 6 When ready to serve, unwrap the cheese ball carefully and place it on your serving plate. You can roll it in additional crushed bacon, chopped nuts, or fresh herbs for an extra finishing touch if desired. Serve immediately with crackers, sliced vegetables, or your favorite dippers.
Recommended Equipment and Kitchen Tools
Recommended Tools (for best results)
- Large mixing bowl – A wide, deep bowl gives you plenty of room to mix without ingredients flying everywhere, and stainless steel or glass works best for easy cleanup
- Silicone spatula – The flexible edge gets into bowl corners better than wooden spoons and won’t scratch your mixing bowls like metal utensils might
- Kitchen scale – While not essential, weighing your cream cheese ensures consistent results every time, especially important for the proper texture balance
- Food processor – If your cream cheese isn’t perfectly softened, a quick pulse in the food processor creates an incredibly smooth base mixture
Helpful Upgrades
- Stand mixer with paddle attachment – Makes mixing effortless and ensures perfectly smooth, lump-free texture, though hand mixing works just fine
- Microplane grater – Perfect for freshly grating your own cheddar cheese, which melts and incorporates better than pre-shredded varieties
- Cast iron skillet – Ideal for cooking your bacon to perfect crispiness, and the even heat distribution prevents burning
Nice-to-Have Options
- Parchment paper – Line your serving plate for easy cleanup and professional presentation
- Storage containers – Airtight containers keep your cheese ball fresh for up to a week in the refrigerator
Recipe Variations and Dietary Modifications
Flavor Variations
- Buffalo Chicken Style – Replace ranch with buffalo sauce powder and add shredded rotisserie chicken for a spicy twist
- Herb Garden Version – Substitute ranch with fresh dill, chives, and parsley for a lighter, fresher flavor profile
- Smoky Jalapeño – Add diced pickled jalapeños and smoked paprika for heat and depth
- Holiday Cranberry – Mix in dried cranberries and chopped pecans for festive color and texture
Cheese Alternatives
- Sharp White Cheddar – Creates a more sophisticated flavor profile with slightly less color
- Pepper Jack – Adds a subtle kick of heat throughout the cheese ball
- Cream Cheese Blend – Mix regular cream cheese with herbed cream cheese for extra complexity
Texture Modifications
- Extra Crunchy – Double the bacon and add chopped toasted nuts for more textural contrast
- Smooth Style – Pulse everything in a food processor for an ultra-smooth, spreadable consistency
- Rolled Coating – Roll the finished ball in chopped herbs, nuts, or additional bacon for visual appeal
Nutritional Information and Health Benefits
Key Nutritional Highlights
This cheese ball provides approximately 85-95 calories per serving when divided into 24 portions. The main macronutrients come from high-quality dairy fats and proteins, with each serving delivering about 8 grams of fat and 4 grams of protein. The carbohydrate content remains relatively low at around 2 grams per serving, making it suitable for various dietary approaches.
Health Benefits of Main Ingredients
The cream cheese and cheddar provide substantial amounts of calcium and phosphorus, essential for bone health and muscle function. Bacon contributes B-vitamins, particularly B12 and niacin, which support energy metabolism and nervous system function. Green onions add vitamin K, vitamin C, and beneficial sulfur compounds that support immune function. The sour cream provides probiotics that can benefit digestive health, while the combination of dairy ingredients offers complete proteins containing all essential amino acids.
Dietary Considerations
This recipe contains dairy and pork, making it unsuitable for vegan, lactose-intolerant, or kosher dietary requirements. However, it’s naturally gluten-free and works well for low-carb eating patterns. The high fat content makes it quite satiating, so smaller portions are typically satisfying. Consider pairing with fresh vegetables to add fiber and additional nutrients to your appetizer spread.
Smart Swaps and Ingredient Substitutions
Common Substitutions:
- Cream cheese → Greek yogurt cream cheese for lighter texture with similar tang
- Sour cream → Plain Greek yogurt for added protein and slightly less fat
- Ranch packet → Homemade blend of dried dill, garlic powder, onion powder, and dried parsley
- Bacon → Turkey bacon for lower fat content, or pancetta for more sophisticated flavor
Budget-Friendly Swaps:
- Sharp cheddar → Mild cheddar or even processed cheese for significant cost savings
- Fresh green onions → Dried chives or onion powder (use about 1 tablespoon)
- Premium bacon → Store-brand bacon bits or even imitation bacon bits work fine
Pantry Emergency Substitutions:
- Ranch packet → 1 tablespoon dried herbs mixed with 1 teaspoon garlic powder and ½ teaspoon salt
- Fresh bacon → Pre-cooked bacon bits from a jar or bag
- Green onions → Regular yellow onion, finely minced (use less, about 1 tablespoon)
Pro Tips for Substitutions:
- When using Greek yogurt substitutions, drain excess liquid first for proper consistency
- Store homemade herb blends in airtight containers for up to six months
- Always taste and adjust seasoning when making substitutions, as flavor intensities vary

Make It Diabetes-Friendly
Carb Reduction Strategies:
- Portion control – Stick to 1-2 tablespoon servings to keep carbs under 2 grams per portion
- Ranch substitute – Use fresh herbs instead of ranch packet to eliminate hidden sugars and reduce sodium
- Pair wisely – Serve with cucumber slices, bell pepper strips, or celery instead of crackers
Enhanced Nutrition Modifications:
- Add fiber – Mix in finely chopped raw vegetables like bell peppers or radishes for added nutrients without significant carbs
- Protein boost – Increase the bacon content slightly or add chopped hard-boiled eggs for more protein per serving
- Healthy fats – Incorporate chopped nuts or seeds for omega-3 fatty acids and additional fiber
Blood Sugar Management Tips:
- Timing strategy – Serve as part of a meal rather than standalone to slow absorption
- Vegetable pairings – The fiber from vegetable dippers helps moderate blood sugar response
- Portion awareness – Each 2-tablespoon serving contains approximately 1-2 grams total carbs
Total Carb Reduction: By eliminating crackers and using fresh herbs instead of ranch packet, you can reduce the carb impact by approximately 60-70% compared to traditional serving methods.
Perfect Pairing Suggestions
Beverage Pairings
A crisp Sauvignon Blanc or Pinot Grigio cuts through the richness beautifully, while beer lovers should reach for a light lager or wheat beer that won’t compete with the bold flavors. For non-alcoholic options, sparkling water with lime or unsweetened iced tea provide refreshing contrast. During cooler months, hot apple cider creates a cozy combination that’s perfect for holiday gatherings.
Dipping Options
Water crackers and multigrain crackers provide neutral bases that let the cheese ball shine, while pretzel crisps add satisfying crunch. Fresh vegetables like cucumber rounds, bell pepper strips, and cherry tomatoes offer lighter alternatives. Toasted baguette slices work beautifully for more elegant presentations, and pita chips provide Mediterranean flair.
Complete Meal Ideas
Build a stunning appetizer spread by pairing with stuffed mushrooms, bacon-wrapped scallops, and a seasonal fruit and nut board. For casual gatherings, serve alongside buffalo chicken dip, spinach artichoke dip, and assorted chips and crackers. The rich, savory flavors make it an excellent starter before grilled steaks, roasted chicken, or herb-crusted salmon.
Occasion Suggestions
This cheese ball shines at holiday parties, game day gatherings, and casual dinner parties. It’s sophisticated enough for cocktail hours yet approachable for family barbecues. The make-ahead nature makes it perfect for potluck contributions and office parties where you need something reliable and crowd-pleasing.
Pro Tips and Troubleshooting
Professional Techniques
Always bring cream cheese to true room temperature – this takes about 2-3 hours and prevents lumpy texture that’s impossible to smooth out later. When mixing, use a folding motion rather than aggressive stirring to prevent the mixture from becoming too soft or losing its structure. For perfectly round shaping, place the wrapped cheese ball in a small bowl overnight, which creates natural even pressure from all sides.
Common Mistake Prevention
Avoid using pre-shredded cheese if possible, as the anti-caking agents can create a slightly gritty texture. Don’t skip the chilling time – at least 4 hours is essential for proper firmness and flavor development. When adding bacon, make sure it’s completely cooled and well-drained to prevent excess grease from making the mixture too soft.
Storage and Make-Ahead Strategies
This cheese ball actually improves with time and can be made up to 3 days ahead. Wrap tightly in plastic wrap and store in the refrigerator. For longer storage, it freezes well for up to 1 month – thaw overnight in the refrigerator before serving. Leftover cheese ball keeps for 5-7 days refrigerated and makes an excellent spread for sandwiches or bagels.
Scaling and Presentation
Double the recipe easily for larger crowds, but use two separate bowls for shaping to maintain proper texture. For elegant presentation, roll in chopped fresh herbs, toasted nuts, or additional bacon bits just before serving. Create a cheese ball “log” instead by shaping into a cylinder and slicing for individual portions.
This cheese ball proves that the best party appetizers are often the simplest ones – just a handful of quality ingredients transformed into something that’ll have your guests asking for the recipe and wondering how you make entertaining look so effortless.