Chow Chow
Get ready for a flavor explosion in your kitchen! This vibrant, tangy Southern relish is about to become your new secret weapon for jazzing up everything from hot dogs to pulled pork. Chow Chow is that perfect blend of sweet, sour, and crunchy that makes taste buds do a happy dance.
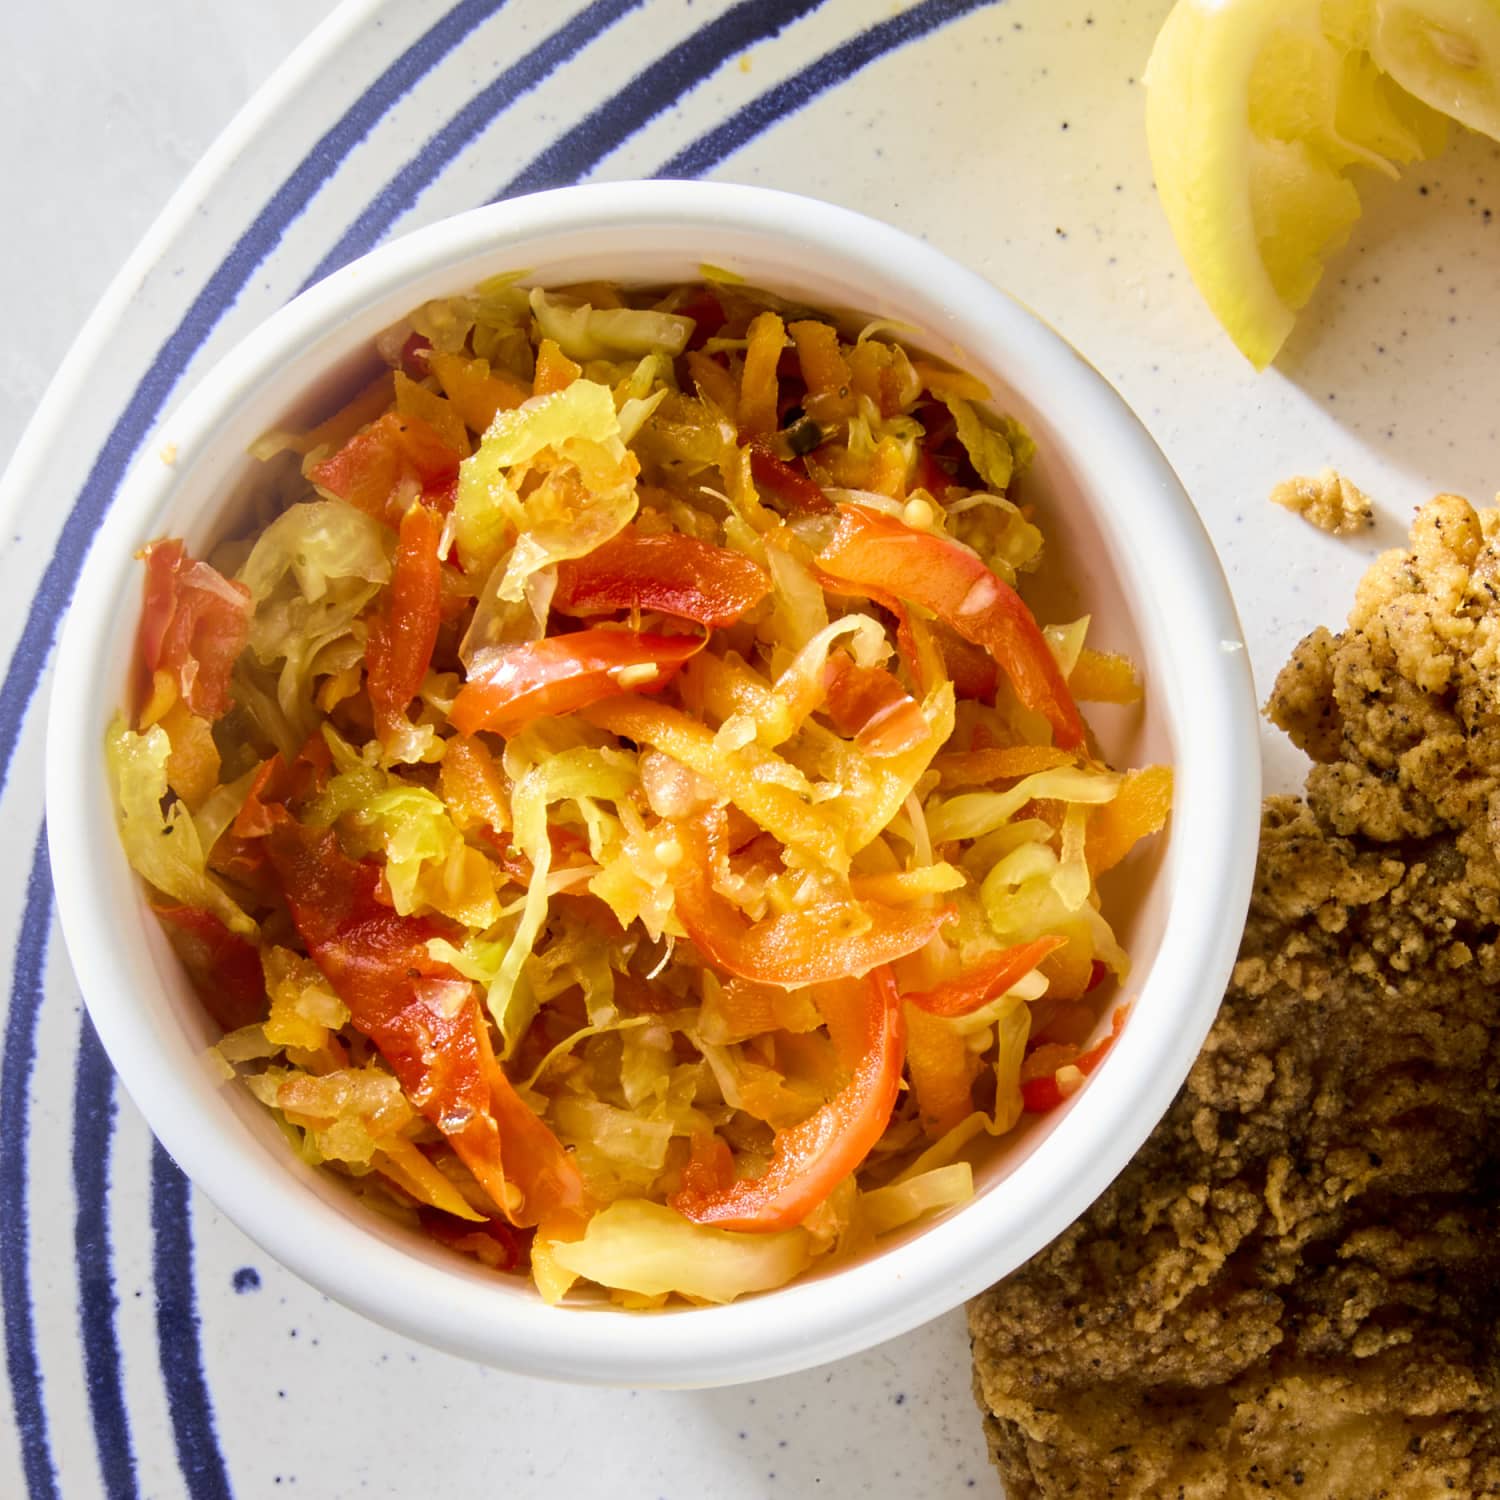
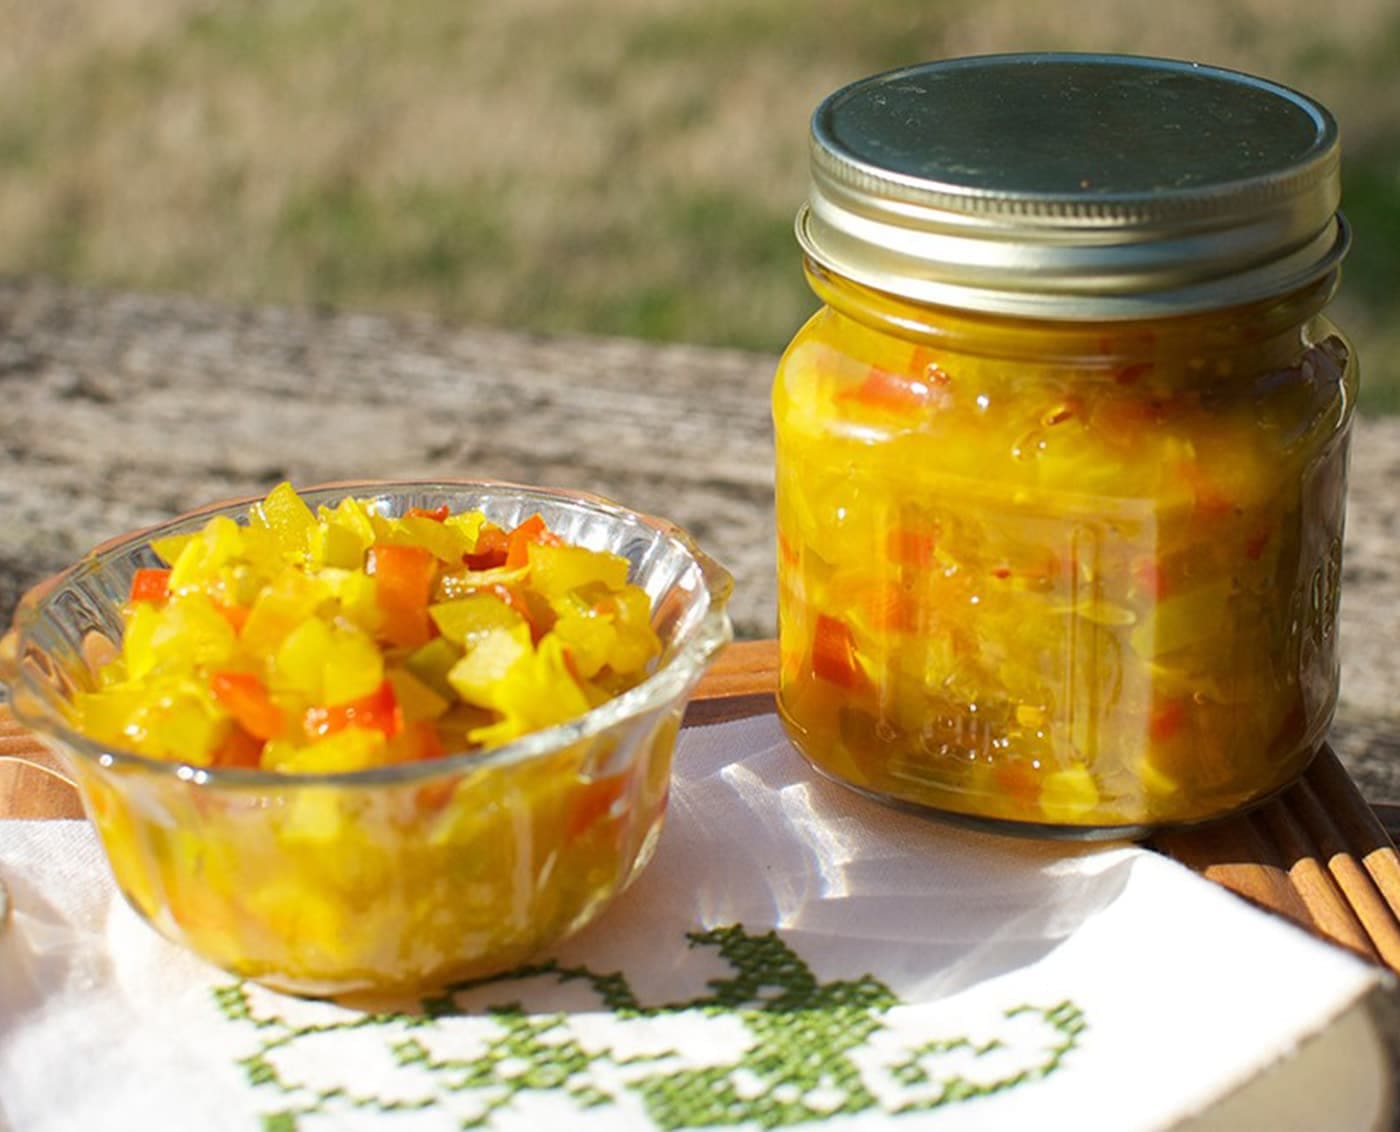
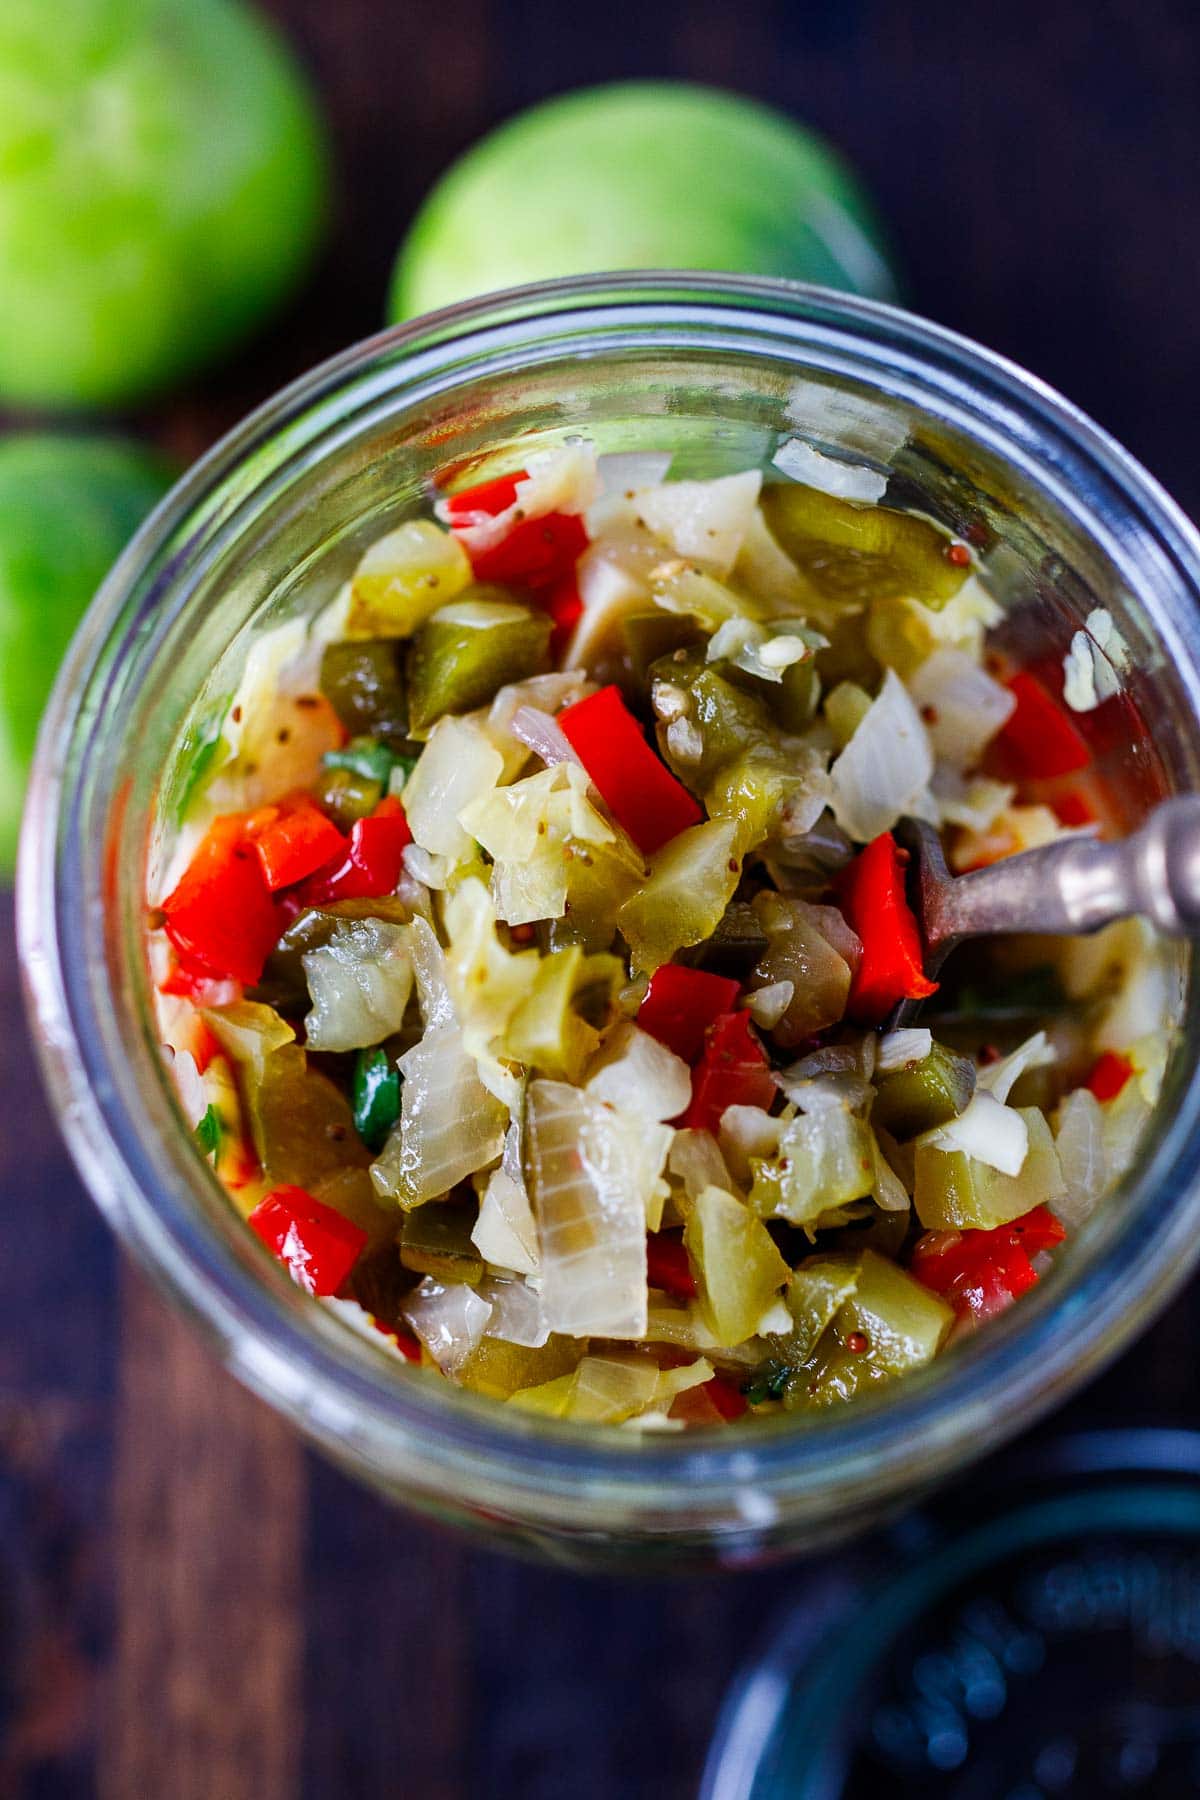
This colorful medley of green tomatoes, cabbage, peppers, and onions gets transformed by a vinegary brine that’s punched up with mustard seeds and celery. It’s like summer sunshine in a jar that you can enjoy year-round. The best part? You’ll feel like a preservation pro when you line up those gorgeous jars of homemade goodness in your pantry.

Ingredients
For the vegetable mixture:
- 6 large green tomatoes (about 3 pounds)
- 3 medium yellow or white onions
- 3 medium red, yellow, or orange bell peppers (or a mix)
- 1 large green bell pepper
- 1/2 medium head cabbage (about 4 cups after chopping)
- 1/4 cup sea salt, pickling salt, or kosher salt
For the brine:
- 3 1/2 cups white vinegar
- 1 cup sugar
- 1 tablespoon yellow mustard seeds
- 1 teaspoon ground celery, celery flakes, or celery seed
Steps
- Prepare the vegetables for chopping: Stem the tomatoes and quarter them, removing cores if necessary. Peel the onions and cut into quarters. Remove stems and seeds from all peppers, then quarter them. Core the cabbage and cut into quarters. Having everything prepped before chopping ensures uniform pieces and faster processing.
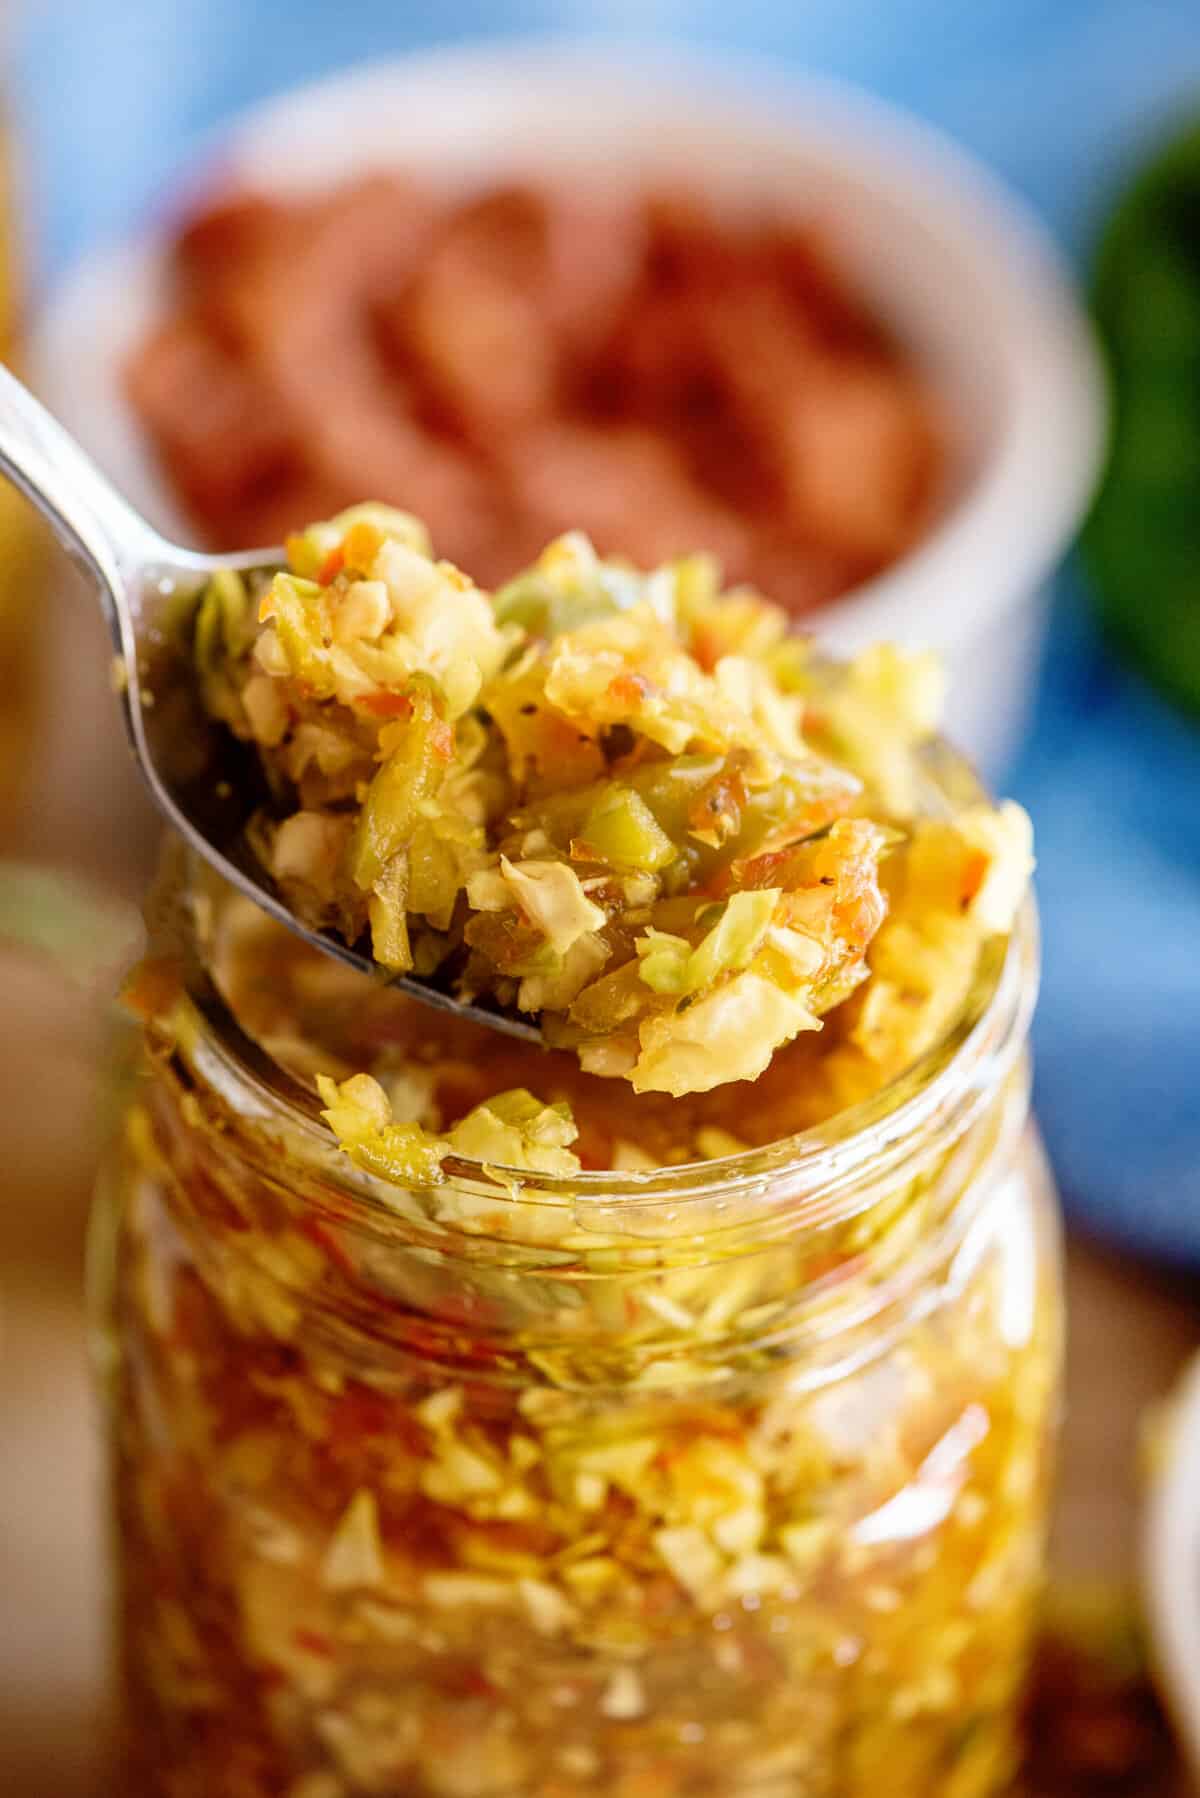
- Chop the vegetables: Use a food processor with the chopping blade to process each vegetable type separately into fine pieces, working in small batches to avoid overloading. Aim for pieces about 1/8-inch in size – fine enough to create a relish texture but not so fine that they become mushy. Transfer all chopped vegetables to a large non-reactive bowl (glass, ceramic, or stainless steel works best).
- Troubleshooting tip: If your food processor tends to liquefy vegetables, use the pulse button in short bursts of 1-2 seconds rather than continuous processing.
- No food processor? You can chop vegetables finely by hand (aim for 1/8-inch pieces) or use a food grinder with the coarse die attachment.
- Salt and chill the vegetables: Sprinkle the 1/4 cup salt evenly over the chopped vegetables. Using clean hands, thoroughly mix everything together, making sure to incorporate vegetables from the bottom of the bowl. The salt will draw out moisture and begin the preservation process. Cover the bowl with plastic wrap and refrigerate for at least 4 hours or up to overnight. Don’t rush this step – it’s crucial for developing flavor and the right texture.
- Drain the vegetables: Remove the mixture from the refrigerator and transfer to a colander placed over a sink or bowl. Press gently with the back of a large spoon to remove excess liquid, but don’t rinse the vegetables – that residual salt is part of the flavor profile. Let drain for about 5 minutes.
- Prepare for canning (if preserving long-term): While the vegetables are draining, set up your canning station. Spread a clean kitchen towel on the counter and arrange jar lifters, canning funnel, and other tools. Wash new jar lids and rings in hot, soapy water and rinse well.
- Sterilize the jars: Place clean canning jars on a rack in a large pot and add enough water to cover them by at least 1 inch. Bring to a boil over high heat and maintain a rolling boil for 10 minutes to properly sterilize. Reduce heat to low and keep jars in the hot water until ready to fill. Proper sterilization prevents spoilage and ensures food safety.
- Prepare the brine: In a large non-reactive pot (stainless steel, enamel, or non-stick), combine the 3 1/2 cups vinegar, 1 cup sugar, 1 tablespoon mustard seeds, and 1 teaspoon celery seasoning. Bring to a full boil over medium-high heat, then reduce to a strong simmer (small, continuous bubbles). Cover and simmer for 10 minutes to infuse the flavors.
- Cook the relish: Add all the drained vegetables to the simmering brine and stir to combine thoroughly. Increase heat to medium-high and bring the mixture back to a full boil. Once boiling, set a timer for 10 minutes. Stir frequently (every 30-60 seconds) to prevent sticking and ensure even cooking. The vegetables should soften slightly but still maintain some crunch – they’ll continue to soften in the jars.
- Prepare jars for filling: When the relish is nearly finished cooking, carefully remove the sterilized jars from the hot water using jar lifters. Pour the water back into the canning pot to maintain water level. Place jars upright on the prepared kitchen towel.
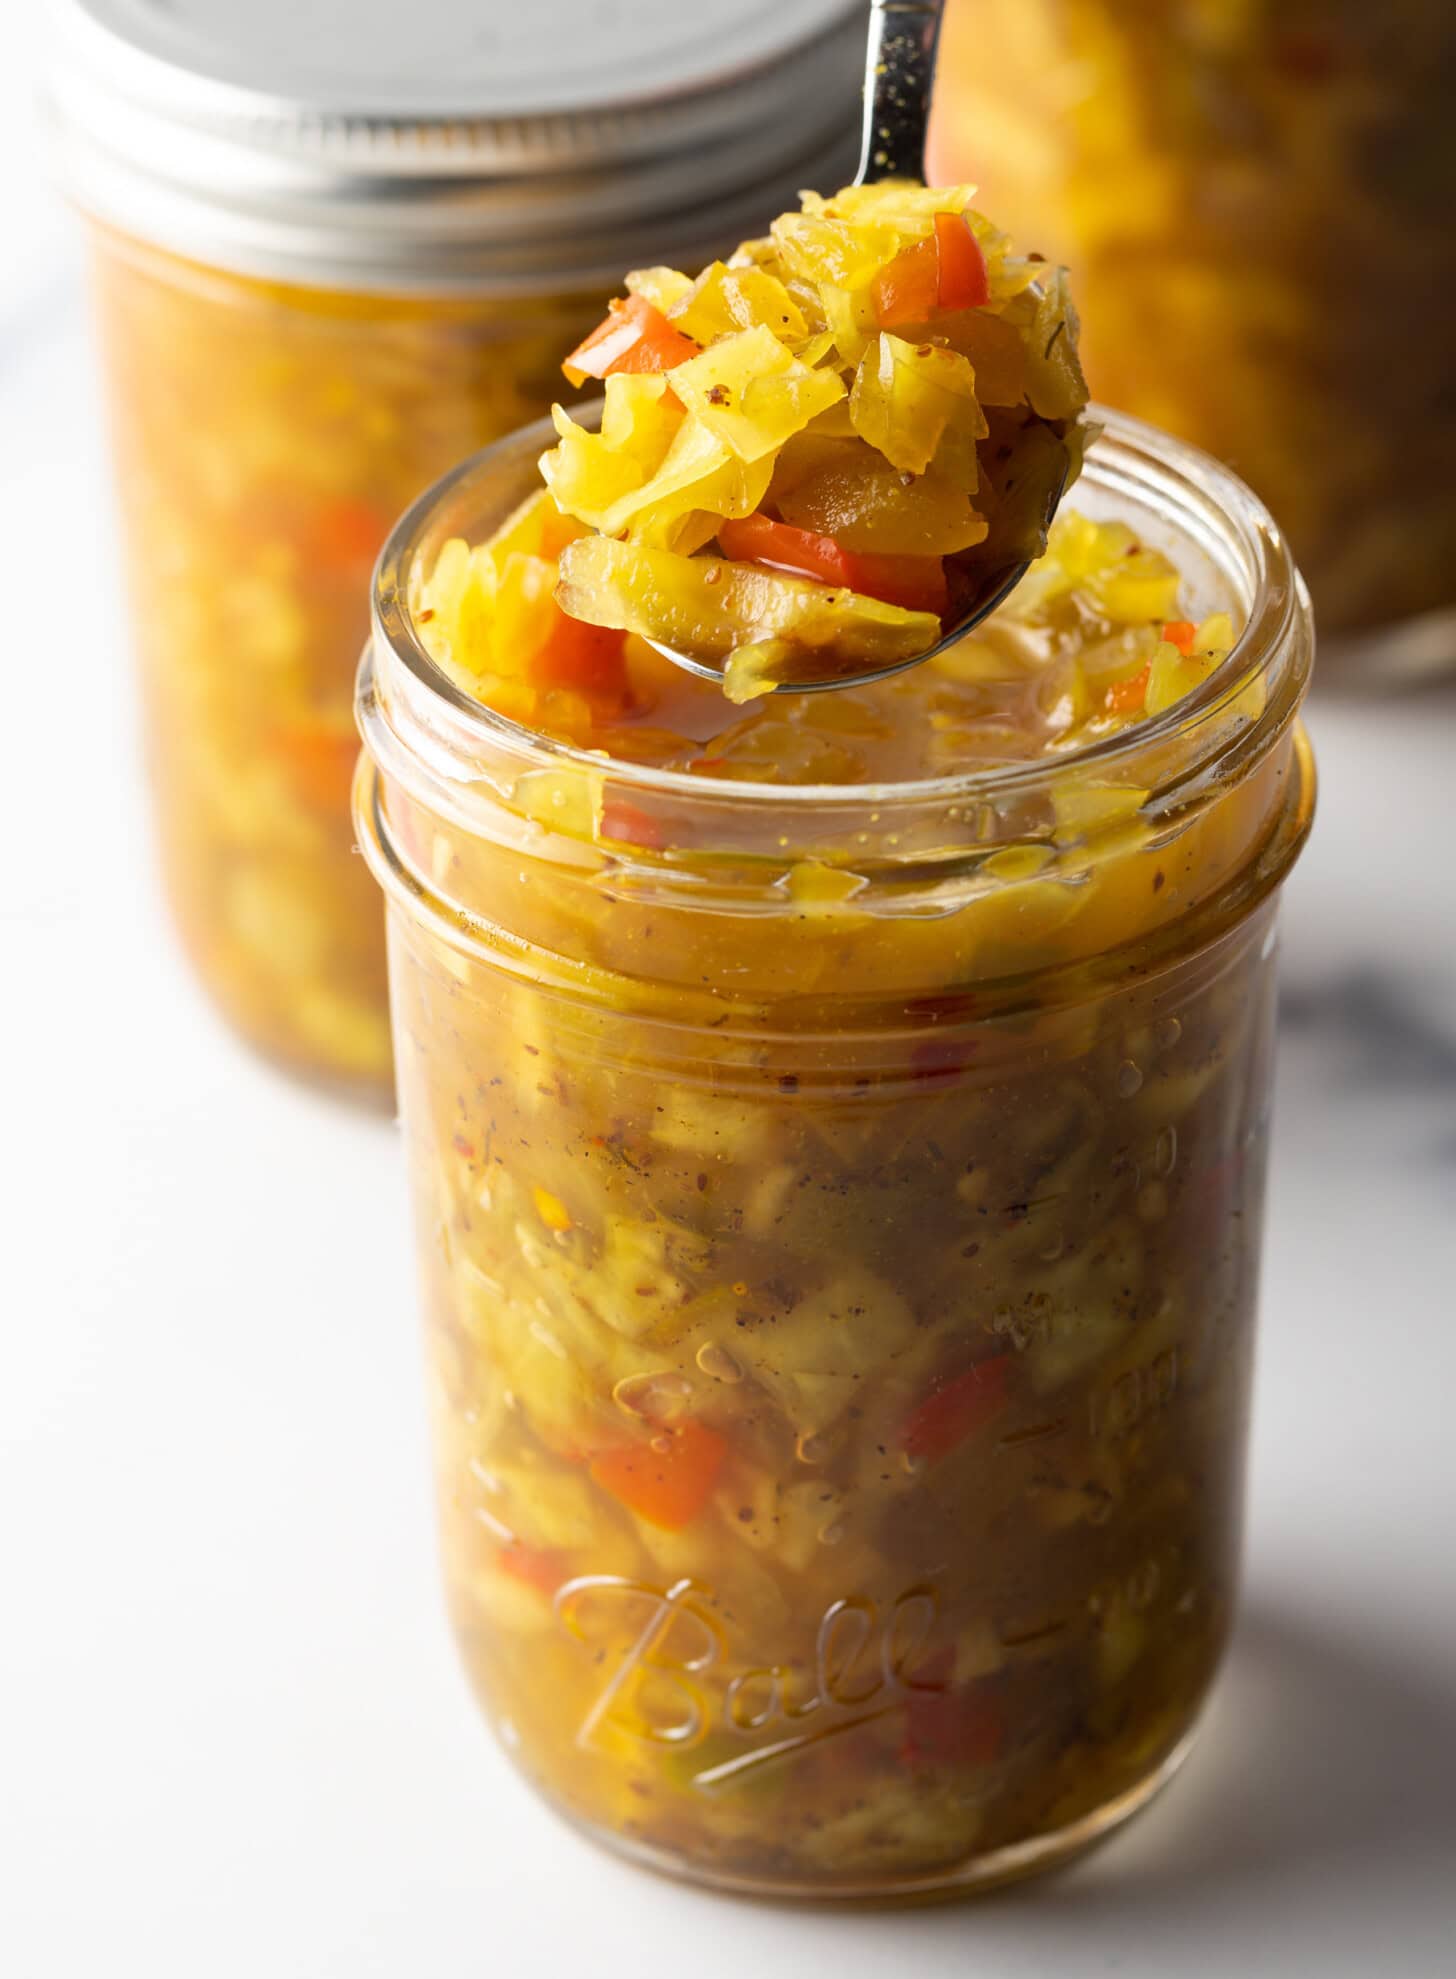
- Fill the jars: Remove the hot relish from heat and immediately begin filling jars using a canning funnel to prevent spills. Fill each jar leaving exactly 1/2 inch of headspace at the top (measure with a headspace tool or use the bottom of the jar threads as a guide). The proper headspace allows for expansion during processing and creates a proper vacuum seal.
- Seal the jars: Wipe each jar rim with a clean, damp cloth to remove any food particles that could prevent sealing. Center a new lid on each jar and screw on the bands until fingertip tight – just until you feel resistance. Over-tightening can prevent proper sealing.
- Process the jars: Using jar lifters, carefully lower filled jars onto the rack in the canning pot. Ensure water covers jars by at least 1 inch (add more hot water if needed). Cover the pot, bring to a full rolling boil, and process for exactly 10 minutes, adjusting for altitude if necessary. Start timing when water reaches a full boil.
- Cool and check seals: Remove jars with jar lifters and place on a towel-lined surface away from drafts. Allow to cool completely for 12-24 hours without disturbing. To test seals, press the center of each lid – properly sealed lids will not flex and will make a dull sound when tapped. If any lids flex or pop, refrigerate those jars and use within 4 months.
- Store properly: Store sealed jars in a cool, dark place for up to 1 year. Once opened, refrigerate and use within 4 months for best quality. The flavors will continue to develop and mellow over the first 2-3 weeks of storage.
Smart Swaps
- Use monk fruit sweetener instead of sugar (use 3/4 cup for every cup of sugar) for a lower-calorie version
- Substitute apple cider vinegar for white vinegar (1:1 ratio) for a slightly fruitier flavor profile
- Try using kohlrabi instead of cabbage (4 cups chopped) for a different crunch and mild sweetness
Make It Diabetes-Friendly
- Replace the 1 cup sugar with 1/2 cup allulose plus 1/4 teaspoon pure stevia extract powder, reducing carbs by approximately 24g per 1/4 cup serving
- Add 1/2 teaspoon ground turmeric to the brine, which may help with blood sugar regulation
- Pair with high-protein foods like grilled chicken to slow glucose absorption
- Keep portions to 2 tablespoons per meal to minimize glycemic impact (approximately 4g carbs per serving)
Pro Tips
- For a spicier version, add 1-2 finely diced jalapeños with seeds removed
- Let the finished relish mature for at least 2 weeks before opening for the best flavor development
- Use a potato masher to gently press vegetables when draining for more efficient liquid removal without damaging the texture
- Store rings separately after jars have sealed and cooled completely to prevent rust and allow easier detection of seal failures