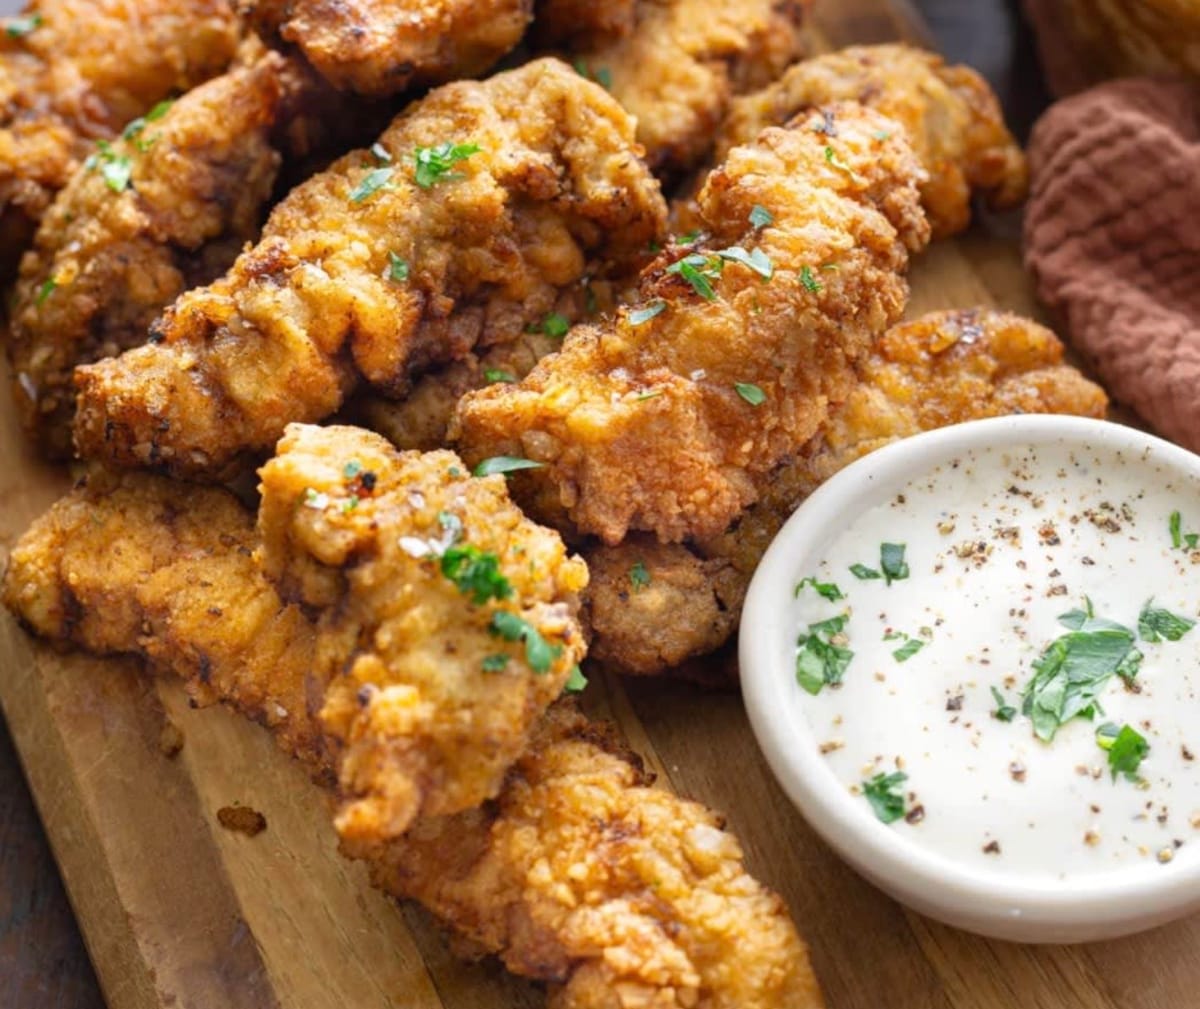
Classic Chicken Fried Steak Fingers
Who needs drive-thru fast food when you can whip up these crispy, crunchy chicken fried steak fingers at home?
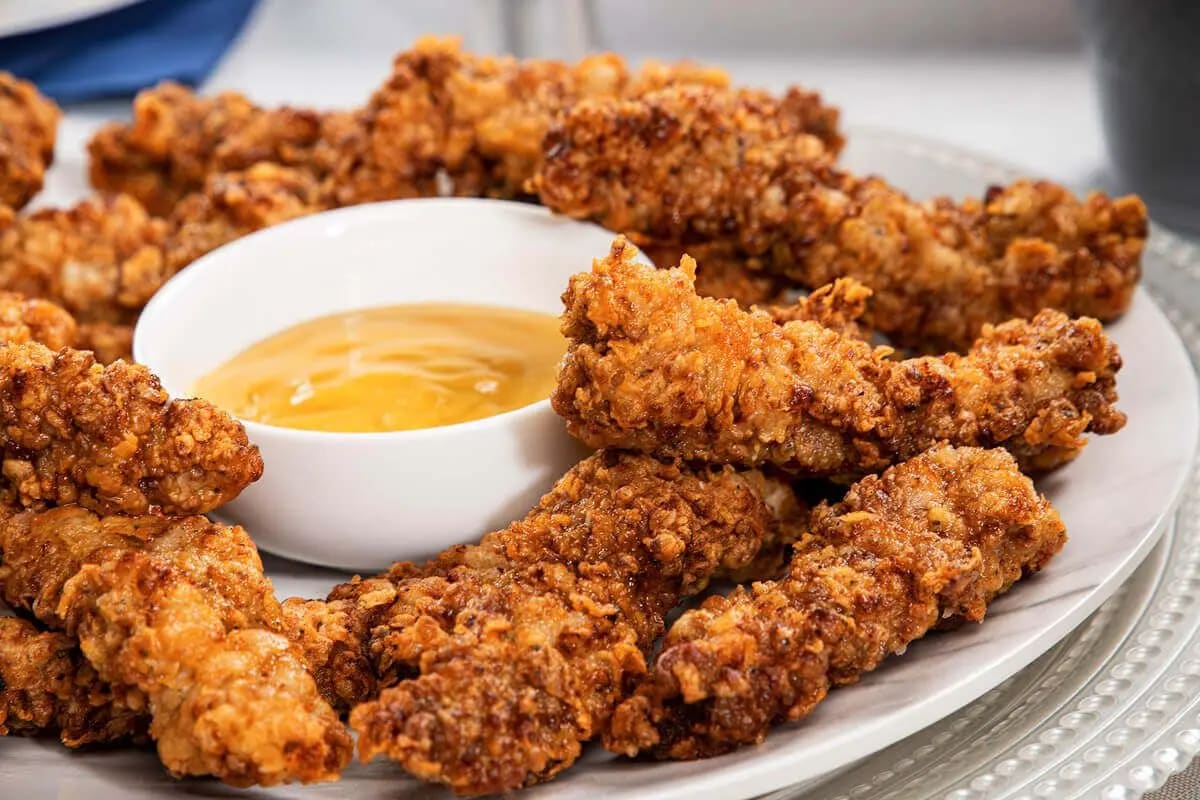
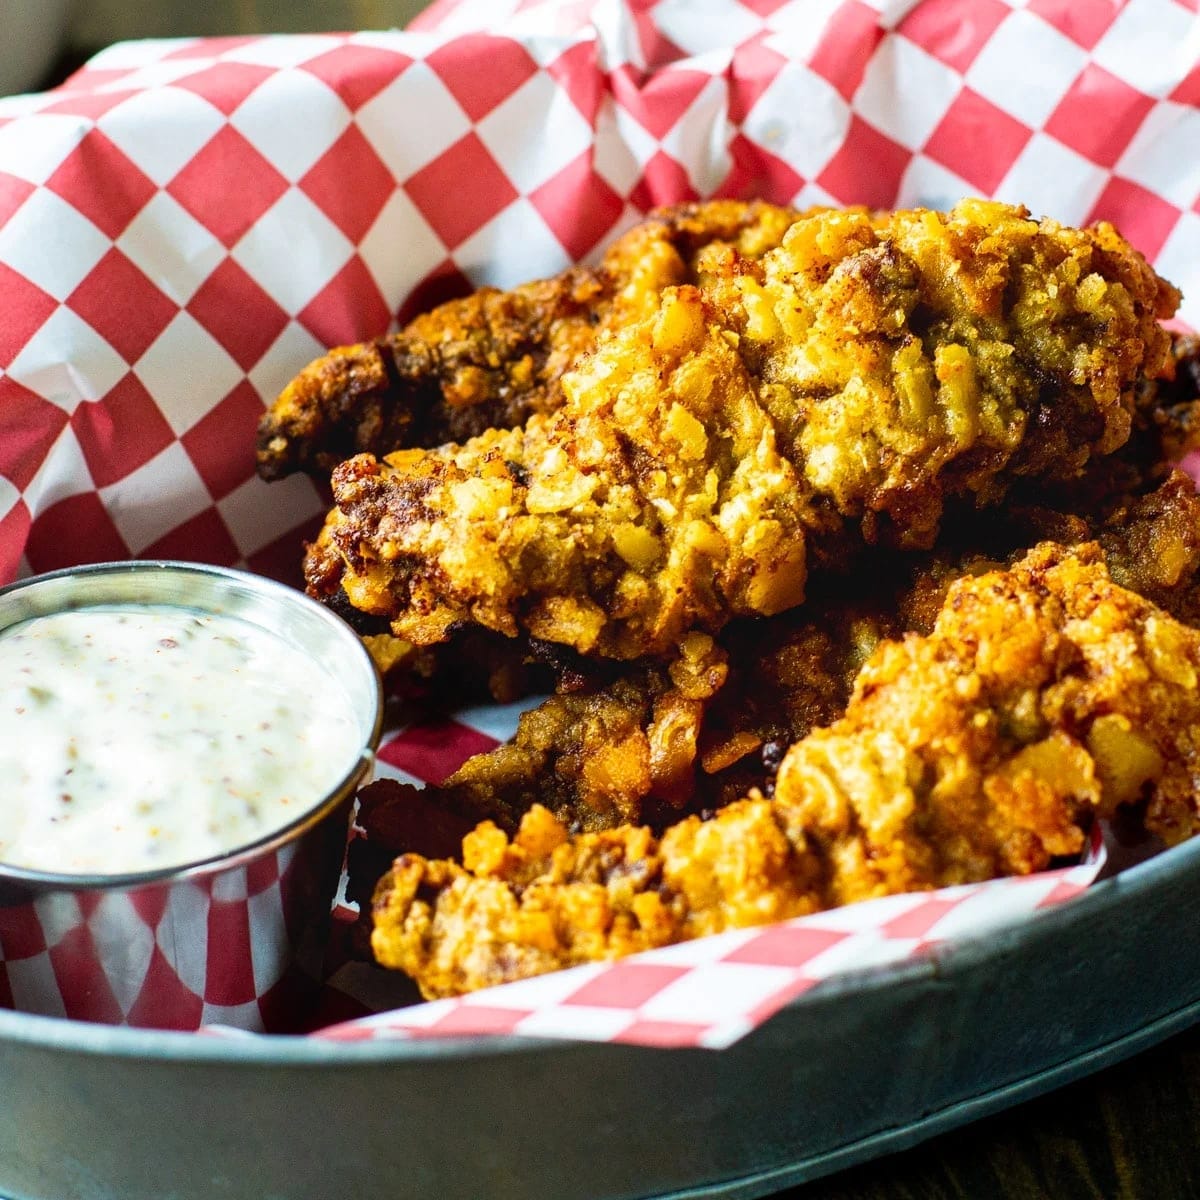
These golden beauties deliver that perfect combination of tender beef inside and crispy, seasoned coating outside that’ll have everyone reaching for seconds before they’ve finished their firsts!
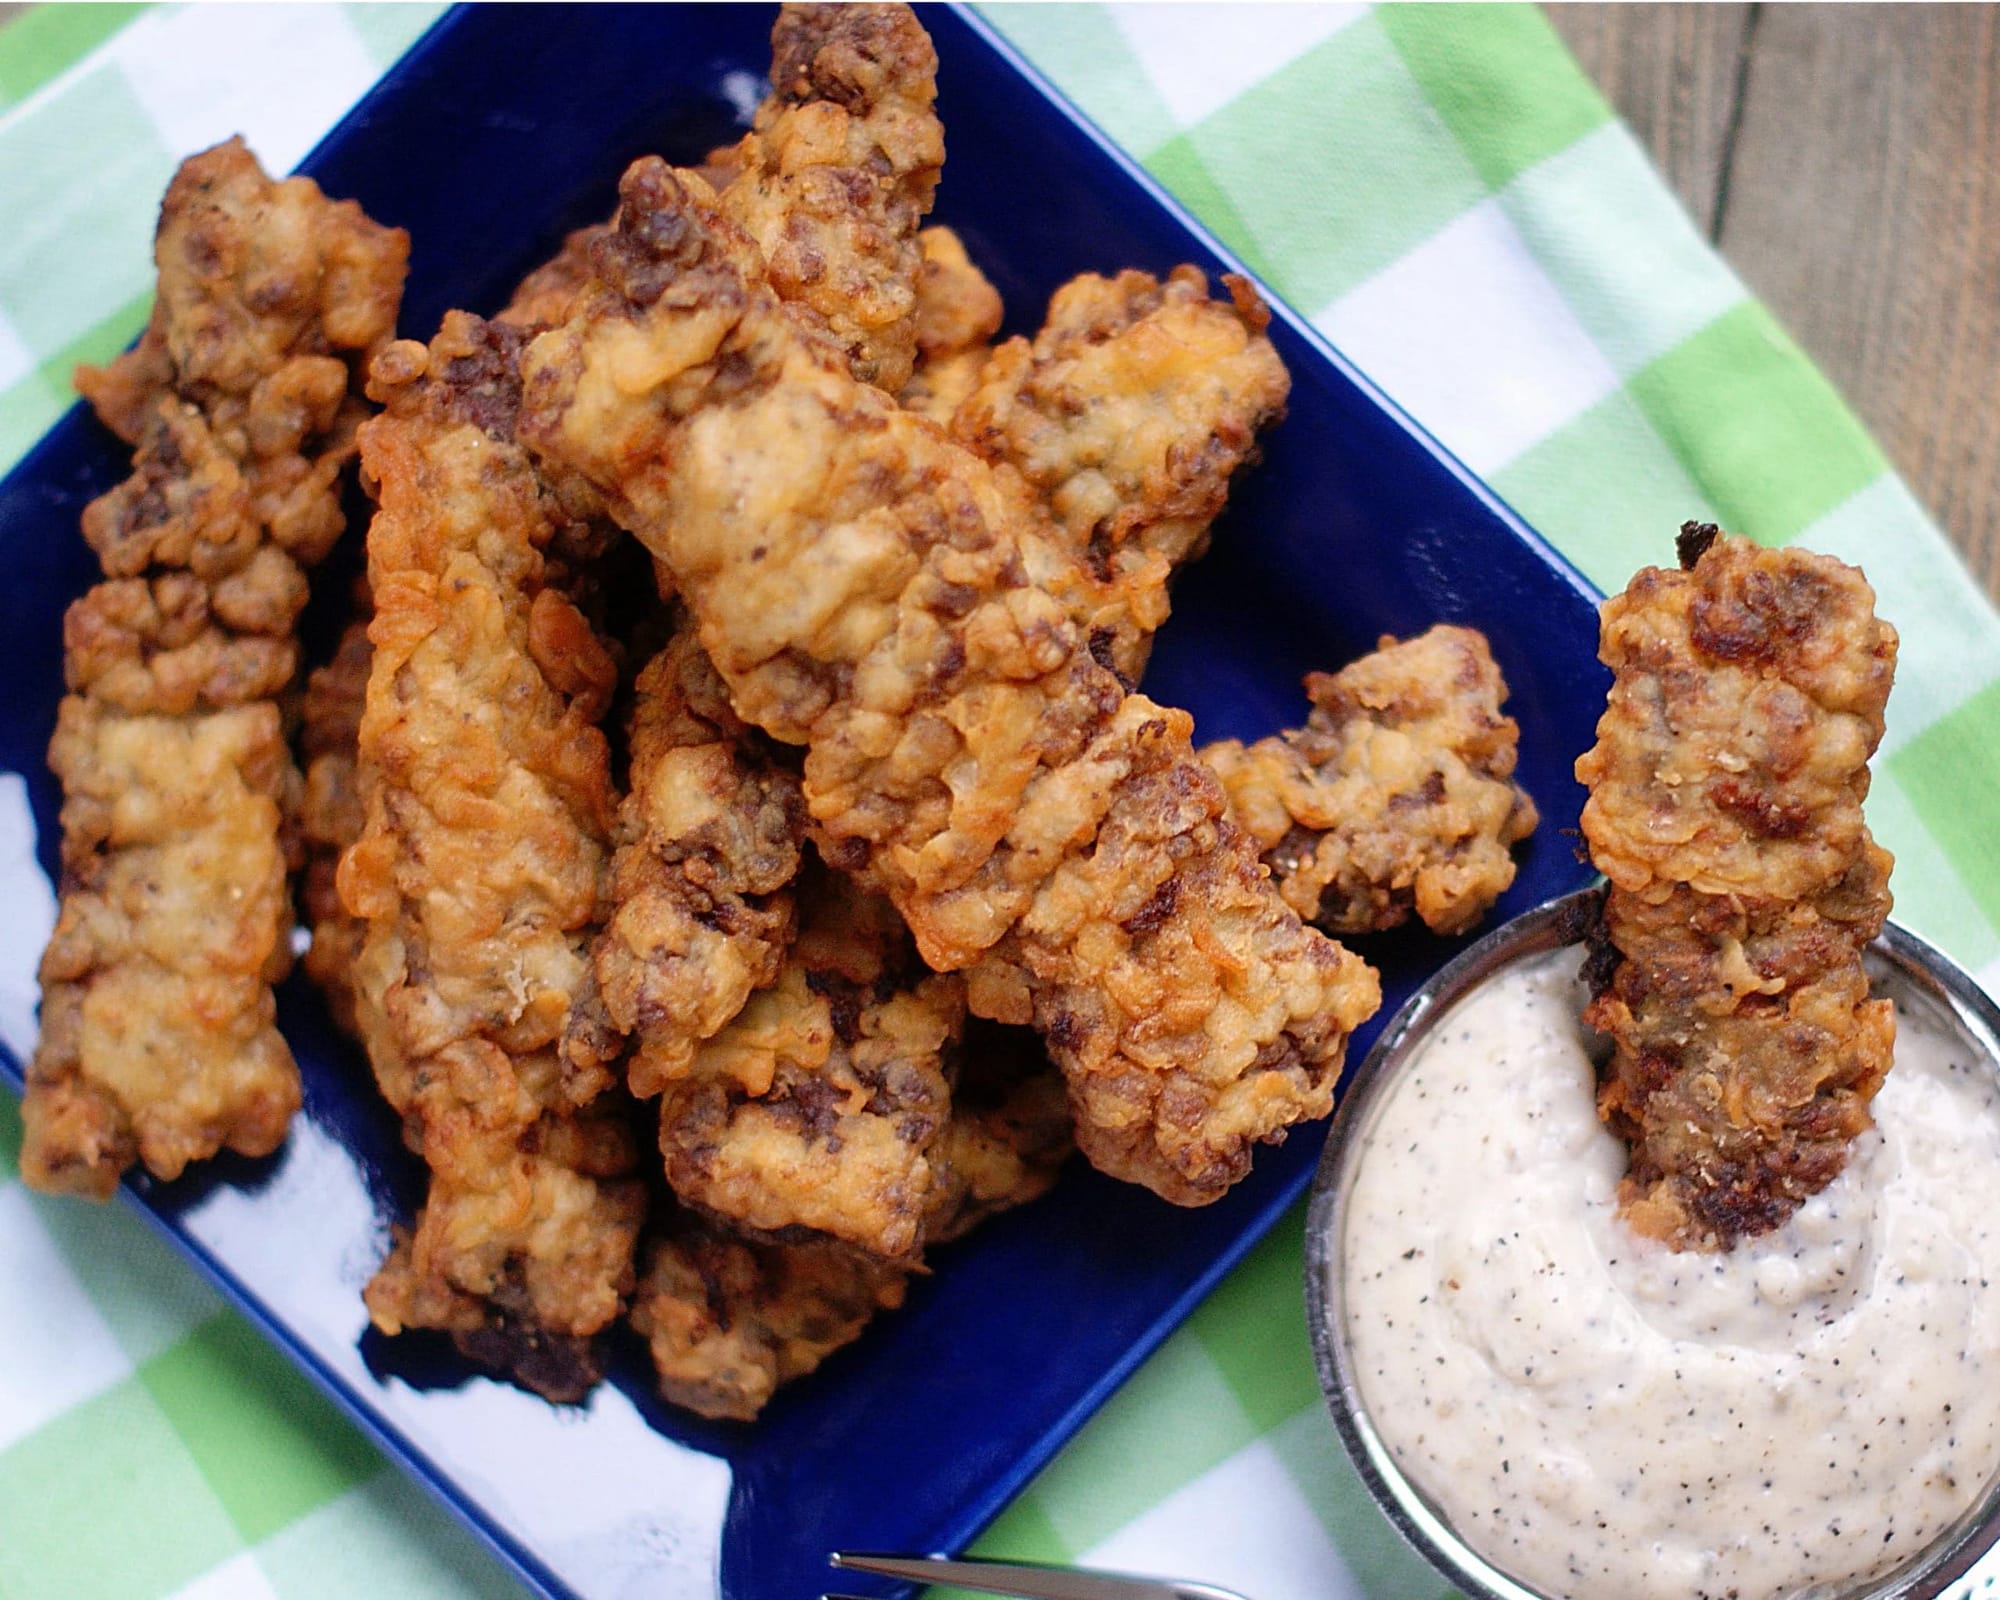
There’s something magical about that moment when you bite through the crunchy exterior to reveal the juicy, tender steak inside.
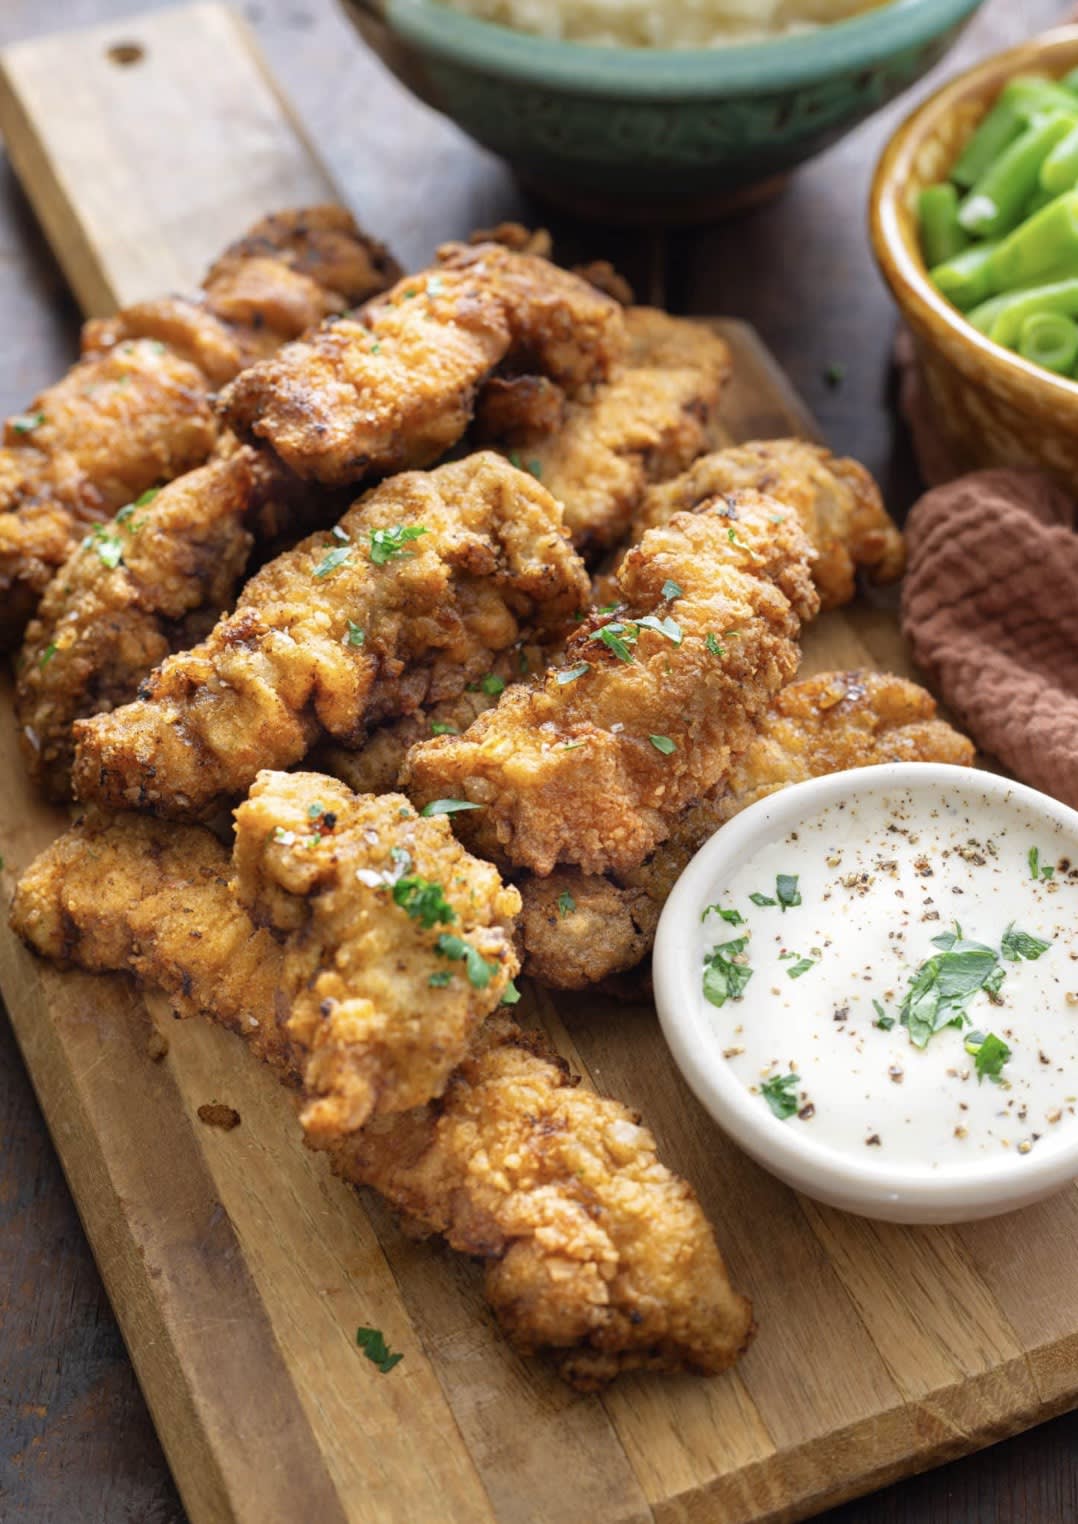
Paired with creamy white gravy for dipping, these steak fingers transform an ordinary weeknight dinner into a Southern comfort food celebration.
The best part? They’re surprisingly simple to make with just a handful of basic ingredients you probably already have in your pantry.

Ingredients
- 3-4 lbs beef cubed steak
- 2 cups all-purpose flour
- 1 cup buttermilk
- 1 large egg
- Salt and pepper, to taste
- Oil for frying (vegetable or canola work best)
For the white gravy (optional):
- 2 tablespoons butter
- 2 tablespoons all-purpose flour
- 1½ cups whole milk
- ¼ teaspoon garlic powder
- Salt and pepper, to taste

Steps
- Pour 1 inch of oil in a large cast iron skillet. Heat oil over medium heat on stovetop while preparing the meat. The ideal temperature is 350°F (175°C) – if you have a thermometer, this ensures perfect browning without burning.
- Place 2 cups of flour in a shallow dish. Season generously with salt and pepper (about 1 teaspoon of each) and stir to mix well. The well-seasoned flour creates that classic Southern-style coating.
- Beat 1 large egg and 1 cup of buttermilk together until fully combined. Pour into another shallow dish. The buttermilk’s acidity helps tenderize the meat while adding tanginess.
- Arrange your milk mixture and flour dishes next to one another to create a proper “dredging station.” Having everything in order makes the coating process much cleaner and more efficient.
- Cut cube steak into 1-inch strips. Season both sides of each strip with salt and pepper. The strips should be uniform in size to ensure even cooking.
- Working with one strip at a time, place it into the flour, coating both sides thoroughly. Then dip into the egg mixture, ensuring complete coverage. Finally, return to the flour for a second coating, gently shaking off any excess. This double-dredging technique creates that signature thick, craggy crust.
- Test if the oil is hot enough by sprinkling a few drops of flour into it – it should immediately sizzle and bubble. If it sinks without bubbling, the oil isn’t hot enough yet; if it burns quickly, your oil is too hot.
- Carefully place strips side by side in the skillet, being careful not to overcrowd (work in batches if needed). Using tongs or a fork, turn strips once when bottoms begin to brown, about 1-2 minutes on each side. Look for a deep golden-brown color, not pale beige.
- When browned on both sides, remove strips from skillet and place on a paper towel-lined rack to drain excess oil. Letting them drain on a rack rather than directly on paper towels keeps the coating crispy.
- Serve immediately with white gravy and enjoy! For best results, don’t let them sit too long before serving – the contrast between hot, crispy exterior and tender interior is what makes these irresistible.
Smart Swaps
- Use ground chicken or turkey instead of beef for a lighter version (adjust cooking time to 2-3 minutes per side)
- Substitute gluten-free flour blend for all-purpose flour (1:1 ratio) for a gluten-free option
- Replace buttermilk with 1 cup regular milk + 1 tablespoon lemon juice or vinegar (let sit for 5 minutes before using)
Make It Diabetes-Friendly
- Use almond flour or a mixture of ½ cup almond flour + ½ cup whole wheat flour instead of all-purpose flour (reduces carbs by approximately 15g per serving)
- Opt for air frying at 375°F (190°C) for 8-10 minutes (turning halfway) instead of deep frying (reduces fat absorption by 70-80%)
- Serve with a side of non-starchy vegetables like roasted broccoli or green beans instead of mashed potatoes
- For the gravy, thicken with 1 tablespoon cornstarch instead of flour (reduces carbs) and use unsweetened almond milk (saves 6g carbs per cup)
Pro Tips
- For extra flavor, add ½ teaspoon garlic powder and ½ teaspoon onion powder to your flour mixture
- Maintain oil temperature between 350-375°F (175-190°C) for the perfect crust – too hot and they’ll burn, too cool and they’ll absorb too much oil
- Let the coated steak fingers rest on a wire rack for 5 minutes before frying to help the coating adhere better
- For extra crispy fingers, don’t skip the double-dredging process (flour-egg-flour)
- Keep finished batches warm in a 200°F (93°C) oven while completing the remaining batches