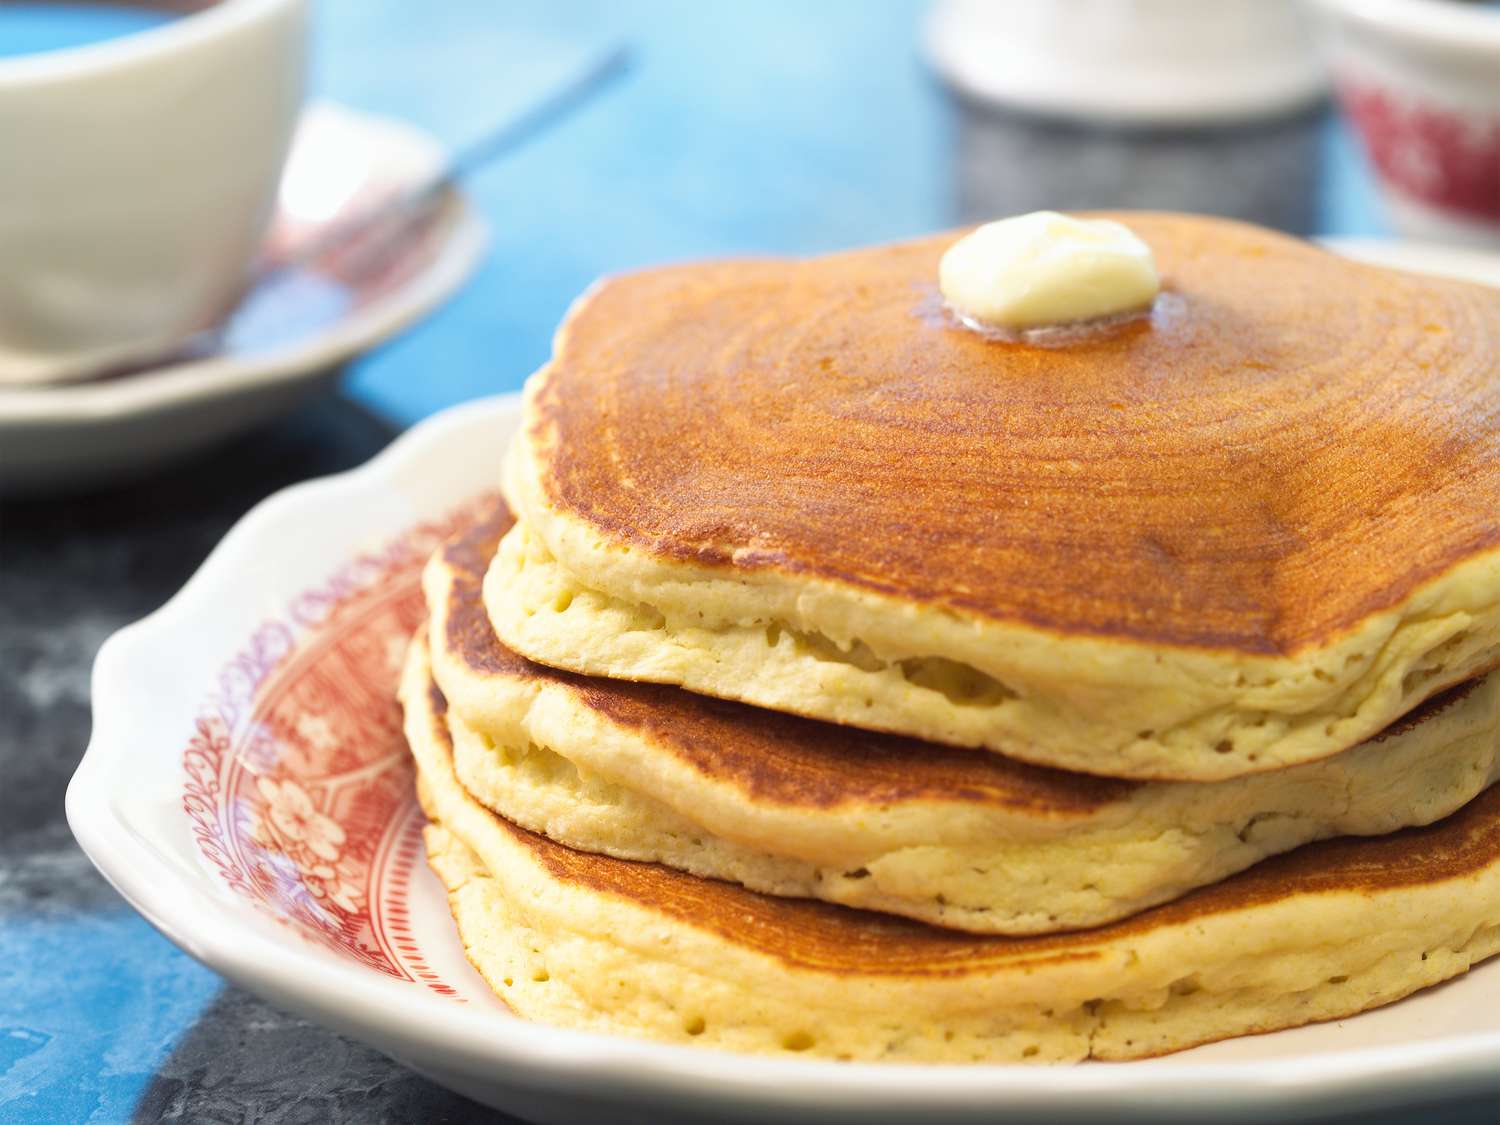
Diner-Style Buttermilk Pancakes
Ever wondered what makes those diner pancakes so impossibly fluffy and irresistible? That perfect balance of crispy edges and cloud-like centers isn’t just diner magic—it’s science and technique that you can absolutely master at home. These buttermilk pancakes aren’t just breakfast; they’re a full-on weekend experience waiting to happen.
The secret to these beauties is the combination of buttermilk’s tangy acidity working with both baking powder and baking soda, creating the ultimate rise. But what really sets these apart is the clarified butter that creates those signature crispy, caramelized edges that make diner pancakes so crave-worthy. One bite of these golden stacks, and your kitchen instantly becomes the most popular breakfast spot in town.
Ingredients
- 250 grams all-purpose flour (2 cups)
- 31 grams sugar (3 Tablespoons + 3/4 teaspoon)
- 8 grams baking powder (1 Tablespoon + 2 teaspoons)
- 4 grams baking soda (3/4 teaspoon)
- 3 grams salt (1/2 teaspoon)
- 500 grams buttermilk (2 cups + 2 Tablespoons)
- 105 grams eggs, whisked (2-3 depending on size)
- 63 grams clarified butter or ghee (4-1/2 Tablespoons)
- 4 grams vanilla extract (1 teaspoon)
Steps
- Start by weighing and measuring out all the ingredients. This recipe moves quickly and the batter should not sit out for long periods of time. Sift together the dry ingredients: flour, sugar, salt, baking powder, and baking soda through a fine mesh strainer to remove any lumps and ensure the leavening agents are well incorporated. This crucial step prevents those unpleasant pockets of baking soda in your finished pancakes.
- In a separate large bowl, whisk together the buttermilk, whisked eggs, vanilla extract, and clarified butter until fully combined. The temperature of your ingredients matters here—room temperature eggs and buttermilk will create a smoother batter than cold ingredients straight from the refrigerator.
- Add the wet ingredients to the dry ingredients and whisk until all the dry ingredients are wet. DO NOT whisk until smooth. The batter should look like cottage cheese with small lumps throughout. It is perfectly fine if there are a few lumps of dried powder—overmixing activates the gluten in the flour, resulting in tough, rubbery pancakes instead of tender ones.
- Heat a 10-inch skillet or griddle over medium heat for 3-5 minutes before cooking. DO NOT use your power burner if using a skillet. Use the next size down to ensure even heating without scorching. Use a pastry brush to coat the skillet or griddle with a thin layer of clarified butter. Do this between each pancake as well—this is what creates that signature diner-style crispy edge.
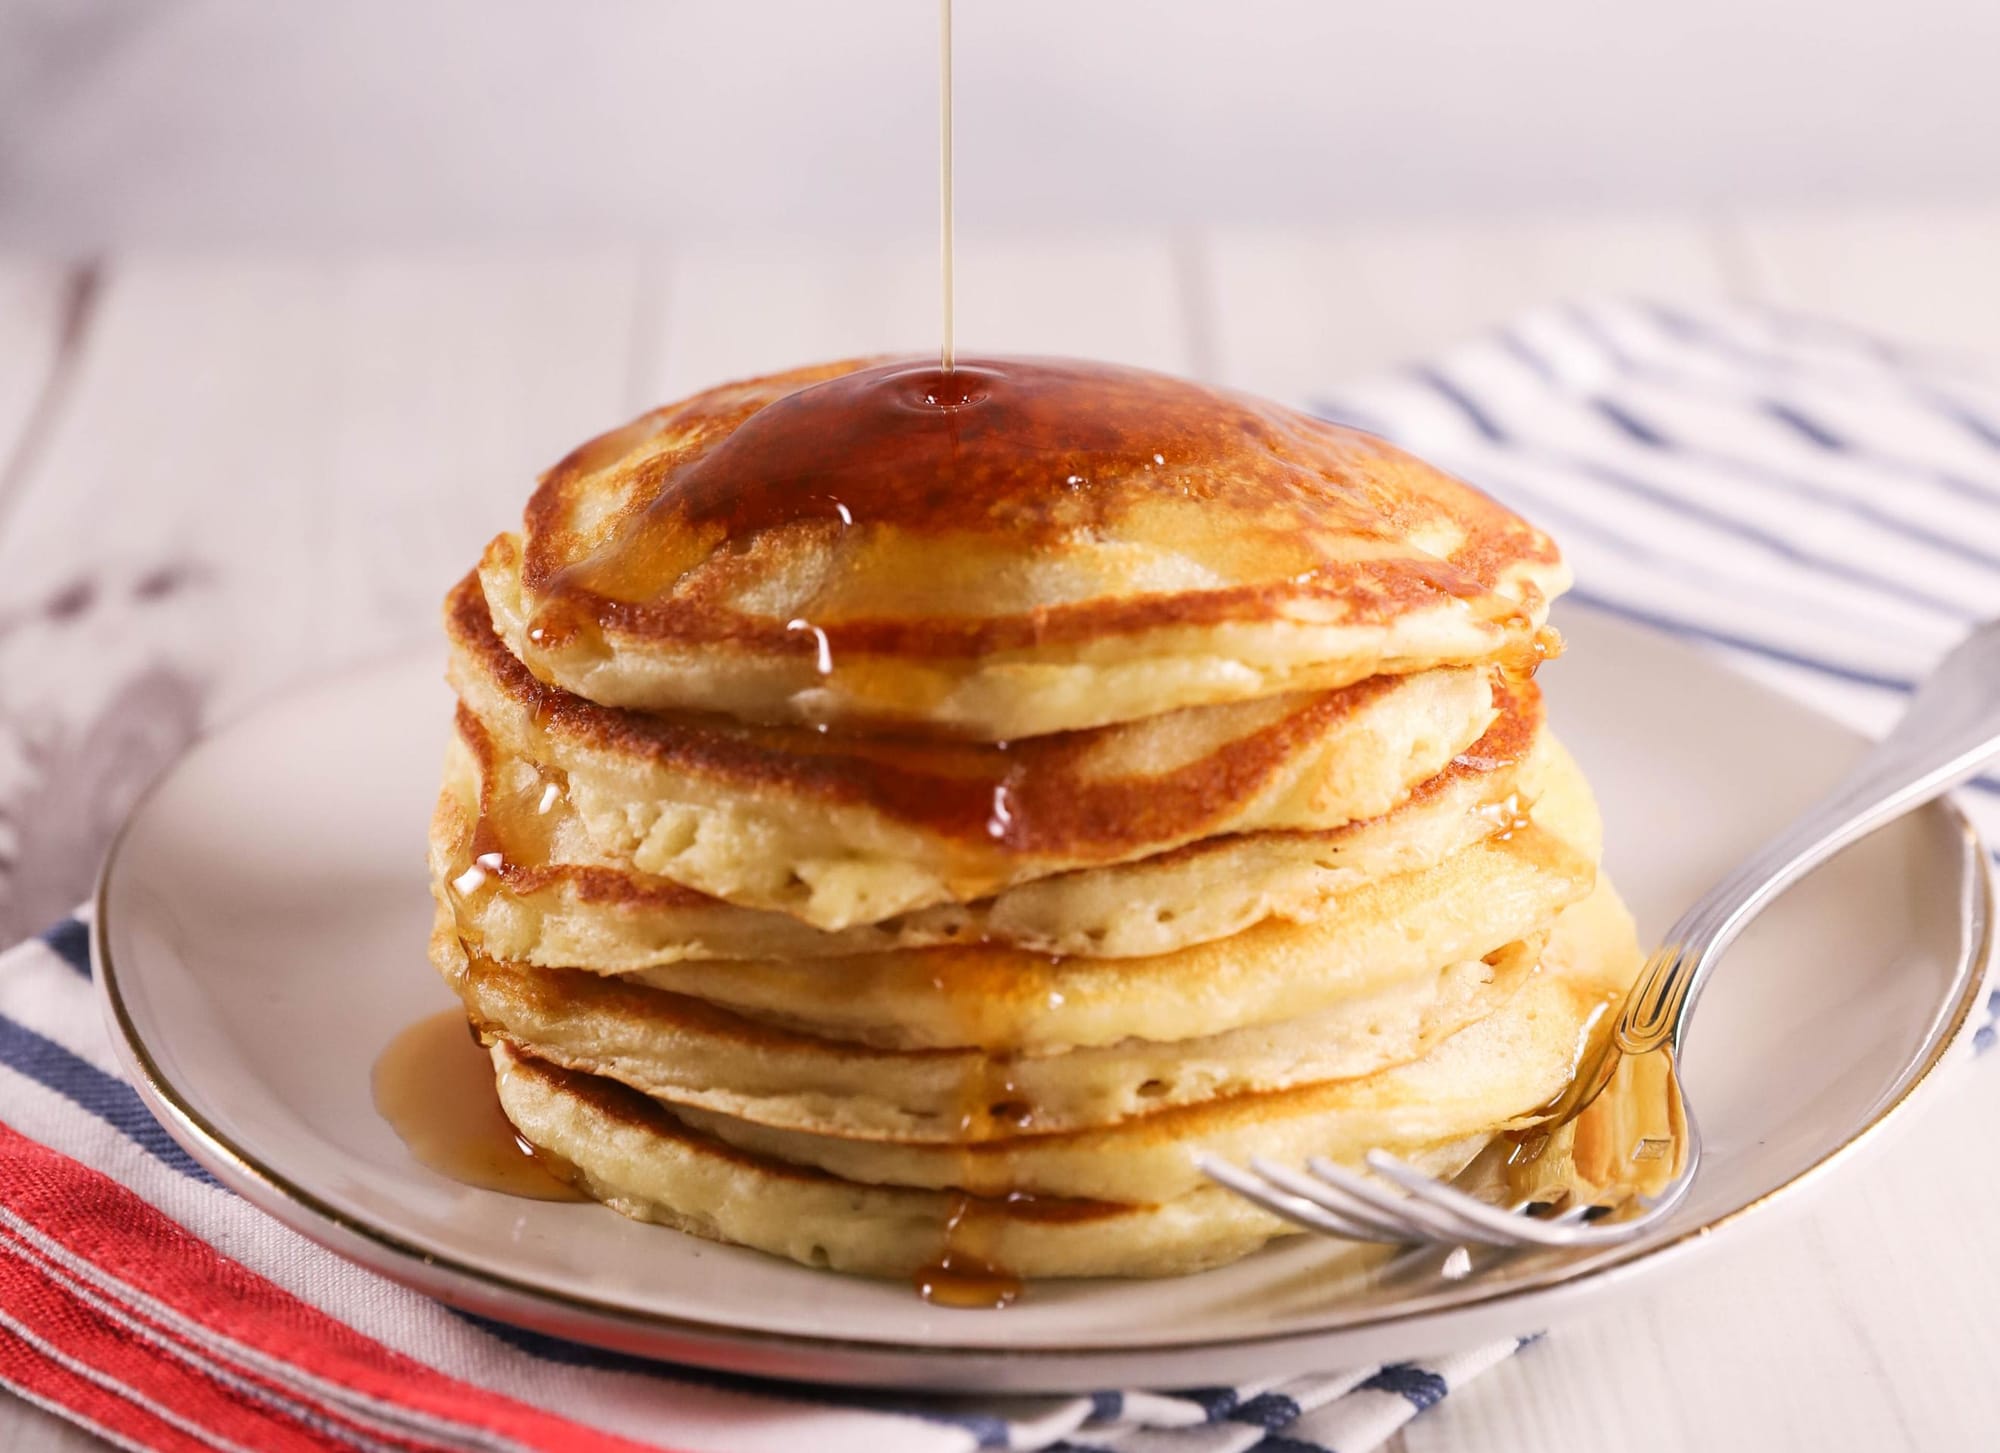
- Add about 1/4 cup of the batter to the skillet, right in the center. Allow 2-3 minutes on one side before flipping for an additional 1 minute. Watch for these doneness indicators: the bottom of the pancake should be golden brown with veins of caramelization. The edges on top, about 1/4 inch in circumference, should look dry. The center top should still be wet and slightly shiny. The bubbles should all but stop forming and popping when ready to flip. If your pancakes are browning too quickly, reduce the heat slightly.
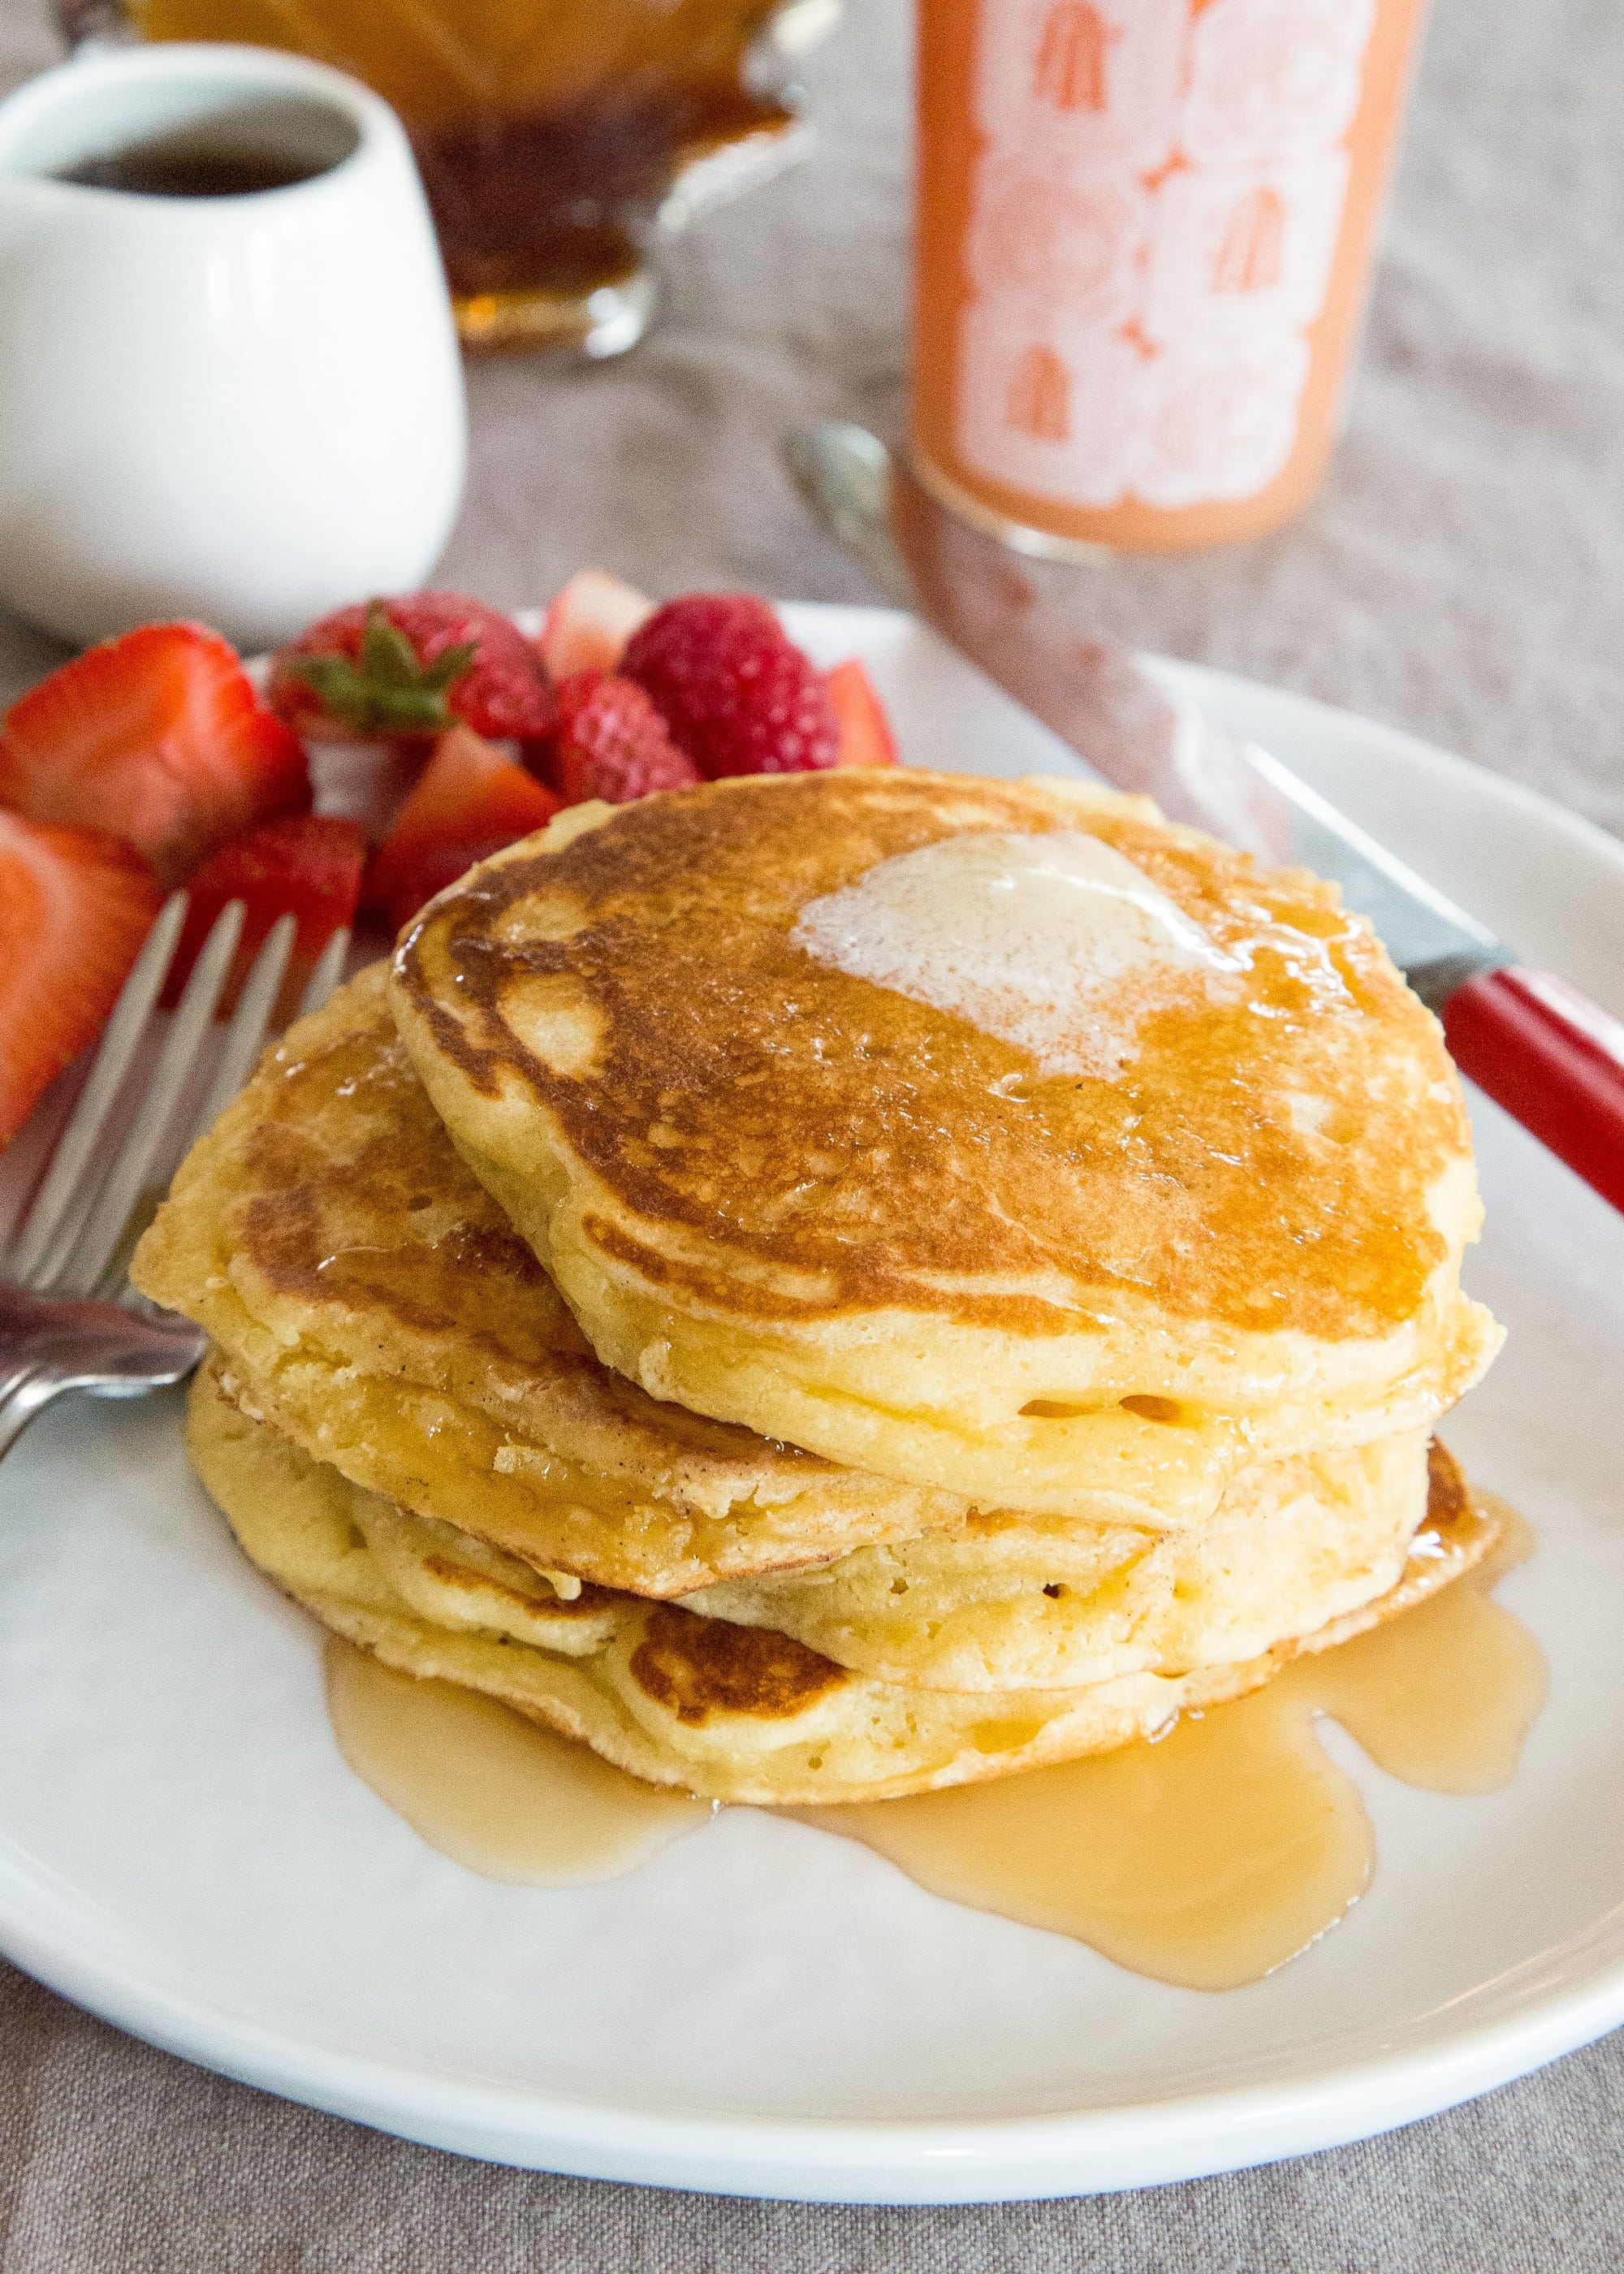
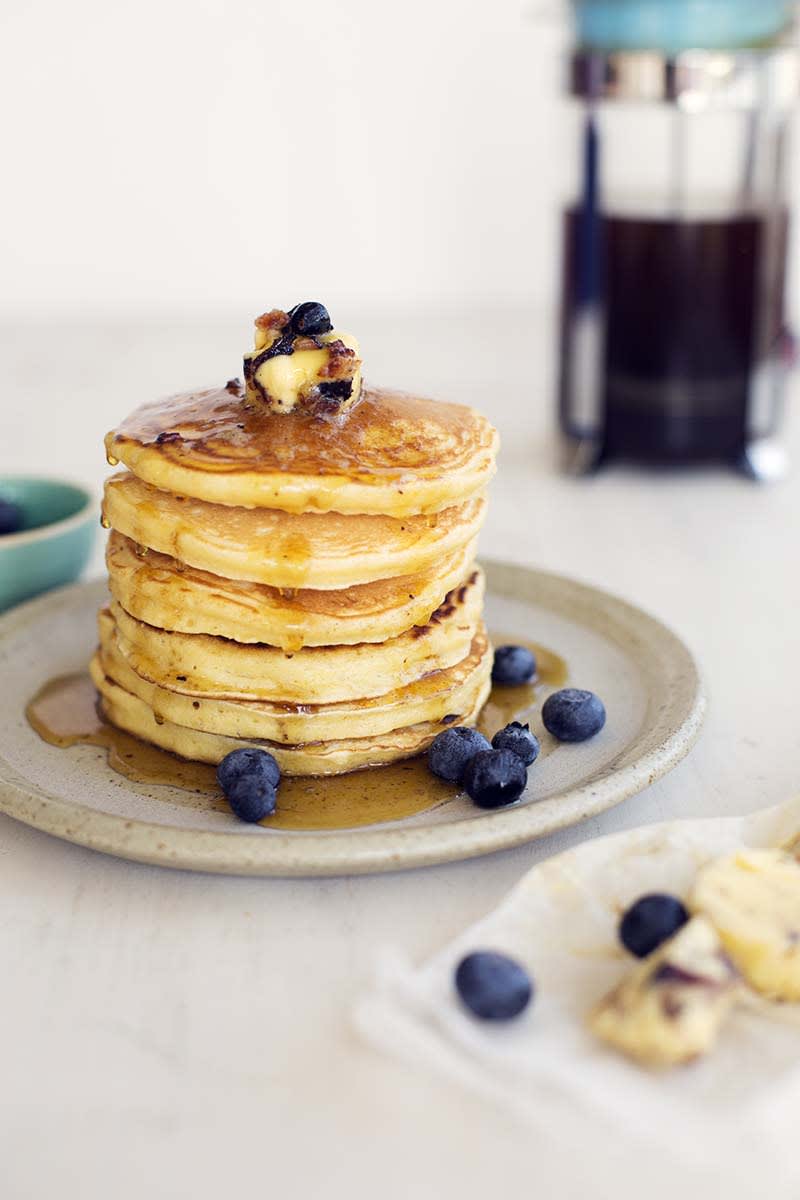
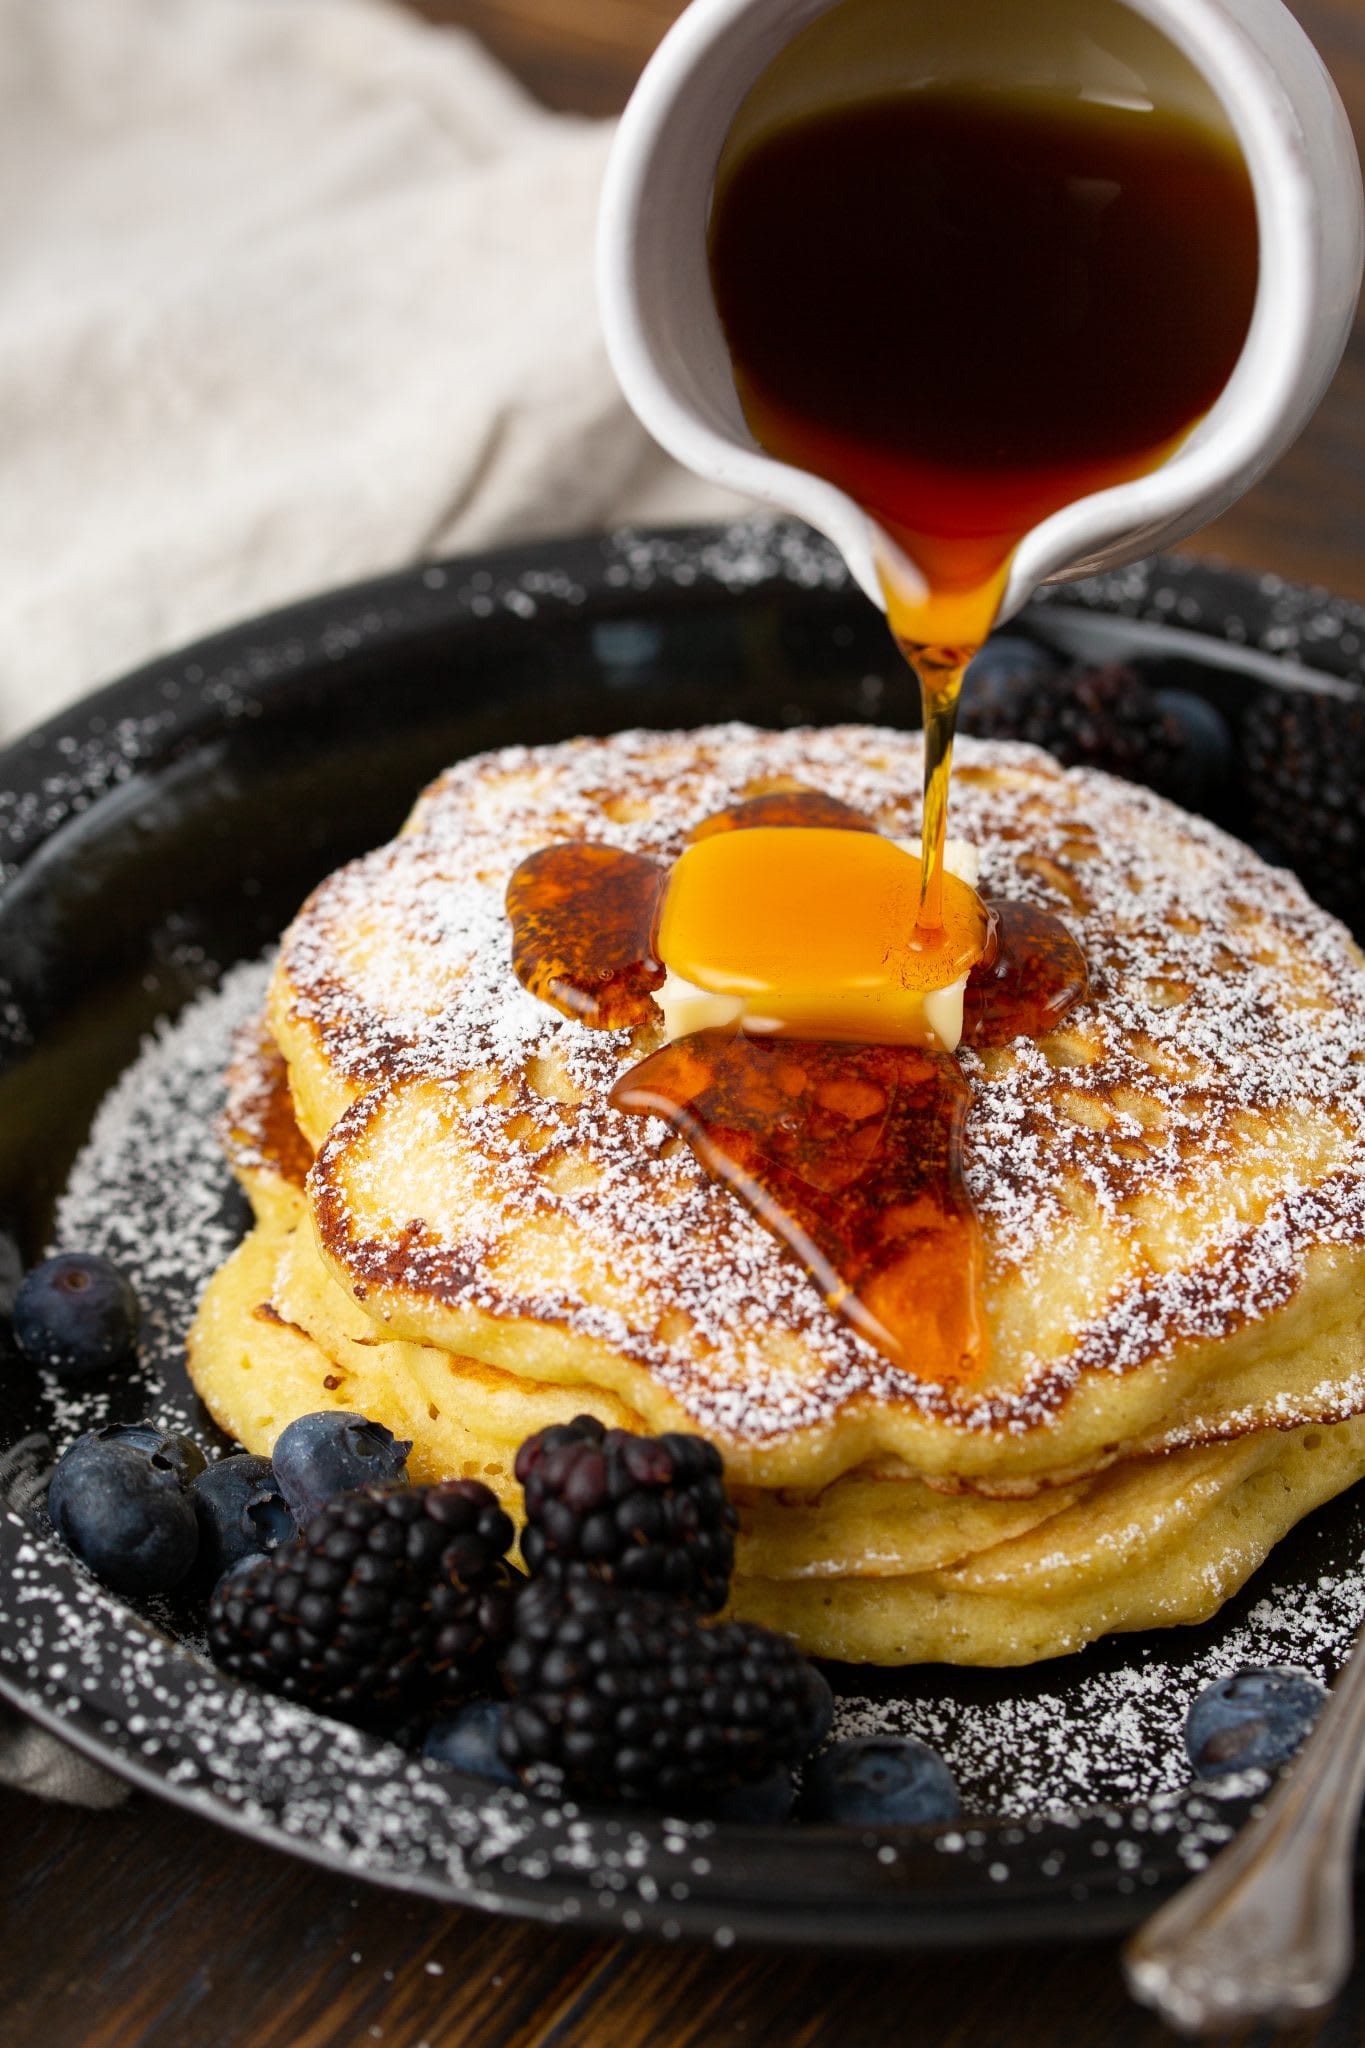
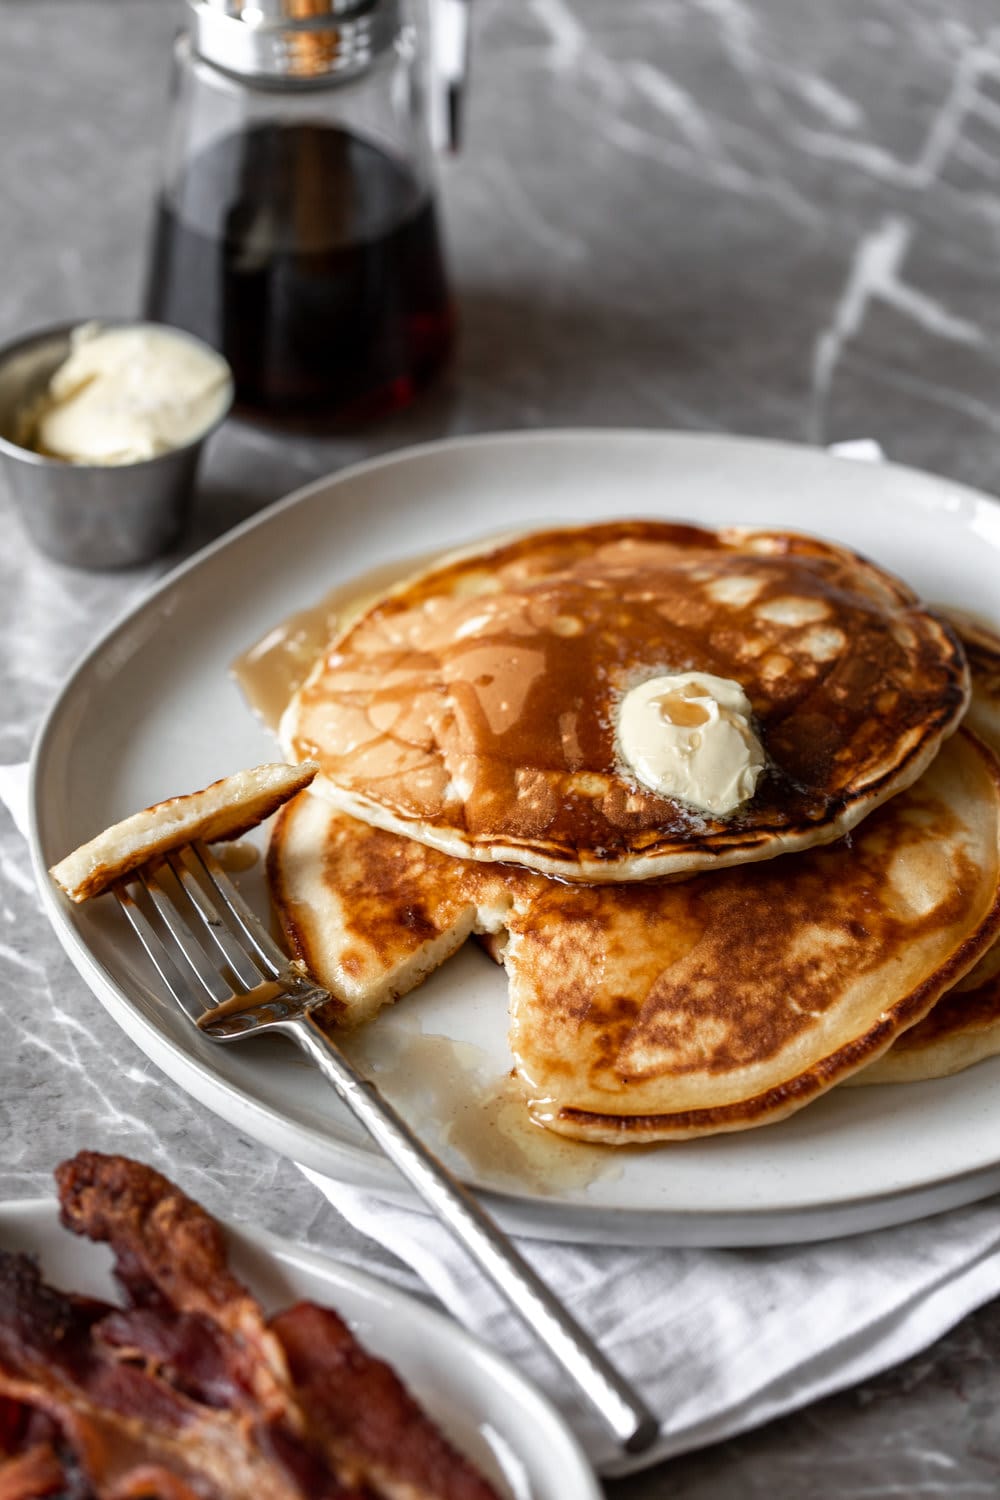
- Stack high on a plate to serve with a pad of butter and warm maple syrup. For the ultimate experience, warm your plates in a 200°F (93°C) oven before serving so your pancakes stay hot longer.
Smart Swaps
- Use whole wheat flour for half the all-purpose flour to add fiber and nutty flavor
- Substitute coconut oil (in liquid state) for clarified butter at a 1:1 ratio for a subtle tropical note
- Replace buttermilk with almond milk + 1 Tbsp vinegar (let sit for 5 minutes before using) for a dairy-free version
- Add 1/2 cup blueberries or chocolate chips to the batter for fruity or sweet variations
Make It Diabetes-Friendly
- Replace all sugar with 3 Tablespoons monk fruit sweetener to reduce carbs by approximately 31g for the entire batch
- Use 1 cup all-purpose flour + 1 cup almond flour to lower the glycemic impact by approximately 40%
- Serve with 1 Tablespoon sugar-free maple syrup (2g carbs) instead of regular syrup (about 50g carbs per serving)
- Keep portions to 2 medium pancakes (approximately 18g net carbs) and pair with protein like eggs or turkey bacon to slow glucose absorption
Pro Tips
- Let the batter rest for 5 minutes before cooking—this allows the leavening agents to activate fully
- Don’t flip pancakes more than once—this deflates the air bubbles that create fluffiness
- For even fluffier pancakes, separate eggs and whip the whites to soft peaks before folding into the finished batter
- Test your skillet temperature by flicking a few drops of water on it—they should dance and sizzle, not instantly evaporate
- Keep cooked pancakes warm in a 200°F (93°C) oven while you finish the batch to serve everything hot at once