Easy 3-Ingredient Crème Brûlée
Ever thought restaurant-quality crème brûlée was beyond your reach? Think again! This magical 3-ingredient version delivers that perfect crack-through-the-top experience without the fuss or fancy techniques. The secret? Your favorite ice cream does most of the heavy lifting!
What makes this recipe brilliant is how it transforms everyday ingredients into something that feels utterly luxurious. The silky-smooth custard contrasts beautifully with that signature caramelized sugar crust. And the best part? You can customize the flavor profile simply by choosing different ice cream varieties – from classic vanilla to adventurous flavor combinations!
Ingredients
- 1 pint ice cream, melted
- 2 large egg yolks
- 4 teaspoons sugar
Special Equipment
- Kitchen torch (or broiler)
- 4 ramekins (3-ounce size)
- Square baking dish
Steps
- Prepare the oven and water bath: Preheat the oven to 325°F (163°C). Set a kettle of water to boil – this creates the gentle, even heat needed for perfectly silky custard.
- Make the custard: Pour the melted ice cream into a medium bowl and whisk in the egg yolks until smooth and fully combined. Whisk thoroughly until no streaks remain – this ensures a perfectly smooth texture without egg lumps in your final dessert.
- Set up the baking dish: Place four 3-ounce ramekins in a square baking dish. Evenly divide the custard among the ramekins—it’s okay if the custard comes all the way to the top. Pour enough boiling water into the baking dish to come about halfway up the sides of the ramekins. This water bath (bain-marie) prevents the custard from curdling by maintaining a gentle, even temperature.
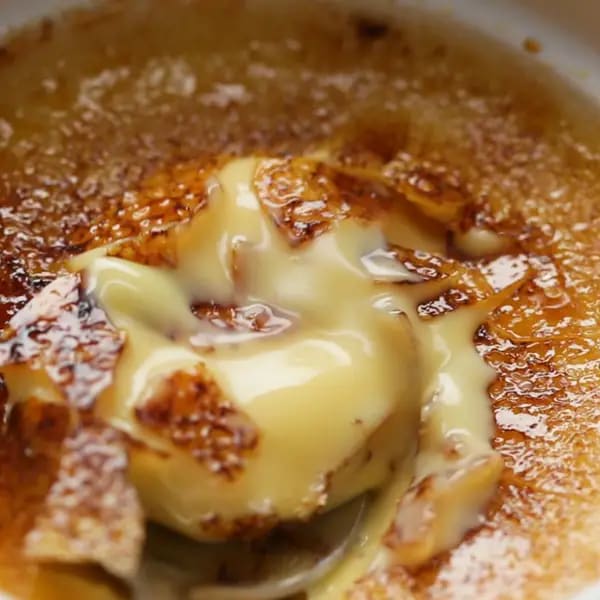
- Bake the custard: Carefully transfer to the oven and bake until the outsides are just set but the center is still a bit jiggly, about 40 minutes. The custard should wobble slightly in the center when gently shaken – this is the perfect consistency. If it’s completely firm, it’s overcooked.
- Cool the baked custard: Carefully remove the ramekins from the water bath (use tongs or oven mitts – they’re hot!) and allow them to cool to room temperature on your counter, about 1 hour. You can set them on a wire rack if you’d like. Then, cover each ramekin with plastic wrap and refrigerate until chilled and completely set, at least 2 hours but preferably overnight for the best texture.
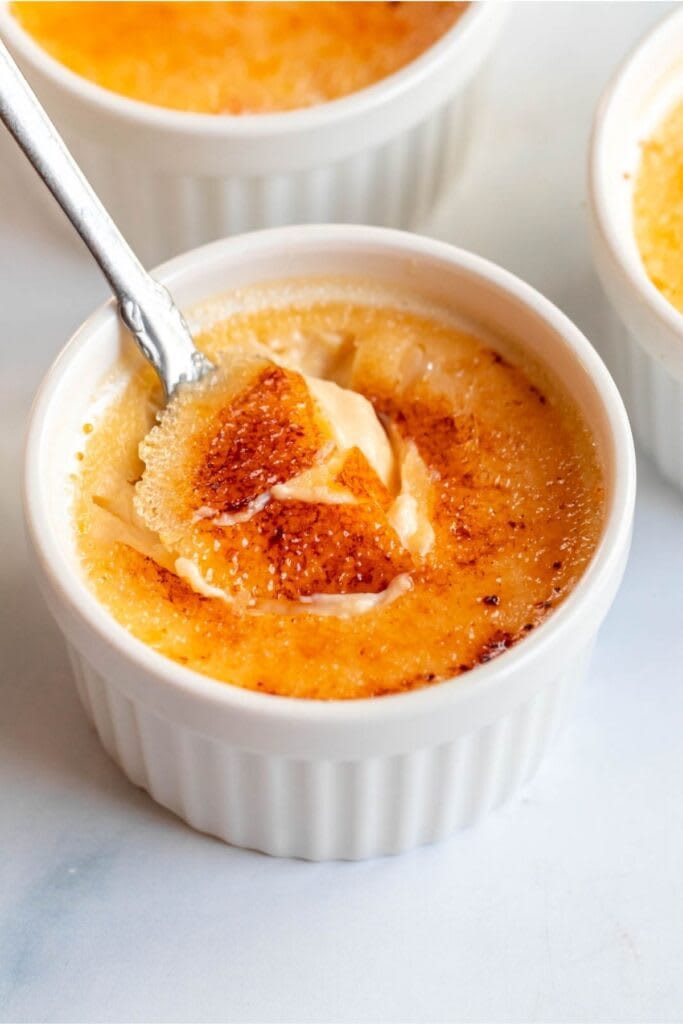
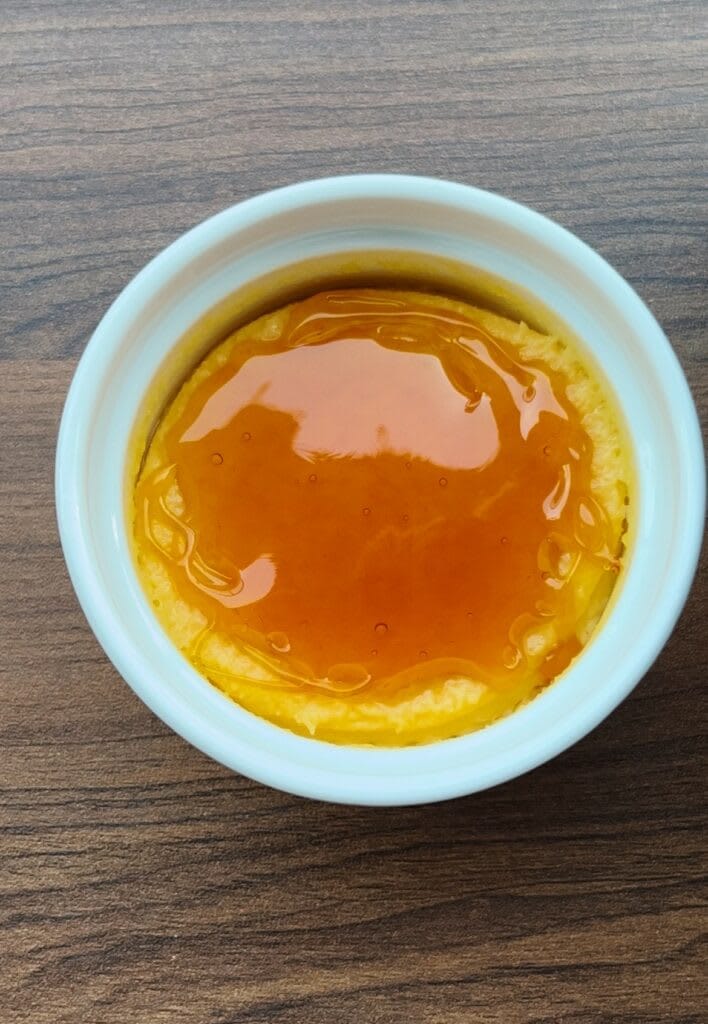
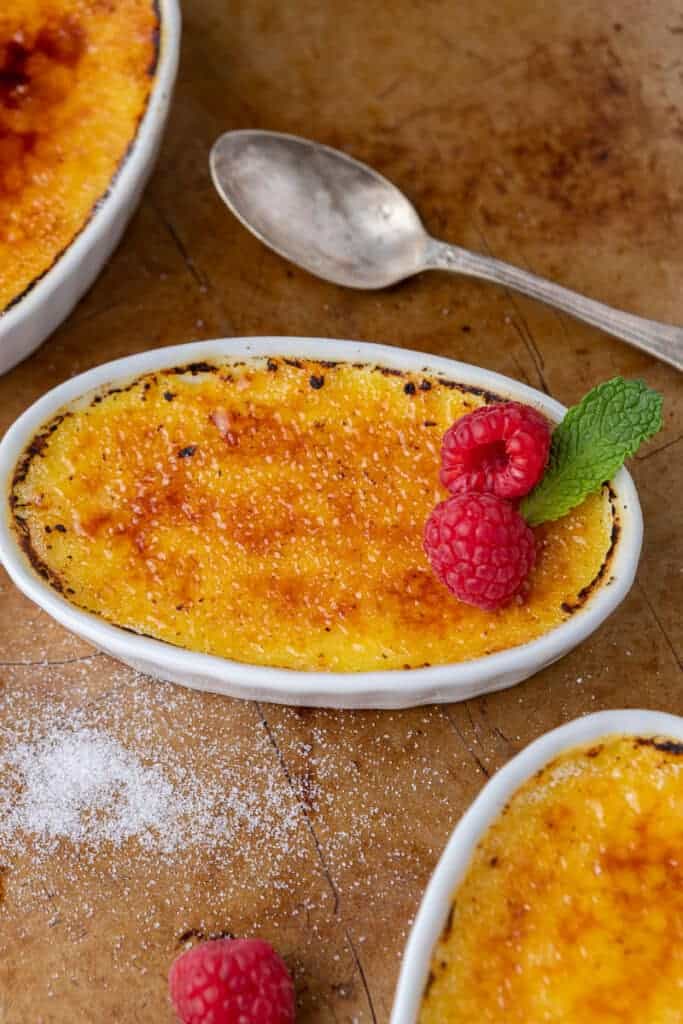
- Brûlée and serve: Just before serving, sprinkle 1 teaspoon sugar evenly over each crème brûlée. For the best crust, make sure the sugar forms a thin, even layer. Ignite your kitchen torch and hold the flame about 4 inches from the sugar surface. Move the flame constantly across the sugar until it melts and turns a golden brown. If you don’t have a torch, place the ramekins on a baking sheet and broil on high for 3-4 minutes. Watch closely – the sugar can burn quickly! Serve immediately while the top is still crisp.
Smart Swaps
- Vanilla bean ice cream instead of pumpkin spice for a classic flavor profile
- Try coffee ice cream for a sophisticated tiramisu-inspired version
- Egg substitute (1/4 cup) can replace the egg yolks for those with egg allergies
Make It Diabetes-Friendly
- Replace regular ice cream with no-sugar-added ice cream (reduces carbs by approximately 8g per serving)
- Use allulose instead of sugar for the brûlée top (1:1 ratio) – it caramelizes like sugar but has zero net carbs
- Serve in smaller 2-ounce ramekins to reduce portion size while maintaining the full experience
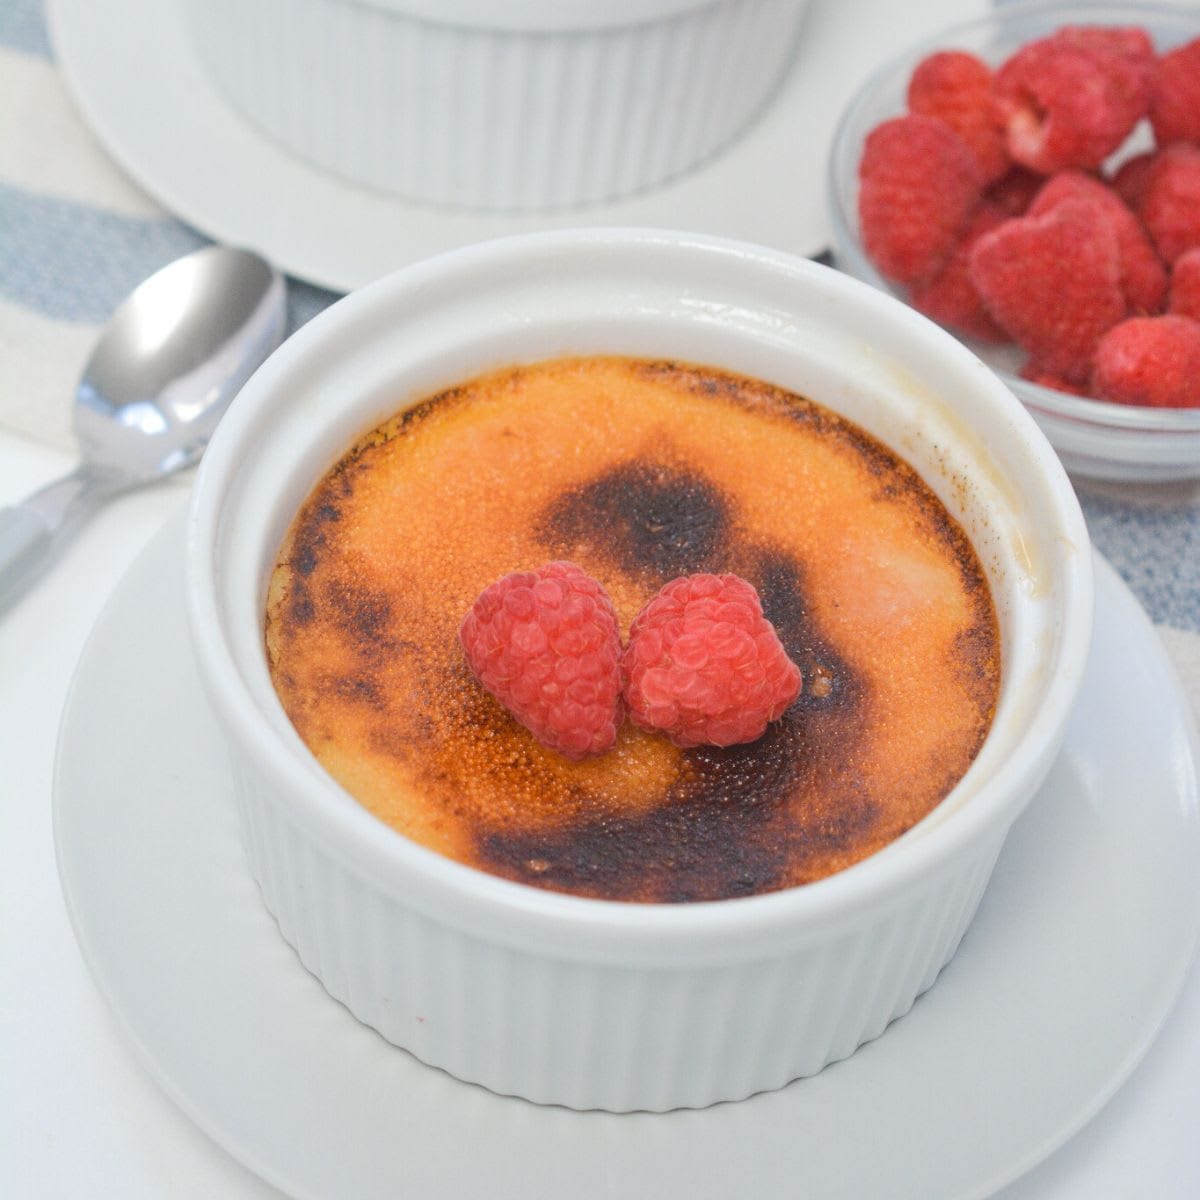
- Pair with a few fresh berries (about 1/4 cup) to add fiber that helps slow sugar absorption
Pro Tips
- For the perfect crack, let the caramelized sugar cool completely (about 2 minutes) before serving
- Pat the top of the custard dry with a paper towel before adding sugar – moisture prevents proper caramelization
- For extra flavor dimension, add a tiny pinch of sea salt to the top just before serving
- If using the broiler method, chill the custards for an extra 30 minutes after adding sugar but before broiling to prevent the custard from warming too much