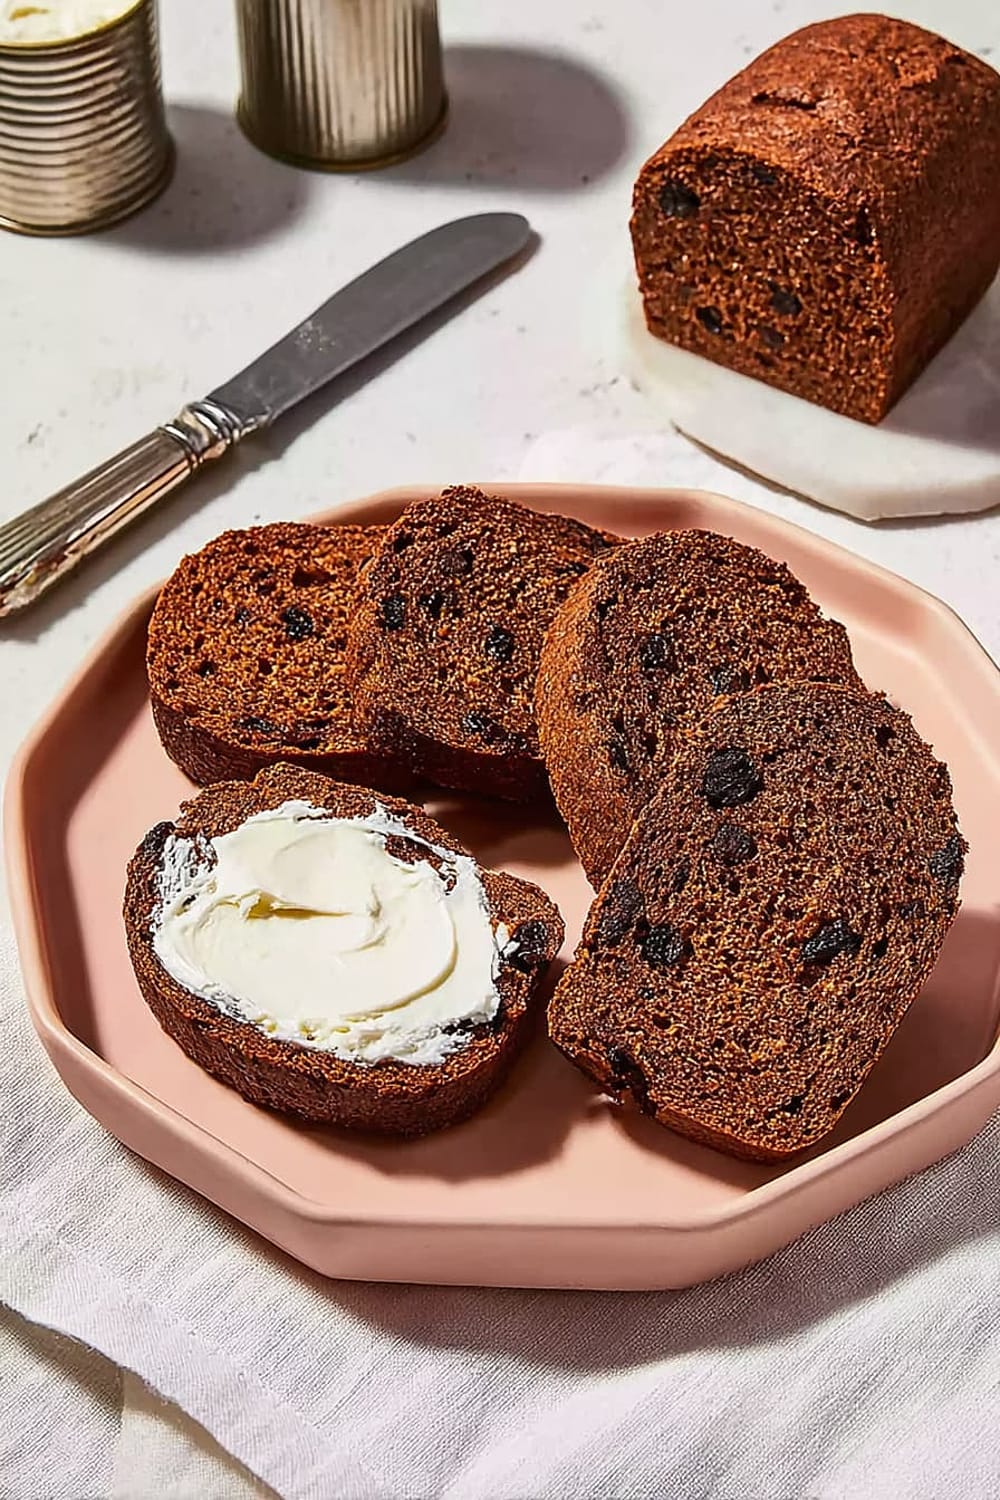
Easy Boston Brown Bread

This is the kind of bread that makes your kitchen smell like a cozy New England bakery and tricks people into thinking you’re some sort of artisanal baking wizard.
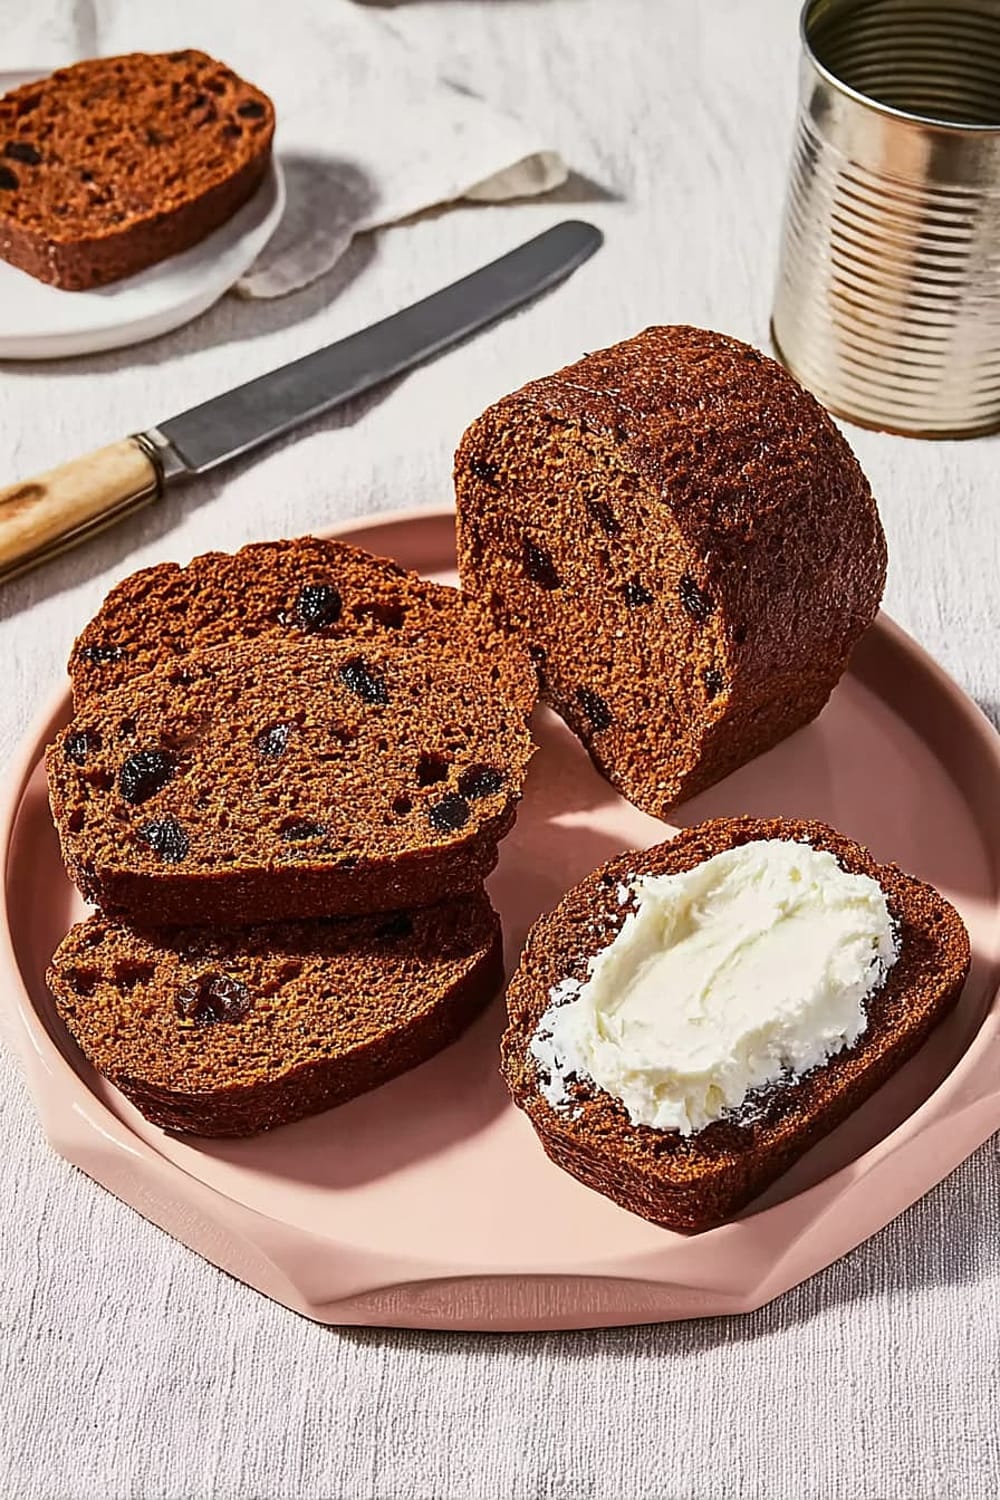
The secret is that you’re basically steaming bread in tin cans like some kind of culinary MacGyver, which sounds weird but produces the most incredibly moist, dense, and flavorful loaf you’ve ever tasted.
The combination of rye flour, cornmeal, and blackstrap molasses creates this deep, complex flavor that’s sweet but not cloying, with a texture that’s somewhere between cake and traditional bread.

Plus, you get to tell people you made “authentic Boston brown bread” which immediately makes you sound like you know what you’re doing in the kitchen, even if you’re usually a cereal-for-dinner kind of person.
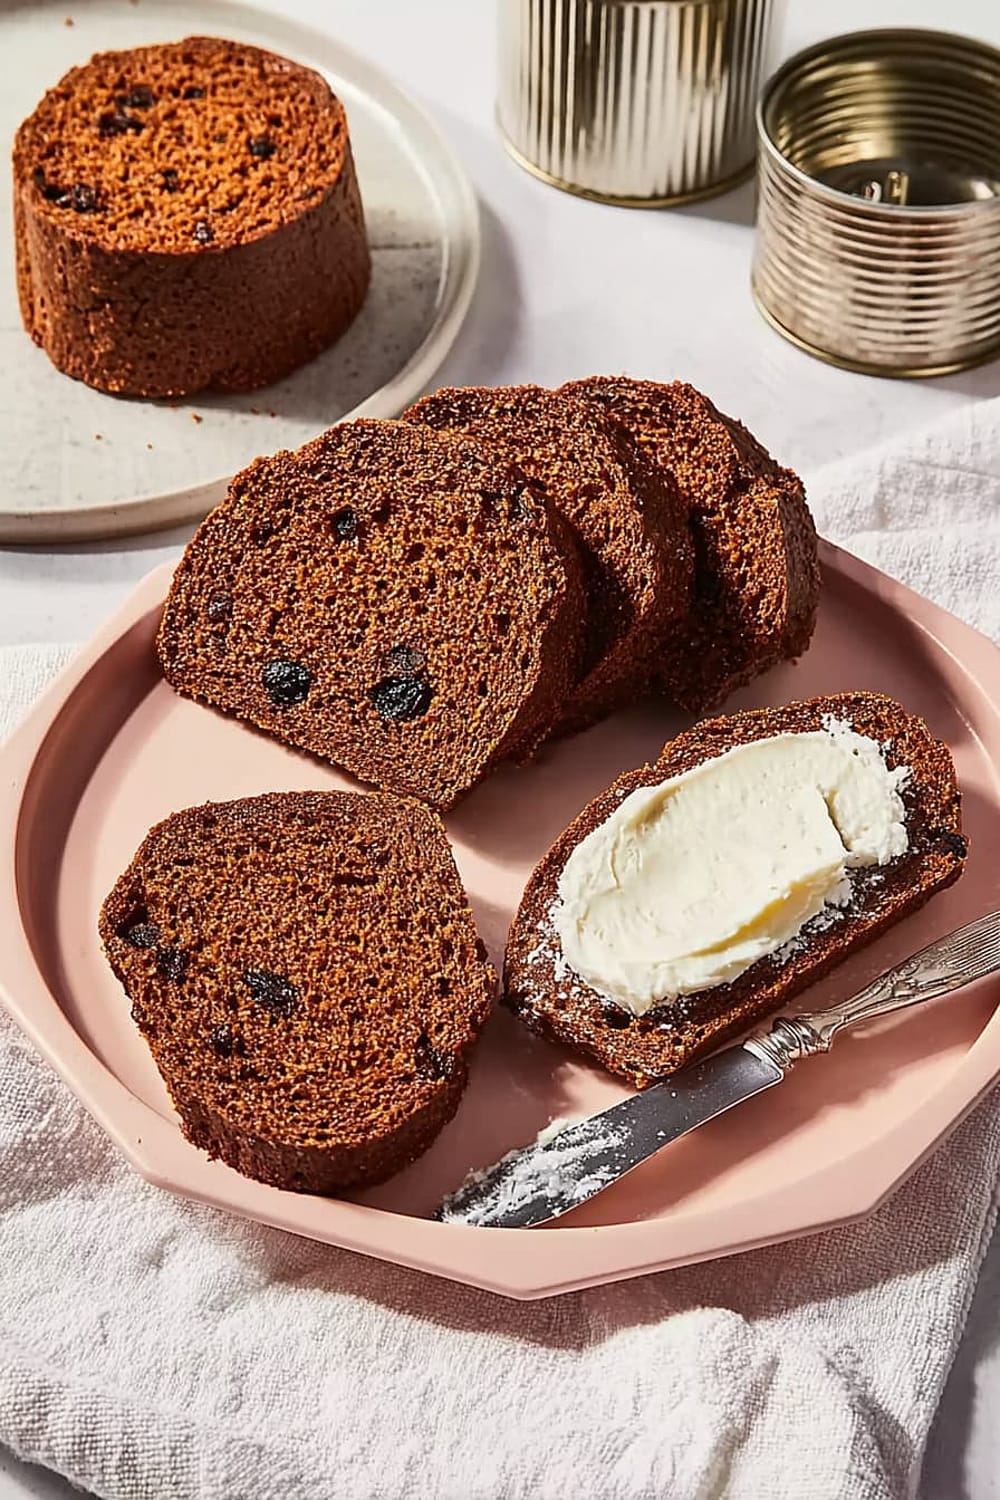
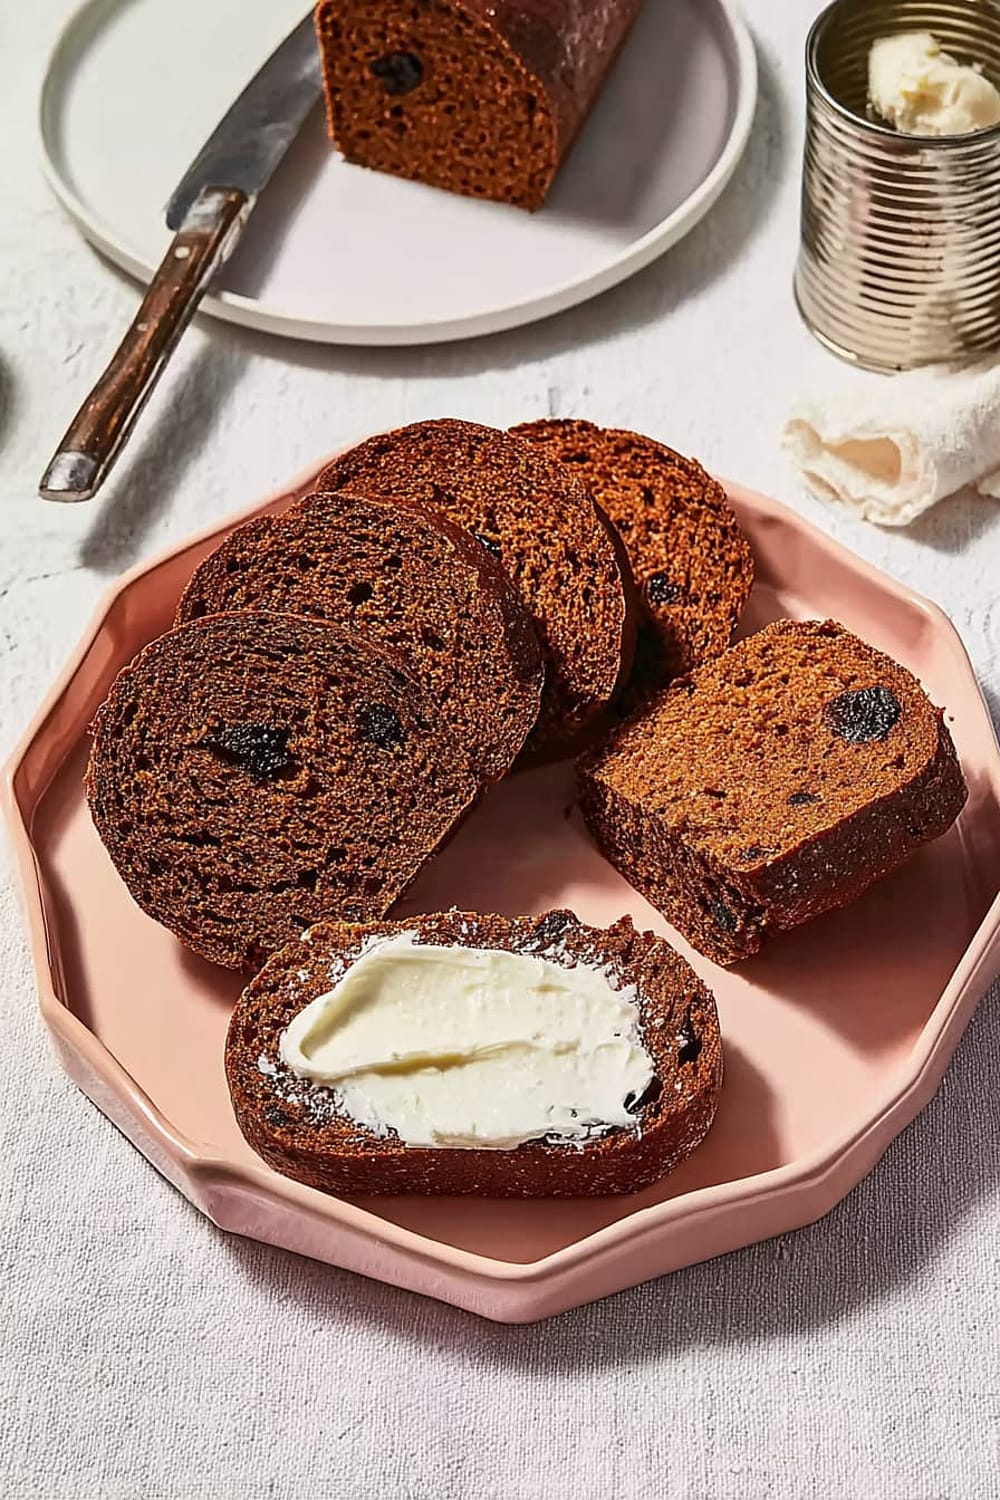
The best part is watching people’s faces when they realize this dense, rich, slightly sweet bread came out of regular old tin cans sitting in a pot of water on your stove.
Fair warning: this bread tastes even better the next day, so you’ll need some serious willpower not to demolish all three loaves the moment they come out of those cans.
Ingredients
For the bread
- Cooking spray for greasing cans
- 1 cup rye flour (4.25 ounces; 120g) – provides that distinctive earthy flavor
- 1 /2 cup raisins (2.75 ounces; 75g) – adds natural sweetness and texture
- 1 /3 cup fine cornmeal (2.75 ounces; 75g) – creates the classic grainy texture
- 3 /4 teaspoon baking soda – essential for proper rise in steaming method
- 1 /2 teaspoon Diamond Crystal kosher salt (use half as much if using table salt)
- 1 cup buttermilk (240ml) – provides tang and helps activate the baking soda
- 1 /3 cup blackstrap molasses (2.75 ounces; 80g) – the star ingredient for deep, rich flavor
For serving
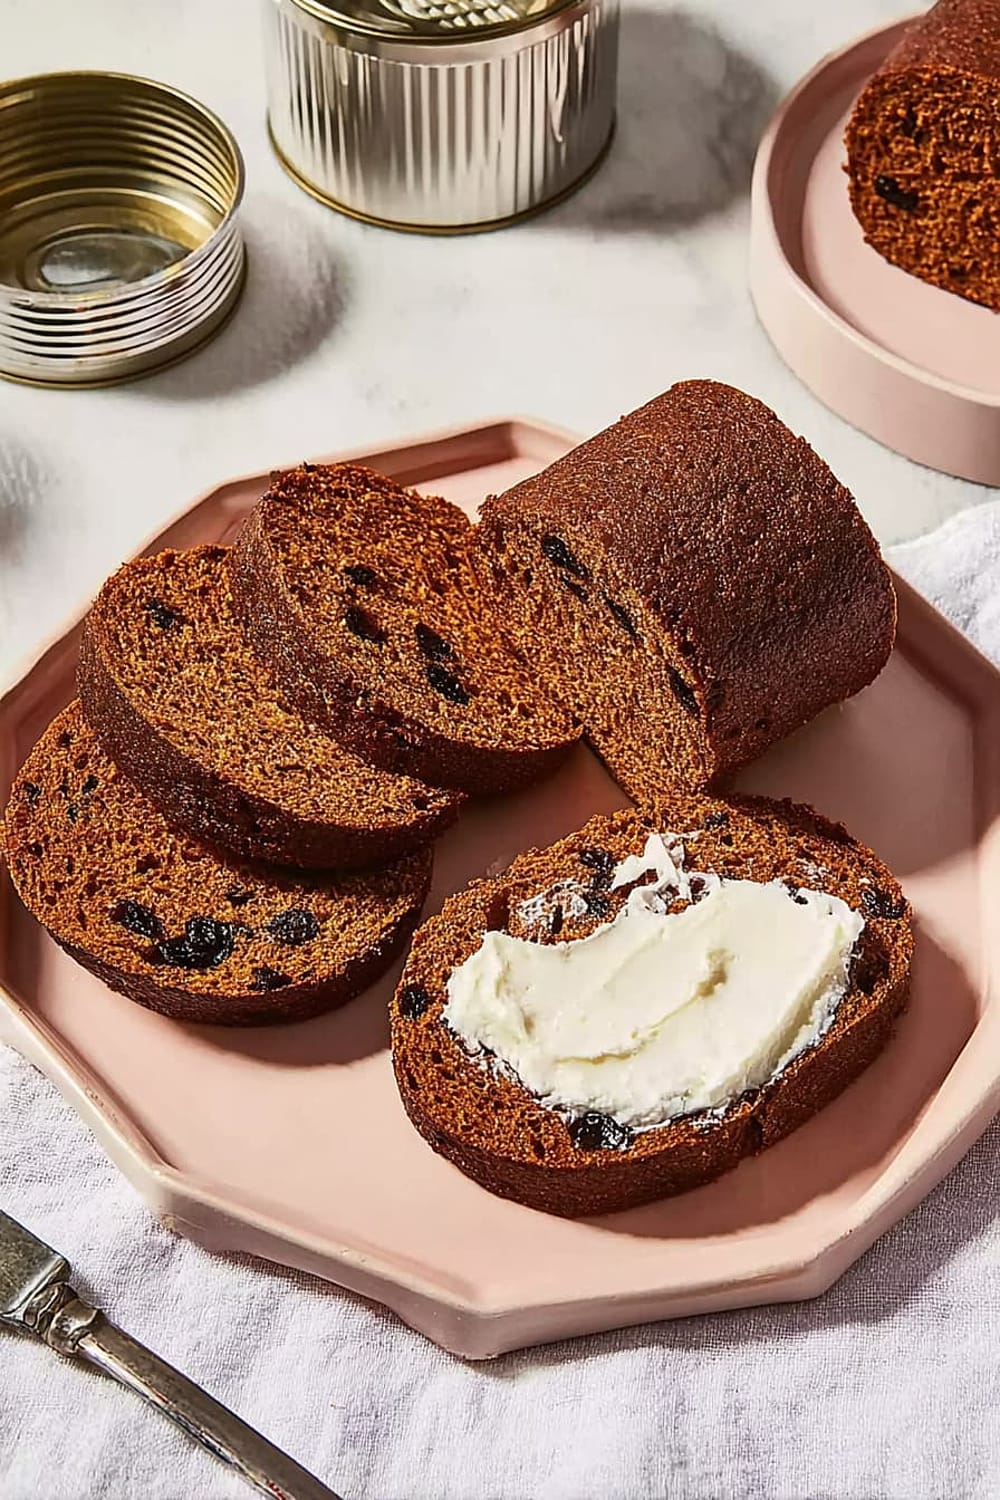
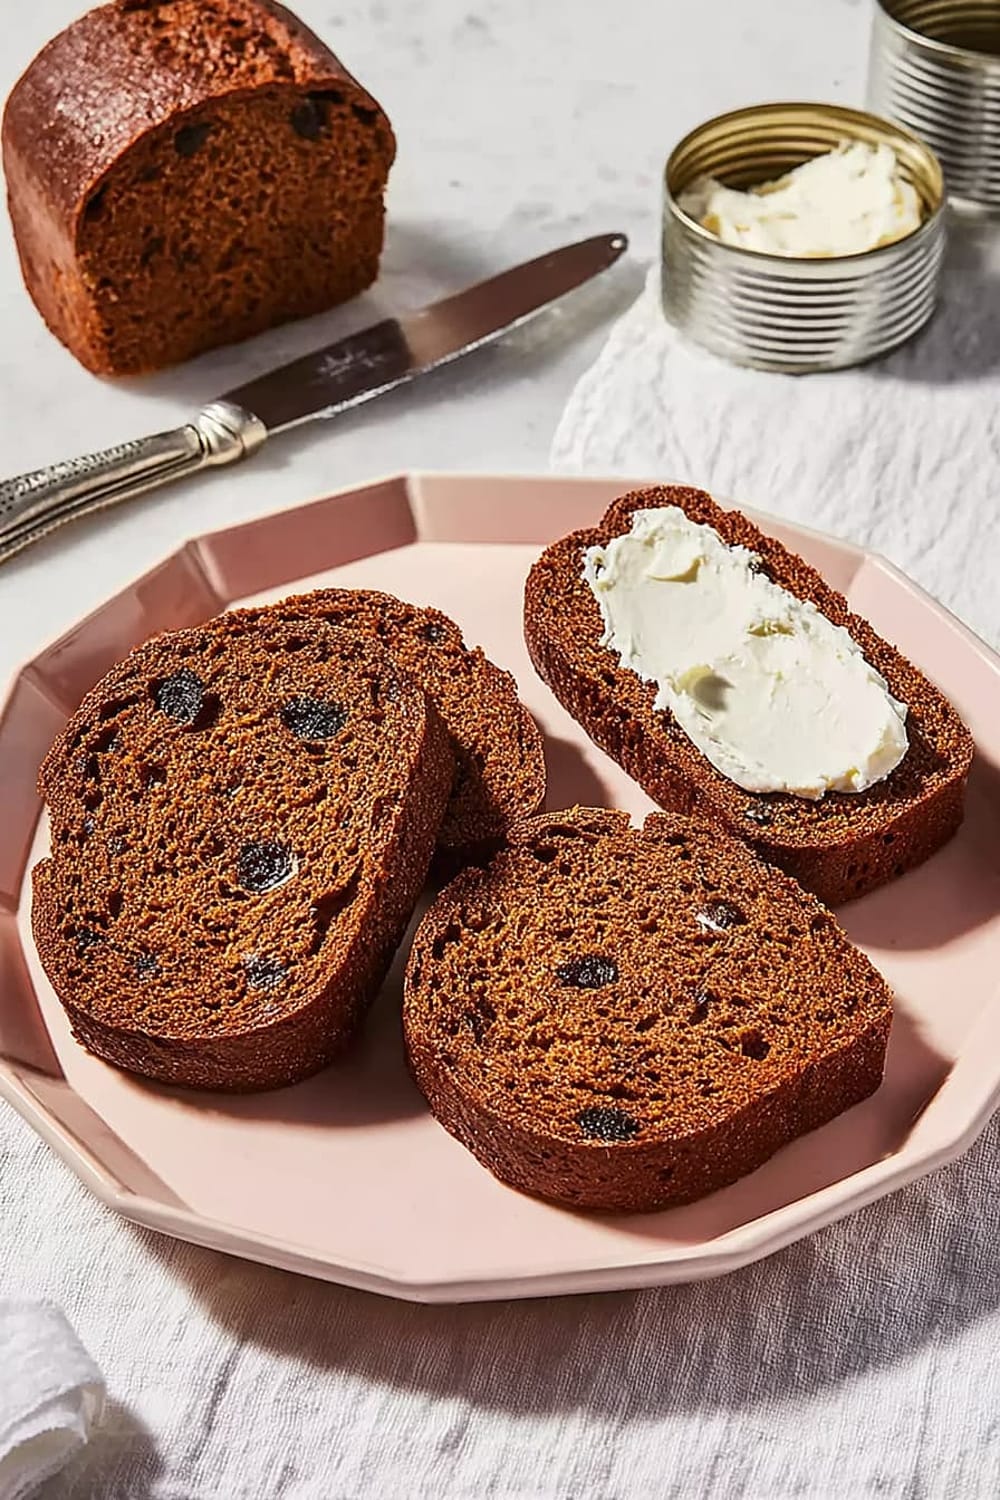
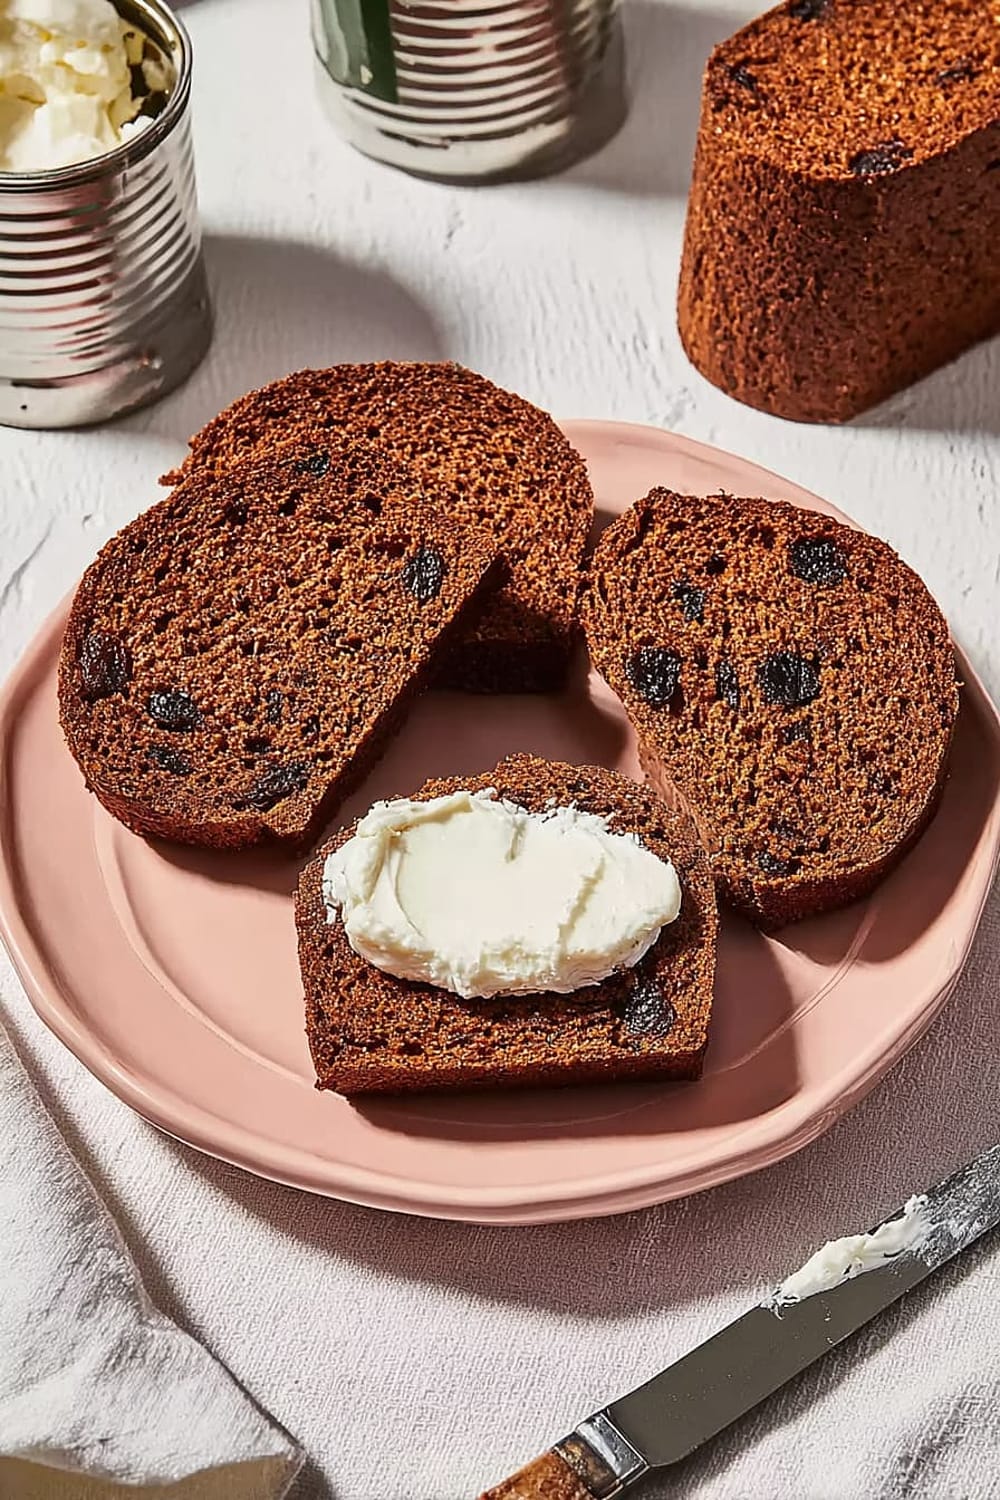
- Cream cheese – the traditional accompaniment that balances the bread’s density
Instructions
Prepare the steaming setup
- 1 Coat three 14.5- to 15-ounce cans (about 4 inches tall and 2¾ inches wide) with cooking spray and place a round piece of parchment paper in the bottom of each can. This prevents sticking and makes removal much easier later. If you don’t have parchment paper, you can use a light coating of butter and flour, but parchment is your best bet for clean release.
- 2 Place a trivet or steamer insert into the bottom of a tall stockpot and fill with water to reach 1½ inches above the trivet. Cover with a tight-fitting lid and bring to a simmer over medium-high heat. The water level is crucial here – too little and your cans might scorch, too much and water could seep into the bread during the vigorous bubbling phase.
Mix the batter
- 3 In a medium bowl, whisk together rye flour, raisins, cornmeal, baking soda, and salt until evenly combined. Make sure to break up any clumps in the rye flour and distribute the raisins evenly – they have a tendency to clump together. A kitchen scale makes measuring these dry ingredients much more accurate than volume measurements.
- 4 Whisk in buttermilk and molasses until just combined. Don’t overmix here – you want everything incorporated but you’re not trying to develop gluten like you would with regular bread. The batter should be thick but pourable, similar to a dense cake batter.
Fill and seal the cans
- 5 Divide batter evenly between prepared cans (about 1 cup or 200g batter per can). The batter should fill the cans no more than 2/3 of the way full to allow for expansion during steaming. Using a digital scale to portion the batter ensures even cooking times across all three loaves.
- 6 Place a small square of aluminum foil over the top of each can to serve as a lid and secure with a heavy-duty rubber band or kitchen string. Make sure the foil is tight enough to prevent water from getting in, but not so tight that it restricts the bread’s rise. This step is critical – any water getting into the batter will create a soggy, unpleasant texture.
Steam the bread
- 7 Set cans on the trivet in the pot of simmering water. The water should reach about halfway up the sides of the cans – if not, add additional hot water carefully. Don’t add cold water at this point as it will disrupt the steaming temperature and extend cooking time.
- 8 Cover the pot and return to a simmer over medium-high heat, then reduce heat to medium-low and gently simmer until bread is set and gently pulling away from sides of cans, 35 to 40 minutes. You’ll know it’s done when a skewer inserted into the center comes out with moist crumbs (not wet batter) and an instant-read thermometer inserted into the center registers between 200°F and 205°F (93°C to 96°C).
Cool and serve
- 9 Remove cans from pot using tongs – they’ll be extremely hot, so be careful. Set on a cooling rack and remove foil lids immediately to prevent condensation from dripping back onto the bread surface.
- 10 Let bread cool in cans for 20 to 30 minutes. This cooling time is important – too hot and the bread will fall apart, too cool and it becomes difficult to remove from the cans.
- 11 Remove bread from cans by turning each can upside down and tapping the bottom with the heel of your palm. The bread should slide out easily if you greased the cans properly. Let loaves cool completely on a wire rack for about 1 hour before slicing.
- 12 Serve plain or toasted with cream cheese, preferably the next day. The flavors meld and improve significantly with this resting time, and the texture becomes more cohesive.
Recommended Equipment and Kitchen Tools
Essential Tools (for best results)
- Three 14.5-15 ounce cans – Save your tomato sauce cans! Clean them thoroughly and remove labels for the most authentic presentation
- Tall stockpot with tight-fitting lid – Needs to be deep enough to accommodate the cans with room for steam circulation
- Trivet or steamer insert – Keeps cans elevated above direct heat and prevents scorching
- Digital thermometer – Takes the guesswork out of doneness testing and ensures food safety
Helpful Upgrades
- Kitchen scale – Makes ingredient portioning much more accurate, especially for dividing batter evenly between cans
- Silicone spatula – Perfect for scraping every bit of that precious molasses from the measuring cup and folding ingredients without overmixing
- Parchment paper – Creates a foolproof release system that’s much more reliable than just greasing
- Heavy-duty rubber bands or kitchen twine – Secures the foil lids better than regular rubber bands that might snap from the heat
Nice-to-Have Options
- Wire cooling racks – Allows proper air circulation during cooling, preventing soggy bottoms
- Quality tongs – Makes removing hot cans from boiling water much safer and easier
- Microplane grater – If you want to add fresh citrus zest for flavor variations
- Bench scraper – Helpful for cleanly slicing the finished loaves without crushing the delicate texture
Recipe Variations and Dietary Modifications
Gluten-Free Adaptation
- Replace rye flour with a 1:1 gluten-free flour blend (Bob’s Red Mill works well)
- Add 1/2 teaspoon xanthan gum if your flour blend doesn’t contain it
- Expect a slightly more crumbly texture but similar flavor profile
- May need an extra 5-10 minutes steaming time due to different flour properties
Dairy-Free Modifications
- Substitute buttermilk with 1 cup non-dairy milk plus 1 tablespoon lemon juice or vinegar
- Let the mixture sit for 5 minutes to curdle before using
- Coconut milk creates the richest texture, while oat milk provides neutral flavor
- Serve with vegan cream cheese or butter alternative
Flavor Variations
- Cranberry Walnut: Replace raisins with 1/2 cup dried cranberries and 1/3 cup chopped walnuts
- Spiced Version: Add 1/2 teaspoon cinnamon, 1/4 teaspoon nutmeg, and 1/8 teaspoon cloves
- Orange Zest: Add zest of 1 large orange for bright citrus notes that complement the molasses
- Whole Grain: Replace 1/3 of rye flour with whole wheat flour for extra fiber and nuttiness
Texture Modifications
- Lighter texture: Replace 1/4 cup rye flour with all-purpose flour
- More rustic: Add 2 tablespoons sunflower seeds or pumpkin seeds
- Sweeter version: Increase molasses to 1/2 cup and reduce buttermilk to 3/4 cup
Nutritional Information and Health Benefits
Key Nutritional Highlights
Each serving (assuming 12 servings total) contains approximately 140 calories with a balanced macronutrient profile. The combination of rye flour and cornmeal provides about 28g carbohydrates per serving, while contributing 3g protein and 1g fat. This bread is naturally low in fat and provides 2g dietary fiber per serving, supporting digestive health and helping maintain stable blood sugar levels.
Health Benefits of Main Ingredients
Rye flour is a nutritional powerhouse, containing significantly more fiber, protein, and minerals than refined wheat flour. It’s rich in manganese, phosphorus, and magnesium, which support bone health and energy metabolism. The resistant starch in rye helps feed beneficial gut bacteria and may improve insulin sensitivity. Blackstrap molasses isn’t just for flavor – it’s loaded with iron, calcium, and potassium, making this bread an excellent choice for those needing to boost mineral intake. Cornmeal adds B-vitamins, particularly thiamine and folate, essential for nervous system function and cellular energy production.
Dietary Considerations
This bread contains gluten from rye flour and dairy from buttermilk, making it unsuitable for those with celiac disease or dairy allergies. However, it’s naturally egg-free and contains no refined sugar, getting its sweetness entirely from molasses. The dense, moist texture makes it very satisfying in smaller portions, and the high fiber content helps promote satiety and digestive health.
Smart Swaps and Ingredient Substitutions
Common Substitutions:
- Rye flour → Whole wheat flour (1:1 ratio, but flavor will be milder)
- Buttermilk → Regular milk + 1 tablespoon vinegar (let sit 5 minutes to curdle)
- Blackstrap molasses → Regular molasses or dark corn syrup (flavor will be less intense)
- Fine cornmeal → Medium cornmeal (creates more texture but works fine)
- Raisins → Dried cranberries, chopped dates, or currants (same amount)
Budget-Friendly Swaps:
- Rye flour → Half all-purpose flour + half whole wheat flour (much cheaper, similar nutrition)
- Buttermilk → Powdered buttermilk reconstituted (longer shelf life, often less expensive)
- Blackstrap molasses → Dark brown sugar + 2 tablespoons water (different flavor but works)
Pantry Emergency Substitutions:
- No cornmeal → Polenta or finely ground corn tortilla chips (pulse in food processor)
- No baking soda → 2 teaspoons baking powder (bread will be slightly less dense)
- No molasses → Honey + 1 tablespoon soy sauce (creates similar color and complexity)
Pro Tips for Substitutions:
- Store rye flour in the freezer to prevent rancidity – it has higher oil content than wheat flour
- When using honey instead of molasses, reduce buttermilk by 2 tablespoons to maintain proper consistency
- Fresh buttermilk creates better flavor than powder, but powder works in a pinch and stores much longer
Make It Diabetes-Friendly
Carb Reduction Strategies:
- Replace 1/3 cup cornmeal with 1/3 cup almond flour to reduce carbs by approximately 15g per loaf
- Substitute 1/3 cup molasses with 2 tablespoons sugar-free maple syrup + 1 tablespoon unsweetened cocoa powder for similar color and depth
- Use low-carb flour blend in place of rye flour to cut carbs by roughly 20g per serving
Portion & Blood Sugar Management:
- Recommended serving size: 1/2 inch thick slice (approximately 18g carbohydrates)
- Pair with protein: Serve with cream cheese, nut butter, or Greek yogurt to slow glucose absorption
- Timing tip: Consume as part of a balanced meal rather than as a standalone snack
- Fiber boost: The 2g fiber per serving helps moderate blood sugar spikes naturally
Smart Serving Suggestions:
- Toast lightly to enhance flavor without adding carbs
- Top with avocado and smoked salmon for a low-carb, high-protein meal
- Portion control: Pre-slice and freeze individual portions to avoid overconsumption
- Blood sugar friendly pairings: Combine with nuts, seeds, or cheese for sustained energy
Total Carb Reduction: These modifications can reduce carbohydrates by approximately 8-12g per serving while maintaining the bread’s distinctive flavor and texture.
Perfect Pairing Suggestions
Beverage Pairings
This dense, molasses-rich bread pairs beautifully with robust coffee or black tea – the slight bitterness balances the bread’s sweetness perfectly. For wine lovers, try a tawny port or cream sherry that echoes the molasses notes, or go contrasting with a crisp Riesling to cut through the richness. Dark stout or porter beer creates an excellent flavor bridge, while spiced chai or Earl Grey tea complements the bread’s earthy complexity. During colder months, serve alongside hot cider or mulled wine for the ultimate New England experience.
Side Dish Recommendations
The bread’s hearty nature makes it perfect alongside New England clam chowder or split pea soup – the textures complement each other beautifully. For lighter fare, pair with mixed greens dressed with apple cider vinaigrette to balance the bread’s density. Roasted root vegetables like carrots, parsnips, and turnips echo the bread’s earthy flavors, while sautéed apples with cinnamon create a dessert-like combination that highlights the molasses sweetness.
Complete Meal Ideas
Build a traditional New England supper with baked beans, coleslaw, and brown bread for an authentic regional experience. For brunch, serve toasted slices topped with cream cheese, smoked salmon, and capers for an elegant twist. Create a rustic cheese board featuring sharp cheddar, aged gouda, and local honey to showcase the bread’s versatility. The bread also makes an excellent base for open-faced sandwiches topped with roasted turkey and cranberry sauce.
Pro Tips and Troubleshooting
Professional Steaming Secrets
Keep the water at a gentle simmer, not a rolling boil – vigorous bubbling can cause the cans to rattle and potentially crack the delicate bread structure. Check water levels every 20 minutes and add hot water if needed to maintain the halfway mark on the cans. The foil seal is crucial – any water infiltration will create dense, soggy spots that ruin the texture. If you don’t have rubber bands, kitchen twine works better than regular string as it won’t snap from the heat and moisture.
Storage and Make-Ahead Strategy
This bread actually improves after 24 hours as the flavors meld and the texture becomes more cohesive. Wrap cooled loaves in plastic wrap and store at room temperature for up to 5 days, or freeze for up to 3 months. For longer storage, slice before freezing and wrap individual portions – they thaw quickly and can be toasted directly from frozen. Never refrigerate this bread as it will become stale and dry much faster than at room temperature.
Troubleshooting Common Issues
If bread sticks to cans, your parchment paper may have shifted during filling – next time, press it firmly into the bottom and up the sides slightly. Dense, heavy texture usually indicates overmixing the batter or expired baking soda. Uneven cooking between loaves suggests uneven batter distribution – use a scale to portion exactly. If the center is underdone, your steaming temperature was too high – reduce heat and extend cooking time rather than increasing temperature.
Scaling and Presentation
This recipe doubles easily but requires a larger pot or two separate pots for steaming. For individual portions, use 6-8 smaller cans and reduce cooking time to 20-25 minutes. Slice with a sharp serrated knife using a gentle sawing motion to prevent crumbling, and toast lightly to enhance the complex molasses flavors and create textural contrast.