Easy Boston Brown Bread Recipe
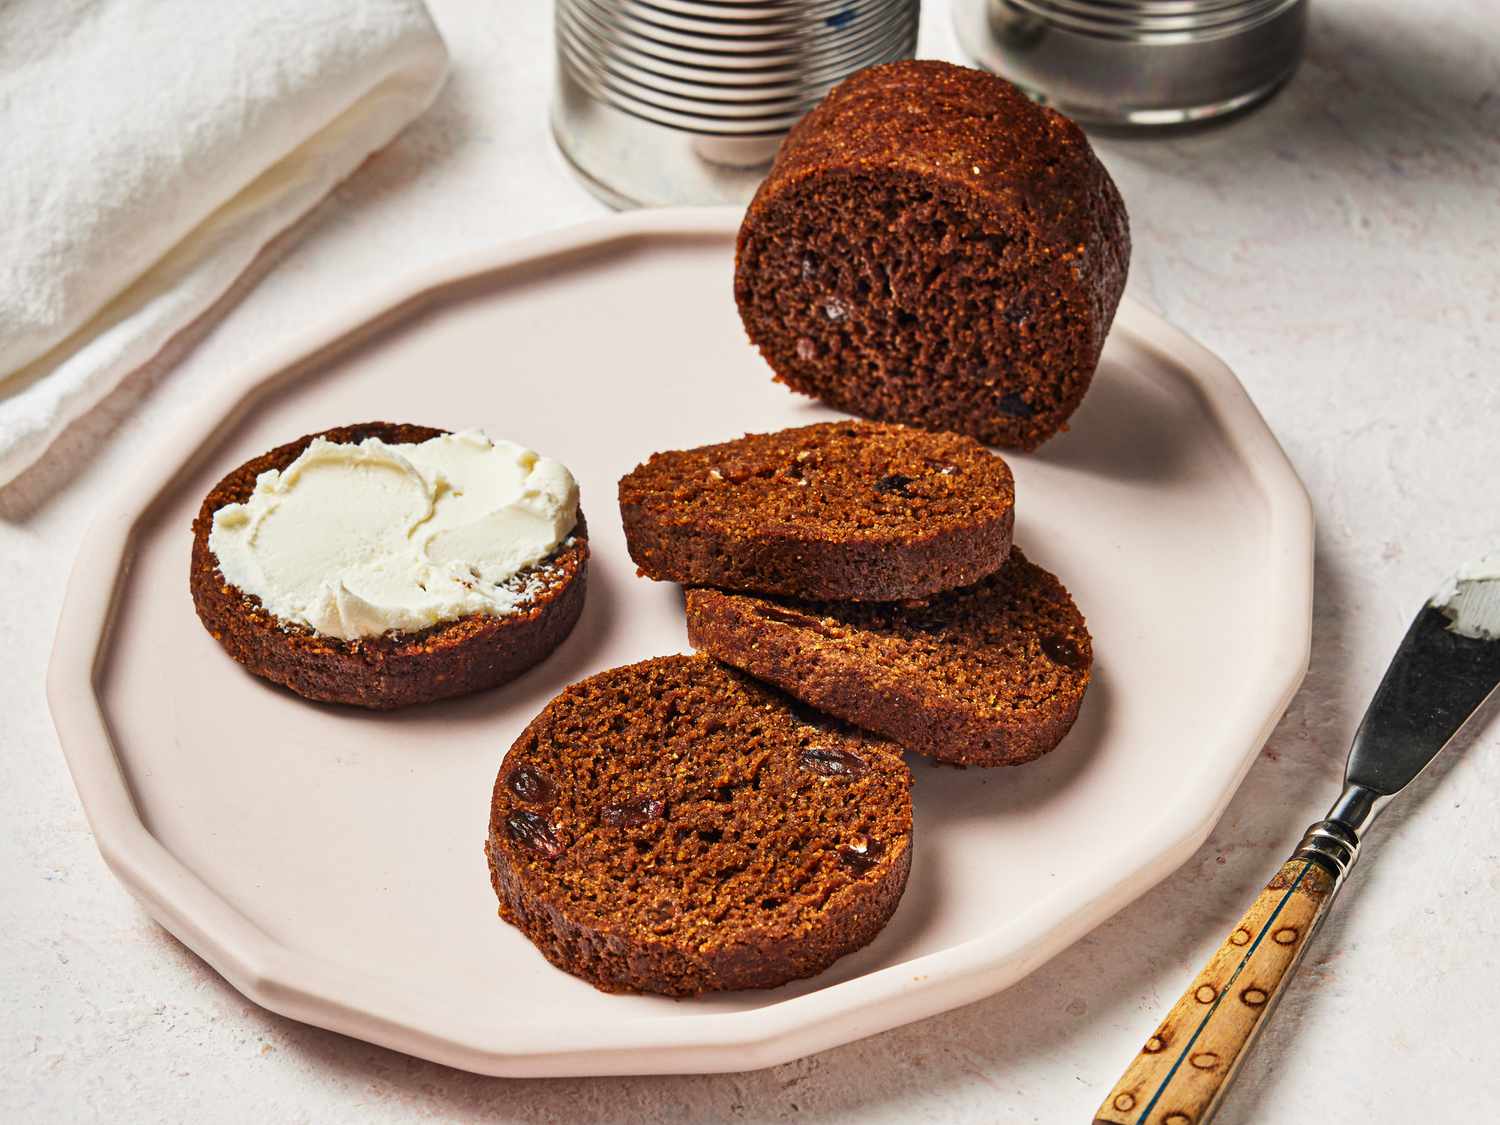
Ever tasted a slice of history? Boston Brown Bread is that rare recipe that’s survived centuries because it’s just that good. Dense, moist, and sweetened with molasses, this traditional New England bread is steamed rather than baked—creating a texture that’s completely unique and absolutely addictive when slathered with cream cheese.
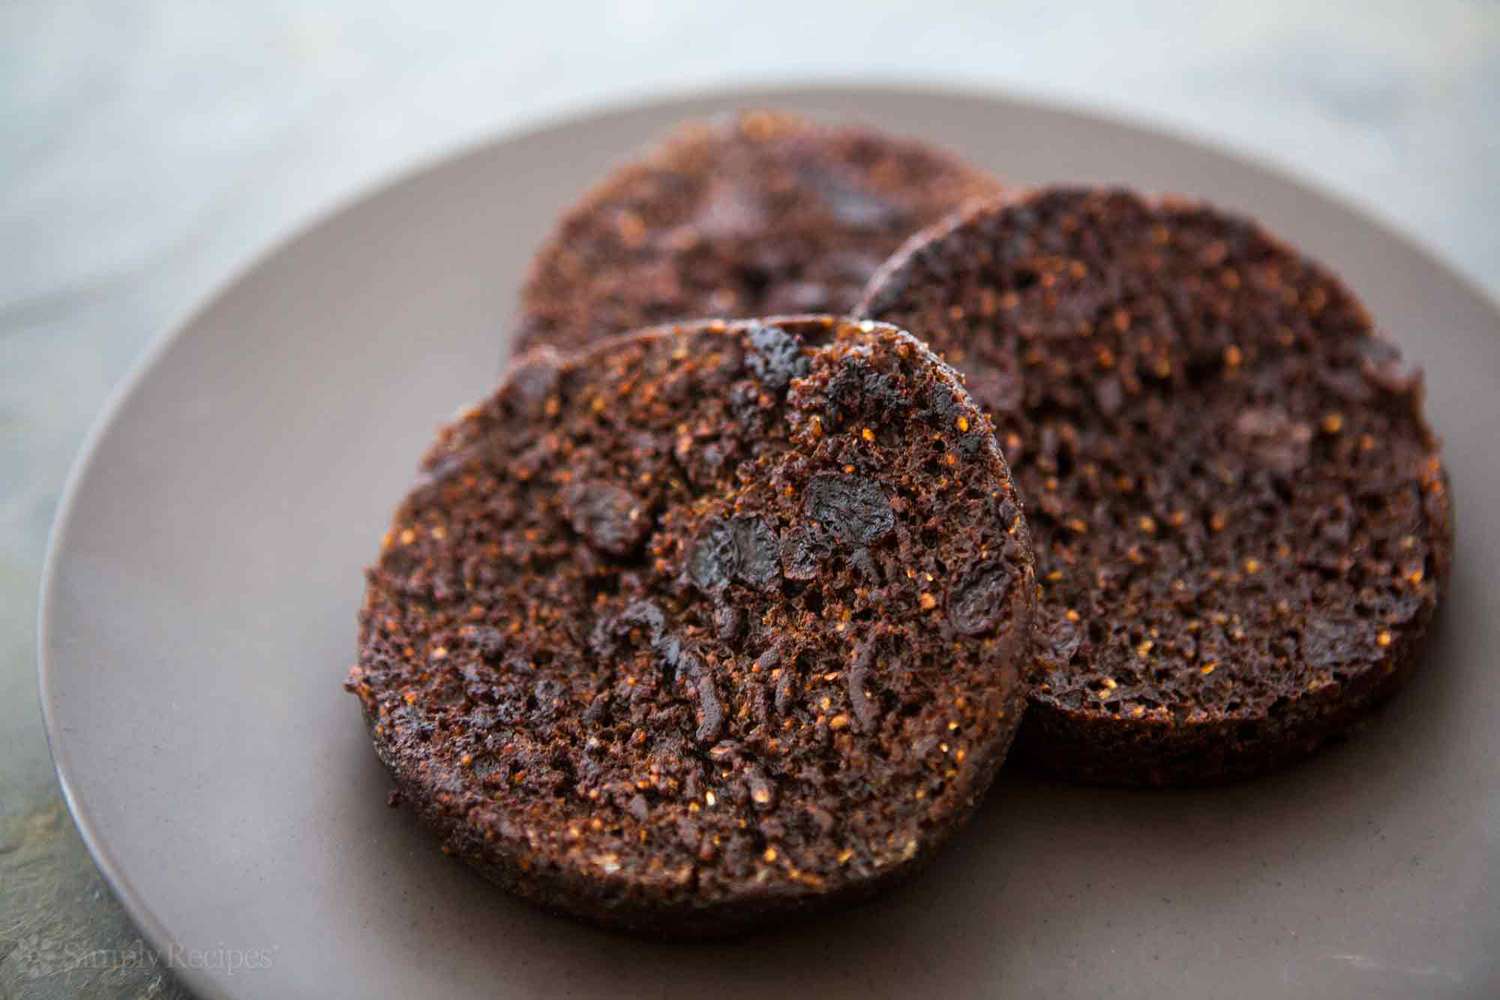
The magic happens when rye flour, cornmeal, and plump raisins combine with rich blackstrap molasses. What makes this recipe special is the steaming method—using repurposed cans creates those iconic cylindrical loaves with perfectly moist centers and that distinctive dark crust. The best part? You’ll feel like you’re pulling off some kind of kitchen magic trick, but it’s surprisingly simple.
Ingredients
- Cooking spray
- 1 cup rye flour (4.25 ounces; 120 g)
- 1/2 cup raisins (2.75 ounces; 75 g)
- 1/3 cup fine cornmeal (2.75 ounces; 75 g)
- 3/4 teaspoon baking soda
- 1/2 teaspoon Diamond Crystal kosher salt (for table salt, use 1/4 teaspoon)
- 1 cup (240 ml) buttermilk
- 1/3 cup blackstrap molasses (2.75 ounces; 80 g)
- Cream cheese to serve on the side
Steps
- Prepare the cans and steaming setup. Coat three 14.5- to 15-ounce cans (about 4 inches tall and 2 3/4 inches wide) with cooking spray. Cut parchment paper into circles to fit the bottom of each can and place them inside. This prevents sticking and ensures easy removal. Set up your steaming station by placing a trivet or steamer insert into the bottom of a tall stockpot. Fill with water to reach 1 1/2 inches above the trivet. Cover with a tight-fitting lid and bring to a simmer over medium-high heat. The water should be hot but not violently boiling when you add the bread.
- Mix the dry ingredients. In a medium bowl, whisk together the rye flour, raisins, cornmeal, baking soda, and salt until evenly combined. Make sure to break up any clumps of raisins so they’ll distribute evenly throughout the bread. The dry ingredients should look uniform in color with no patches of unmixed components.
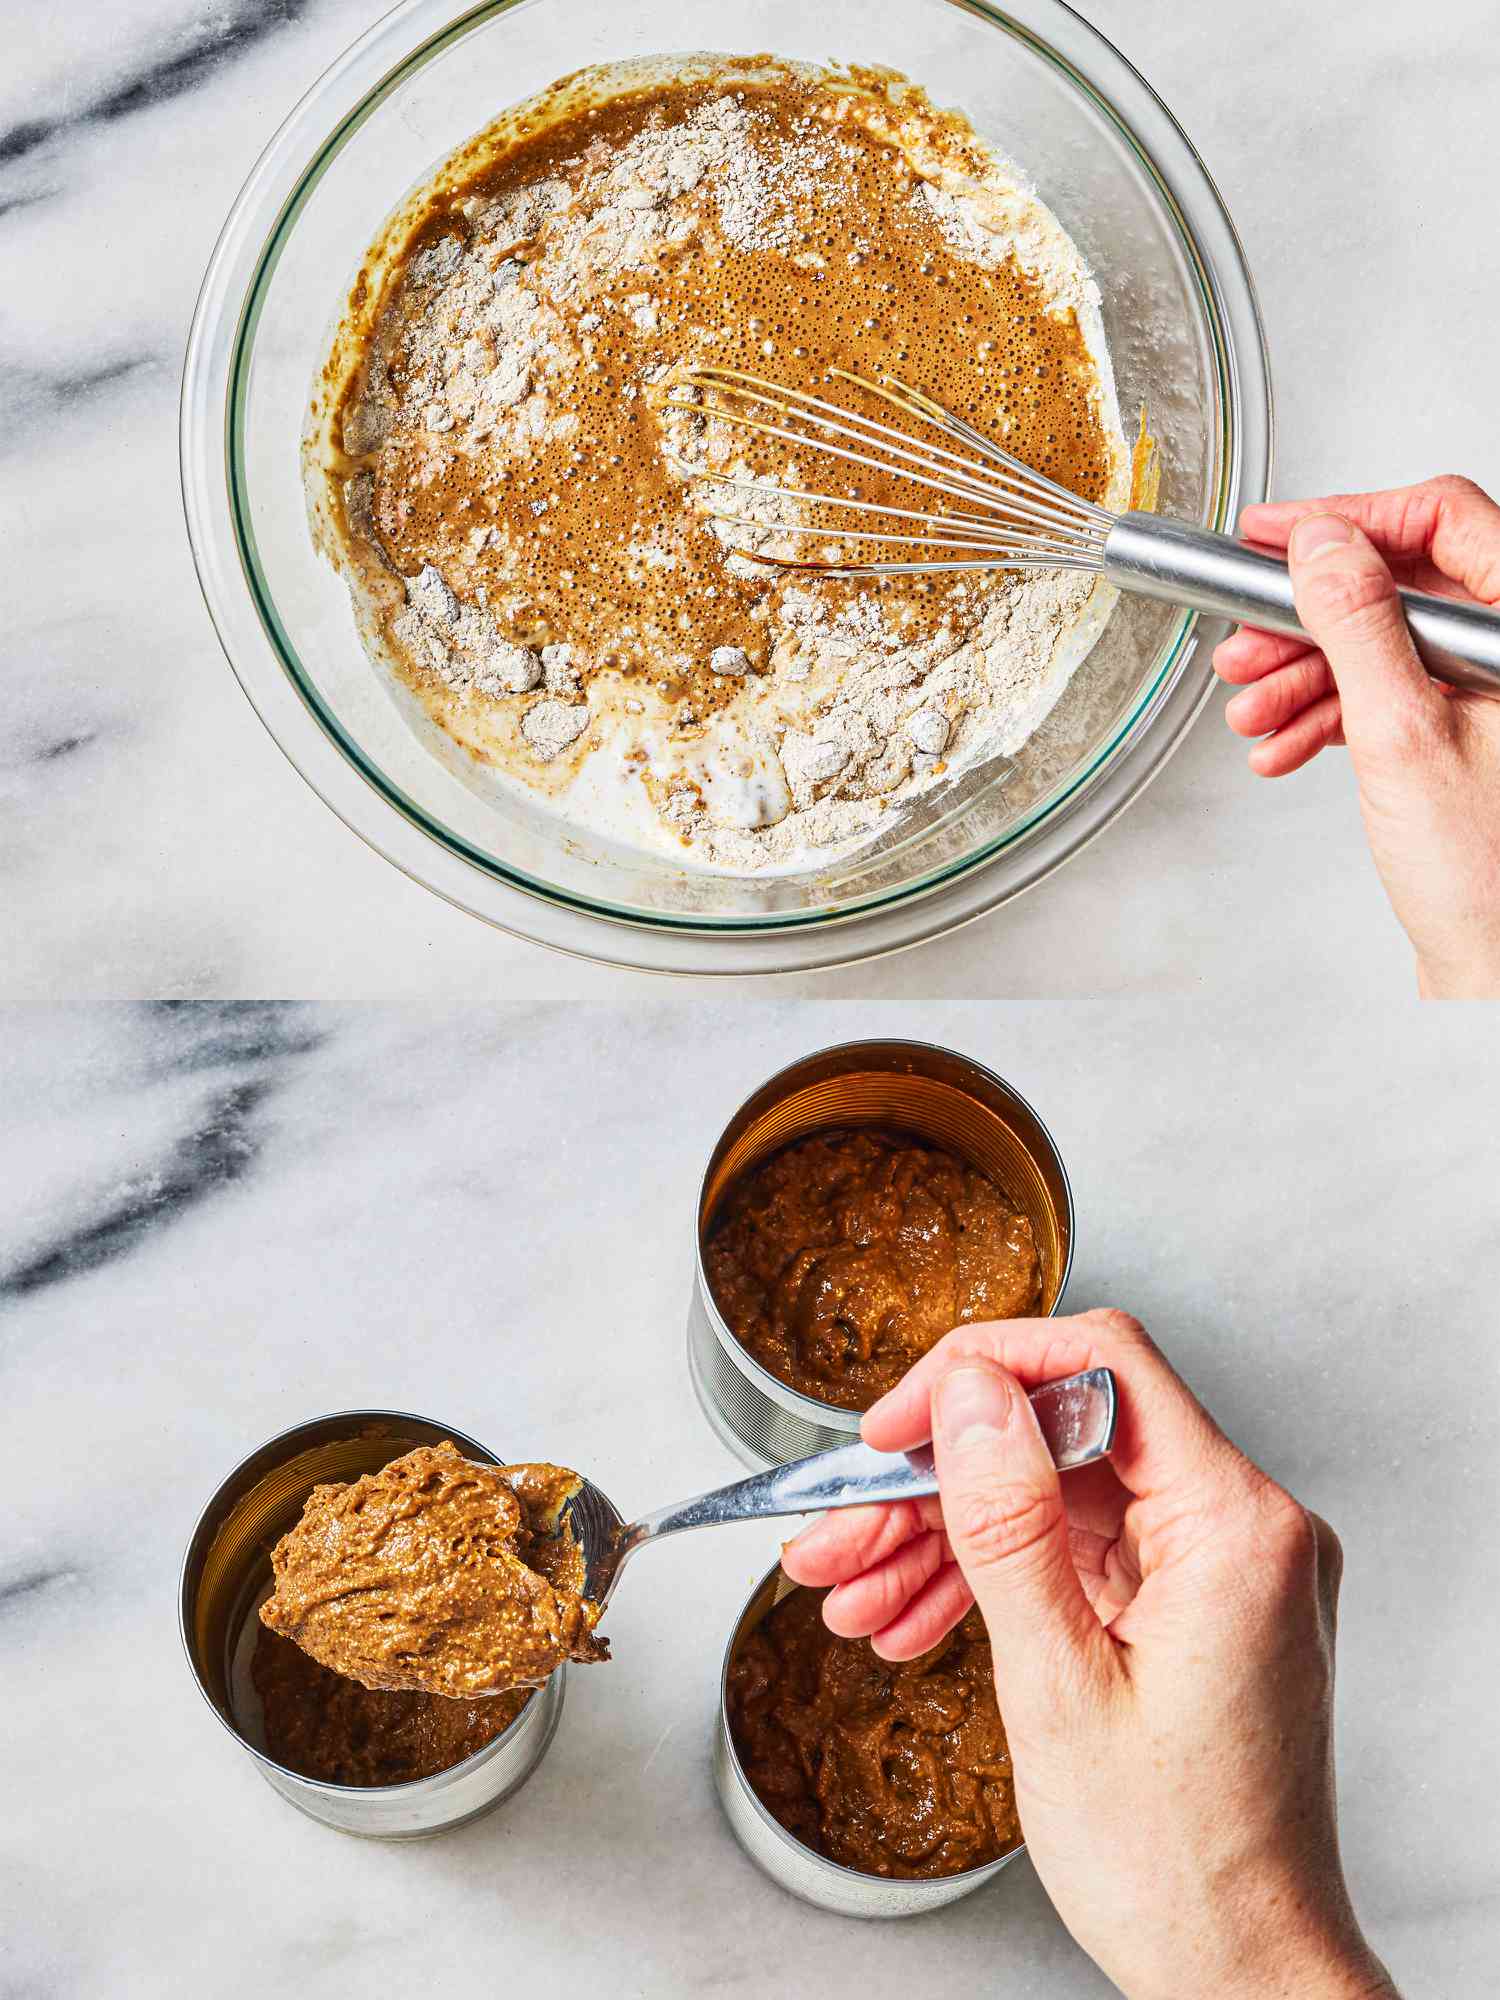
- Add the wet ingredients. Whisk in the buttermilk and molasses until just combined. Don’t overmix—stop when you no longer see dry flour streaks. The batter will be relatively thick but pourable, similar to a muffin batter. Overmixing can make the bread tough, so use gentle strokes.
- Fill the cans. Divide the batter evenly between the prepared cans (about 1 cup/200g batter per can). The batter should fill the cans no more than 2/3 of the way full to allow room for rising. Place a small square of foil over the top of each can to serve as a lid and secure with a heavy-duty rubber band or string. The foil prevents condensation from dripping onto your bread while steaming.
- Steam the bread. Set cans on the trivet in the pot of simmering water. The water should reach about halfway up the sides of the cans (if not, add additional hot water). Cover and return to a simmer over medium-high heat. Once simmering, reduce heat to medium-low and gently simmer for 35 to 40 minutes. The bread is done when it’s set and gently pulling away from the sides of cans. To test for doneness, insert a skewer into the center—it should come out with moist crumbs, not wet batter. For precision, the internal temperature should register between 200°F and 205°F (93°C-96°C).
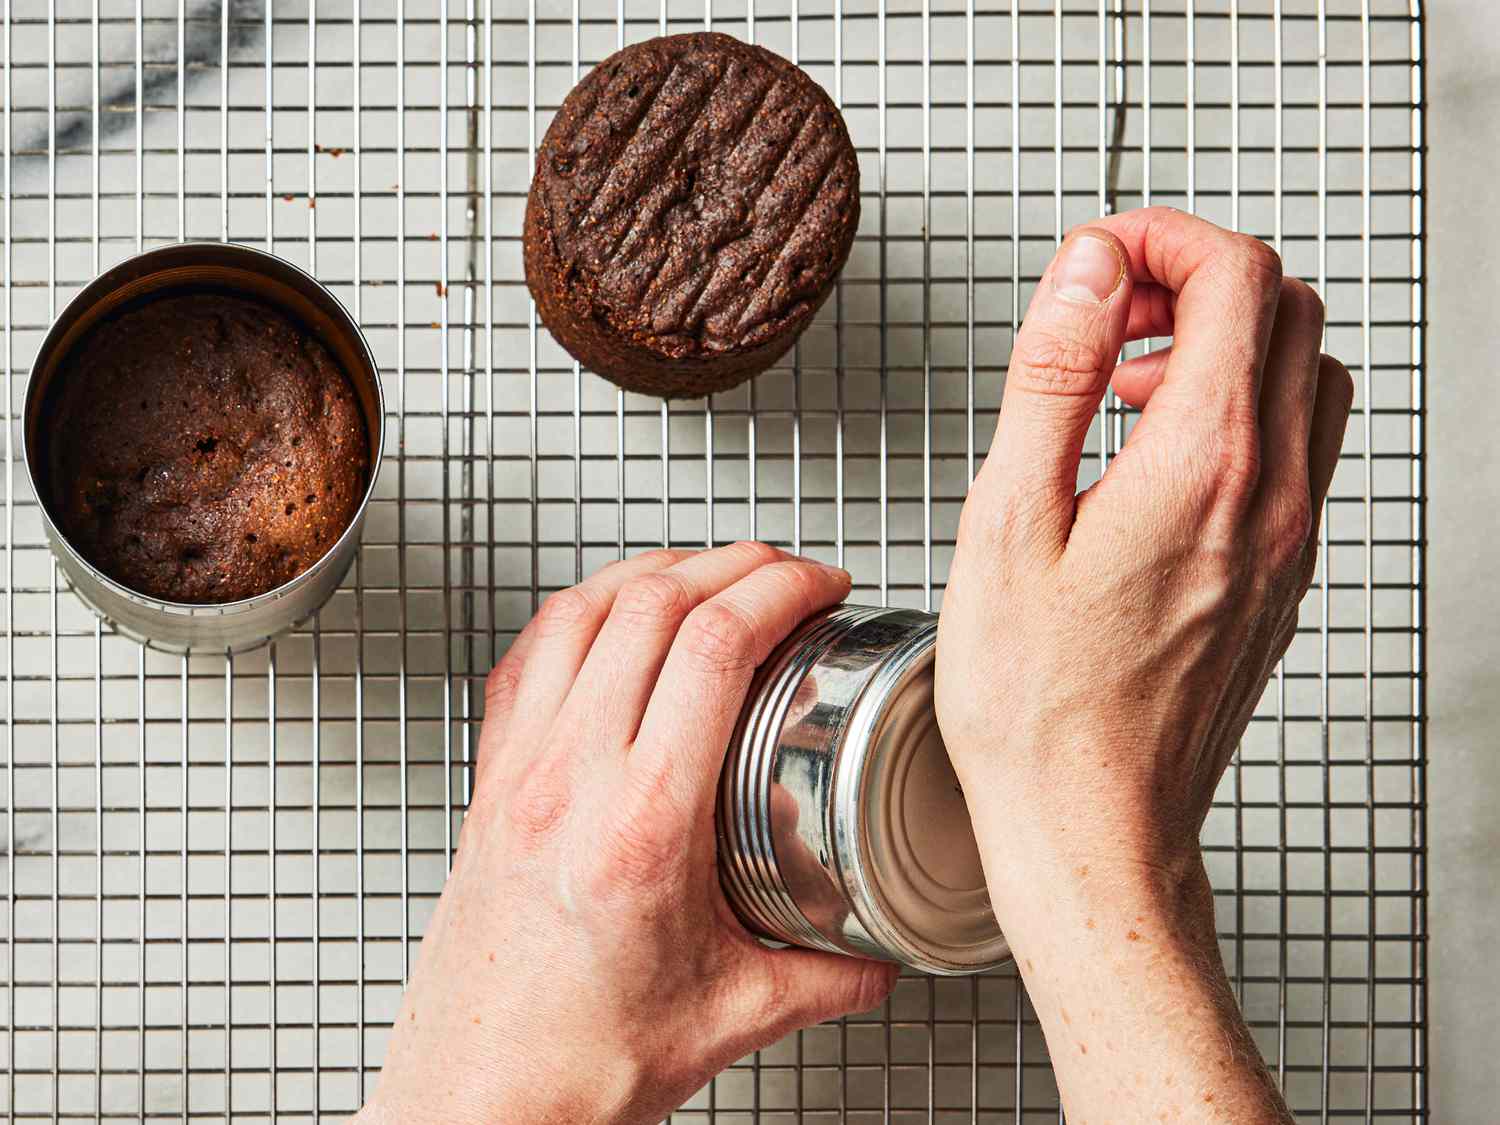
- Cool and unmold. Remove cans from pot using tongs (be careful—they’re hot!), set on a cooling rack, and remove foil lids. Let bread cool in cans for 20 to 30 minutes. This initial cooling helps the bread set up properly. Remove bread from cans by turning each can upside down and tapping the bottom of the can with the heel of your palm. If the bread resists, run a thin knife around the edge to loosen. Let loaves cool completely on wire rack for about 1 hour.
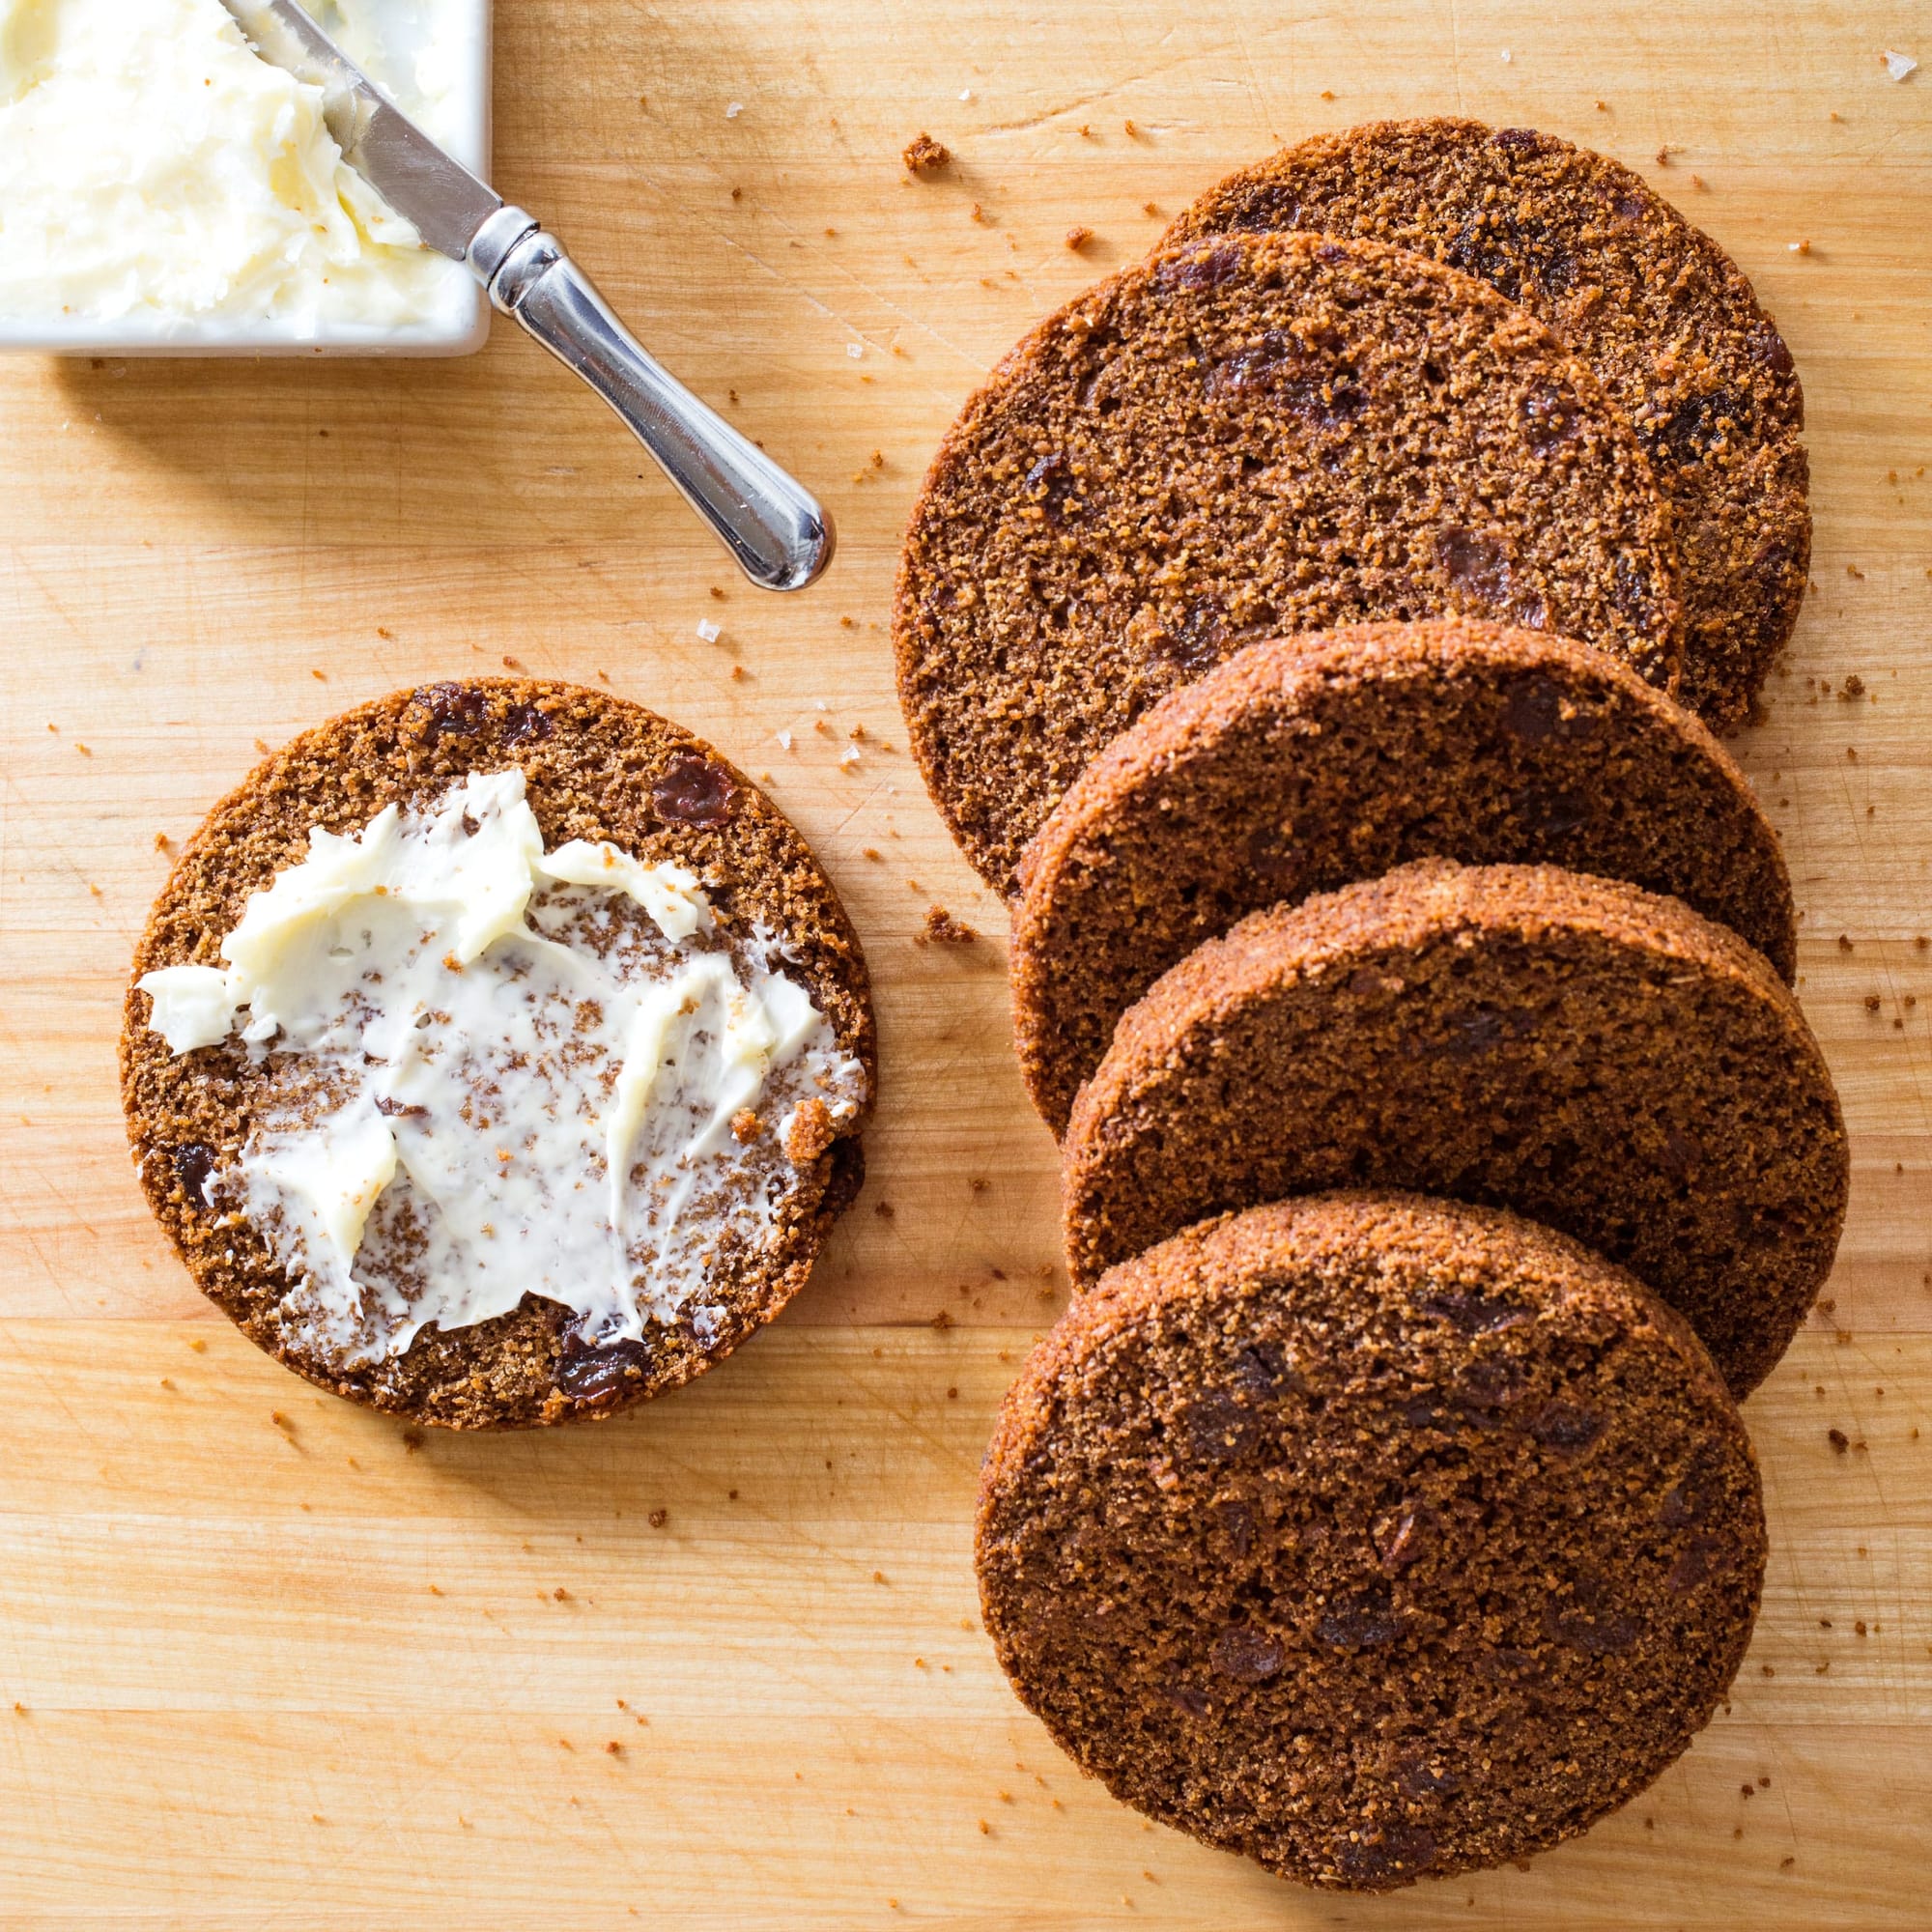
- Serve and enjoy. Serve plain or toasted with cream cheese. For the best flavor experience, wait until the next day to eat the bread—the flavors meld and improve with this resting time. The bread will keep at room temperature, well-wrapped, for up to 3 days, or refrigerated for up to 1 week.

Smart Swaps
- Honey instead of molasses (use 1/4 cup instead of 1/3 cup) for a milder, sweeter flavor
- Whole wheat flour instead of rye flour (1:1 ratio) for a more familiar taste profile
- Dried cranberries instead of raisins (same amount) for a tart twist
- Greek yogurt thinned with a bit of milk instead of buttermilk (use 3/4 cup yogurt + 1/4 cup milk)
Make It Diabetes-Friendly
- Replace molasses with 2 tablespoons maple syrup mixed with 1 tablespoon blackstrap molasses (reduces carbs by about 10g per serving)
- Use 1/3 cup chopped walnuts instead of raisins (lowers the glycemic impact while adding healthy fats)
- Reduce cornmeal to 1/4 cup and add 2 tablespoons ground flaxseed (adds fiber to slow sugar absorption)
- Serve with 2 tablespoons of low-fat cream cheese mixed with 1/2 teaspoon cinnamon (enhances flavor while reducing fat content)
- Stick to a 1/2-inch slice portion (approximately 15g of carbs per serving)
Pro Tips
- If you don’t have the right size cans, 1-pound coffee cans work perfectly
- For extra flavor, soak the raisins in hot water or rum for 15 minutes before adding to the batter
- The bread freezes beautifully for up to 3 months—slice before freezing for easy toasting
- For a more traditional presentation, serve with baked beans for a complete New England experience
- Check your water level during steaming—if it gets too low, add more hot (not cold) water to maintain the steam