Easy Caramel Apples Recipe
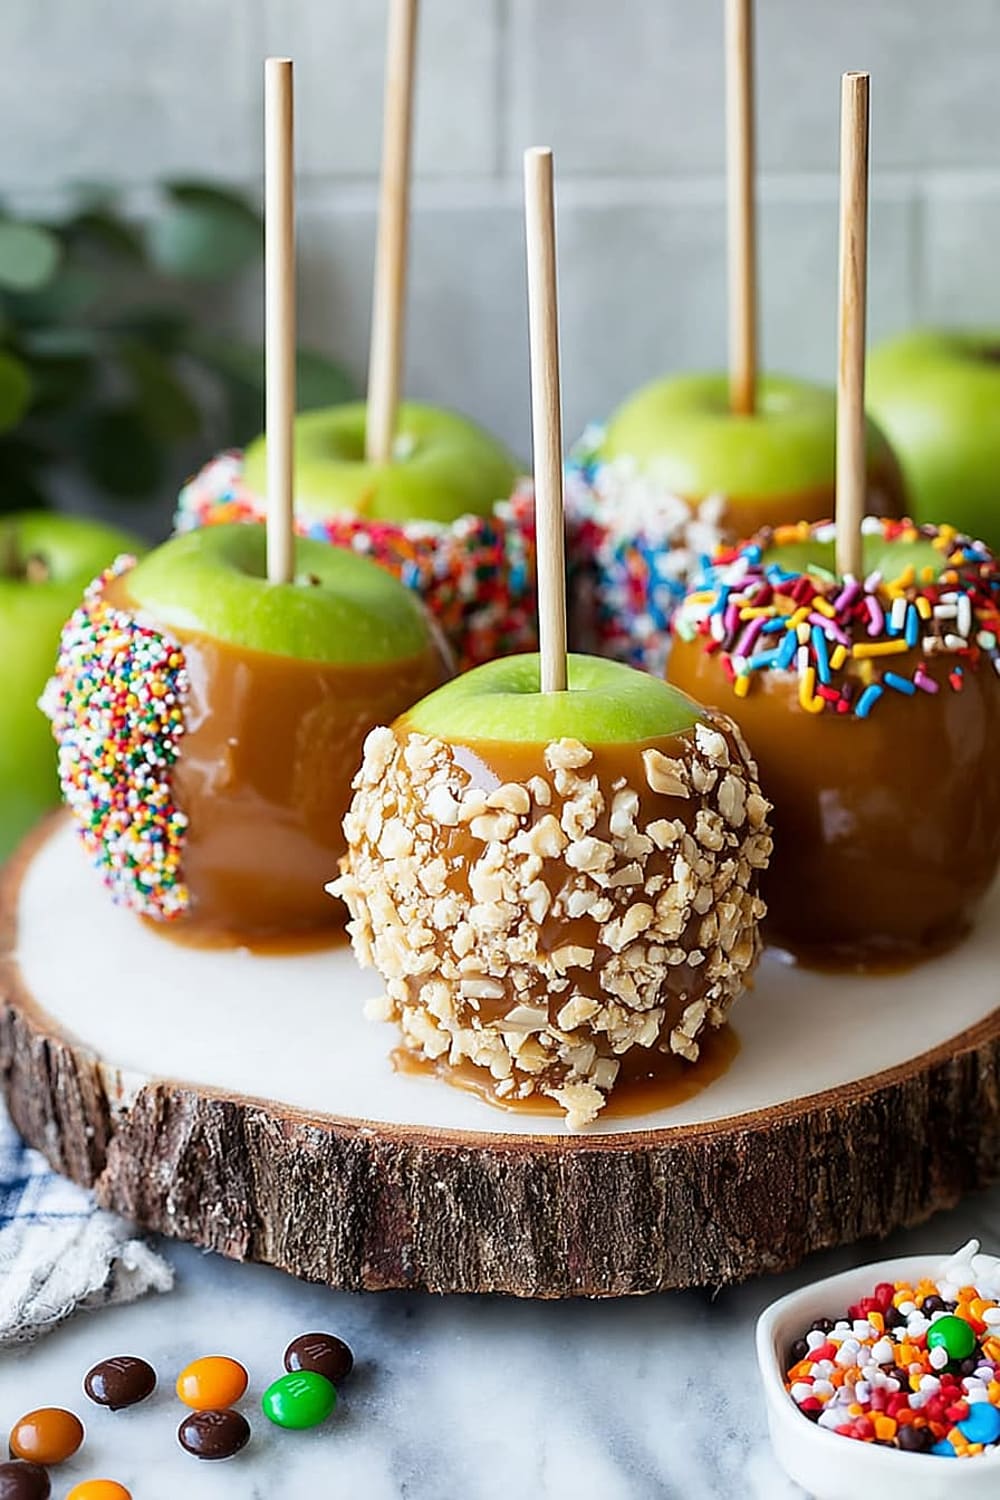
Nothing beats the pure joy of biting into a perfectly crafted caramel apple where the buttery caramel coating gives way to crisp, tart apple underneath.
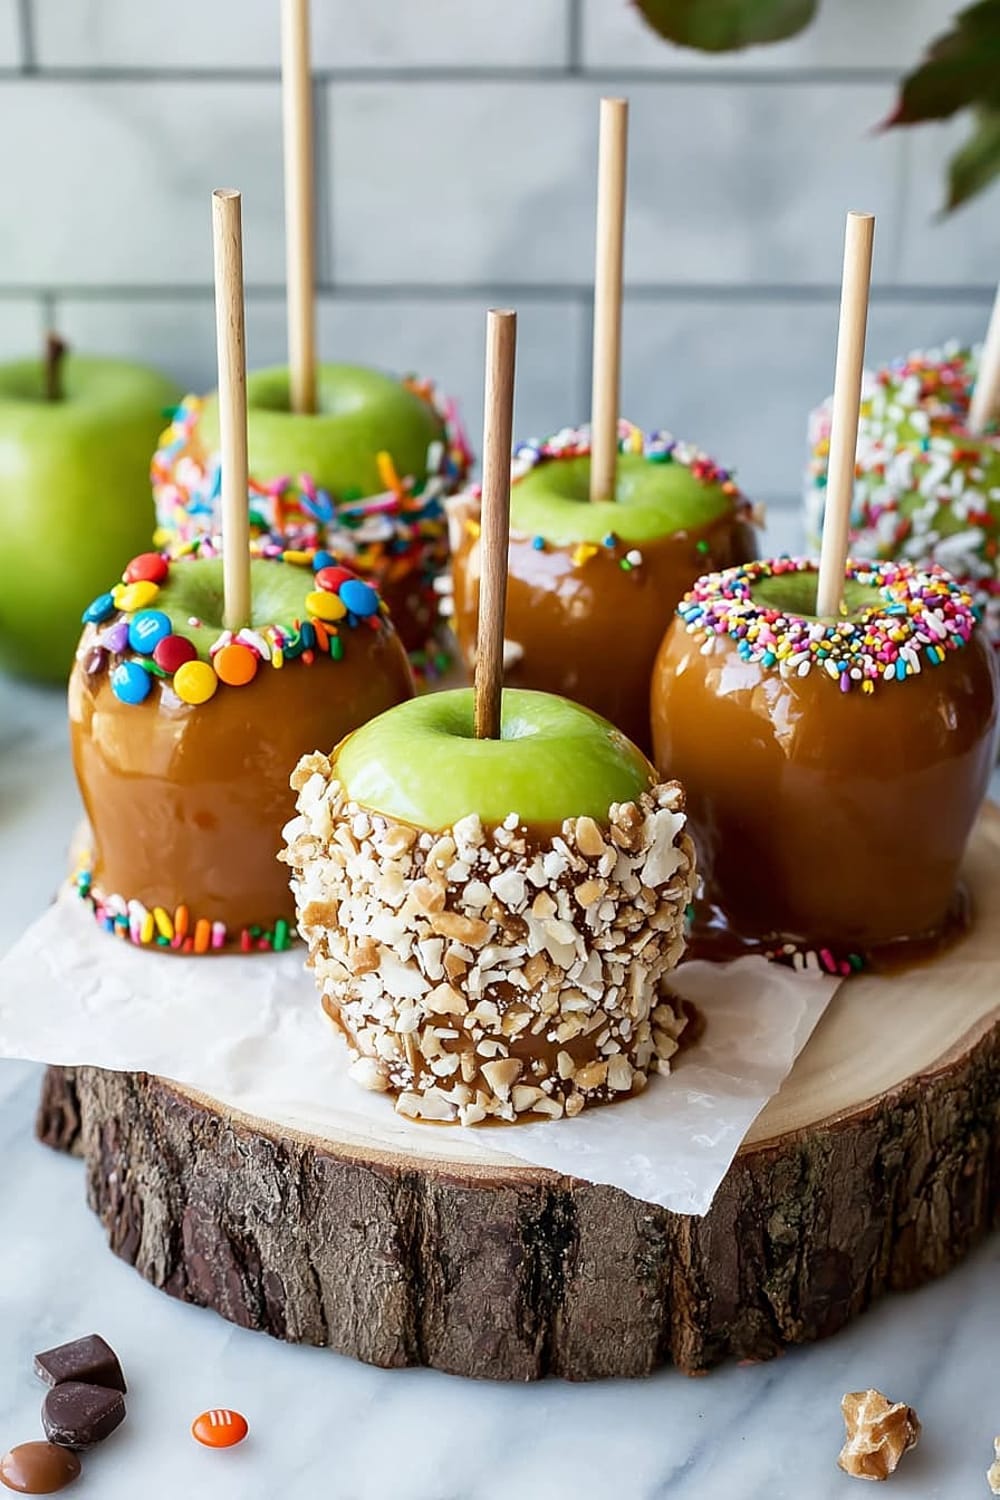
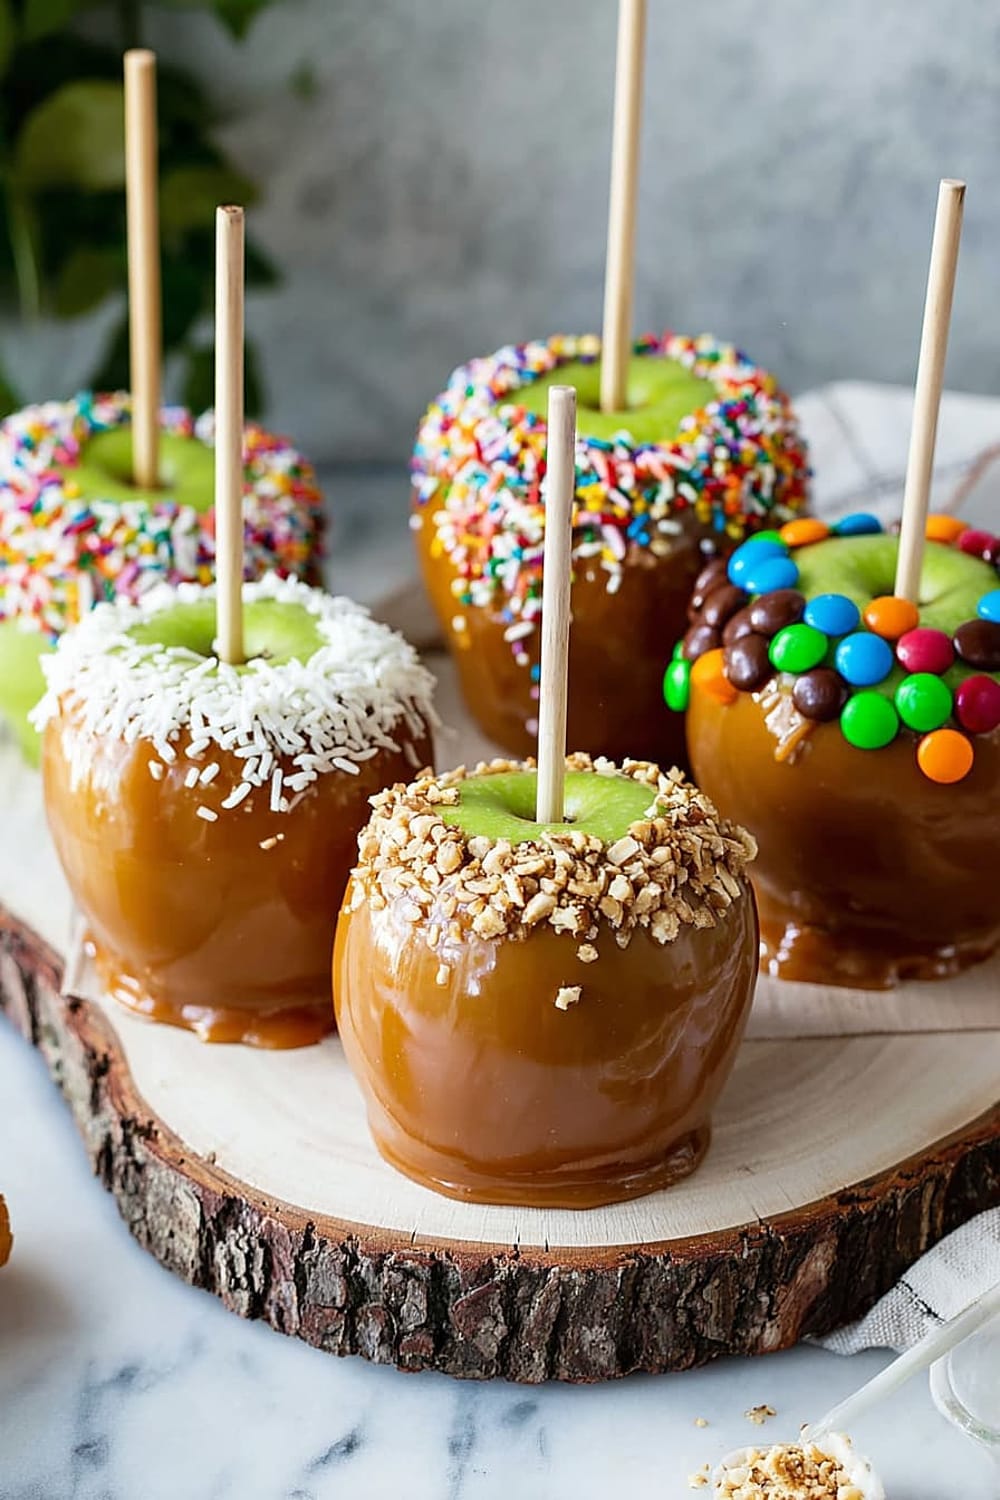
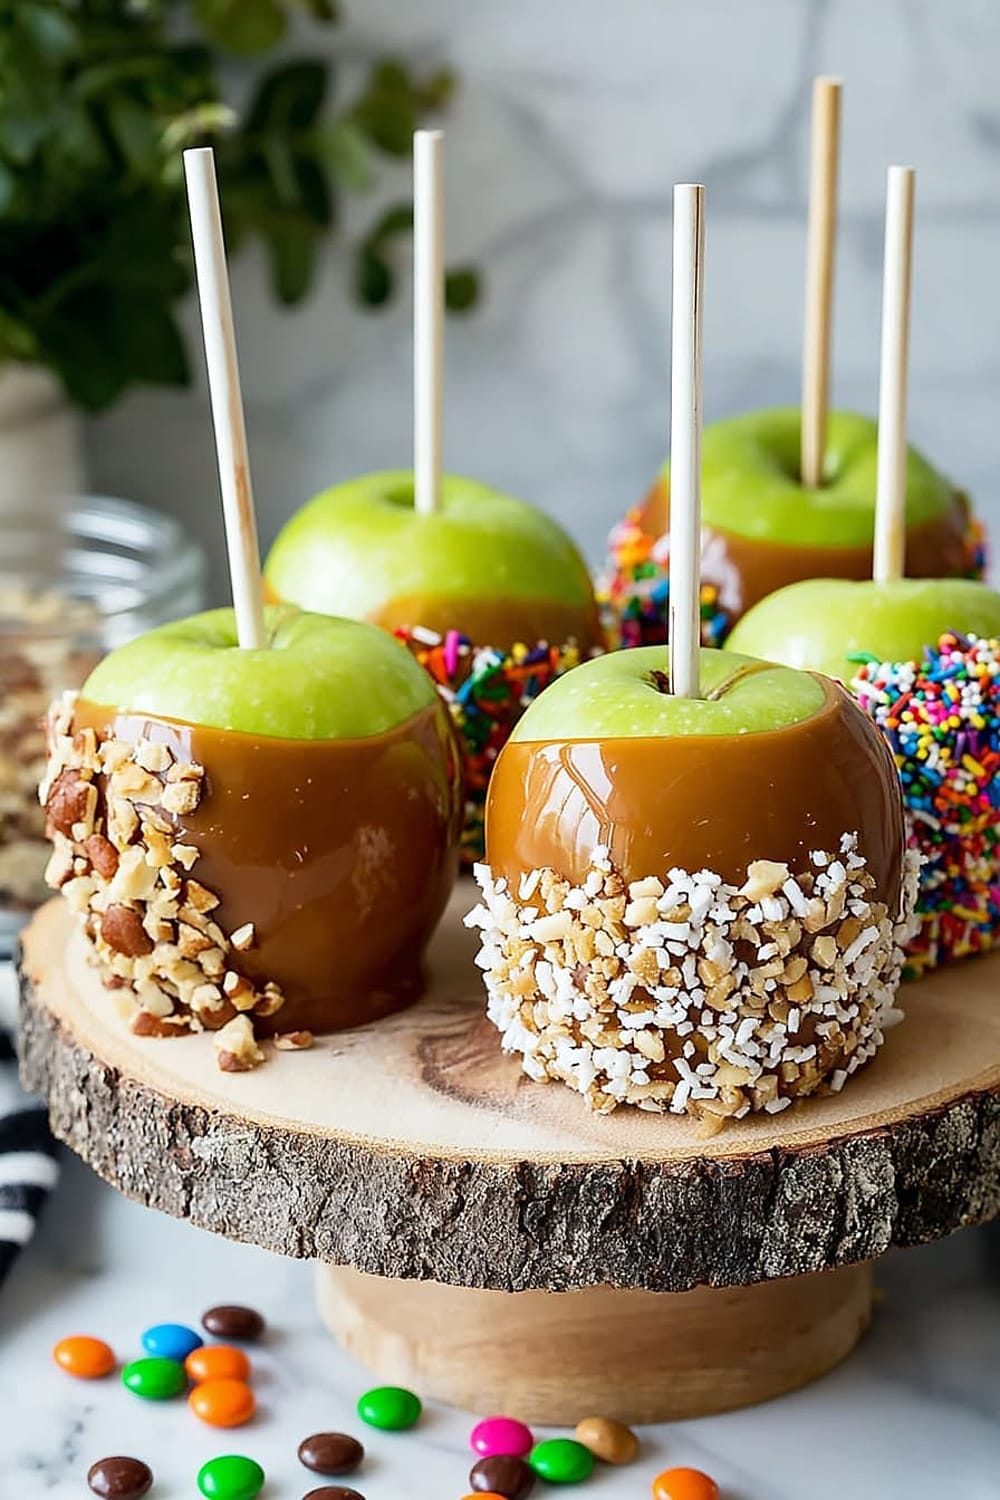
This recipe transforms ordinary Granny Smith apples into glossy, golden masterpieces that look like they came straight from a fancy candy shop but require zero professional training.

The secret lies in using quality Werther’s Chewy caramels melted with just a touch of heavy cream to create that perfect consistency that clings beautifully without sliding off.

You’ll love how the microwave method eliminates all the guesswork of traditional caramel making – no candy thermometers, no stirring over hot stoves, just foolproof results every single time.
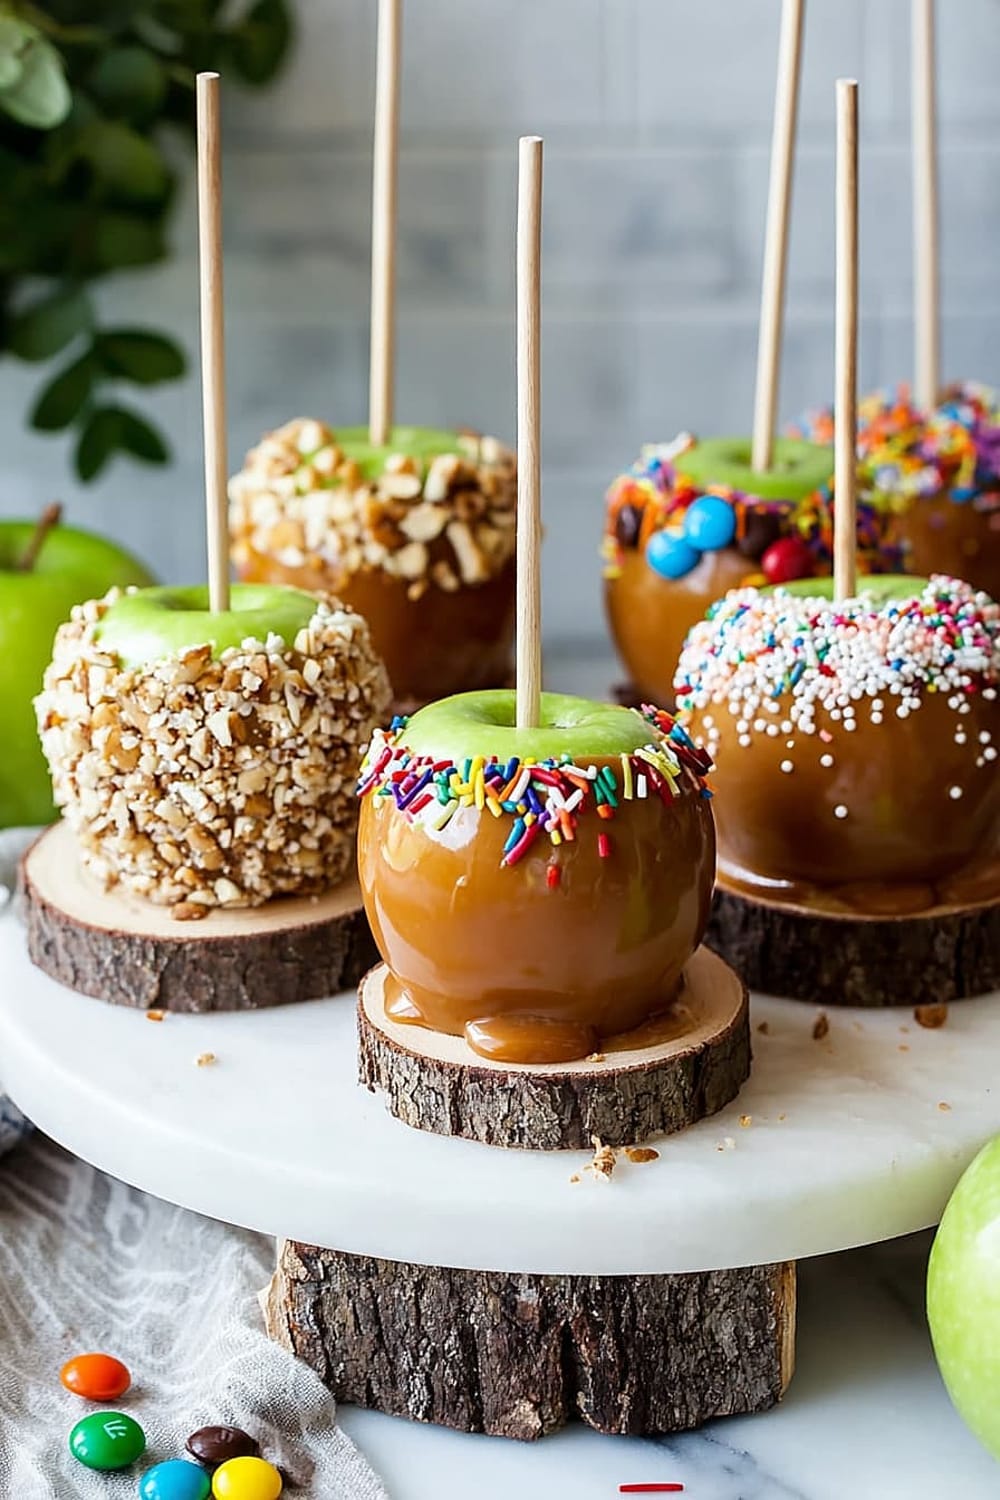
These gorgeous treats are about to become your go-to for fall gatherings, Halloween parties, or any time you want to impress without the stress of complicated candy-making techniques.
Get ready for that satisfying crack when you bite through the smooth caramel shell, followed by the perfect contrast of sweet and tart flavors that make caramel apples absolutely irresistible.
Ingredients
For the Caramel Apples
- 7 small Granny Smith apples (about 2 1/4 lbs) – choose firm, unblemished apples
- 15 oz. Werther’s Chewy caramels – or similar high-quality chewy caramels
- 3 tablespoons heavy cream – for smooth, creamy consistency
For Optional Toppings
- Chopped peanuts – roasted and salted work best
- Mini chocolate chips – semi-sweet or milk chocolate
- Crushed pretzels – for sweet and salty contrast
- Toasted coconut flakes – adds tropical flavor
- Crushed graham crackers – classic carnival-style topping
- Sea salt flakes – for gourmet salted caramel effect
Essential Supplies
- Caramel apple sticks – wooden craft sticks or official caramel apple sticks
- Parchment paper – prevents sticking
- Non-stick cooking spray – ensures easy removal
Instructions
Prepare the Apples
- 1 Rinse and thoroughly dry apples with paper towels, removing any waxy residue that could prevent caramel from adhering properly. Pat each apple completely dry and let air dry for 5 minutes to ensure no moisture remains.
- 2 Insert caramel apple sticks firmly into the stem end of each apple, pushing about 2 inches deep to ensure they won’t pull out when dipped. Twist slightly while inserting to create a secure hold.
- 3 Have all toppings ready in shallow bowls if you’ll be adding them to your apples. Work quickly once dipping begins, as caramel sets within 30-60 seconds.
Prepare the Workspace
- 4 Line a 13×9-inch baking sheet with parchment paper, ensuring paper extends slightly up the sides for easy removal. Spray the parchment paper generously with non-stick cooking spray to prevent any sticking.
- 5 Place the prepared baking sheet in the refrigerator while you prepare the caramel. The cold surface will help the caramel set more quickly and evenly.
Make the Caramel
- 6 Place caramels and heavy cream in a large microwave-safe bowl (approximately 5-cup capacity). Using a larger bowl prevents overflow and makes stirring easier.
- 7 Heat in microwave in 30-second increments, stirring thoroughly between each interval until completely melted and smooth. This typically takes 2-3 minutes total. The mixture should be glossy and flow smoothly off your spoon.
- 8 Let caramel cool briefly if it seems too runny – you want it warm enough to flow but thick enough to coat the apples without immediately sliding off. Test consistency by dipping a spoon; caramel should coat and hold.
Dip the Apples
- 9 Dip each apple at an angle into the caramel, tilting the bowl slightly to create depth. Rotate the apple slowly to ensure even coverage up to just below the stick insertion point.
- 10 Lift the apple and let excess caramel drip off for 10-15 seconds. Run the bottom of the apple along the inside edge of the bowl to remove excess caramel and prevent pooling.
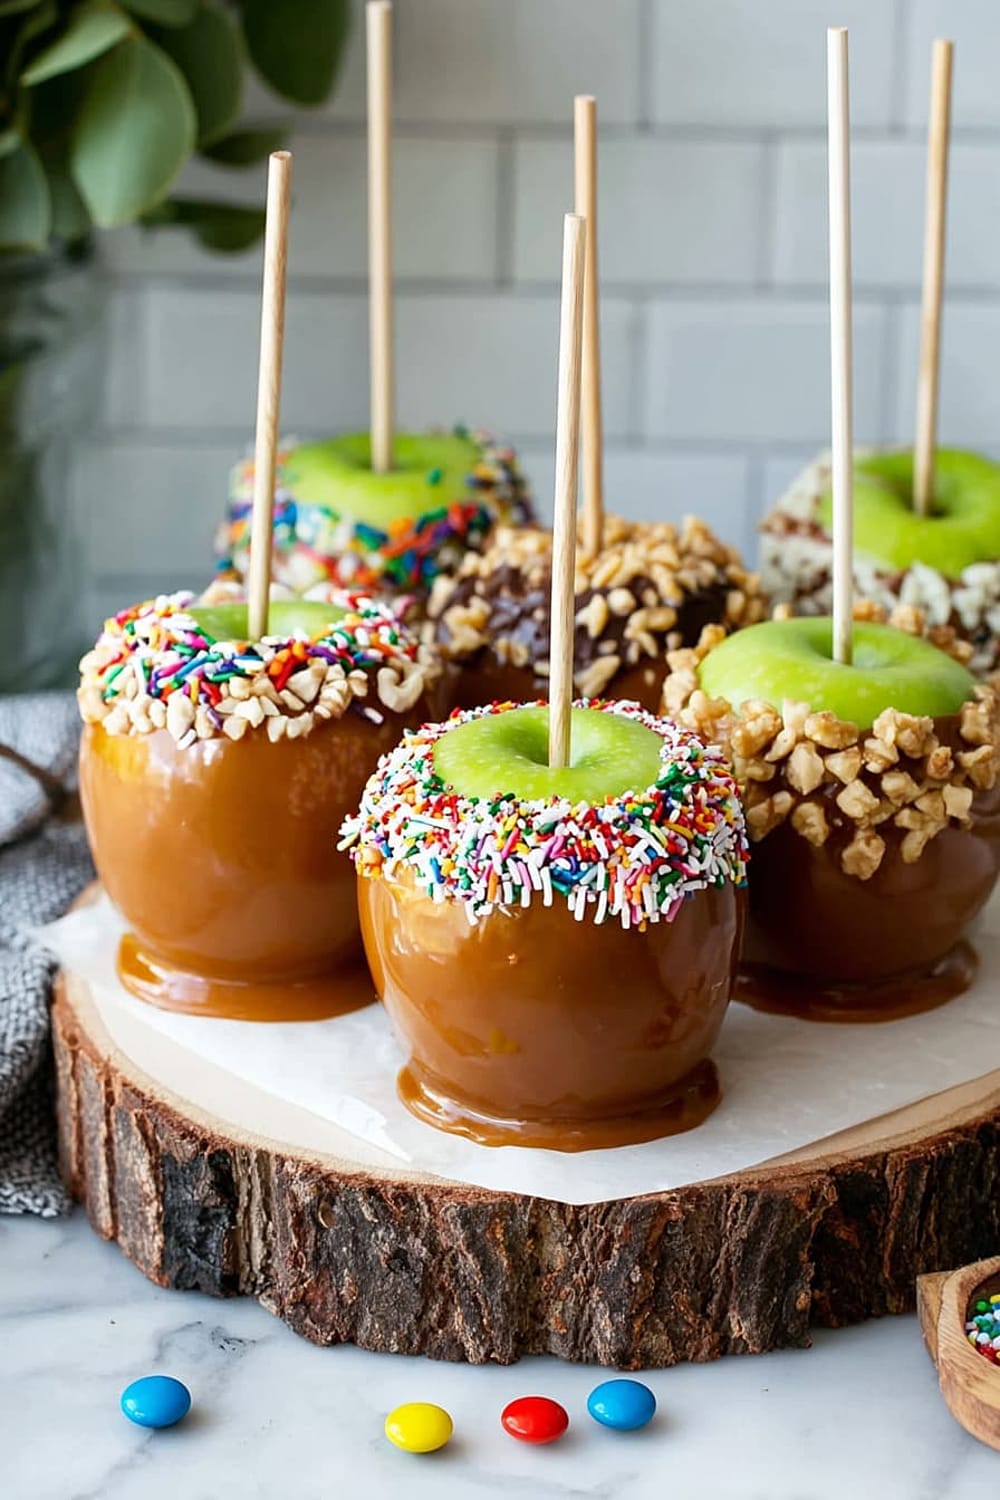
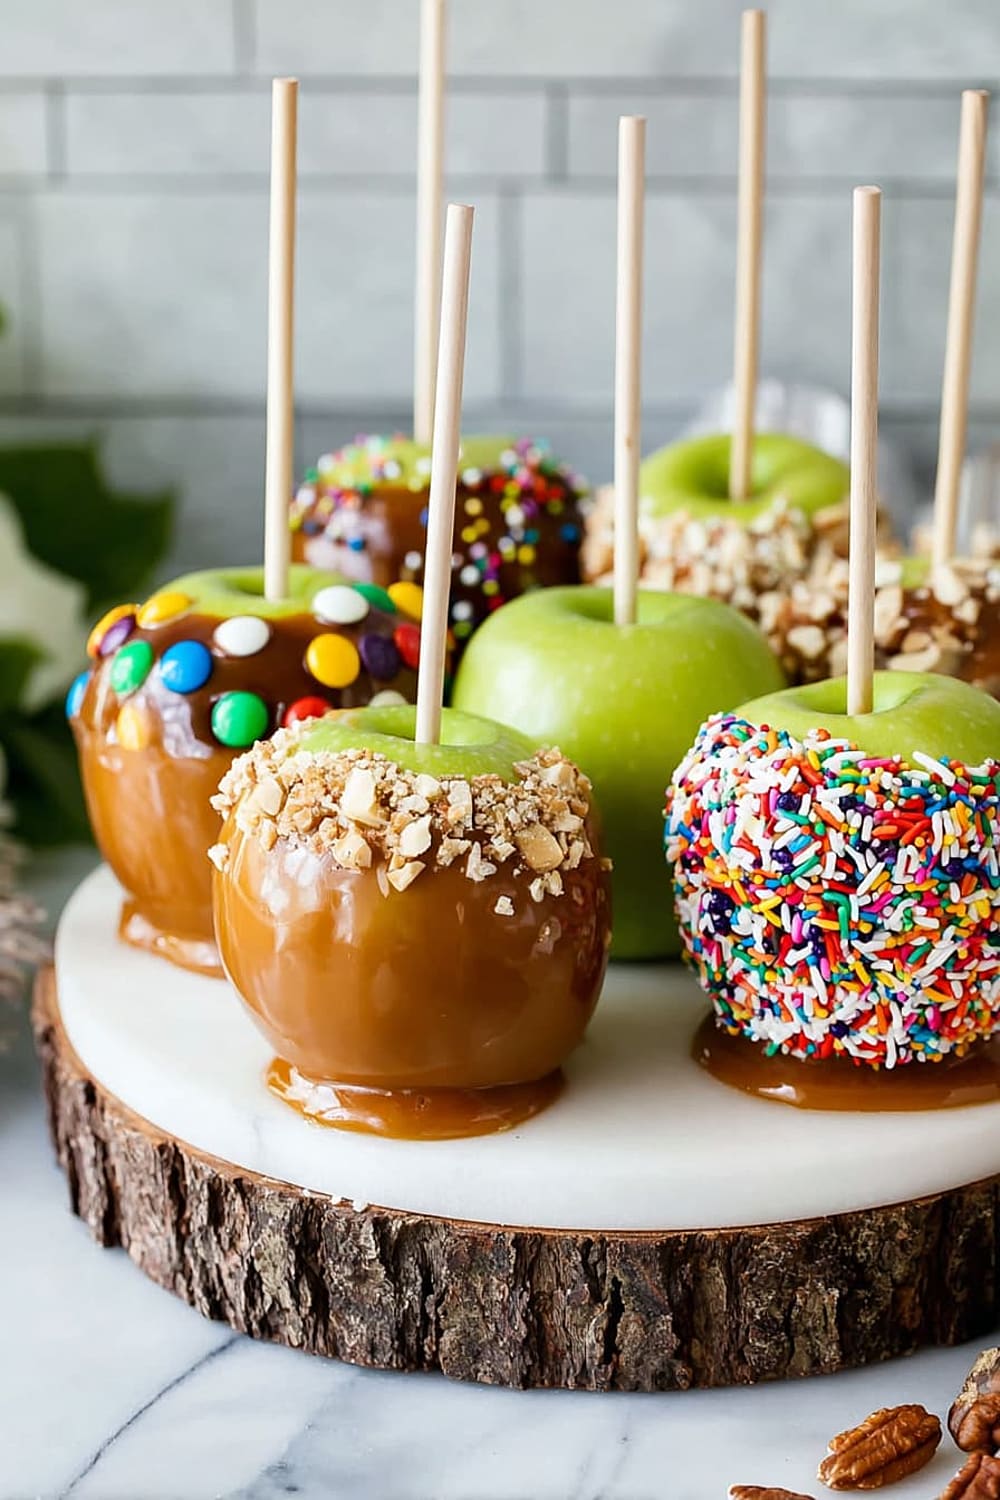
- 11 Turn the apple upside down momentarily to let caramel flow upward slightly, then immediately roll in desired toppings or sprinkle toppings over the surface before the caramel begins to set.
Finish and Chill
- 12 Place coated apples upright on the prepared cold baking sheet in the refrigerator. Work quickly with remaining apples, reheating caramel in 15-second increments as needed to maintain proper dipping consistency.
- 13 Refrigerate for 30 minutes to allow caramel to set completely. The coating should be firm to the touch and no longer tacky when properly set.
- 14 Cut into slices just before serving to prevent browning. Use a sharp knife and clean between cuts for the cleanest presentation.
Recommended Equipment and Kitchen Tools
Essential Tools (for best results)
- Large microwave-safe mixing bowl (5-cup capacity) – ensures even heating and prevents overflow during caramel melting
- Digital kitchen scale – provides precise measurements for consistent caramel consistency every time
- Instant-read thermometer – helps achieve perfect caramel temperature without overheating
- Silicone spatula – ideal for stirring hot caramel without scratching bowls or melting
Helpful Upgrades
- Parchment paper with silicone coating – superior non-stick properties make removal effortless
- Offset spatula – professional tool for spreading toppings evenly and smoothing caramel drips
- Glass mixing bowls – allow you to monitor caramel color and consistency during heating process
- Wooden apple sticks versus plastic – provide better grip and more authentic presentation
Nice-to-Have Options
- Candy thermometer – though not required with this microwave method, helpful for those who prefer precise temperature control
- Food processor – perfect for creating custom chopped toppings like nuts or cookie crumbles
- Storage containers with tight-fitting lids – keeps finished apples fresh and prevents caramel from absorbing refrigerator odors
Recipe Variations and Dietary Modifications
Gluten-Free Adaptation
- Verify caramel ingredients – most Werther’s caramels are naturally gluten-free, but always check labels
- Choose certified gluten-free toppings like pure nuts, coconut flakes, or gluten-free cookie crumbles
- Use gluten-free graham crackers if including crushed graham crackers as topping option
Dairy-Free Modifications
- Replace heavy cream with full-fat coconut cream (3 tablespoons) for rich consistency
- Use dairy-free caramels or make homemade caramel using coconut cream and coconut sugar
- Select dairy-free chocolate chips for topping options – many dark chocolates are naturally dairy-free
Vegan Modifications
- Choose vegan caramel candies or create homemade version using coconut cream, maple syrup, and coconut oil
- Substitute coconut cream for heavy cream in equal amounts for proper melting consistency
- Opt for vegan chocolate chips and ensure all toppings align with plant-based requirements
Sugar-Reduced Version
- Use sugar-free caramel candies available from brands like Russell Stover or Werther’s sugar-free line
- Replace heavy cream with unsweetened almond milk for lower calorie option
- Choose naturally sweet toppings like toasted coconut or cinnamon instead of chocolate chips
Flavor Variations
- Add 1 teaspoon vanilla extract to melted caramel for enhanced flavor depth
- Mix in 1/2 teaspoon sea salt for salted caramel version that’s currently trending
- Include 1/4 teaspoon cinnamon for warm spice notes perfect for fall season
- Try different apple varieties like Honeycrisp for sweeter base or Pink Lady for extra tartness
Nutritional Information and Health Benefits
Key Nutritional Highlights
Each caramel apple contains approximately 280-320 calories, with the majority coming from natural fruit sugars and added caramel coating. The medium-sized Granny Smith apple provides about 4 grams of dietary fiber and 10% of daily vitamin C requirements. The caramel coating adds 25-30 grams of carbohydrates and 3-4 grams of fat from the heavy cream component.
Health Benefits of Main Ingredients
Granny Smith apples are particularly rich in quercetin, a powerful antioxidant that supports heart health and may help reduce inflammation. These tart apples contain pectin, a soluble fiber that promotes healthy digestion and helps stabilize blood sugar levels. The natural fruit acids in Granny Smith varieties provide vitamin C and support immune system function. Heavy cream contributes calcium and vitamin A, supporting bone health and vision, though in modest amounts given the serving size.
Dietary Considerations
This recipe contains dairy from heavy cream and potential allergens from caramel candies which may include soy lecithin. The treats are naturally gluten-free when using verified gluten-free caramels. Portion control is important as each apple represents a substantial dessert serving. These work well as occasional treats within a balanced diet, providing fruit nutrition alongside indulgent flavors.
Smart Swaps and Ingredient Substitutions
Common Substitutions:
- Heavy cream → Half-and-half or whole milk (may result in slightly thinner consistency)
- Werther’s caramels → Any soft caramel candies like Kraft caramels or homemade caramel sauce
- Granny Smith apples → Honeycrisp, Gala, or Fuji apples for different sweetness levels
- Wooden sticks → Sturdy plastic forks or popsicle sticks in emergency situations
Budget-Friendly Swaps:
- Premium caramel candies → Store-brand soft caramels work equally well for melting
- Heavy cream → Evaporated milk creates similar richness at lower cost
- Fancy toppings → Crushed cereal, chopped cookies, or homemade toasted nuts
- Parchment paper → Well-greased aluminum foil or silicone baking mats
Pantry Emergency Substitutions:
- No caramel candies → Melt 1 cup brown sugar with 1/4 cup butter and 2 tablespoons cream
- No heavy cream → Combine 3/4 cup milk with 1/4 cup melted butter
- No apple sticks → Cut apples into wedges and serve caramel as dipping sauce
- No toppings → Roll in granulated sugar, cinnamon sugar, or leave plain
Pro Tips for Substitutions:
- Store substitute ingredients in airtight containers to maintain freshness between uses
- Adjust heating times when using different caramel brands as melting points vary slightly
- Test consistency with a small spoon before committing to dipping all apples
Make It Diabetes-Friendly
Sugar Substitutions:
- Replace regular caramels with sugar-free versions from Werther’s or Russell Stover (use same 15 oz amount)
- Calculate carb reduction – traditional version contains approximately 45g carbs per apple, sugar-free reduces this to about 25g carbs
- Use stevia-sweetened caramel sauce as alternative to candy melting method
Portion & Timing Tips:
- Cut apples into quarters before serving to create 4 smaller portions per apple
- Estimated carbs per quarter – approximately 6-8g with sugar-free caramel modifications
- Pair with protein like a small handful of nuts to help stabilize blood sugar response
- Serve with meals rather than as standalone snacks to minimize glucose spikes
Alternative Preparation Methods:
- Create caramel dip instead of coating entire apples – allows better portion control
- Use thin caramel drizzle over apple slices rather than full coating
- Mix caramel with Greek yogurt to increase protein content and reduce sugar concentration
Blood Sugar Management:
- Monitor portions carefully – even sugar-free versions contain natural fruit sugars
- Time consumption around physical activity when possible to aid glucose utilization
- Consider apple variety – Granny Smith has lower glycemic impact than sweeter varieties
Total Carb Reduction: Modified version reduces carbohydrates by approximately 40-50% compared to traditional recipe.
Perfect Pairing Suggestions
Beverage Pairings
Hot beverages complement these treats beautifully – serve alongside spiced apple cider, cinnamon-infused coffee, or chai tea for cozy fall flavors. Cold milk provides a classic pairing that balances the rich caramel sweetness. For adult gatherings, bourbon-based cocktails or dessert wines like Moscato enhance the caramel notes without overwhelming the apple’s tartness.
Side Dish Recommendations
Create a complete dessert spread by adding warm sugar cookies, vanilla ice cream, or whipped cream for dipping extra apple slices. Roasted nuts like pecans or walnuts provide textural contrast and complement the caramel flavors. Cheese platters with sharp cheddar or aged gouda offer sophisticated sweet-and-savory combinations that highlight the apple’s natural flavors.
Complete Meal Ideas
These caramel apples shine as dessert centerpieces for fall dinner parties following hearty meals like roast chicken, pork tenderloin, or butternut squash soup. For casual gatherings, serve alongside chili or barbecue where the sweet finish balances spicy or smoky flavors. Halloween party menus benefit from pairing these with pumpkin-spiced treats and warm comfort foods.
Occasion Suggestions
Perfect for harvest festivals, Halloween parties, fall birthday celebrations, and Thanksgiving dessert tables. These treats work wonderfully for school fundraisers, bake sales, and autumn wedding favors. The elegant presentation makes them suitable for both casual family gatherings and formal fall entertaining.
Pro Tips and Troubleshooting
Professional Techniques
Chill your apples for 30 minutes before dipping to help caramel set faster and more evenly. Work in batches of 2-3 apples if you’re adding multiple toppings, keeping remaining caramel warm between batches. Score the apple skin lightly with a knife if caramel won’t adhere – waxy store-bought apples sometimes need this extra grip.
Common Mistake Prevention
Avoid overheating caramel which creates a grainy texture – stick to 30-second intervals and stir thoroughly between heating. Don’t skip the cooling step if caramel seems too thin; patience prevents frustrating drips and uneven coating. Prepare all toppings first because caramel sets quickly once applied to cold apples.
Storage and Make-Ahead
Refrigerate finished apples for up to 5 days wrapped individually in plastic wrap to prevent caramel from absorbing odors. Slice just before serving to prevent browning, or brush cut surfaces with lemon juice. Caramel can be reheated and used again within 3 days if stored covered in refrigerator.
Scaling and Presentation
Double the recipe easily by using two microwave-safe bowls to prevent overflow during heating. Create gift presentations by wrapping each apple in clear cellophane bags tied with ribbon. For large parties, set up a DIY topping station where guests can customize their own apples after you handle the caramel dipping.
These gorgeous caramel apples prove that impressive treats don’t require professional pastry skills or expensive equipment. With just three main ingredients and a microwave, you’ve created bakery-quality confections that’ll have everyone asking for your secret technique. The beauty lies in the simplicity – quality ingredients, proper technique, and a little patience for that perfect caramel coating that makes each bite absolutely magical.