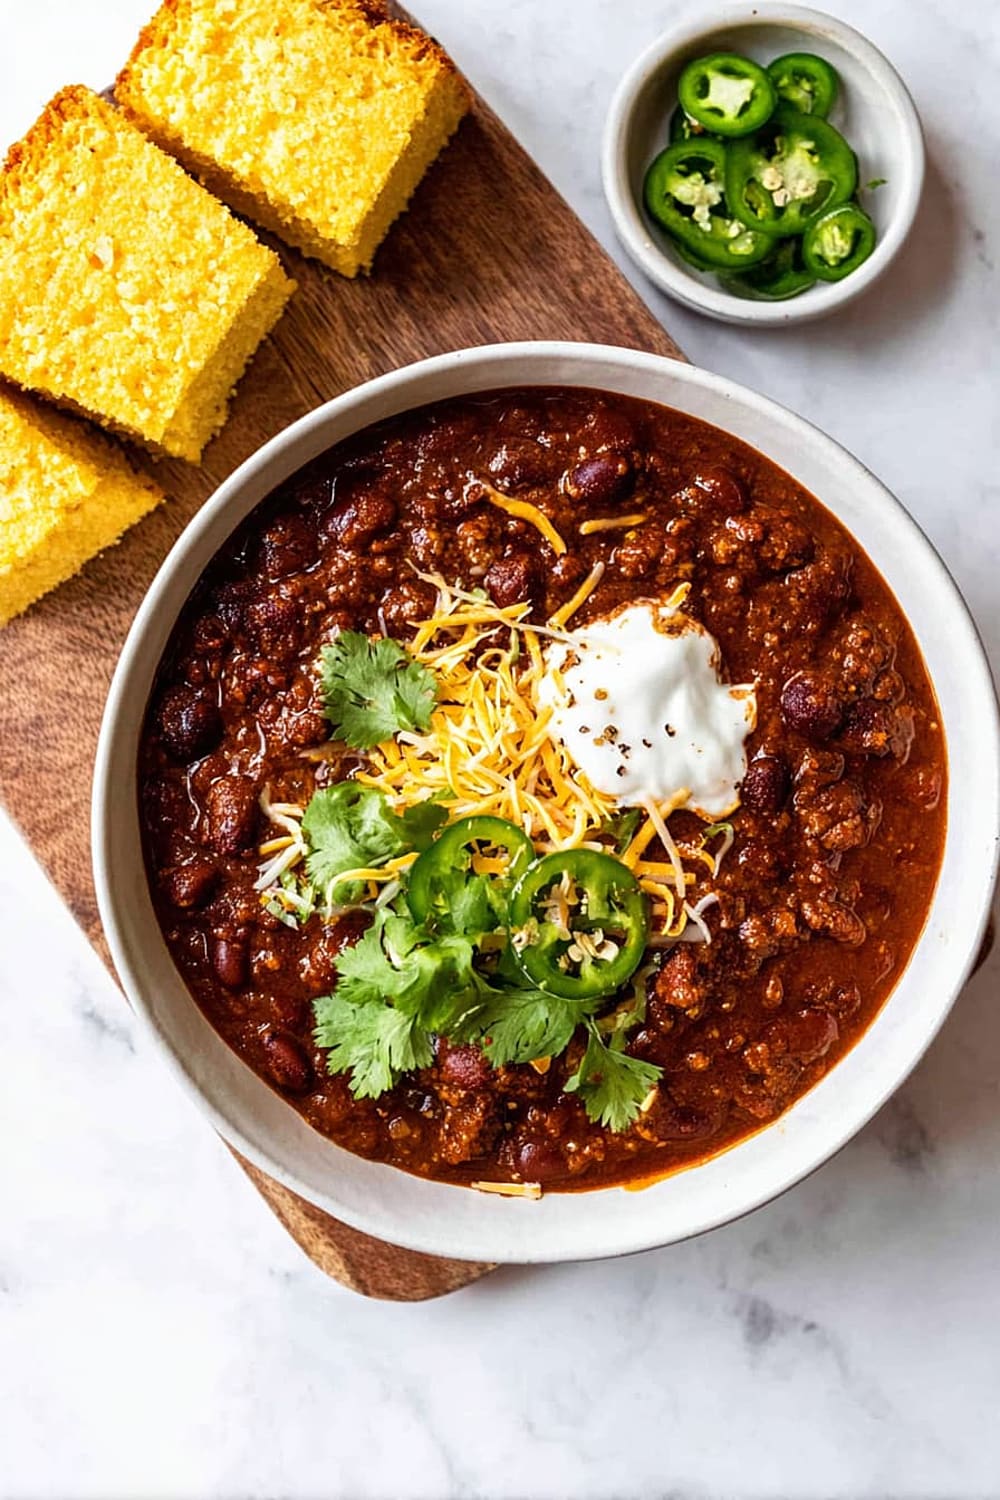
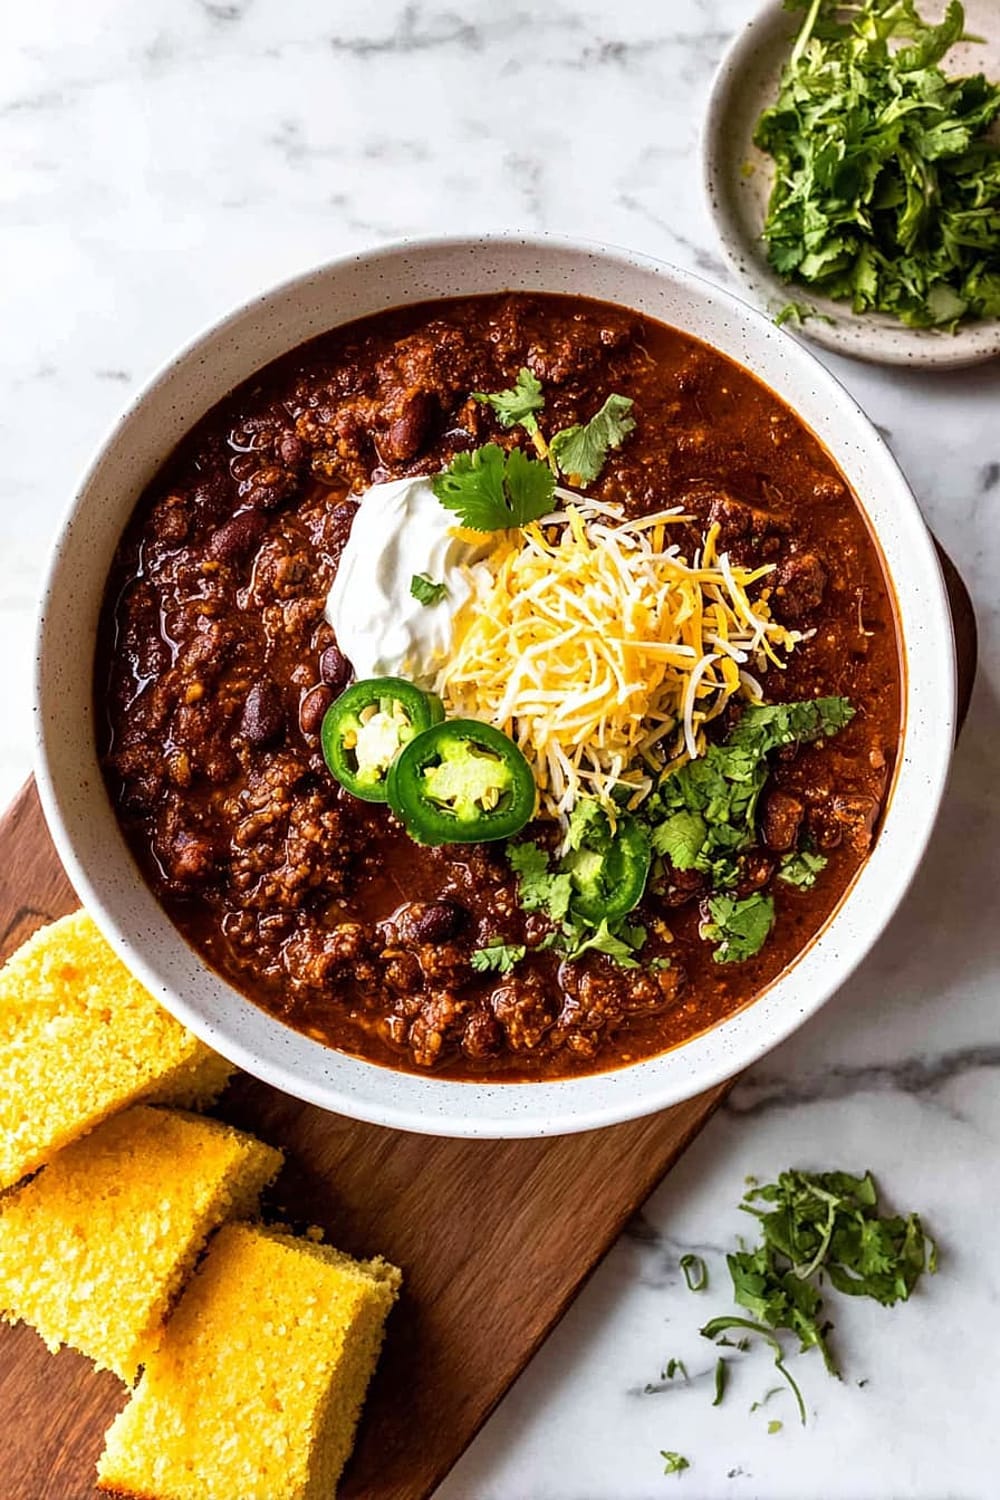
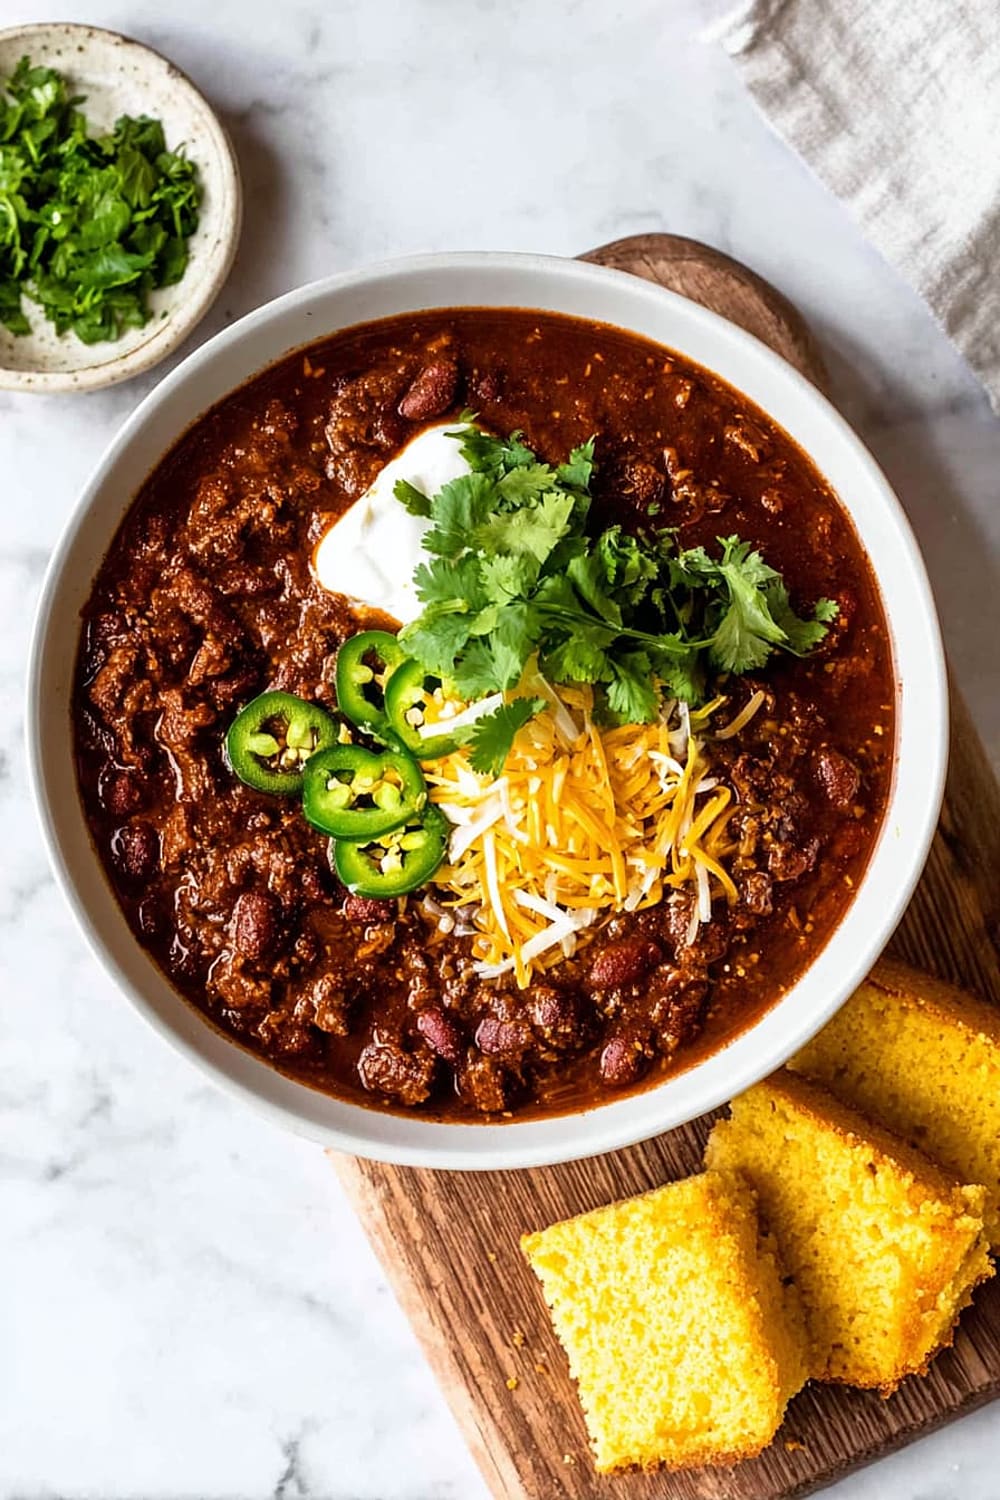
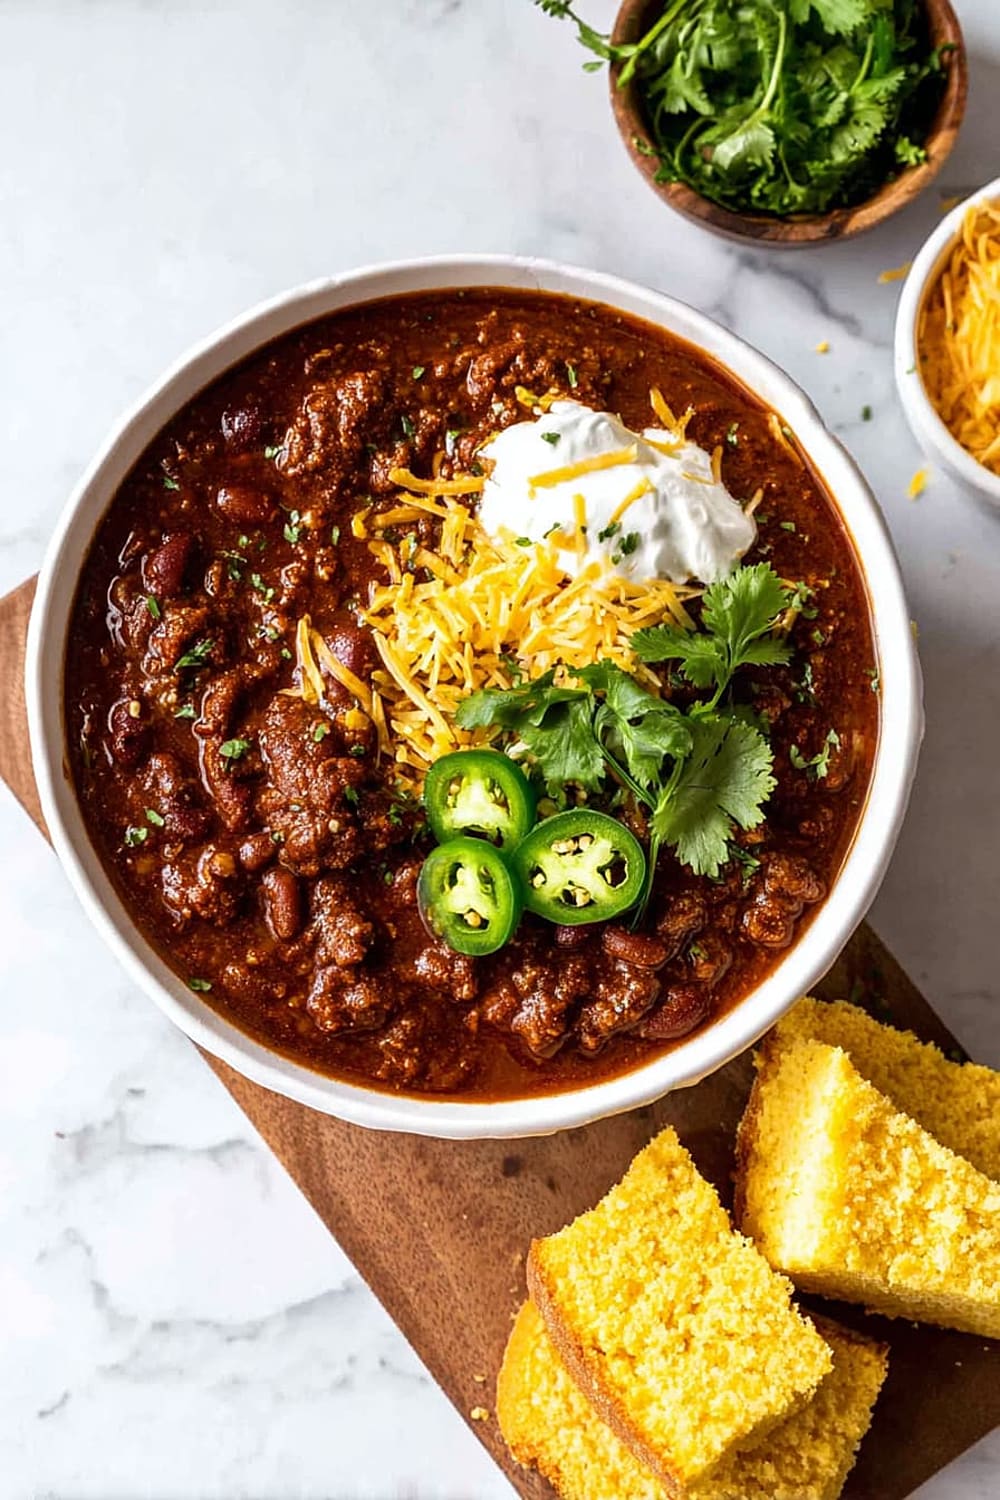
Easy Dutch Oven Chili Recipe

This chili is basically the MVP of comfort food – it’s the kind of recipe that makes your kitchen smell like heaven and your neighbors suddenly very friendly.
One pot, bold flavors, and enough servings to feed a small army or meal prep like a champion for the entire week ahead.
The combination of three different peppers creates layers of heat and smokiness that’ll have you questioning why you ever bothered with those sad little seasoning packets.
What makes this recipe absolutely brilliant is how the extra virgin olive oil carries all those gorgeous spices while the 6-quart enamel dutch oven does all the heavy lifting with its superior heat distribution.
After just one hour of mostly hands-off simmering, you’ll have a thick, rich chili that tastes like it’s been bubbling away all day long.
Fair warning: making this will result in people asking for the recipe, showing up unexpectedly around dinnertime, and possibly proposing marriage on the spot.
Ingredients
For the aromatic base
- 3 tablespoons extra virgin olive oil
- 1 large yellow onion, chopped
- 1 red bell pepper, chopped
- 1 poblano or green bell pepper, chopped
- 1 serrano pepper, chopped
- 1 jalapeño, chopped
- 2 tablespoons crushed garlic or garlic paste
For the protein
- 2 pounds lean ground beef or turkey
For the spice blend
- 1 tablespoon ground cumin
- 1 tablespoon onion powder
- 2 teaspoons dried oregano
- 1 tablespoon garlic powder
- 1 tablespoon chili powder
- 2 teaspoons smoked paprika
- 1 teaspoon cayenne pepper
- 1 teaspoon ground coriander (optional)
- 1 tablespoon chipotle powder
- 2 teaspoons kosher salt
- ½ teaspoon black pepper
For the tomato base and beans
- 8 ounces tomato paste
- 28 ounces tomato sauce
- 15 ounces canned pinto beans with liquid
- 15 ounces canned red kidney beans with liquid
For finishing and garnish
- 1 bunch fresh cilantro, chopped
- Sour cream and shredded cheddar cheese for garnish
Instructions
Build the flavor foundation
- 1 Heat the extra virgin olive oil in your 6-quart enamel dutch oven over medium heat until it shimmers slightly, about 2-3 minutes. The oil should move freely across the bottom but not smoke – this temperature is perfect for releasing the aromatic compounds in your vegetables without burning them.
- 2 Add the chopped onions and all the peppers (red bell, poblano, serrano, and jalapeño) along with the crushed garlic. Sauté until the mixture becomes fragrant and the onions turn translucent, approximately 5-7 minutes. You’ll know it’s ready when the kitchen fills with that incredible aroma and the peppers have softened slightly but still retain some texture.
Brown the protein and build the spice base
- 3 Add the 2 pounds of lean ground beef to the dutch oven, breaking it up with a wooden spoon or heat-resistant spatula. Immediately sprinkle all the dry seasonings – cumin, onion powder, oregano, garlic powder, chili powder, smoked paprika, cayenne, coriander, chipotle powder, kosher salt, and black pepper – directly over the meat.
- 4 Brown the seasoned meat thoroughly, tossing and stirring frequently to ensure even cooking and spice distribution. This process takes about 8-10 minutes and is complete when all the meat has turned brown and the spices have become aromatic. The meat should be completely cooked through with no pink remaining, and the spices should smell toasted and fragrant.
Create the tomato base
- 5 Add the 8 ounces of tomato paste and 28 ounces of tomato sauce to the dutch oven. Stir continuously until the tomato paste completely dissolves and integrates with the sauce, creating a rich, uniform base. This takes about 3-4 minutes of constant stirring to prevent any lumps from forming.
Simmer and develop flavors
- 6 Add both cans of beans – the pinto beans and red kidney beans – including all their liquid. The bean liquid adds body and helps thicken the chili naturally. Stir everything together and bring the mixture to a gentle simmer over medium heat.
- 7 Once you see consistent bubbling around the edges, reduce the heat to low and cover the dutch oven with its lid. Allow the chili to cook for 1-2 hours, stirring every 15 minutes to prevent sticking and ensure even cooking. The longer cooking time allows all the flavors to meld and the chili to reach that perfect, thick consistency.
Final seasoning and serving
- 8 After the cooking time, carefully lift the lid and taste the chili. Season with additional kosher salt and black pepper if needed – the flavors should be bold and well-balanced. Turn off the burner and stir in the fresh chopped cilantro, then re-cover and let the chili rest for 10-15 minutes. This resting period allows the cilantro to infuse its fresh flavor throughout.
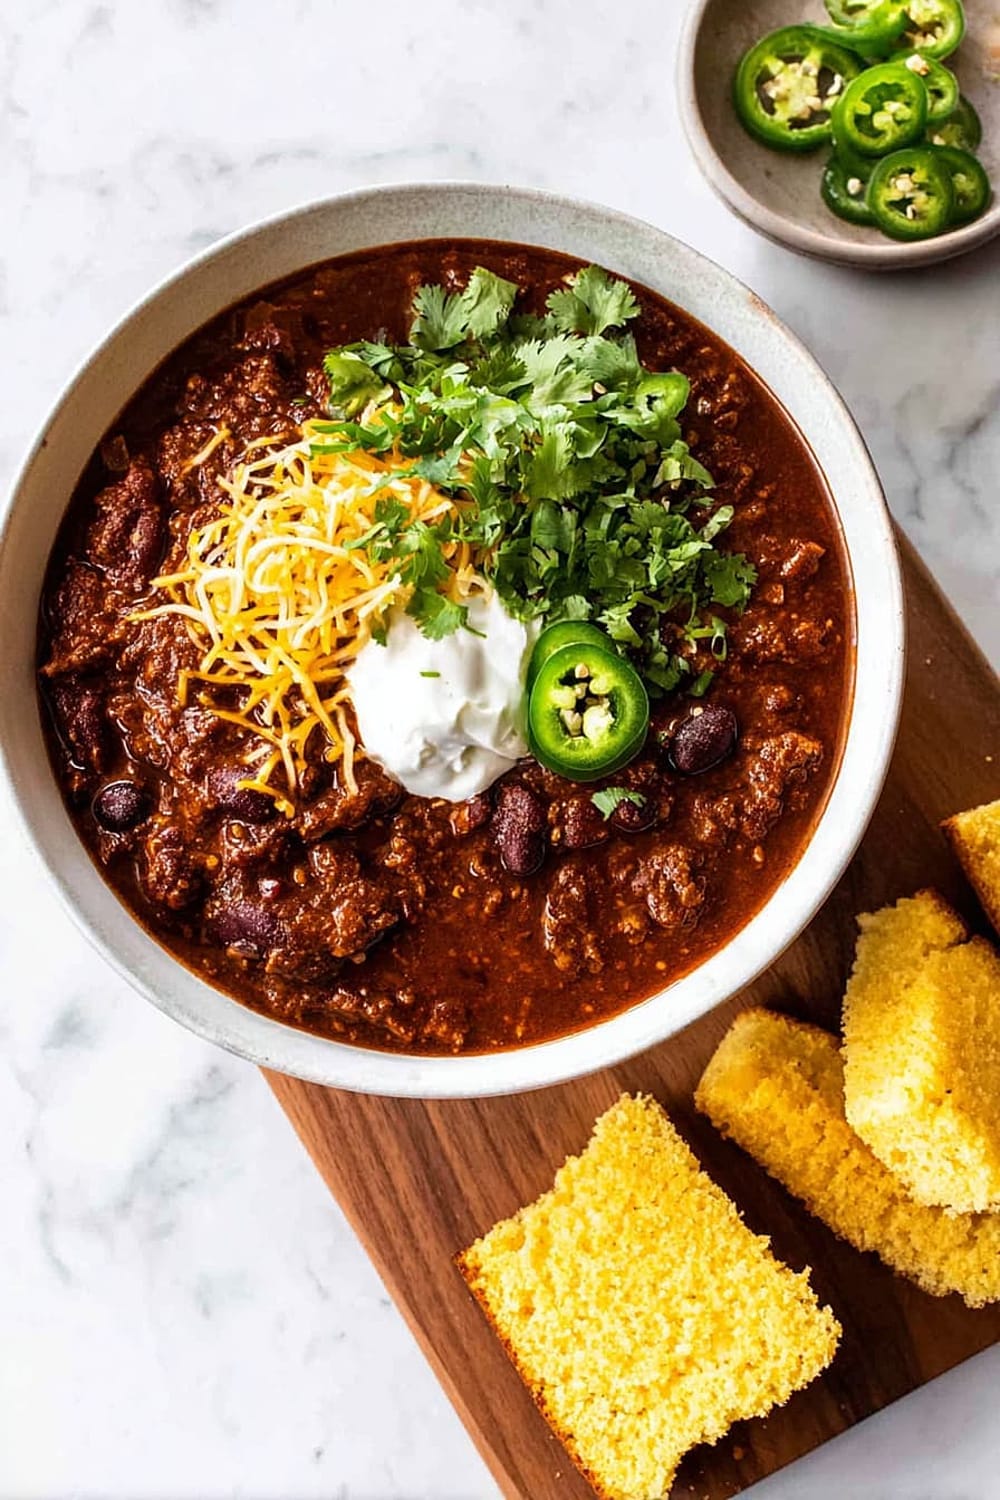
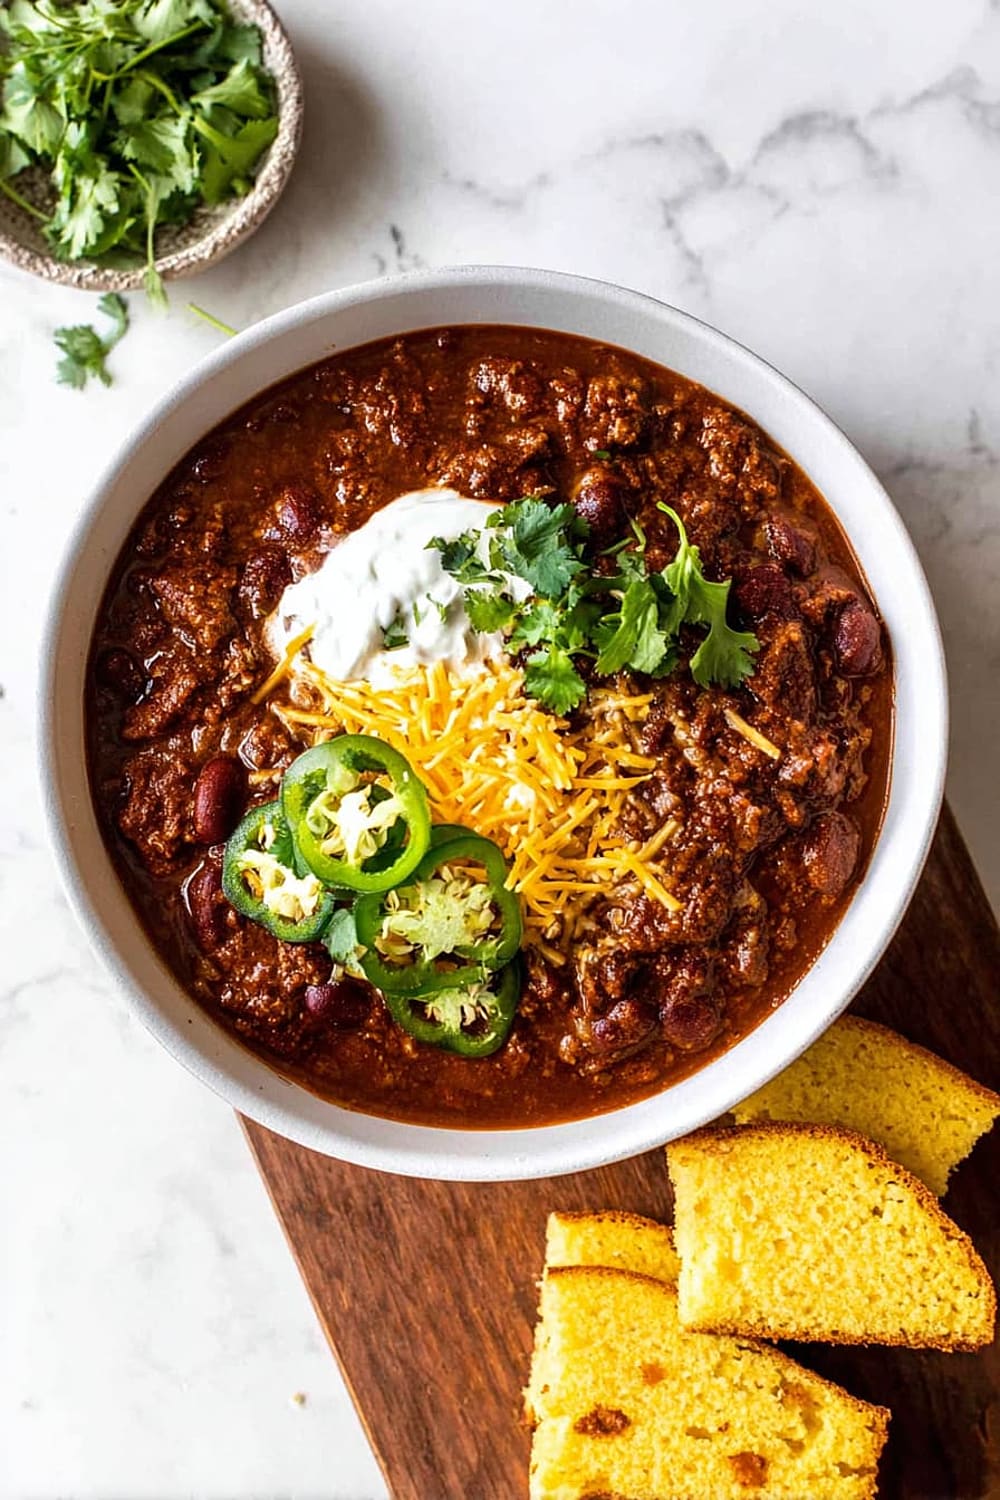
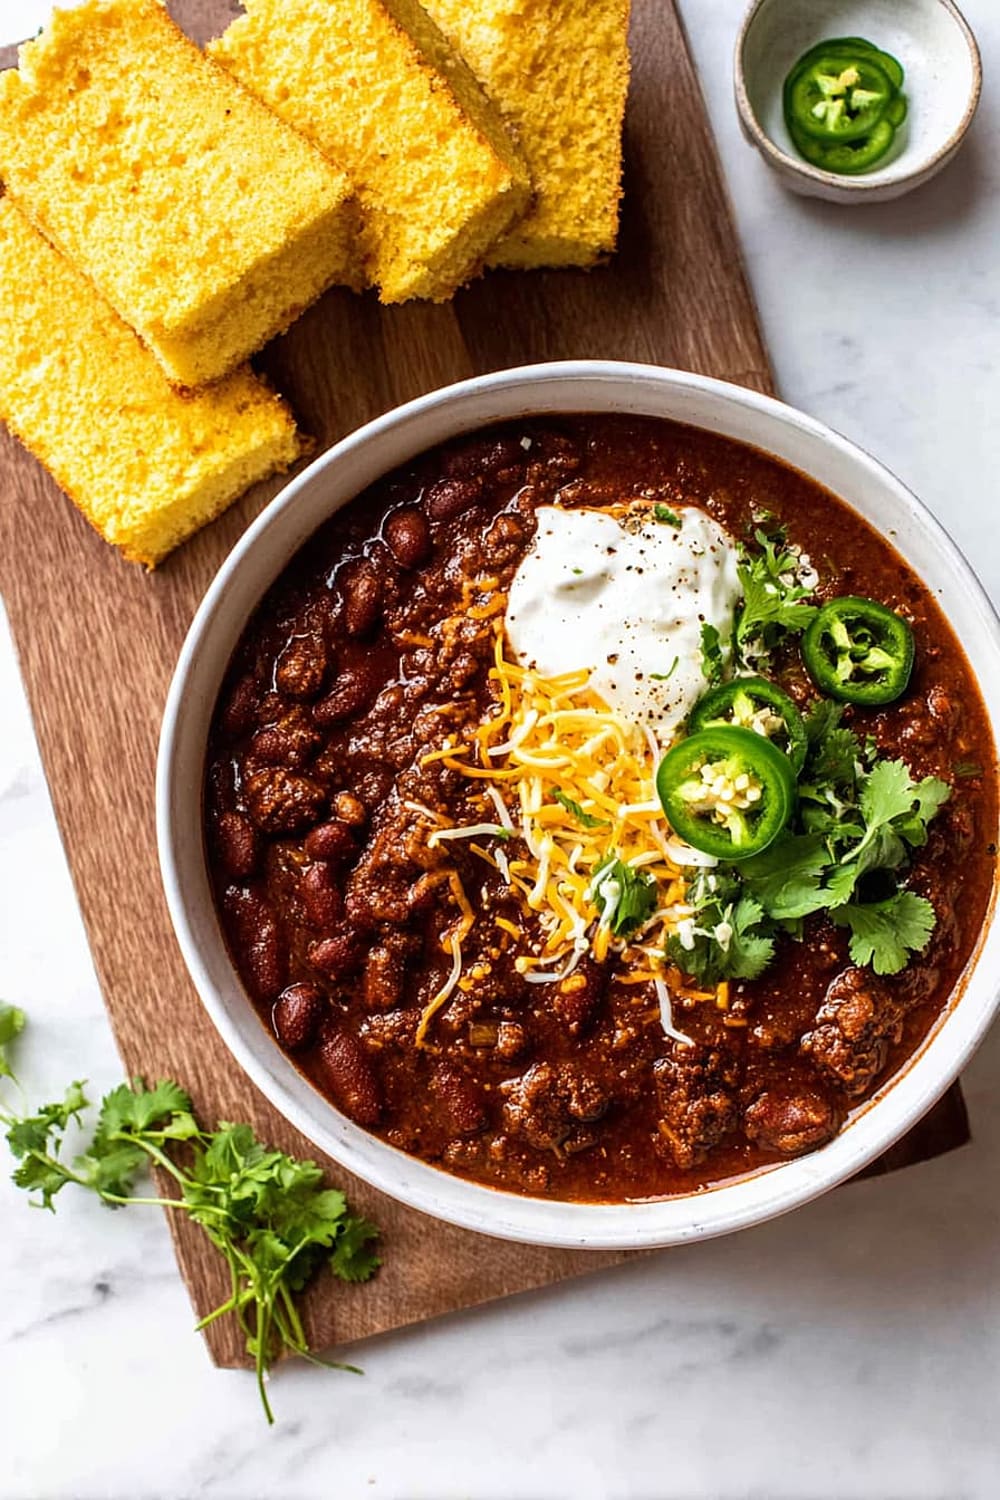
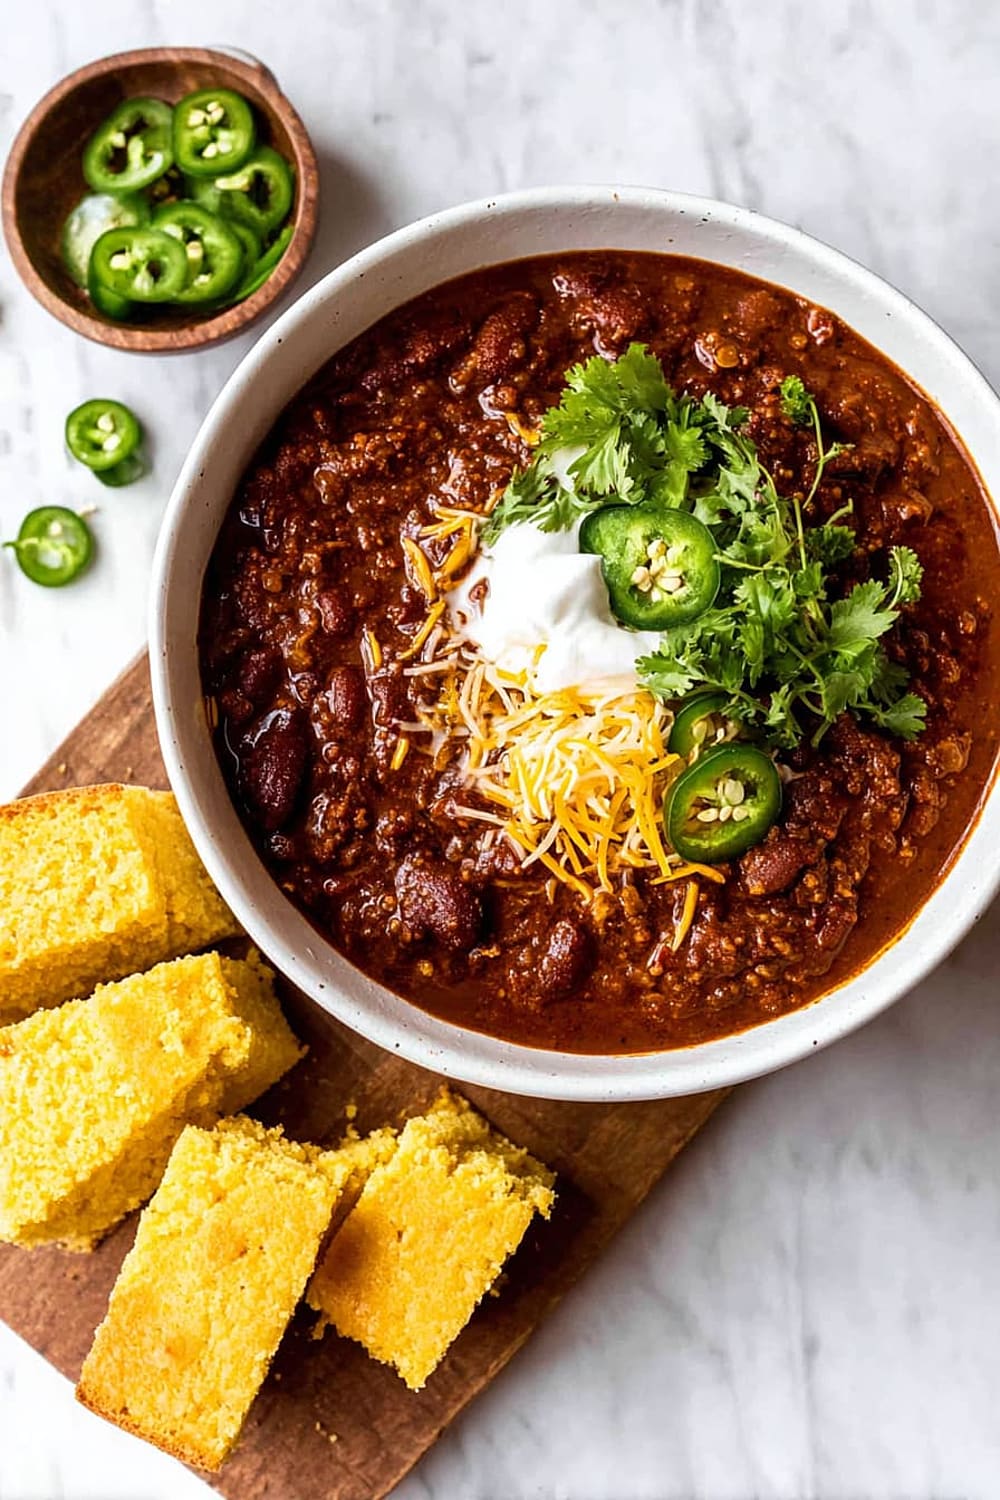
- 9 Serve each portion topped with fresh cilantro, shredded cheddar cheese, and a generous dollop of sour cream. The cool, creamy garnishes provide the perfect contrast to the rich, spicy chili.
Recommended Equipment and Kitchen Tools
Essential for best results
- 6-quart enamel dutch oven – The heavy bottom and excellent heat retention make this the perfect vessel for developing deep flavors without hot spots that could burn your chili
- Wooden spoon or heat-resistant spatula – Essential for stirring without scratching your dutch oven’s surface and breaking up the ground meat effectively
- Sharp chef’s knife – Makes quick work of chopping all those peppers and onions uniformly for even cooking
- Cutting board – A large, stable surface is crucial when you’re prepping multiple peppers and aromatics
Helpful upgrades
- Immersion blender – Perfect if you prefer a partially blended chili texture, allowing you to control exactly how smooth or chunky you want the final result
- Kitchen scale – For the most accurate measurements of spices and tomato paste, ensuring consistent results every time you make this recipe
- Instant-read thermometer – Helpful for ensuring your ground meat reaches the safe internal temperature of 160°F (71°C)
Nice-to-have options
- Food processor – Makes quick work of chopping large quantities of vegetables if you’re doubling or tripling the recipe for meal prep
- Storage containers – Glass containers with tight-fitting lids are perfect for storing leftover chili and maintaining its fresh flavor for up to five days
Recipe Variations and Dietary Modifications
Protein Variations
- Ground turkey or chicken – Substitute pound-for-pound for a leaner option that absorbs the spice blend beautifully
- Plant-based ground meat – Use your favorite brand and add it in step 3, reducing cooking time slightly as most plant-based options cook faster
- Combination proteins – Try half ground beef and half Italian sausage for extra richness and complexity
Heat Level Adjustments
- Mild version – Omit the serrano and jalapeño peppers, reduce cayenne to ½ teaspoon, and use regular paprika instead of smoked
- Extra spicy – Add 1-2 diced habanero peppers with the other peppers, or increase chipotle powder to 2 tablespoons
- Smoky focus – Double the smoked paprika and add 1 teaspoon liquid smoke with the tomato sauce
Bean Alternatives
- Black beans and navy beans – Swap out the pinto and kidney beans for different textures and flavors
- Three-bean blend – Add 15 ounces of black beans to the existing beans for extra heartiness
- Bean-free keto version – Replace beans with 2 cups diced zucchini or cauliflower florets added in the last 30 minutes of cooking
Vegetable Additions
- Corn and zucchini – Add 1 cup each during the last 30 minutes of simmering for extra vegetables and sweetness
- Sweet potato – Dice 2 medium sweet potatoes and add with the beans for natural sweetness and additional fiber
Nutritional Information and Health Benefits
Key Nutritional Highlights
This hearty chili provides approximately 491 calories per serving with a robust 35 grams of protein from the lean ground beef and beans combination. Each serving delivers about 12 grams of fiber from the beans and vegetables, supporting digestive health and helping you feel satisfied longer. The recipe provides significant amounts of iron, potassium, and B vitamins, particularly B12 from the beef and folate from the beans.
Health Benefits of Main Ingredients
The bell peppers and poblanos are loaded with vitamin C – actually containing more per serving than many citrus fruits – plus beta-carotene for eye health. Cumin and chili powder provide antioxidants and have been linked to improved digestion and metabolism. The beans contribute plant-based protein and resistant starch, which acts as a prebiotic to support gut health. Tomatoes supply lycopene, a powerful antioxidant that becomes more bioavailable when cooked, making this chili an excellent source.
Dietary Considerations
This recipe is naturally gluten-free and dairy-free before adding the cheese and sour cream garnishes. It’s high in protein and fiber while being relatively low in saturated fat when made with lean ground beef. The combination of complex carbohydrates from beans and complete protein from meat makes this an excellent option for sustained energy and muscle maintenance.
Smart Swaps and Ingredient Substitutions
Common Substitutions:
- Crushed garlic → 6-8 fresh garlic cloves, minced or 2 teaspoons garlic powder
- Fresh peppers → 4-6 ounces canned diced green chiles plus 1 diced red bell pepper for color
- Tomato paste → 6 tablespoons tomato sauce reduced by cooking uncovered for 5 extra minutes
- Chipotle powder → 2-3 chopped chipotle peppers in adobo sauce for more authentic smoky heat
Budget-Friendly Swaps:
- Ground beef → Ground turkey (often less expensive) or half ground beef, half lentils for protein with savings
- Multiple pepper varieties → 2 bell peppers plus 1-2 jalapeños and extra chili powder for similar flavor complexity
- Fresh cilantro → 2 tablespoons dried cilantro or fresh parsley added at the end
Pantry Emergency Substitutions:
- Tomato sauce → 1 can diced tomatoes, blended smooth or tomato paste mixed with water
- Canned beans → 1½ cups dried beans, soaked overnight and cooked (adds 30 minutes to prep time)
- Smoked paprika → Regular paprika plus ½ teaspoon liquid smoke
Pro Tips for Substitutions:
- When using dried beans instead of canned, save 1 cup of the bean cooking liquid to add body to your chili
- Fresh herb substitutions work best when added in the final 10 minutes to preserve their bright flavors
Make It Diabetes-Friendly
Carb Reduction Strategies:
- Replace half the beans with diced zucchini or cauliflower added in the last 30 minutes of cooking – reduces carbs by approximately 15 grams per serving
- Use only pinto beans instead of both varieties to cut 8-10 grams carbs per serving
- Add extra vegetables like diced bell peppers, mushrooms, or spinach to increase volume without significantly impacting blood sugar
Portion & Timing Tips:
- Recommended serving size: 1 cup chili provides approximately 25-30 grams carbohydrates
- Pair with protein-rich toppings like Greek yogurt instead of sour cream and extra shredded cheese to slow carb absorption
- Serve over cauliflower rice or shirataki noodles instead of regular rice to keep the meal low-carb
- Add healthy fats like sliced avocado or a drizzle of olive oil to help stabilize blood sugar response
Blood Sugar Management:
- The high fiber content from beans and vegetables helps slow glucose absorption
- Lean protein from the ground beef provides sustained energy without blood sugar spikes
- Chromium from the spices may help improve insulin sensitivity
Total Carb Reduction: Following these modifications can reduce the carb content from 30 grams to approximately 15-20 grams per serving
Perfect Pairing Suggestions
Beverage Pairings
A cold Mexican lager or amber ale complements the smoky, spicy flavors beautifully, while the carbonation helps cleanse the palate between bites. For wine lovers, a medium-bodied red wine like Zinfandel or Tempranillo matches the chili’s bold personality. Non-alcoholic options include sparkling water with lime, iced tea with a hint of mint, or horchata for a creamy, cooling contrast to the heat.
Side Dish Recommendations
Warm cornbread or jalapeño cheddar biscuits provide the perfect vehicle for soaking up every drop of that rich chili. Mexican street corn salad adds fresh crunch and cooling elements, while cilantro lime rice or quinoa makes this a complete, filling meal. Simple avocado slices with a sprinkle of lime juice and salt offer healthy fats and cooling relief from the spice.
Complete Meal Ideas
Start with guacamole and tortilla chips or a simple green salad with lime vinaigrette to prep the palate. For dessert, Mexican chocolate brownies or tres leches cake provide sweet relief after all that heat. Churros with cinnamon sugar offer a fun, interactive ending to your chili dinner.
Occasion Suggestions
This chili shines at football watch parties, casual weekend gatherings, and cold weather comfort meals. It’s perfect for meal prep Sundays, potluck contributions, and cozy date nights when you want something impressive but low-maintenance. The recipe scales beautifully for holiday entertaining or feeding a crowd.
Pro Tips and Troubleshooting
Professional Techniques
Toast your whole spices in a dry pan for 2-3 minutes before grinding for exponentially more complex flavors. Brown the meat in batches if your dutch oven seems crowded – overcrowding creates steam instead of the beautiful browning that develops deep flavors. Let the chili rest overnight in the refrigerator before serving – the flavors meld and intensify dramatically, making day-two chili even better than fresh.
Common Mistake Prevention
Never skip the sautéing step for the vegetables – this foundation creates the flavor base that makes homemade chili superior to anything from a can. Don’t rush the simmering time – that full hour allows the spices to bloom and the flavors to marry properly. Taste and adjust seasoning at the end since the long cooking time can mellow some spices while concentrating others.
Storage and Reheating
Store cooled chili in the refrigerator for up to 5 days or freeze for up to 3 months. Reheat gently over low heat, adding a splash of broth or water if it’s thickened too much. Frozen chili thaws beautifully overnight in the refrigerator and often tastes even better after freezing.
Make-Ahead Strategies
This chili is actually better the next day, making it perfect for entertaining. Prep all vegetables the night before and store covered in the refrigerator. The entire recipe can be made 2-3 days ahead and reheated when ready to serve.
This chili represents everything comfort food should be – bold, satisfying, and absolutely foolproof to make. Whether you’re feeding a crowd or meal prepping for the week, this recipe delivers restaurant-quality results with minimal effort and maximum flavor payoff.