Easy Salmon Sushi Bake
Craving sushi but don’t want the hassle of rolling? This Salmon Sushi Bake is about to become your new weeknight obsession! All the incredible flavors of your favorite salmon roll transformed into a warm, creamy, utterly addictive casserole that comes together in just 40 minutes.
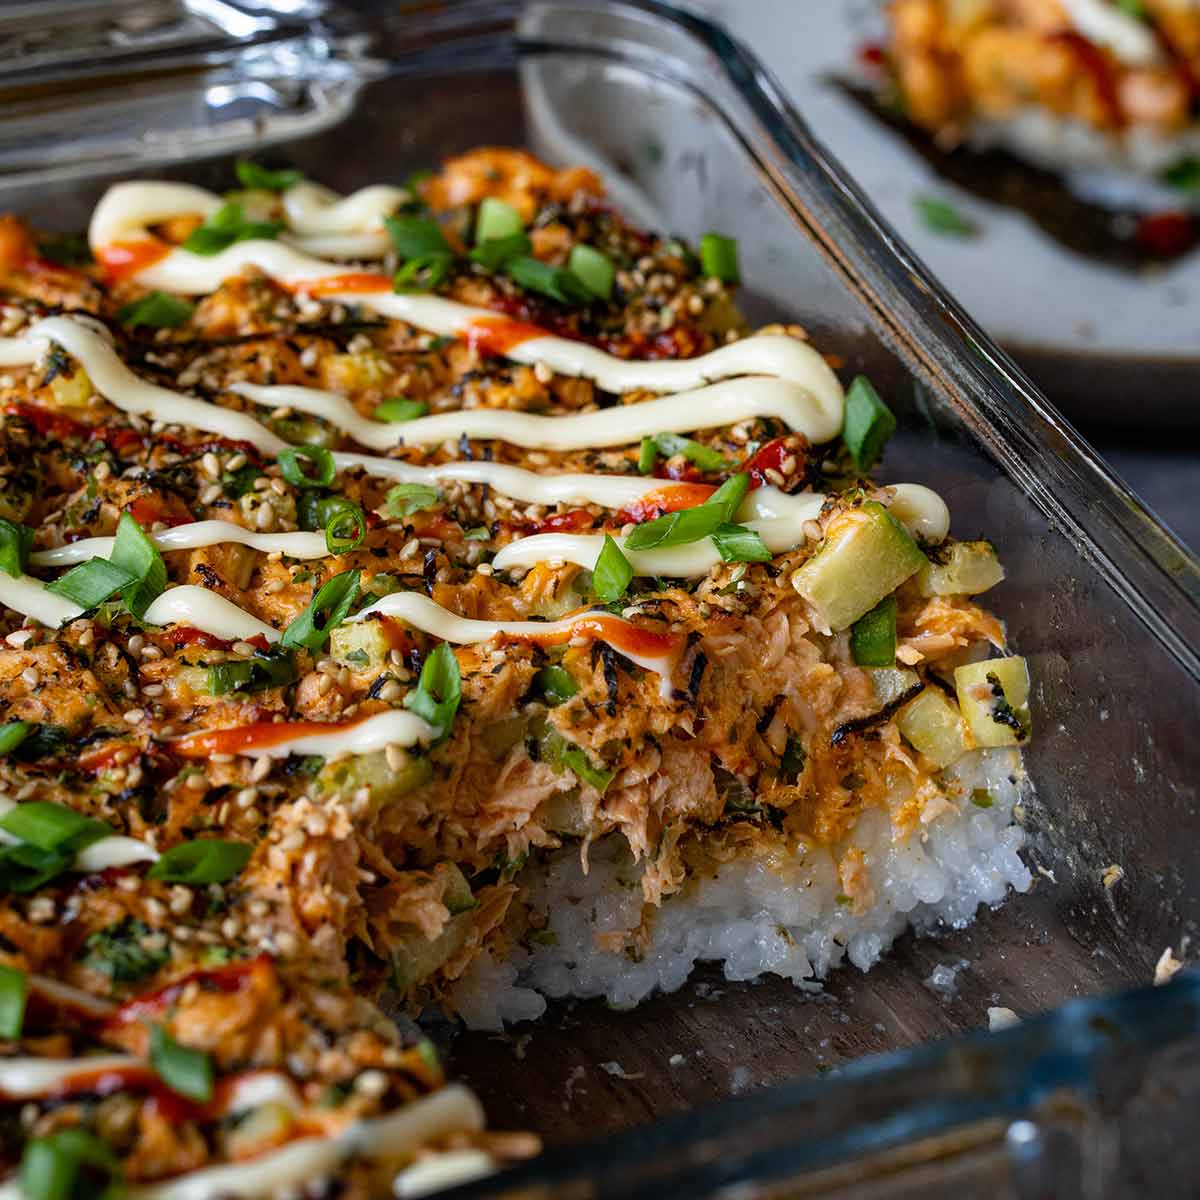
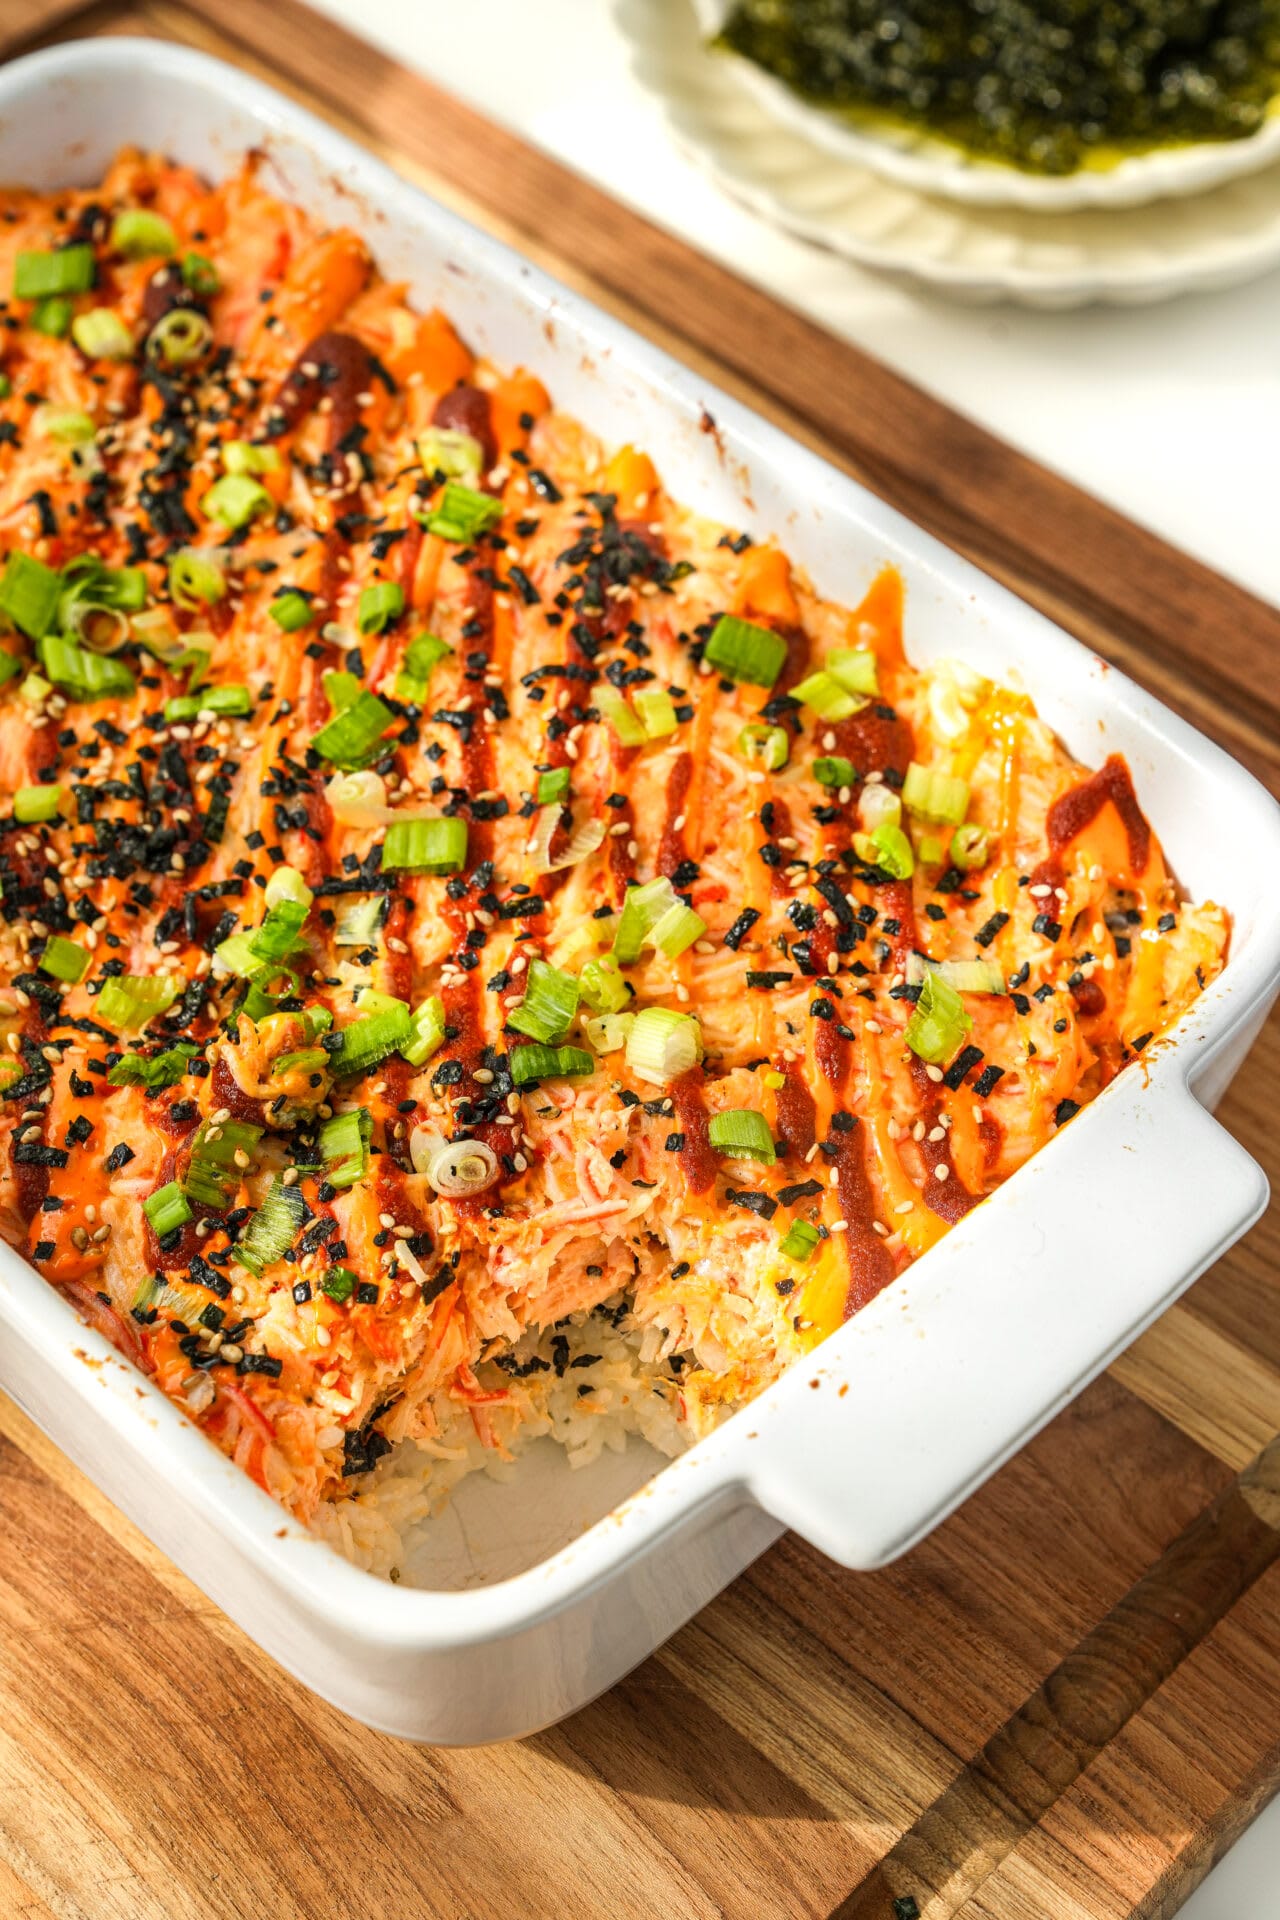
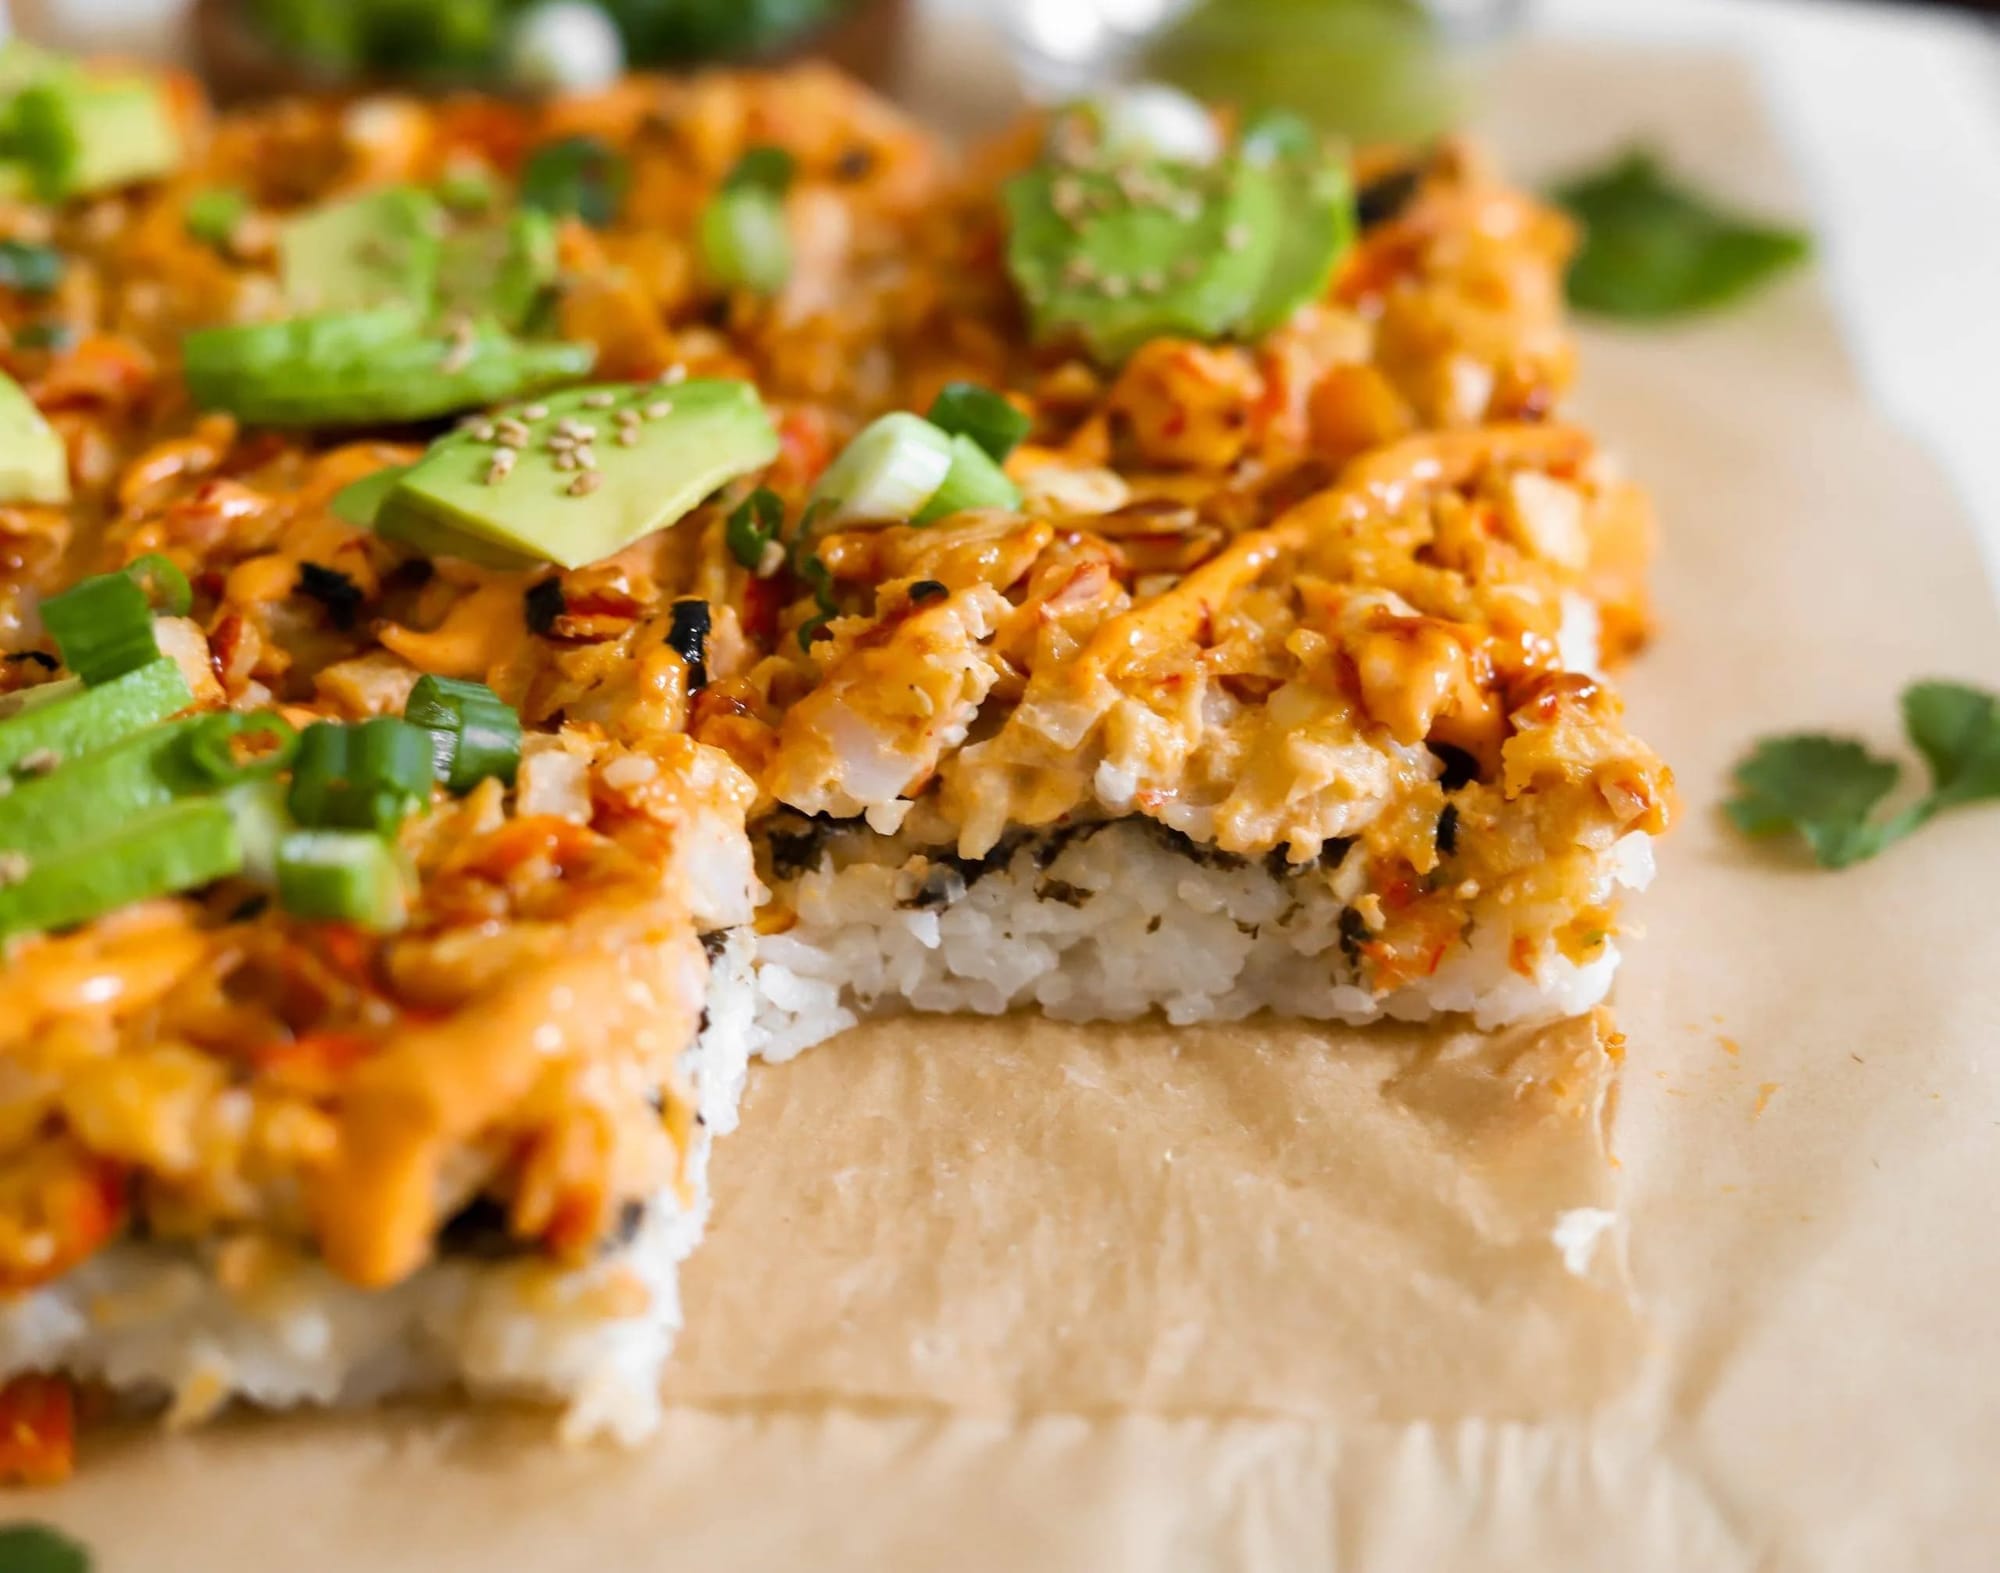
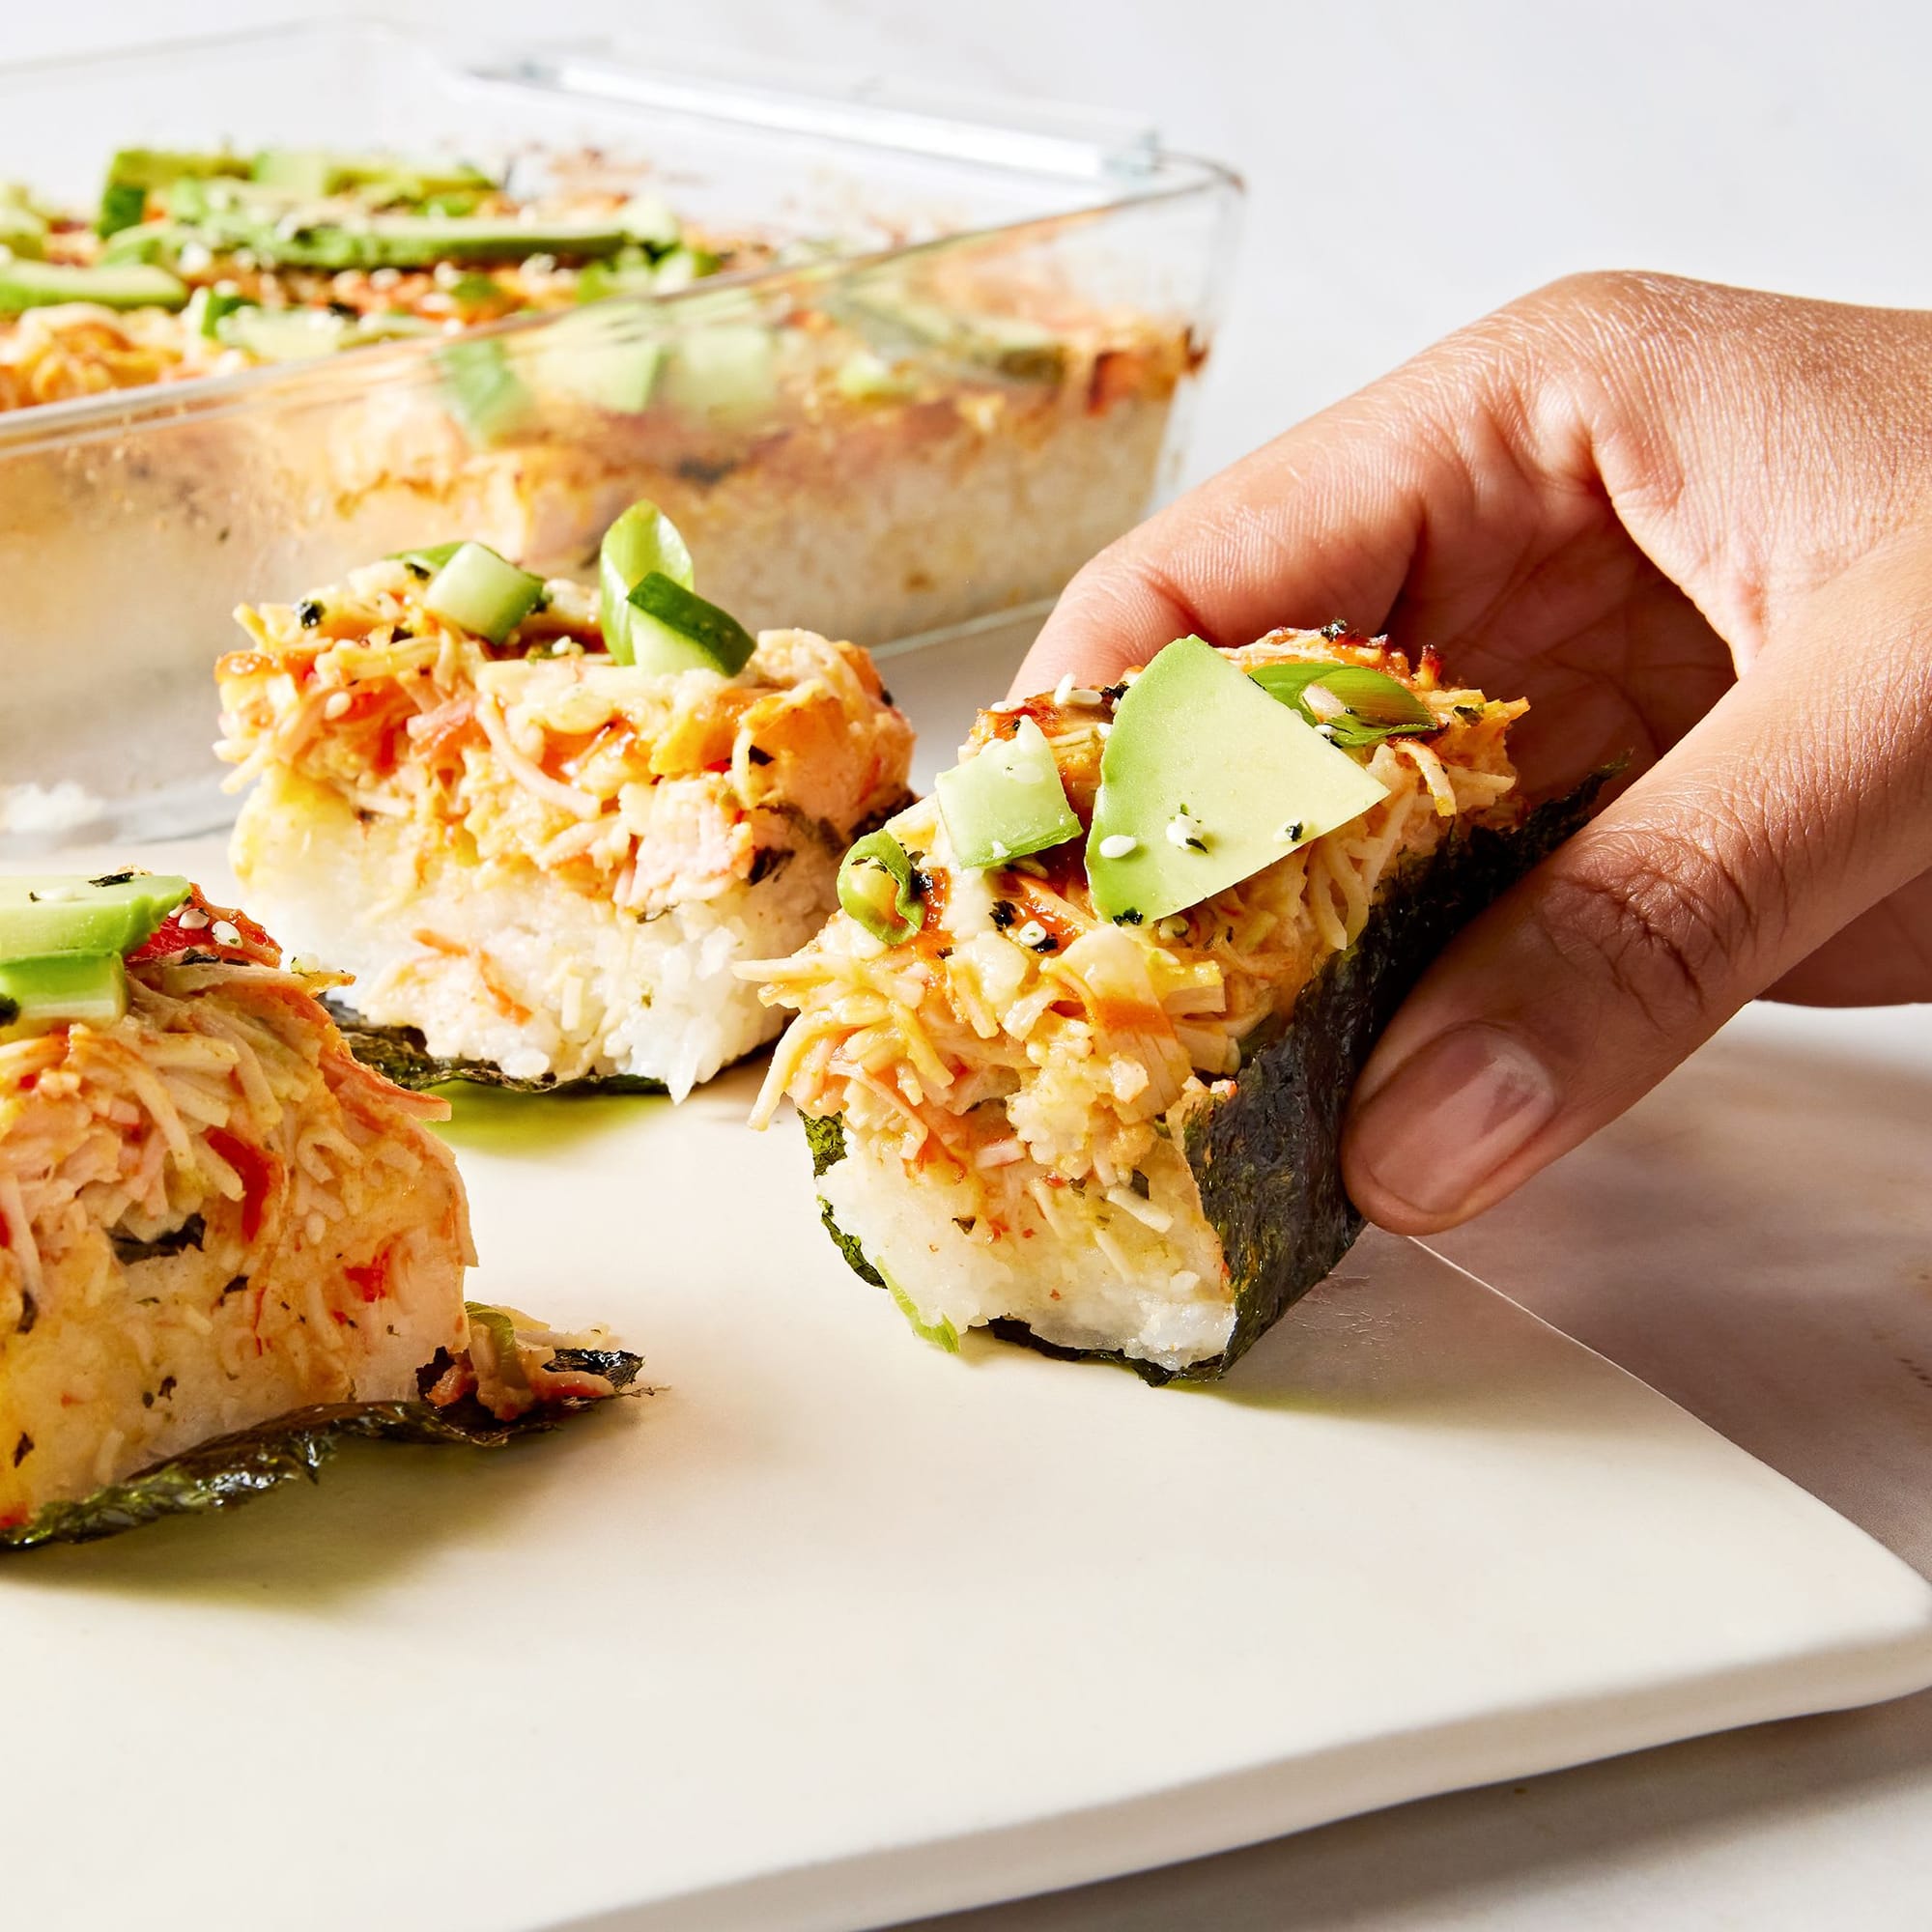
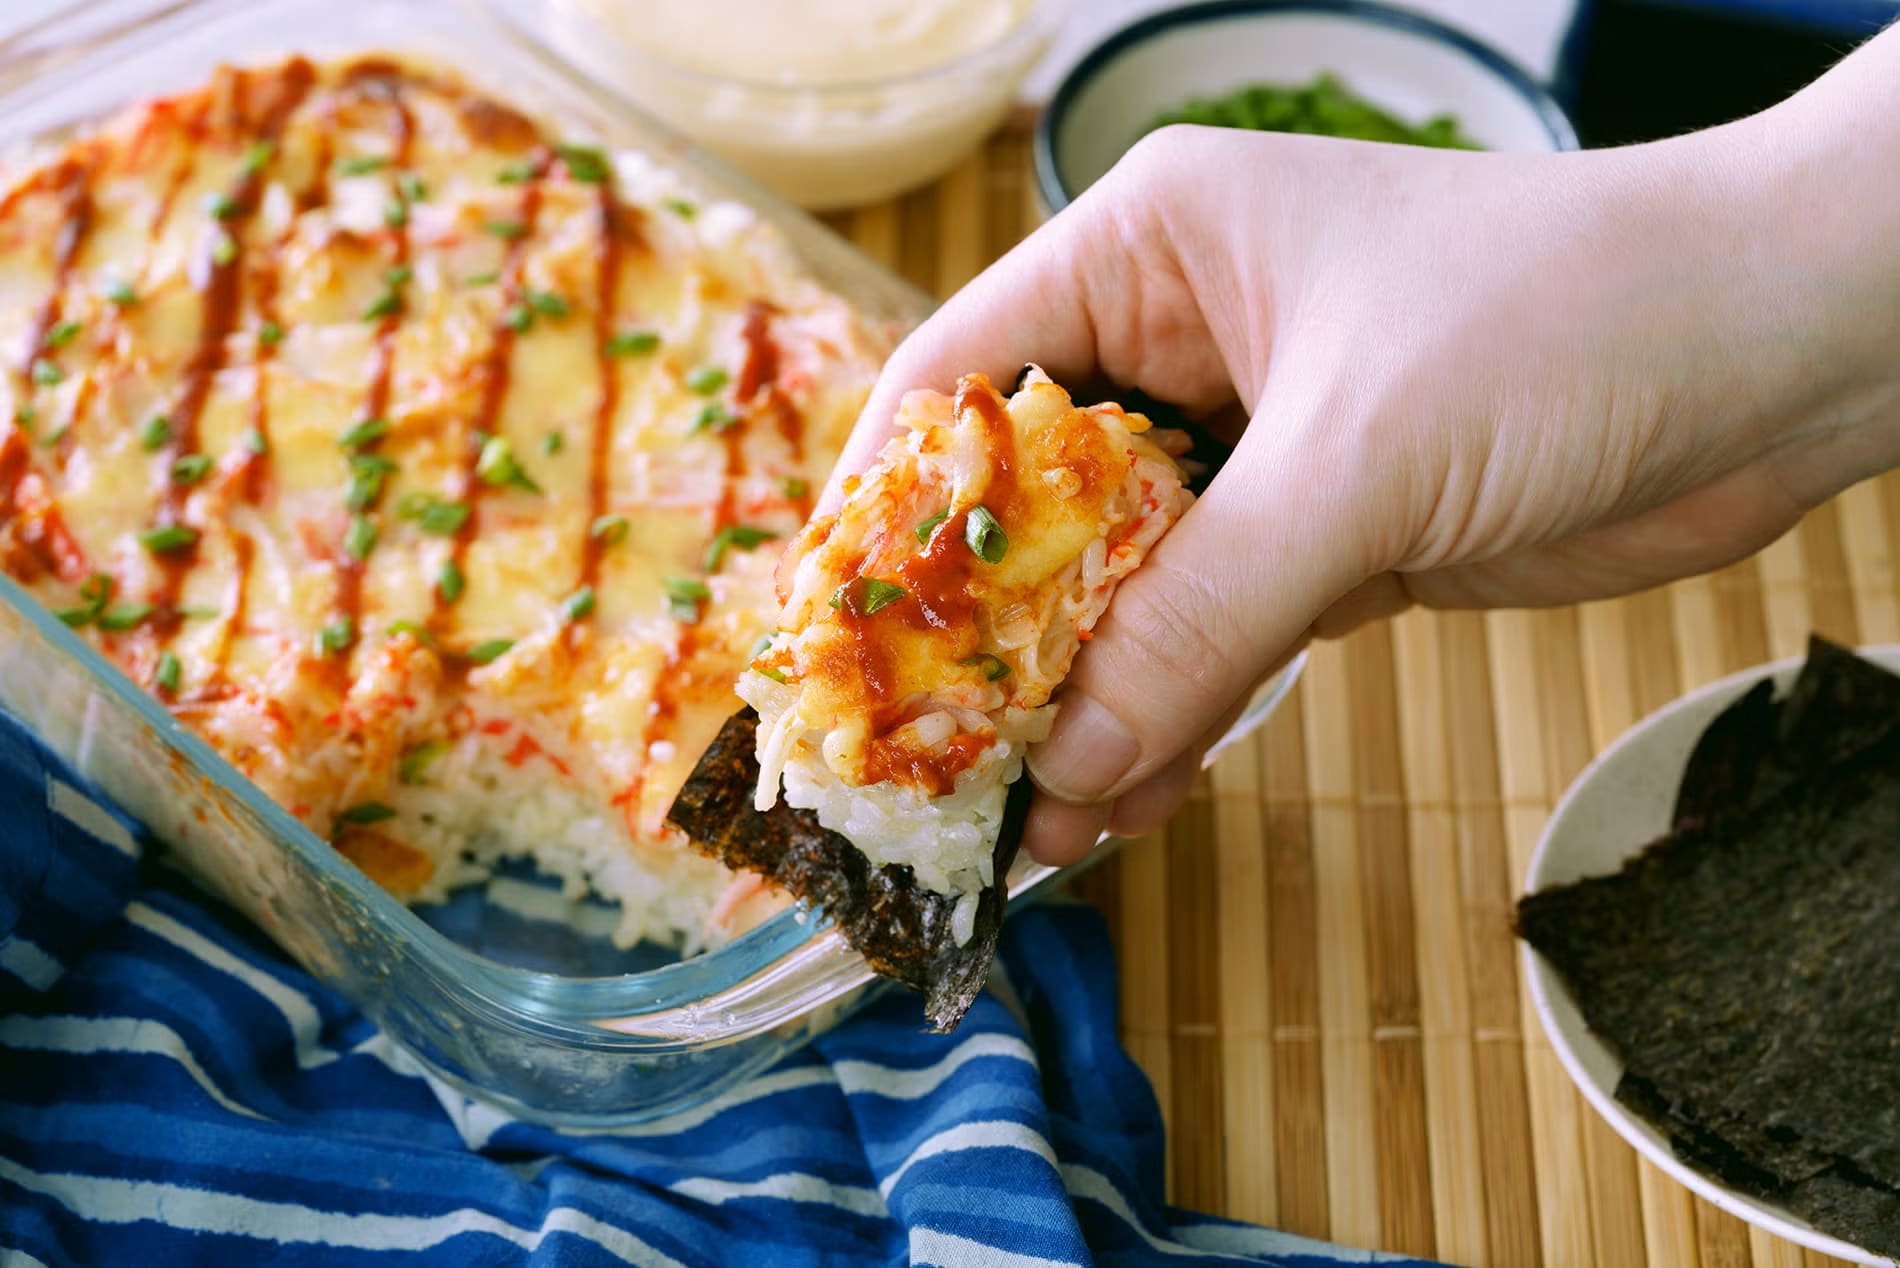
The magic happens when that creamy sriracha-mayo salmon mixture gets slightly caramelized under the broiler, creating those irresistible crispy bits that everyone fights over. The contrast between the seasoned sushi rice base and the rich salmon topping is nothing short of magnificent. Plus, scooping it onto crisp nori sheets gives you that satisfying sushi experience without any rolling skills required!
Ingredients
For the Sushi Rice:
- 1 cup (200g) sushi rice
- 3 tablespoons rice vinegar
- 1 tablespoon sesame oil
- 1 teaspoon salt
- 2 tablespoons sugar
For the Sushi Bake:
- 1/4 cup furikake seasoning
- 1 lb. (450g) salmon, cooked
- 4 green onions, chopped, plus extra to serve
- 1 cup (150g) cucumber, finely diced
- 1/3 cup (75g) Japanese Kewpie mayo, plus extra to serve
- 1 1/2 tablespoons sriracha hot sauce, plus extra to serve
- 1 tablespoon soy sauce
For Serving:
- Nori squares
Steps
- Thoroughly rinse the sushi rice in a fine-mesh strainer until the water runs completely clear (about 2-3 minutes of rinsing). This removes excess starch and prevents gummy rice. Prepare according to package instructions, typically 20 minutes of simmering. While rice is cooking, in a small bowl whisk together 3 tablespoons rice vinegar, 1 tablespoon sesame oil, 1 teaspoon salt, and 2 tablespoons sugar until the sugar and salt completely dissolve. Pour this seasoning mixture over your freshly cooked rice while still hot and gently fold with a rice paddle using a cutting motion (don’t smash the grains).
- Allow the seasoned rice to cool slightly for 5 minutes, then transfer to an 8×8-inch baking dish. Using a dampened rice paddle or spatula (wet it to prevent sticking), press the rice down firmly and evenly to create a compact base about 1/2-inch thick. The rice should feel slightly sticky but hold together. Sprinkle evenly with 2 tablespoons (half) of the furikake seasoning, ensuring complete coverage. Set aside.
- Preheat the oven to 400°F (205°C). Position a rack in the middle of the oven with another rack 4-5 inches below the broiler for later use.
- Place your cooked salmon in a medium bowl and use two forks to shred it into flaky pieces (about 1/2-inch chunks – not too fine or it will become mushy). Add the 4 chopped green onions, 1 cup diced cucumber, 1/3 cup Kewpie mayo, 1 1/2 tablespoons sriracha, and 1 tablespoon soy sauce. Gently fold together until everything is evenly coated but the salmon still maintains some texture. Taste and adjust seasoning if needed – it should be creamy with a noticeable kick from the sriracha.
- Carefully spread the salmon mixture in an even layer over the rice base, going all the way to the edges. Sprinkle the remaining 2 tablespoons furikake seasoning evenly across the top. For extra flavor, lightly press the furikake into the salmon mixture.
- Bake at 400°F (205°C) for 10 minutes until heated through, then switch to broiler setting and broil for 2-3 minutes until you see the top developing golden-brown spots. Watch carefully during broiling – the difference between perfectly caramelized and burnt is just seconds! The dish is done when you see bubbling around the edges and slight charring on top.
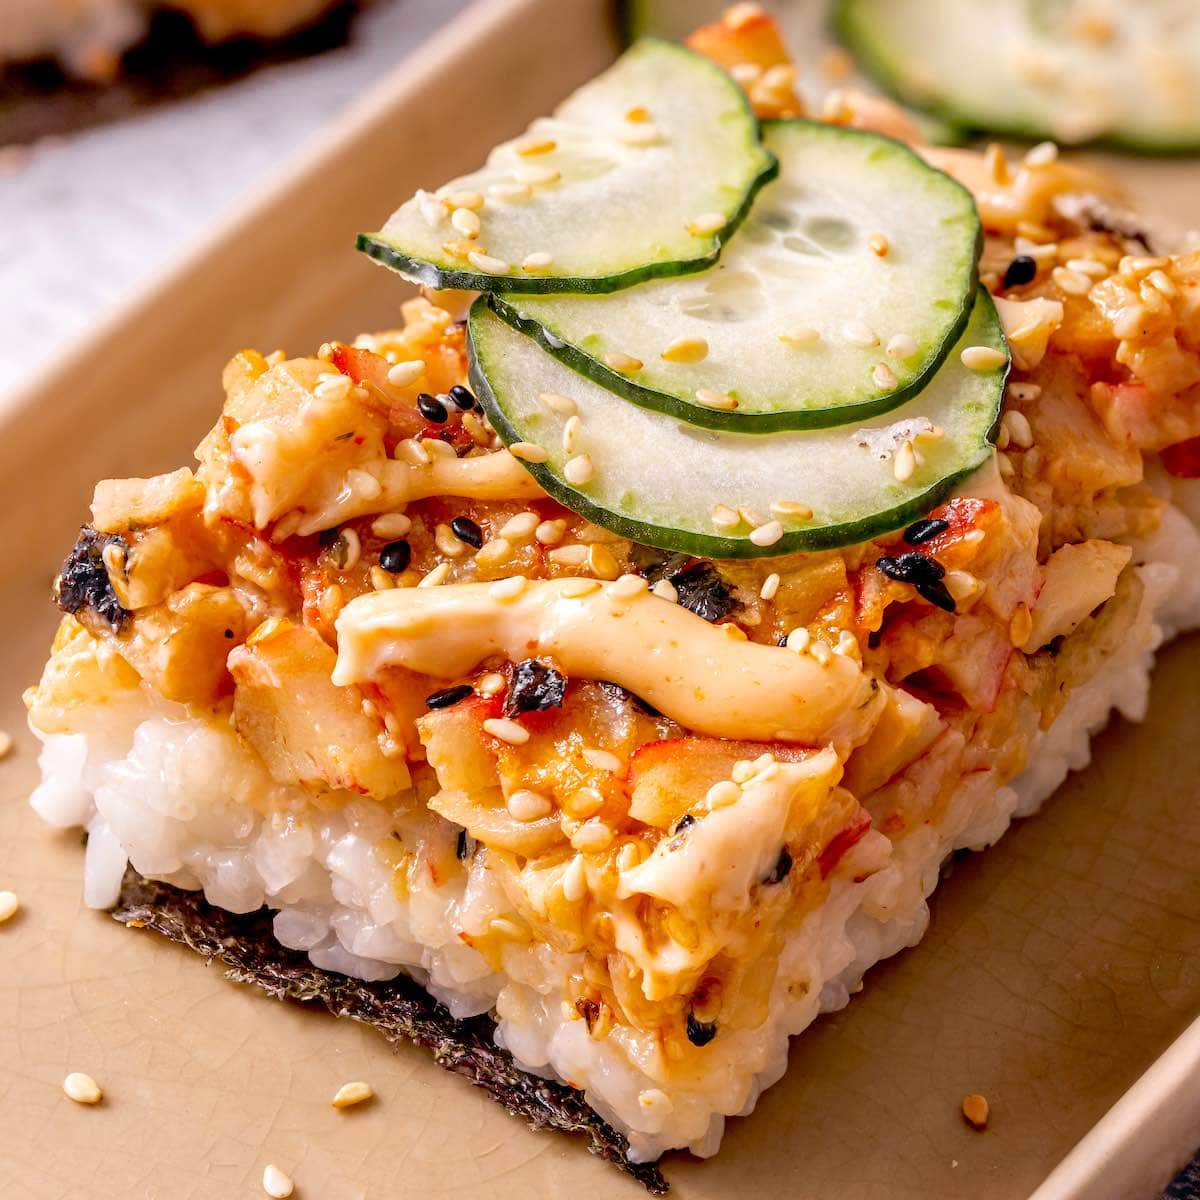
- Remove from the oven and let rest for 2 minutes. Drizzle with extra Kewpie mayo and sriracha in a decorative pattern (use a squeeze bottle for precision if available). Sprinkle with additional chopped green onions for freshness and color. Serve immediately while still warm, with nori sheets on the side. To eat, scoop a portion onto a nori square and wrap it up like a taco for the perfect sushi-roll experience.
Smart Swaps
- Replace Kewpie mayo with 2 parts regular mayo + 1 part rice vinegar + 1/4 teaspoon sugar if you can’t find Japanese mayo
- Swap salmon for 1 lb (450g) imitation crab mixed with 2 tablespoons cream cheese for a California roll version
- Use cauliflower rice instead of sushi rice (reduce cooking time to 5-7 minutes) for a lower-carb option
Make It Diabetes-Friendly
- Replace white sushi rice with 1 cup (200g) short-grain brown rice (reduces net carbs by approximately 10g per serving)
- Cut sugar in rice seasoning to 1 teaspoon and use 1 tablespoon monk fruit sweetener instead (reduces 7g sugar per serving)
- Increase cucumber to 1 1/2 cups (225g) and reduce rice portion to 3/4 cup (150g) to lower the glycemic load
- Serve with seaweed salad instead of extra rice to keep blood sugar impact minimal
- Eat within 30 minutes of a 10-minute walk to help manage glucose response
Pro Tips
- For the best texture, let your cooked rice cool for 10 minutes before seasoning – it absorbs the vinegar mixture better
- Toast your nori sheets for 10 seconds over an open flame or in a dry skillet for maximum crispness
- Make individual portions in ramekins for a fun presentation and better portion control
- The sushi bake can be assembled up to 4 hours ahead and refrigerated – just add 3-5 minutes to the baking time