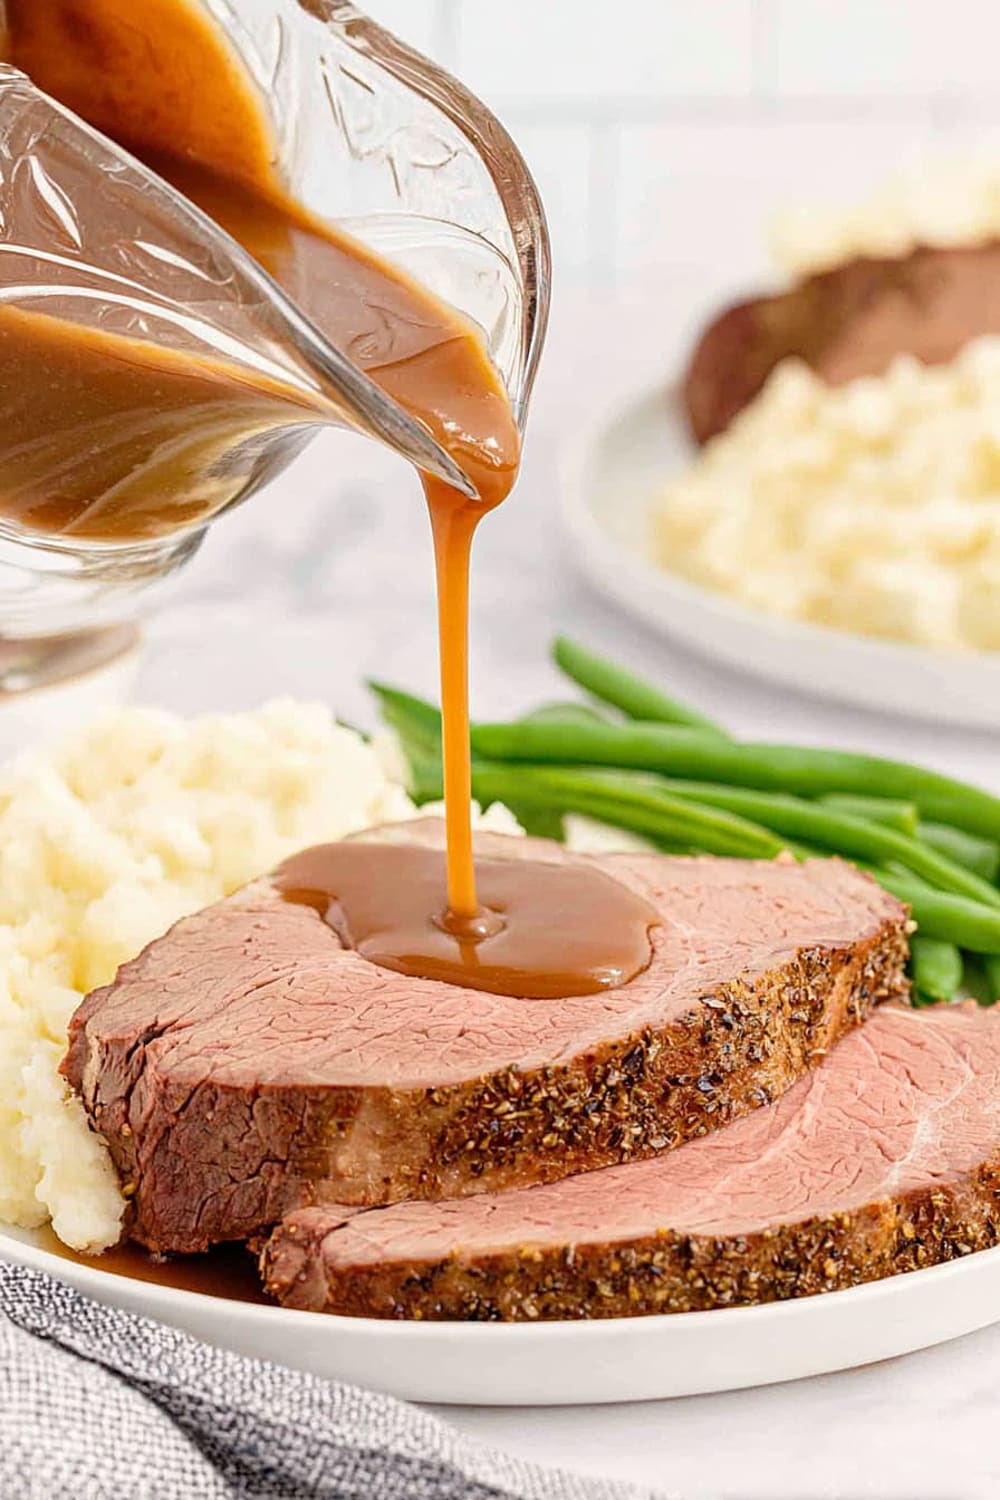
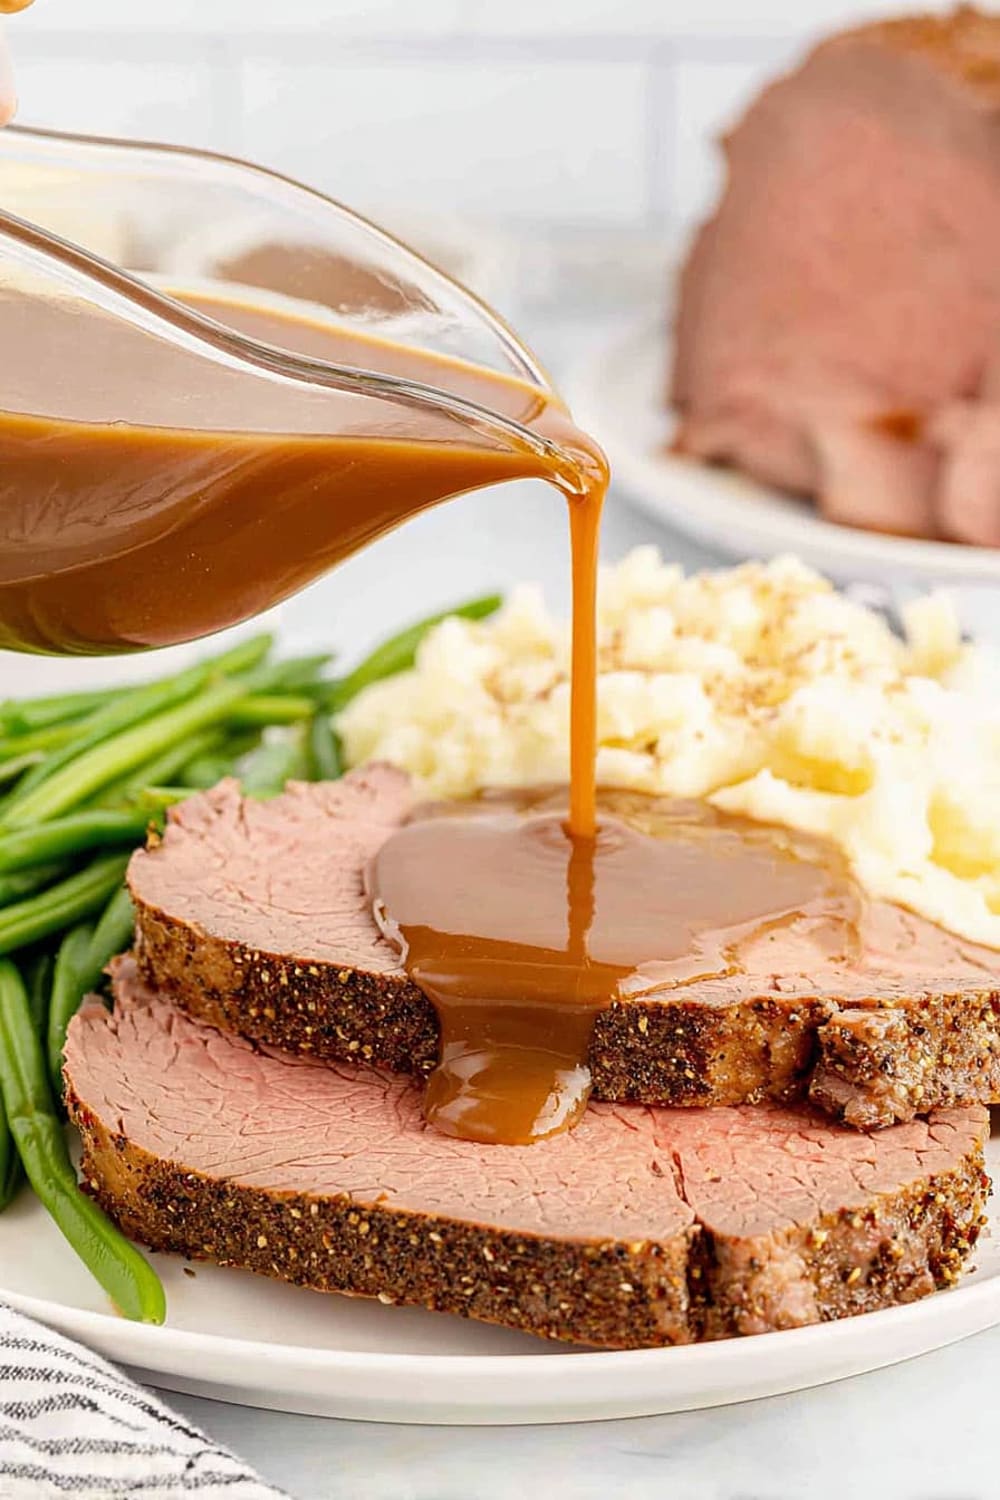
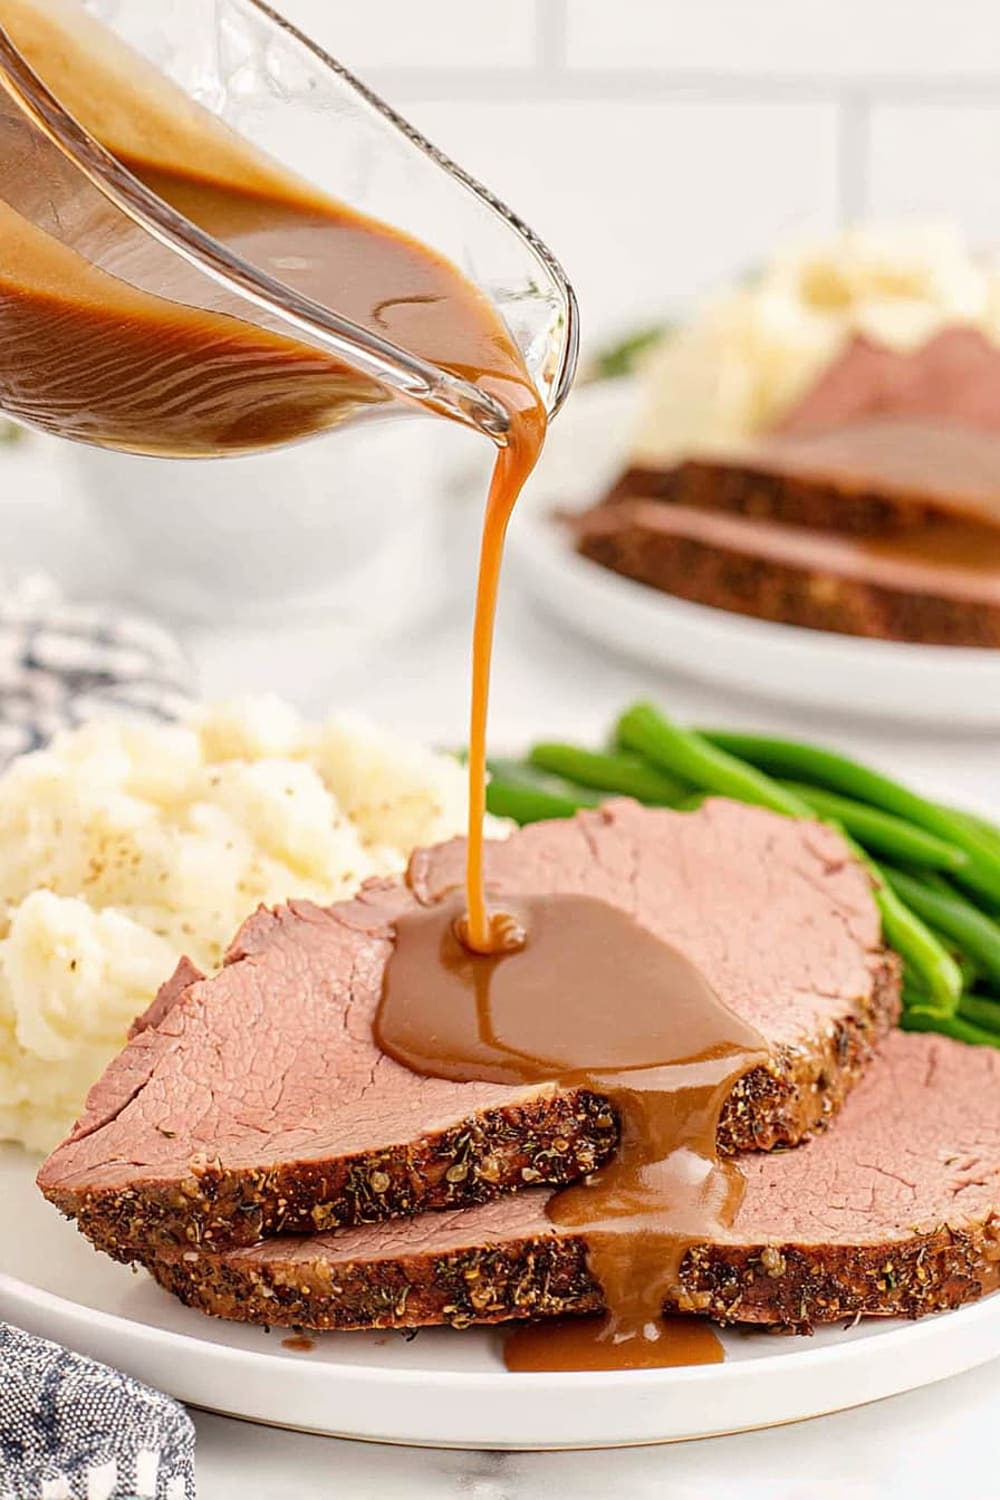
Eye of Round Roast Beef with Gravy
This is the kind of roast that makes people think you went to culinary school, when really you just followed directions and trusted the process.
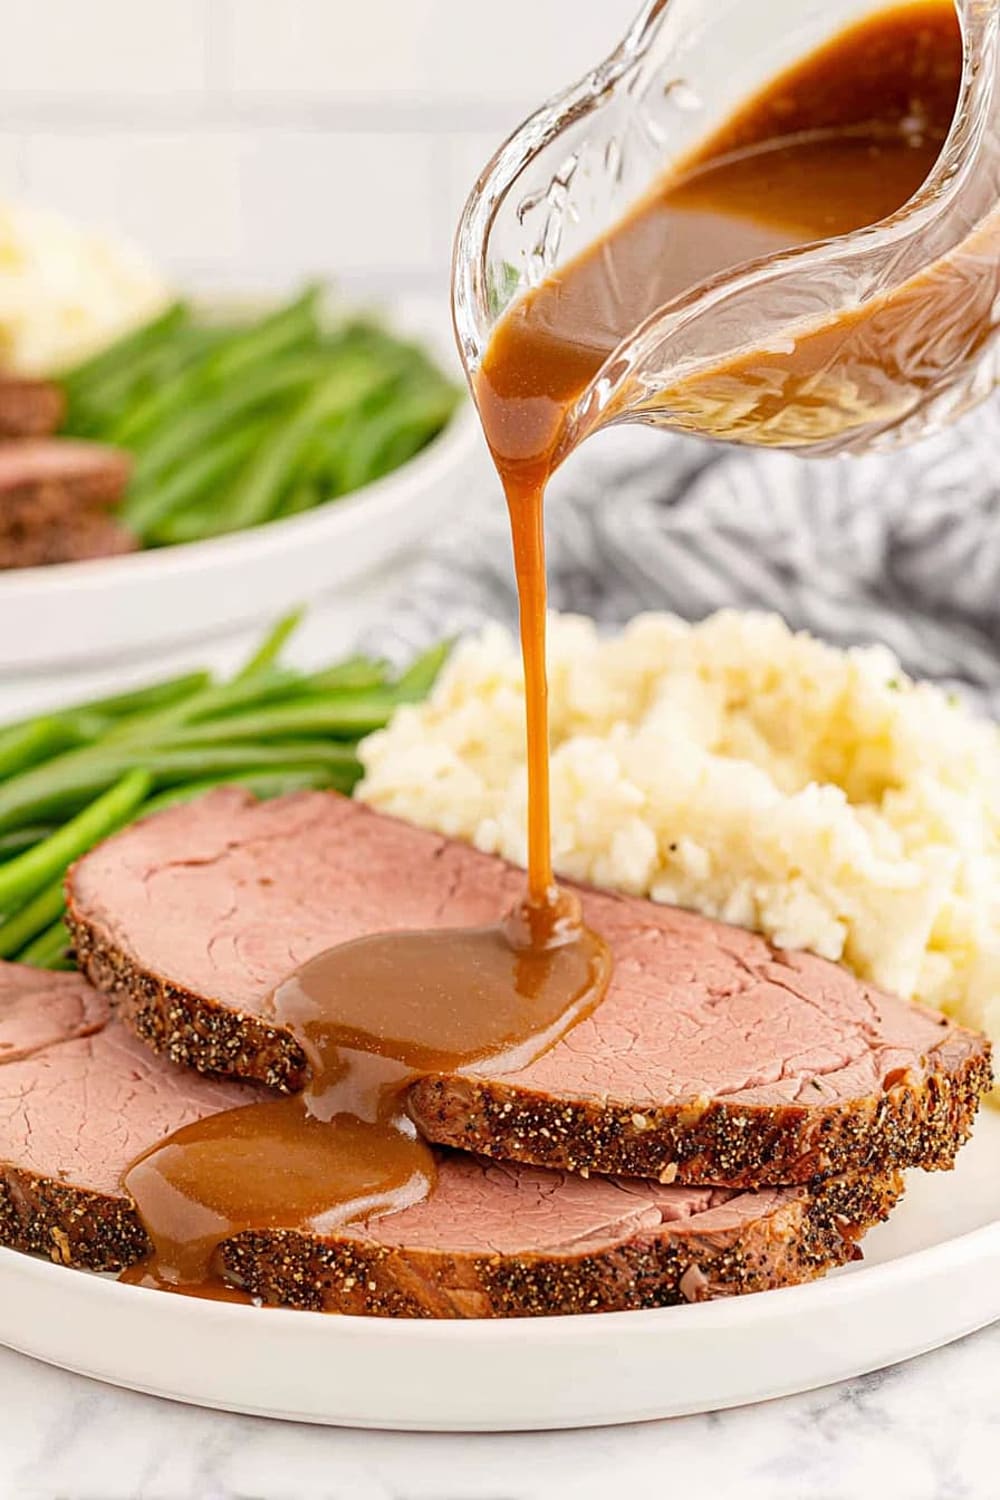
Picture this: a perfectly seasoned, golden-brown roast that slices like butter and practically melts in your mouth, paired with a rich, wine-infused gravy that’s so good you’ll want to drink it straight from the ladle.
The secret weapon here is the high-heat sear followed by low-and-slow roasting – it’s like giving your roast beef the spa treatment it deserves.
Eye of round might not be the most expensive cut, but with this technique, it’ll taste like you splurged on prime rib without the prime rib price tag.
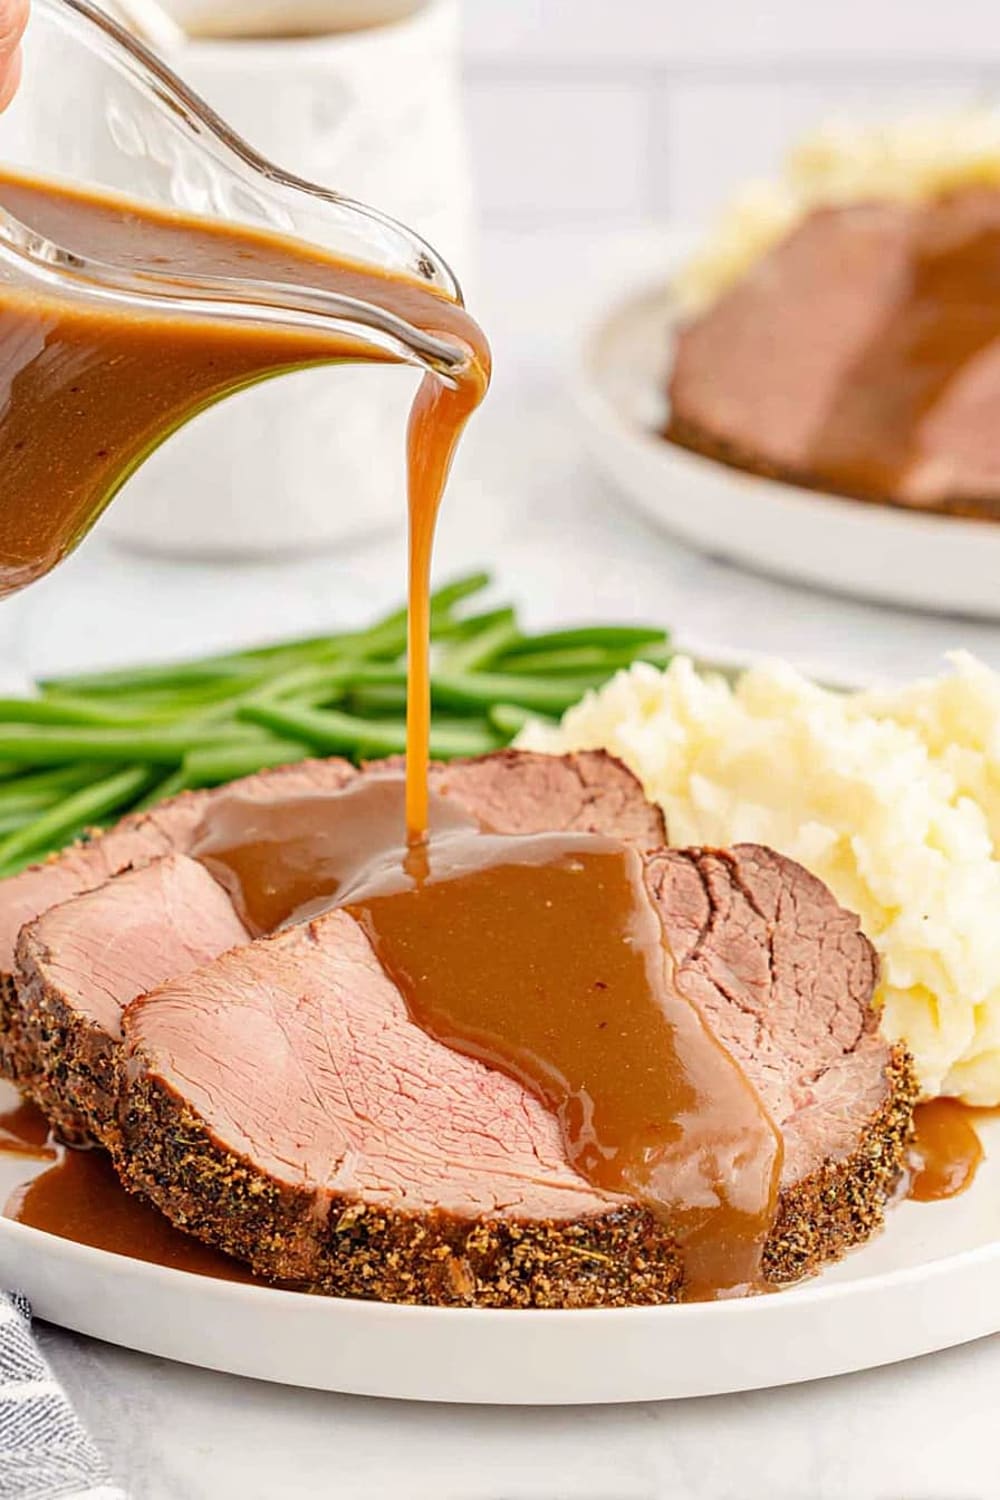
That homemade gravy made from the pan drippings isn’t just a side note – it’s the star of the show, transforming those caramelized bits into liquid gold.
Get ready to become the person everyone asks to bring the main course, because once you master this recipe, you’ll be the designated roast beef expert in your circle.
Ingredients
For the Roast
- 2 ½ to 3 ½ pound eye of round roast
- 2 tablespoons olive oil, or enough to generously coat all sides
Roast Beef Seasoning Mix
- 1 teaspoon kosher salt
- 1 teaspoon dried crushed rosemary
- 1 teaspoon dried thyme
- ¾ teaspoon fresh ground black pepper
- ¾ teaspoon granulated garlic or garlic powder
- ¾ teaspoon onion powder
- ½ teaspoon paprika
For the Roast Beef Gravy
- 2 tablespoons softened butter
- 3 tablespoons all-purpose flour
- ¼ cup red wine, like cabernet sauvignon, pinot noir, or merlot
- 2 cups low sodium beef broth
- ¼ to ½ teaspoon browning sauce, like Kitchen Bouquet
- Salt and freshly ground black pepper, to taste
Instructions
Preparation
- 1 Remove your roast from the refrigerator and allow it to rest on the counter for 45 minutes to 1 hour to take the chill off. This crucial step ensures even cooking throughout the roast – cold meat in a hot oven creates uneven results with overcooked edges and undercooked centers.
- 2 Meanwhile, preheat your oven to 500°F (260°C). This high initial temperature will create that beautiful golden-brown crust that seals in all the juices.
- 3 Combine all the Roast Beef Seasoning Mix ingredients in a small bowl, whisking together the kosher salt, crushed rosemary, thyme, black pepper, granulated garlic, onion powder, and paprika until evenly distributed.
- 4 Pat your roast completely dry with paper towels – any surface moisture will prevent proper browning. Drizzle with olive oil and use your hands to massage it into every surface, ensuring complete coverage including the ends.
Seasoning and Initial Roasting
- 5 Sprinkle the seasoning mix generously over all sides, including the ends, pressing gently to help it adhere. Place your roast on a rack in a roasting pan with the fat cap side facing up – this allows the fat to baste the meat as it cooks.
- 6 Transfer to the preheated oven and roast for 15 minutes until nicely browned and aromatic. The high heat creates the Maillard reaction that develops complex flavors and that gorgeous crust.
Low-Temperature Roasting
- 7 Reduce oven temperature to 300°F (150°C) and continue to roast for another 40 to 50 minutes or until internal temperature reads 130°F to 135°F (54°C to 57°C) for medium-rare. Begin checking temperature after 35 minutes by inserting an instant-read thermometer through the center of the roast from the side. Watch it closely because the temperature can rise quickly towards the end of the cooking time – eye of round is lean and can go from perfect to overcooked in minutes.
Resting and Slicing
- 8 Remove from the oven and loosely tent aluminum foil over the meat while still on the rack in the roasting pan. Allow to rest for 15 to 20 minutes – this resting period allows the juices to redistribute throughout the meat, ensuring every slice is moist and flavorful.
- 9 Transfer the roast to a cutting board and set the roasting pan aside (you’ll need those precious drippings for the gravy). Use a sharp knife to slice against the grain in ¼-inch thick slices – cutting against the grain is crucial for tenderness with this cut. Transfer the sliced beef to a serving platter and cover with foil to keep warm. Pour all accumulated juices from the cutting board back into the roasting pan.
Making the Gravy
- 10 Combine the softened butter and flour in a small bowl, mixing until smooth to create a beurre manié – this mixture will thicken the gravy without lumps.
- 11 Place the roasting pan with the beef drippings and accumulated juices over medium heat on your stovetop. Add the red wine and whisk vigorously, scraping up any browned bits from the bottom for several minutes to cook off some of the alcohol and concentrate the flavors.
- 12 Add the beef broth and the butter-flour mixture, whisking constantly until the butter mixture is completely melted and incorporated. Add the browning sauce (start with ¼ teaspoon – a little goes a long way) and whisk to combine.
- 13 Bring the mixture to a low boil, then reduce heat to maintain a gentle simmer for 3 to 4 minutes, whisking occasionally until thickened to a consistency that coats the back of a spoon. Taste and season with salt and freshly ground pepper only if needed – the drippings and broth usually provide plenty of seasoning.
- 14 Transfer to a gravy boat and serve immediately with the sliced roast beef.
Recommended Equipment and Kitchen Tools
Essential Tools (for best results)
- Instant-read thermometer – This is absolutely crucial for achieving the perfect doneness with eye of round, which can go from perfectly tender to tough in just a few degrees
- Roasting pan with rack – The rack allows air circulation around the roast and prevents the bottom from steaming, while the pan catches those valuable drippings for gravy
- Sharp carving knife – A quality knife makes clean, even slices against the grain, which is essential for tenderness with this lean cut
- Whisk – Essential for creating smooth, lump-free gravy and properly incorporating the wine and drippings
Helpful Upgrades
- Digital kitchen scale – For precise seasoning measurements and consistent results every time you make this recipe
- Cast iron skillet or heavy roasting pan – Retains heat better and creates more flavorful fond for the gravy
- Silicone-tipped tongs – Perfect for handling the roast without piercing the meat and losing precious juices
- Microplane grater – If you prefer fresh garlic over granulated, this creates the perfect fine texture
Nice-to-Have Options
- Gravy separator – Makes it easy to remove excess fat from the drippings while retaining all the flavor
- Probe thermometer – Allows you to monitor temperature without opening the oven door
- Quality cutting board with juice groove – Catches all those flavorful juices to add back to the gravy
Recipe Variations and Dietary Modifications
Gluten-Free Adaptation
- Replace all-purpose flour in the gravy with 3 tablespoons cornstarch mixed with 3 tablespoons cold water to create a slurry
- Add the cornstarch slurry gradually while whisking to avoid lumps
- Simmer for an additional 2-3 minutes to cook out the starchy taste
- The gravy will be slightly more glossy but equally delicious
Low-Carb/Keto Version
- Skip the flour entirely and reduce the gravy by simmering longer to concentrate flavors naturally
- Use 2 tablespoons heavy cream whisked in at the end for richness without carbs
- The wine adds minimal carbs but maximum flavor – about 1g carbs per serving
- Total carbs per serving drop to under 2g with these modifications
Herb Variations
- Mediterranean blend: Replace thyme and rosemary with oregano, basil, and marjoram
- French-inspired: Add herbes de Provence and a touch of lavender to the seasoning mix
- Bold and spicy: Include smoked paprika, cumin, and a pinch of cayenne
- Holiday version: Add sage, dried cranberries to the gravy, and a splash of brandy instead of wine
Gravy Flavor Variations
- Mushroom gravy: Sauté 8oz sliced mushrooms in the pan before adding wine
- Horseradish cream: Stir in 2 tablespoons prepared horseradish after thickening
- Red wine reduction: Use ½ cup wine and reduce by half before adding broth for intense flavor
Nutritional Information and Health Benefits
Key Nutritional Highlights
This eye of round roast provides approximately 245 calories per 4-ounce serving, making it a lean protein powerhouse with 38g of high-quality protein and only 8g of fat. The lean nature of eye of round means you’re getting maximum protein with minimal saturated fat, perfect for those watching their fat intake while building muscle mass.
Health Benefits of Main Ingredients
The grass-fed beef in this recipe provides complete amino acids essential for muscle repair and maintenance, plus significant amounts of iron, zinc, and vitamin B12. The fresh herbs and spices – rosemary, thyme, and garlic – are loaded with antioxidants and anti-inflammatory compounds that support immune function. Red wine in the gravy contributes beneficial resveratrol, though most alcohol cooks off during the reduction process.
Dietary Considerations
This recipe is naturally gluten-free except for the flour in the gravy, making it suitable for most dietary restrictions. It’s dairy-free in the base recipe, with butter only in the optional gravy. The high protein content makes it excellent for low-carb and keto diets, with less than 3g carbs per serving including the gravy. Each serving provides about 15% of your daily iron needs and 25% of daily zinc requirements.
Anti-Inflammatory Properties
The herb blend provides powerful anti-inflammatory compounds, particularly from rosemary and thyme, which contain rosmarinic acid and thymol respectively. These compounds may help reduce inflammation markers and support overall health when consumed as part of a balanced diet.
Smart Swaps and Ingredient Substitutions
Common Substitutions:
- Eye of round roast → Bottom round, top round, or sirloin tip roast (adjust cooking time by 10-15 minutes depending on thickness)
- Red wine → Additional beef broth plus 1 tablespoon balsamic vinegar for depth and acidity
- Fresh herbs → Use 1/3 the amount of dried herbs, or 2 teaspoons of Italian seasoning blend
- Kosher salt → Sea salt or table salt using ¾ the amount due to finer grain size
Budget-Friendly Swaps:
- Grass-fed beef → Conventional eye of round (cooking method remains identical)
- Low-sodium beef broth → Regular beef broth or 2 bouillon cubes dissolved in 2 cups hot water
- Quality red wine → Cooking wine or even grape juice with 1 teaspoon red wine vinegar
- Kitchen Bouquet browning sauce → 1 teaspoon soy sauce or ½ teaspoon Worcestershire sauce
Pantry Emergency Substitutions:
- Granulated garlic → 3 fresh garlic cloves, minced and mixed into a paste with salt
- Paprika → Chili powder or even a pinch of cayenne for heat
- Butter for gravy → Equal amount of olive oil or vegetable oil
- All-purpose flour → Cornstarch (use half the amount) or arrowroot powder
Pro Tips for Substitutions:
- When using different cuts, always rely on internal temperature rather than cooking time
- Store leftover wine in ice cube trays for future cooking use – each cube equals about 2 tablespoons
- Fresh herb substitutions work best when added in the last 5 minutes of cooking to preserve flavor
Make It Diabetes-Friendly
Carb Content Analysis:
- Base roast: Virtually 0 carbs – pure protein and healthy fats
- Seasoning blend: Less than 1g carbs total from herbs and spices
- Traditional gravy: 3g carbs per ¼ cup serving from flour
- Modified gravy: 0.5g carbs using cornstarch thickening method
Flour & Gravy Modifications:
- Replace 3 tablespoons flour with 1½ tablespoons cornstarch mixed with cold water
- Use xanthan gum (just ½ teaspoon) for ultra-low carb thickening
- Reduce wine to 2 tablespoons to cut carbs by half while maintaining flavor
- Double the herbs in the gravy to boost flavor without adding carbs
Portion & Timing Tips:
- 4-ounce serving provides less than 2g total carbs with modified gravy
- Pair with non-starchy vegetables like roasted Brussels sprouts or cauliflower mash
- Add healthy fats like avocado slices or olive oil drizzle to help stabilize blood sugar
- Serve with fiber-rich salad to further slow glucose absorption
Blood Sugar Impact:
- Protein-rich meal helps maintain steady blood sugar levels
- High satiety factor reduces likelihood of post-meal snacking
- Zero glycemic impact from the roast itself makes this an excellent choice for glucose management
Total Carb Reduction: Modified version contains 75% fewer carbs than traditional preparation while maintaining all the flavor and satisfaction.

Perfect Pairing Suggestions
Wine Pairings
This rich, savory roast beef pairs beautifully with full-bodied red wines like Cabernet Sauvignon, Merlot, or Malbec – the same wines that work well in the gravy. For white wine lovers, try a rich Chardonnay or Viognier that can stand up to the beef’s robust flavors. Beer enthusiasts should reach for a porter, stout, or brown ale that complements the roasted, caramelized flavors.
Side Dish Recommendations
Creamy mashed potatoes or garlic mashed cauliflower are classic choices that soak up that incredible gravy perfectly. Roasted root vegetables like carrots, parsnips, and Brussels sprouts add color and complementary sweetness. Yorkshire pudding transforms this into a traditional British feast, while roasted asparagus or green beans almondine provide fresh, crisp contrast to the rich meat.
Complete Meal Ideas
Start with a mixed greens salad with balsamic vinaigrette to cleanse the palate. Follow the roast with roasted seasonal vegetables and herb-roasted potatoes. For dessert, keep it light with fresh berries and cream or lemon sorbet to cut through the richness. This menu works perfectly for Sunday dinner, holiday entertaining, or special occasions.
Seasonal Variations
Fall/Winter: Serve with butternut squash, roasted beets, and cranberry sauce. Spring: Pair with new potatoes, fresh peas, and mint chimichurri. Summer: Try with grilled zucchini, fresh corn, and herb butter. The versatility of this roast makes it perfect for year-round entertaining.
Pro Tips and Troubleshooting
Temperature Mastery
The biggest mistake with eye of round is overcooking – this lean cut becomes tough quickly beyond 135°F (57°C). Insert your thermometer from the side rather than the top to get the most accurate reading from the center. Remove the roast at 130°F (54°C) and let carryover cooking bring it to perfect medium-rare during the resting period.
Slicing Secrets
Always slice against the grain – look for the direction of the muscle fibers and cut perpendicular to them. Use a sharp carving knife and make clean, decisive cuts rather than sawing back and forth. Slice just before serving to prevent the meat from drying out, and save every drop of cutting board juices for the gravy.
Make-Ahead Strategies
Season the roast up to 24 hours ahead and refrigerate – this dry-brining technique enhances flavor penetration. The gravy can be made 2 days ahead and reheated gently, whisking in a splash of broth if it thickens too much. Leftover sliced roast makes incredible sandwiches and can be gently reheated in the gravy.
Storage and Reheating
Refrigerate leftovers within 2 hours and use within 3-4 days. Reheat gently in low oven (250°F/120°C) with a splash of broth to prevent drying. Freeze sliced roast in gravy for up to 3 months – the gravy protects the meat from freezer burn and makes reheating foolproof.
Scaling Tips
This recipe doubles easily for larger crowds – just increase cooking time by 15-20 minutes and use two thermometers to monitor both roasts. For smaller gatherings, a 2-pound roast works perfectly with reduced cooking time of about 25-30 minutes at the lower temperature.
This eye of round roast beef with gravy proves that with the right technique, even budget-friendly cuts can create restaurant-quality results that’ll have everyone asking for your secret. The combination of high-heat searing, low-temperature roasting, and that incredible pan gravy made from the drippings creates a meal that’s both impressive and surprisingly achievable for home cooks of any skill level.