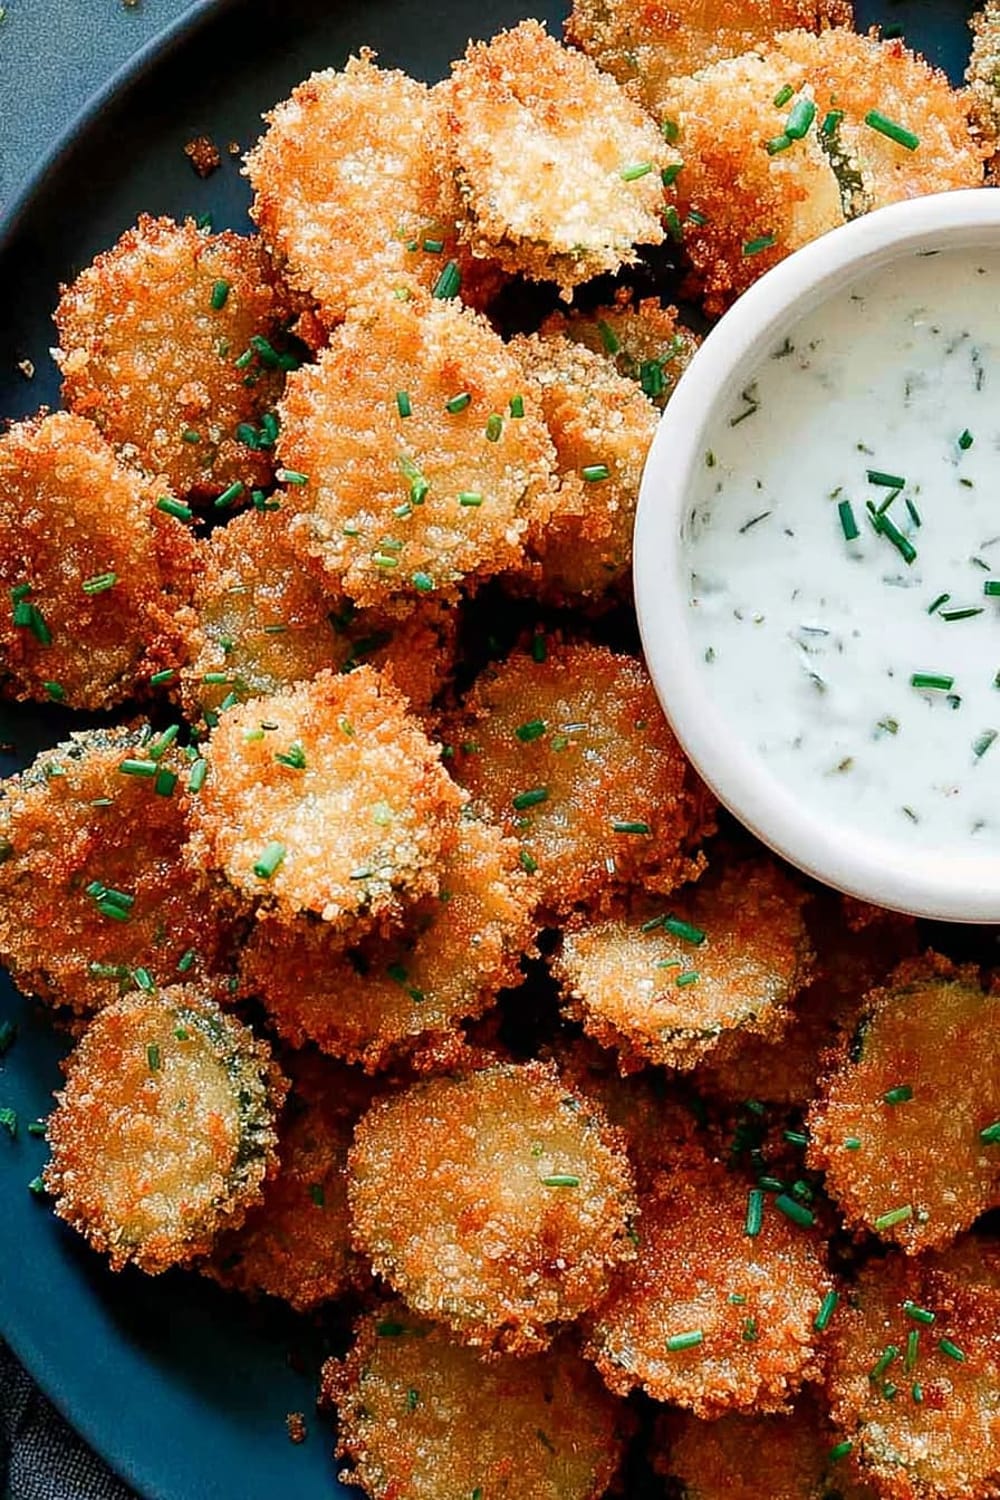
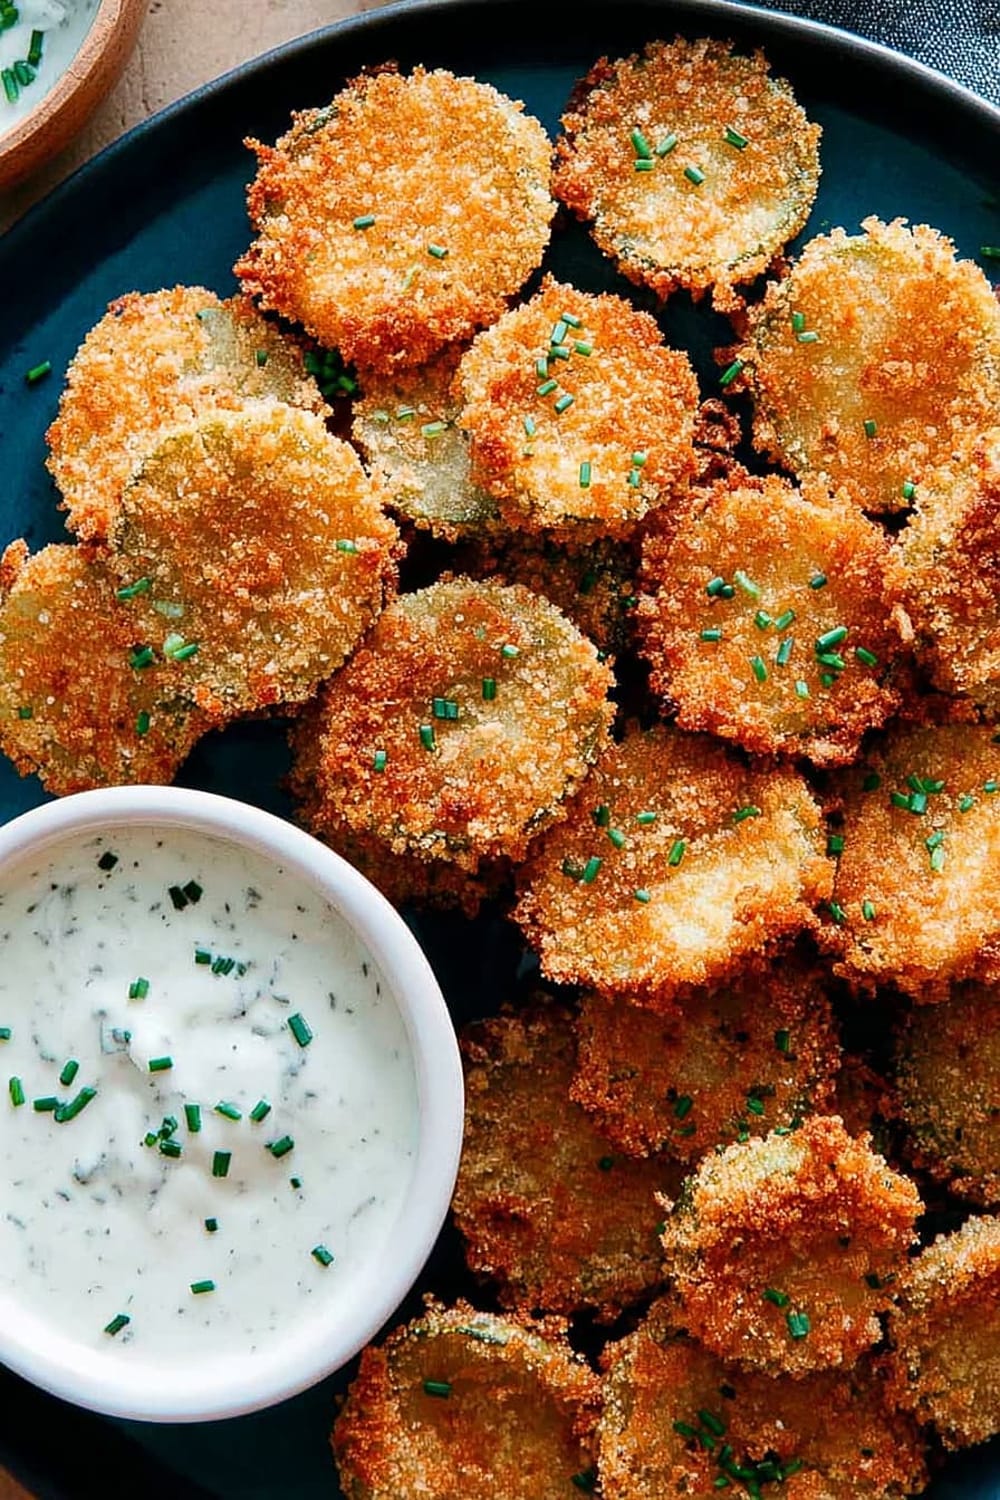
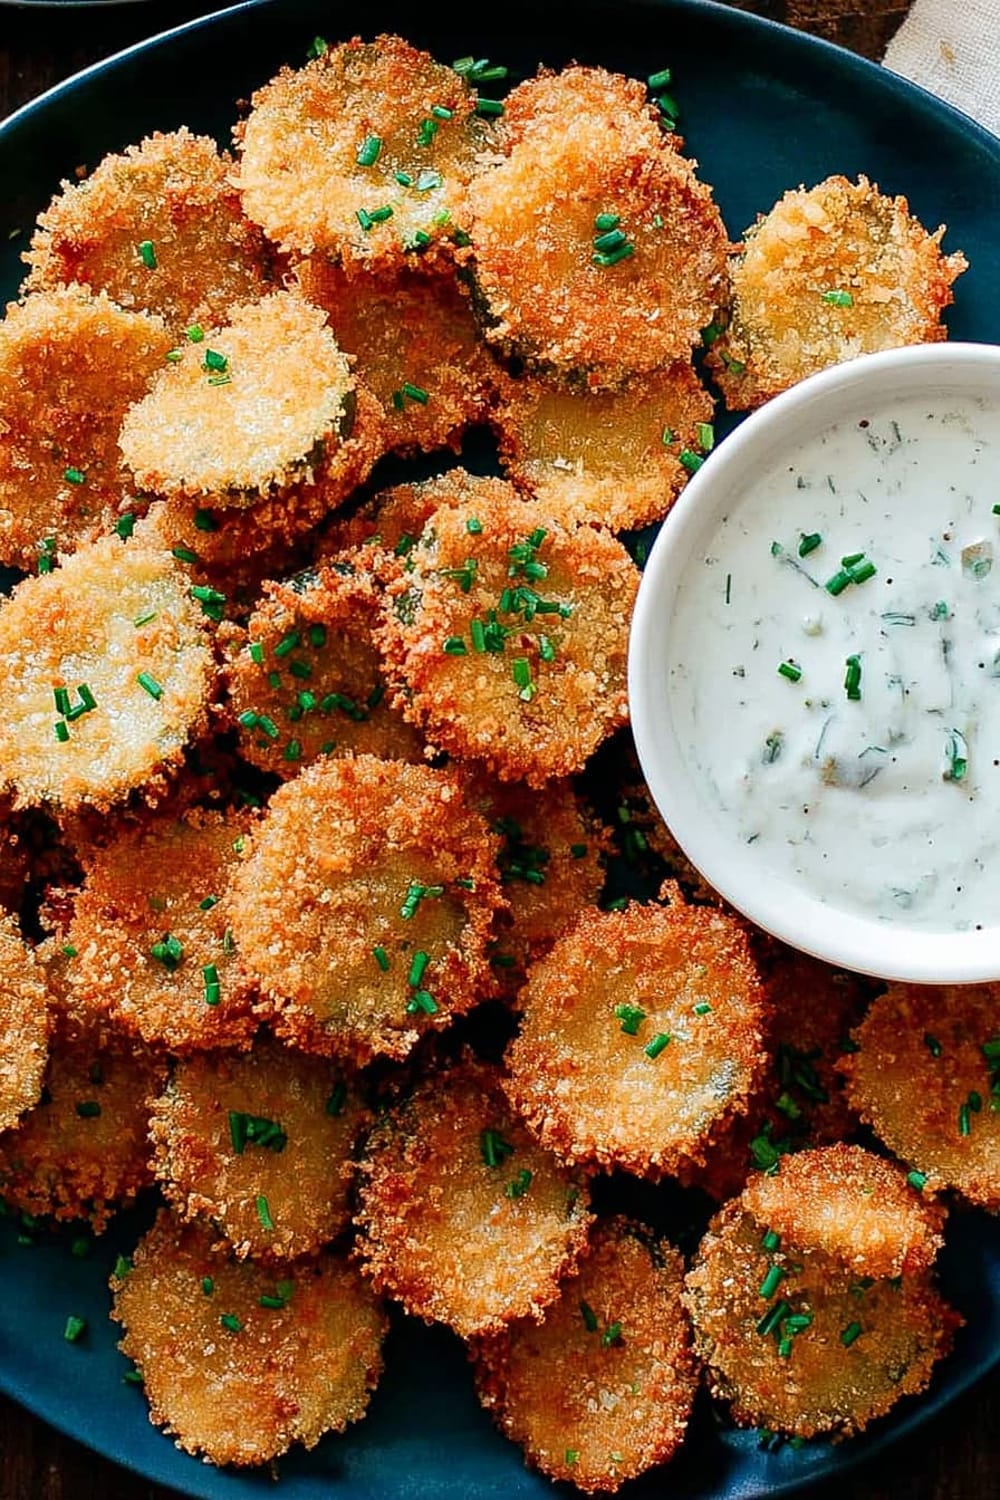
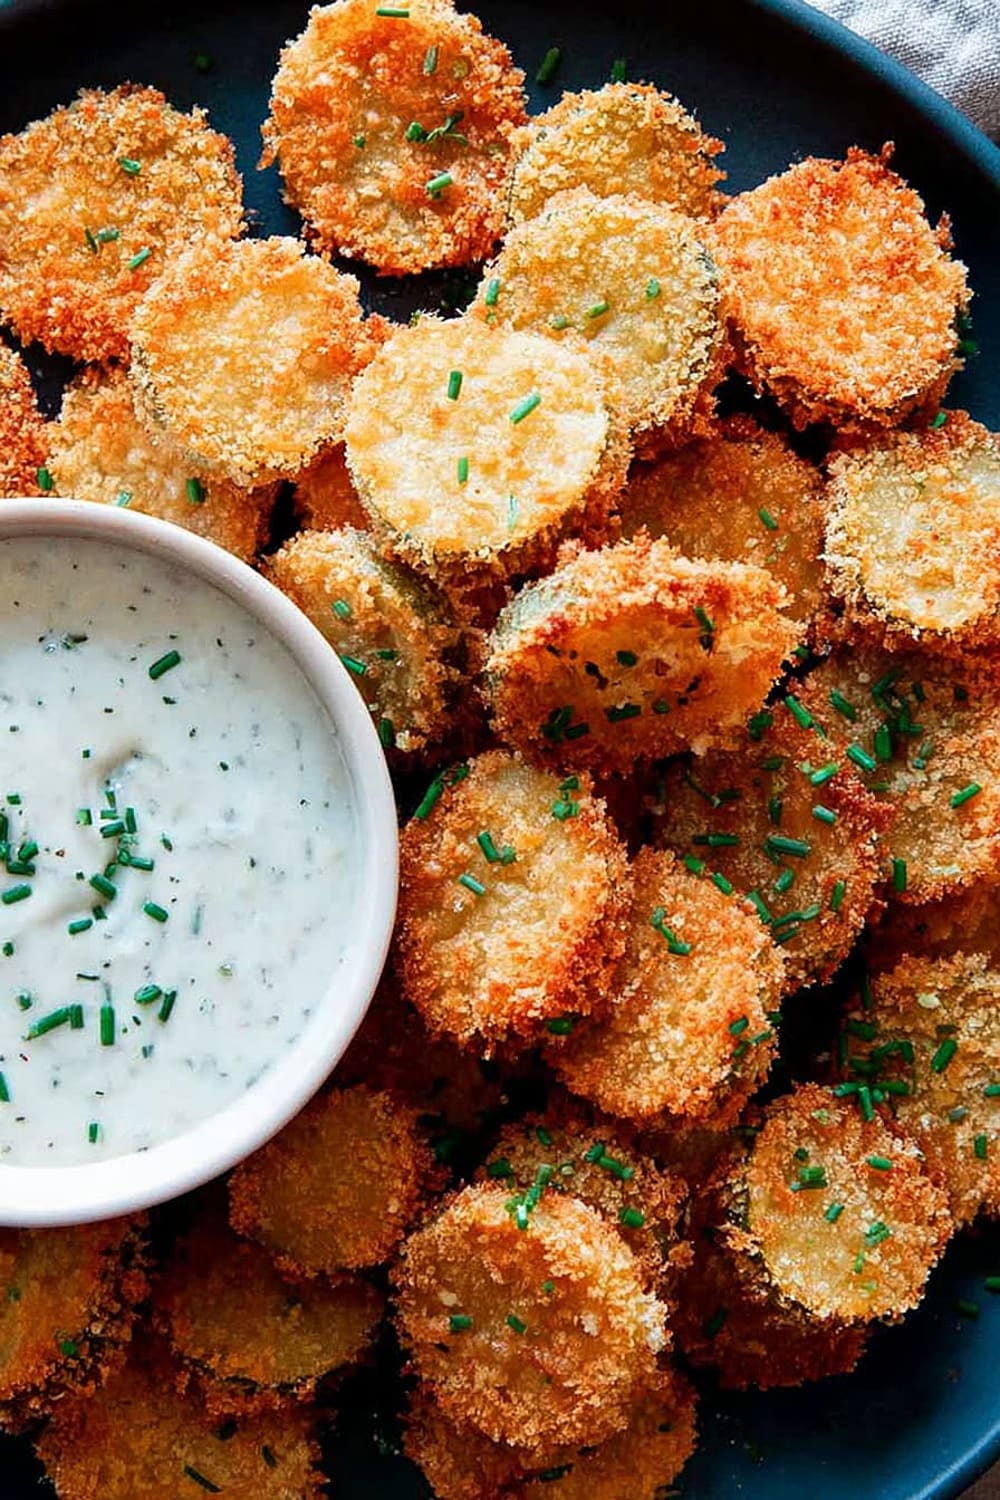
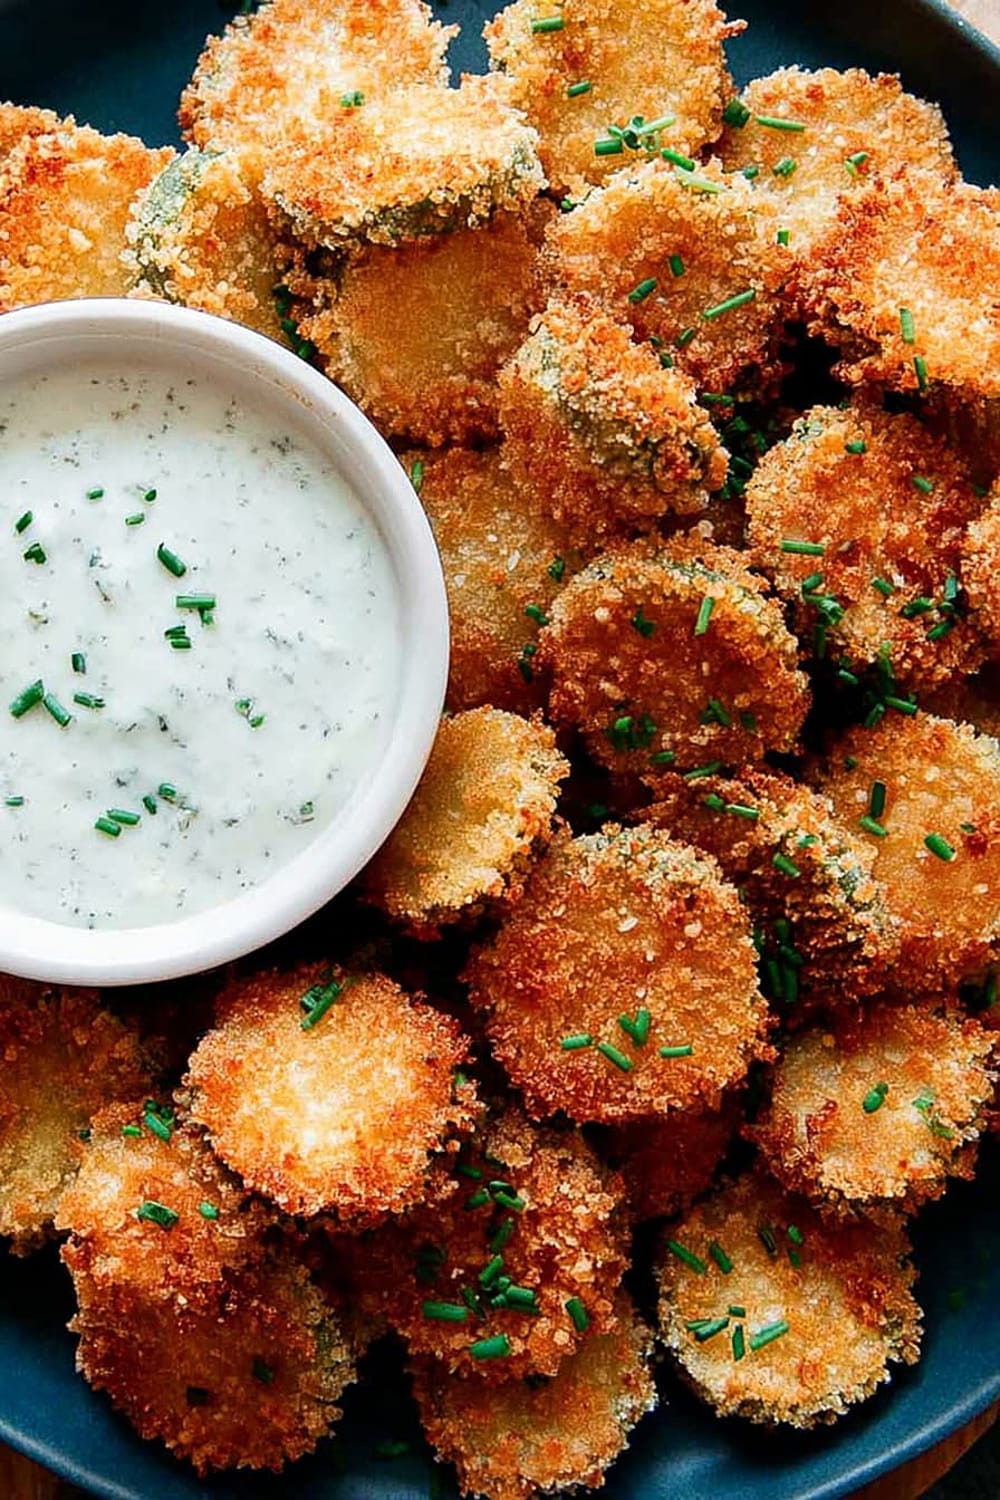
Fried Pickle Chips
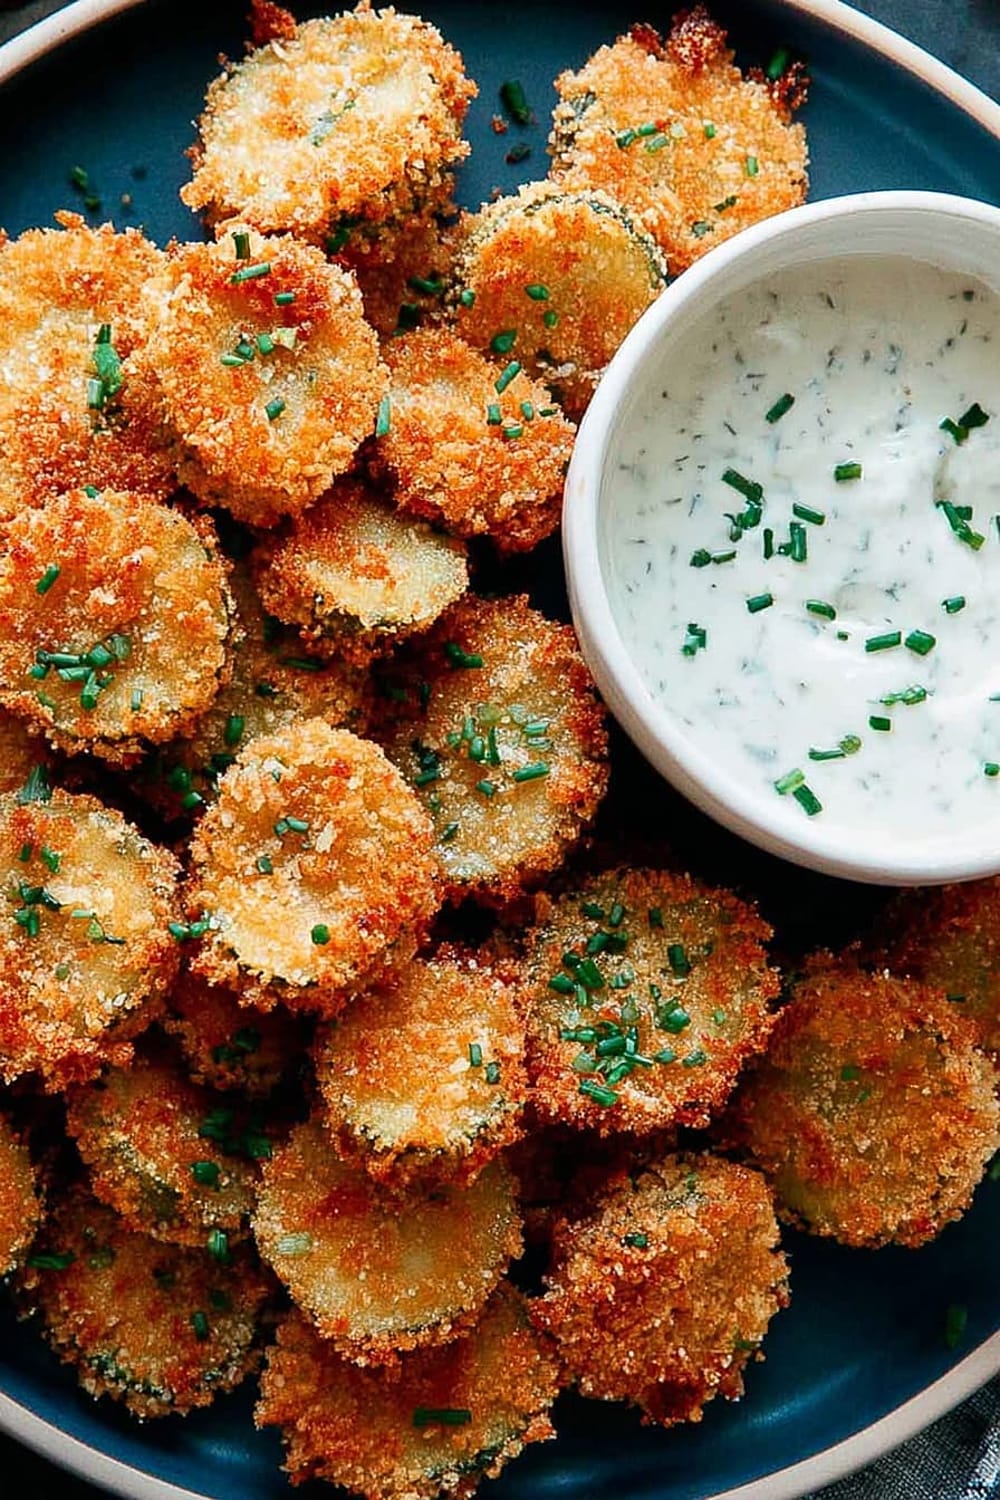
These golden, crispy fried pickle chips are basically the ultimate bar snack that you can now make in your own kitchen without having to deal with sticky tables and overpriced drinks.
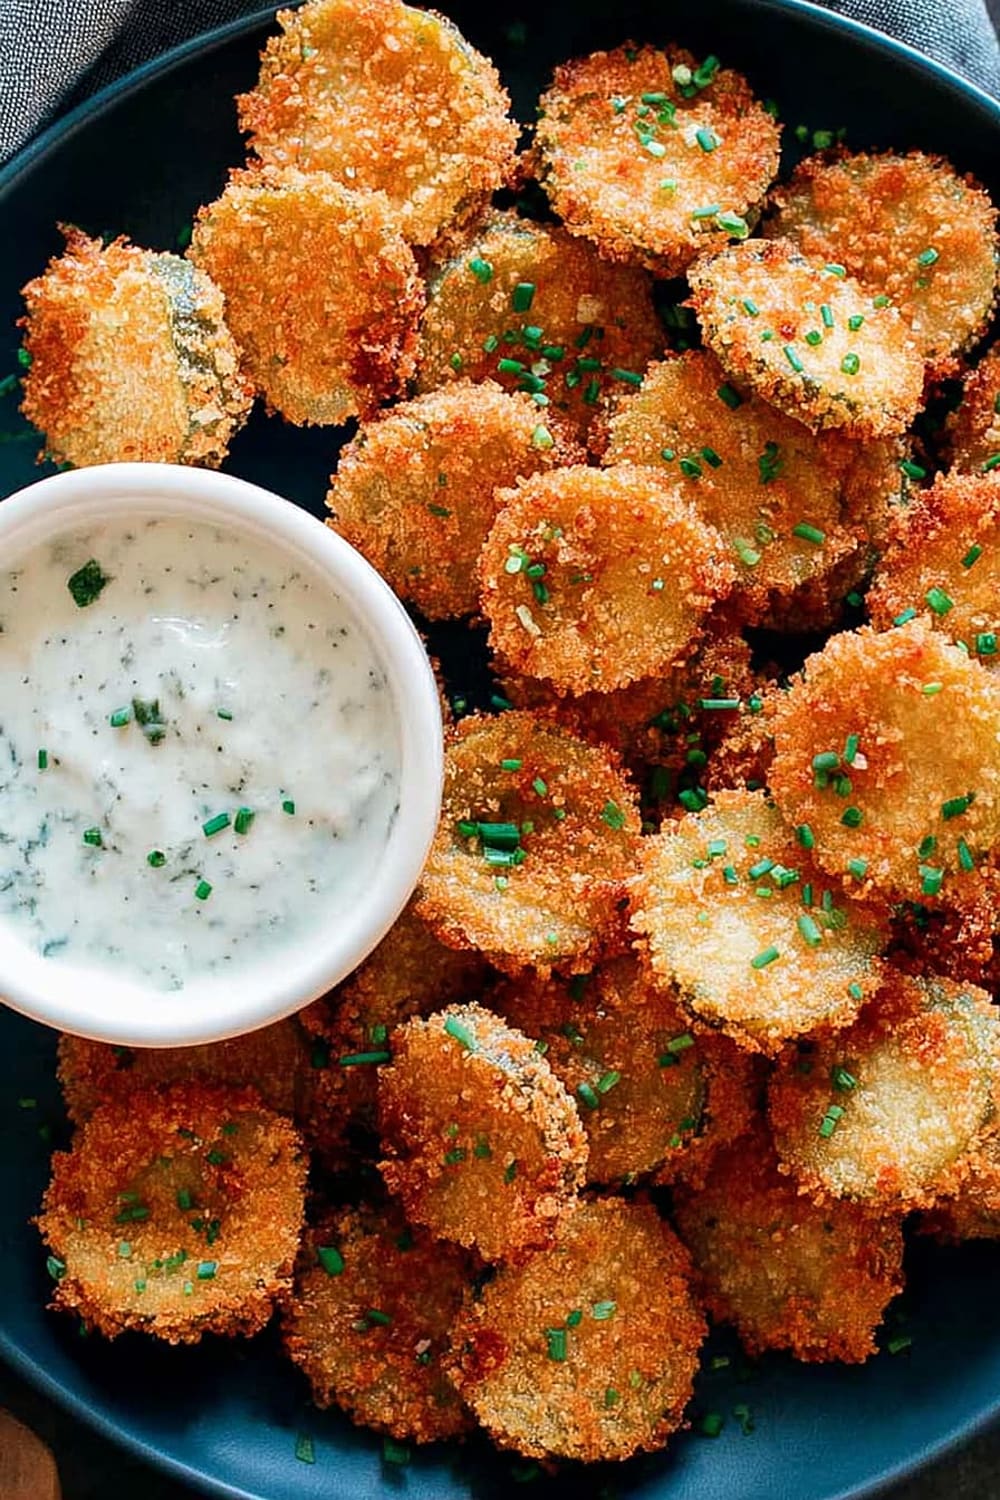
The tangy crunch of dill pickles wrapped in a perfectly seasoned panko coating creates that addictive sweet-and-sour contrast that keeps you reaching for just one more.

What makes this recipe absolutely genius is the chilling step that locks in that crispy coating, preventing the dreaded soggy bottom syndrome that ruins so many homemade fried foods.
You’ll get that satisfying crunch followed by the bright, briny burst of pickle flavor that somehow manages to be both nostalgic and sophisticated at the same time.
This is the kind of appetizer that disappears faster than you can make it, leaving everyone asking for the recipe while secretly wondering why they never thought to make these at home before.
Perfect for game day, parties, or those random Tuesday nights when you need something crispy, salty, and completely irresistible to go with your homemade ranch dressing.

Ingredients
For the pickle preparation
- 2 cups ridge cut pickle chips, drained
- Paper towels or clean kitchen towels for pressing
For the breading station
- 1 cup all purpose flour
- 2 eggs, lightly beaten
- 2 cups panko breadcrumbs
For frying
- 2 cups vegetable oil
- Salt and pepper to taste
For garnish and serving
- 2 tablespoons thinly sliced chives
- Homemade ranch dressing for serving
Instructions
Preparation
- 1 Heat your vegetable oil in a heavy-bottomed pot or deep cast iron skillet to exactly 350°F (175°C) using an instant-read thermometer. Maintaining this temperature is crucial for achieving that perfect golden crust without absorbing excess oil.
- 2 Firmly press the pickle chips in a single layer between multiple layers of paper towels or clean kitchen towels, applying steady pressure for at least 2-3 minutes. This step removes excess brine that would otherwise create steam and prevent proper browning.
- 3 Set up your breading station using three separate shallow dishes or pie plates: place the all purpose flour in the first dish, lightly beaten eggs in the second, and panko breadcrumbs in the third. This assembly line approach ensures efficient coating and prevents clumping.
Breading process
- 4 Working with 4-5 pickle chips at a time, dredge each chip thoroughly in flour, shaking off any excess coating. The flour creates the foundation layer that helps the egg adhere properly to the pickle surface.
- 5 Dip the floured pickles into the beaten eggs, allowing any excess to drip back into the bowl. Make sure every surface is coated, as any dry spots will cause the panko to fall off during frying.
- 6 Press each egg-coated chip firmly into the panko breadcrumbs, turning to coat all sides and gently pressing the crumbs to adhere. The panko should completely cover the pickle with no bare spots visible.
- 7 Transfer the fully coated pickle chips to a parchment-lined baking sheet and refrigerate for exactly 20 minutes. This chilling time allows the coating to set and creates a barrier that prevents the breading from sliding off during frying.
Frying and finishing
- 8 Remove the chilled pickle chips from the refrigerator and fry in small batches of 6-8 pieces for 2-3 minutes, until they turn light golden brown and sound crispy when tapped with tongs. Overcrowding the pan will lower the oil temperature and result in soggy coating.
- 9 Use a slotted spoon or spider to transfer the fried pickles to a paper towel-lined plate, immediately seasoning lightly with salt and pepper while they’re still hot. The residual heat helps the seasoning adhere to the crispy coating.
- 10 Repeat the frying process with remaining pickle chips, allowing the oil temperature to return to 350°F (175°C) between batches. Consistent temperature control is the key to uniform browning and texture.
- 11 Garnish with thinly sliced chives and serve immediately alongside homemade ranch dressing for the ultimate flavor combination. These are best enjoyed within 10-15 minutes of frying for maximum crispiness.
Recommended Equipment and Kitchen Tools
Essential Tools (for best results)
- Instant-read thermometer – Critical for maintaining the perfect 350°F (175°C) oil temperature that creates crispy exteriors without greasy interiors
- Cast iron skillet or heavy-bottomed pot – Retains heat better than thin pans, preventing temperature fluctuations when adding cold food
- Wire cooling rack – Allows air circulation around fried pickles, preventing steam buildup that makes coatings soggy
- Slotted spoon or spider strainer – Essential for safely removing pickles from hot oil while allowing excess oil to drain immediately
Helpful Upgrades
- Digital kitchen scale – Measuring panko breadcrumbs by weight ensures consistent coating thickness and professional results
- Three matching shallow dishes – Creates an efficient breading station that speeds up the coating process and reduces mess
- Parchment paper – Prevents coated pickles from sticking to baking sheets during the crucial chilling period
Nice-to-Have Options
- Splatter screen – Reduces oil splatter while maintaining visibility of the frying process for safety and timing
- Paper towel-lined sheet pan – Creates the perfect draining station that absorbs excess oil without creating sogginess
Recipe Variations and Dietary Modifications
Gluten-Free Adaptation
- Replace all purpose flour with 1 cup gluten-free flour blend (1:1 ratio works perfectly)
- Substitute panko breadcrumbs with 2 cups gluten-free panko or finely crushed gluten-free crackers
- Expect slightly less crispy texture but equally delicious flavor
- Add 1/4 teaspoon xanthan gum to flour if your blend doesn’t contain it
Air Fryer Version
- Follow the same breading and chilling process
- Spray coated pickles lightly with cooking oil spray
- Air fry at 400°F (200°C) for 8-10 minutes, flipping halfway through
- Results in 75% less oil while maintaining satisfying crunch
Baked Alternative
- Preheat oven to 425°F (220°C) and line baking sheet with parchment
- Spray breaded pickles with cooking oil before baking
- Bake for 12-15 minutes, flipping once at the halfway point
- Slightly less crispy but significantly healthier option
Flavor Variations
- Spicy version: Add 1 teaspoon cayenne pepper and 1 tablespoon paprika to panko mixture
- Ranch-flavored coating: Mix 1 packet ranch seasoning into the flour for extra flavor
- Parmesan twist: Add 1/2 cup grated Parmesan cheese to panko breadcrumbs for umami richness
Nutritional Information and Health Benefits
Key Nutritional Highlights
Each serving (approximately 4-5 pickle chips) contains roughly 180-220 calories, with the majority coming from the panko coating and frying oil. The pickles themselves contribute minimal calories but provide significant sodium content from the brining process. The eggs in the coating add high-quality protein and essential amino acids, while the vegetable oil provides necessary fats for nutrient absorption.
Health Benefits of Main Ingredients
Pickles are naturally rich in probiotics from the fermentation process, supporting digestive health and gut microbiome balance. They’re also an excellent source of vitamin K, essential for bone health and blood clotting. The cucumbers used to make pickles contain antioxidants like beta-carotene and flavonoids that may help reduce inflammation. Eggs provide complete protein with all nine essential amino acids, plus choline for brain function and selenium for immune system support.
Dietary Considerations
This recipe is naturally vegetarian but contains gluten from flour and eggs, making it unsuitable for vegan or egg-allergic individuals. The high sodium content from pickles makes portion control important for those monitoring salt intake. The frying method increases calorie density, so consider the baked version for lighter options. Each serving provides approximately 15-20% of daily sodium needs, so pair with low-sodium sides for balanced nutrition.
Smart Swaps and Ingredient Substitutions
Common Substitutions:
- All purpose flour → Rice flour or cornstarch (3/4 cup) for gluten-free option with extra crispiness
- Panko breadcrumbs → Crushed cornflakes or finely ground crackers for different texture profiles
- Vegetable oil → Peanut oil or canola oil for higher smoke points and neutral flavor
- Ridge cut pickles → Dill spears sliced lengthwise or bread and butter pickles for sweetness variation
Budget-Friendly Swaps:
- Panko breadcrumbs → Regular breadcrumbs mixed with crushed crackers for similar texture at lower cost
- Fresh chives → Dried chives (1 tablespoon) or green onion tops for garnish savings
- Homemade ranch → Store-bought ranch enhanced with fresh herbs and lemon juice
Pantry Emergency Substitutions:
- Eggs → Buttermilk (1/2 cup) for binding when eggs aren’t available
- Vegetable oil for frying → Coconut oil (solid at room temperature but works well heated)
- All purpose flour → Self-rising flour (reduce any added salt by half)
Pro Tips for Substitutions:
- Store panko breadcrumbs in freezer for extended freshness and better texture
- When using alternative flours, add 1 tablespoon cornstarch for extra crispiness
- Oil temperature may need adjustment with different oils – monitor carefully with thermometer
Make It Diabetes-Friendly
Carb Reduction Strategies:
- Replace all purpose flour with almond flour (3/4 cup) to reduce carbs by approximately 75%
- Substitute panko breadcrumbs with crushed pork rinds (1 1/2 cups) for virtually zero carbs
- Use coconut flour (1/3 cup) mixed with ground flaxseed (1/3 cup) for high-fiber, low-carb coating
- Consider air frying method to eliminate oil absorption and reduce overall calories
Portion & Timing Tips:
- Limit serving size to 6-8 pieces (approximately 8-12 grams carbs with traditional coating)
- Pair with protein-rich ranch dressing made with Greek yogurt to slow glucose absorption
- Serve alongside raw vegetables like celery and bell peppers for added fiber
- Time consumption with meals rather than as standalone snacks for better blood sugar control
Blood Sugar Impact Modifications:
- Add 1 tablespoon ground flaxseed to coating mixture for omega-3 fatty acids and fiber
- Include 1/4 teaspoon cinnamon in flour mixture for potential blood sugar stabilizing benefits
- Choose dill pickles over sweet varieties to avoid added sugars
Total Carb Reduction: Using almond flour and pork rind coating reduces carbs from 15-18 grams per serving to approximately 3-5 grams per serving.
Perfect Pairing Suggestions
Beverage Pairings
Cold beer like pilsners or wheat beers complement the salty, tangy pickle flavor while cleansing the palate between bites. Dry white wines such as Sauvignon Blanc or Pinot Grigio provide crisp acidity that enhances the pickle’s brightness. For non-alcoholic options, sparkling water with lime or iced tea offer refreshing contrasts to the rich, fried coating. Bloody Marys create an ultimate brunch pairing with their tomato base and pickle garnish theme.
Side Dish Recommendations
Buffalo cauliflower bites provide a spicy, vegetable-forward complement to the tangy pickles. Loaded potato skins with bacon and cheese create a complete bar food experience. Fresh coleslaw with apple cider vinegar dressing adds cooling crunch and cuts through the fried richness. Jalapeño poppers escalate the appetizer spread with creamy, spicy contrast to the pickle’s acidic bite.
Complete Meal Ideas
Build a Southern-inspired menu with pulled pork sliders, mac and cheese, and these fried pickles as the perfect starter. For game day entertaining, pair with buffalo chicken dip, loaded nachos, and onion rings for the ultimate comfort food spread. Create a pickle-themed party featuring pickle-brined fried chicken, pickle potato salad, and these chips as the star appetizer.
Occasion Suggestions
Perfect for Super Bowl parties, backyard barbecues, and casual entertaining where finger foods shine. Excellent bar mitzvah or graduation party appetizer that appeals to all ages. Ideal for tailgating since they travel well and satisfy that craving for something crunchy and satisfying.
Pro Tips and Troubleshooting
Professional Techniques
Double-dredge method: For extra crispy coating, repeat the flour-egg-panko process twice, creating an ultra-thick crust that stays crunchy longer. Oil temperature recovery: Allow oil to return to 350°F (175°C) between batches by waiting 2-3 minutes – this prevents greasy, undercooked coating. Batch size control: Never fry more than 6-8 pieces at once to maintain oil temperature and ensure even cooking.
Common Mistake Prevention
Soggy coating syndrome happens when pickles aren’t properly dried – press firmly with paper towels and let them air dry for 5 minutes after pressing. Coating separation occurs when the chilling step is skipped – that 20-minute refrigeration is non-negotiable for coating adhesion. Greasy results come from oil that’s too cool – invest in a reliable thermometer and maintain consistent temperature.
Storage and Reheating
Fresh fried pickles lose crispiness quickly, so serve immediately for best results. Leftover storage: Place cooled pickles in refrigerator for up to 2 days, then reheat in 400°F (200°C) oven for 5-7 minutes to restore some crispiness. Make-ahead strategy: Complete breading process and freeze coated pickles on baking sheets, then fry directly from frozen, adding 1-2 extra minutes to cooking time.
Scaling and Presentation
Double recipe easily for parties – just ensure adequate oil depth and work in multiple small batches. Presentation upgrade: Serve in paper-lined baskets with small ramekins of various dipping sauces for restaurant-style appeal. Garnish enhancement: Mix chopped fresh dill with chives for extra pickle flavor reinforcement.
These crispy, golden fried pickle chips prove that sometimes the best recipes are the ones that take your favorite restaurant appetizers and make them even better in your own kitchen. The combination of tangy dill pickles and that perfectly seasoned panko crust creates an irresistible snack that’s guaranteed to disappear faster than you can make them, leaving everyone wondering why they never thought to master this addictive treat at home.