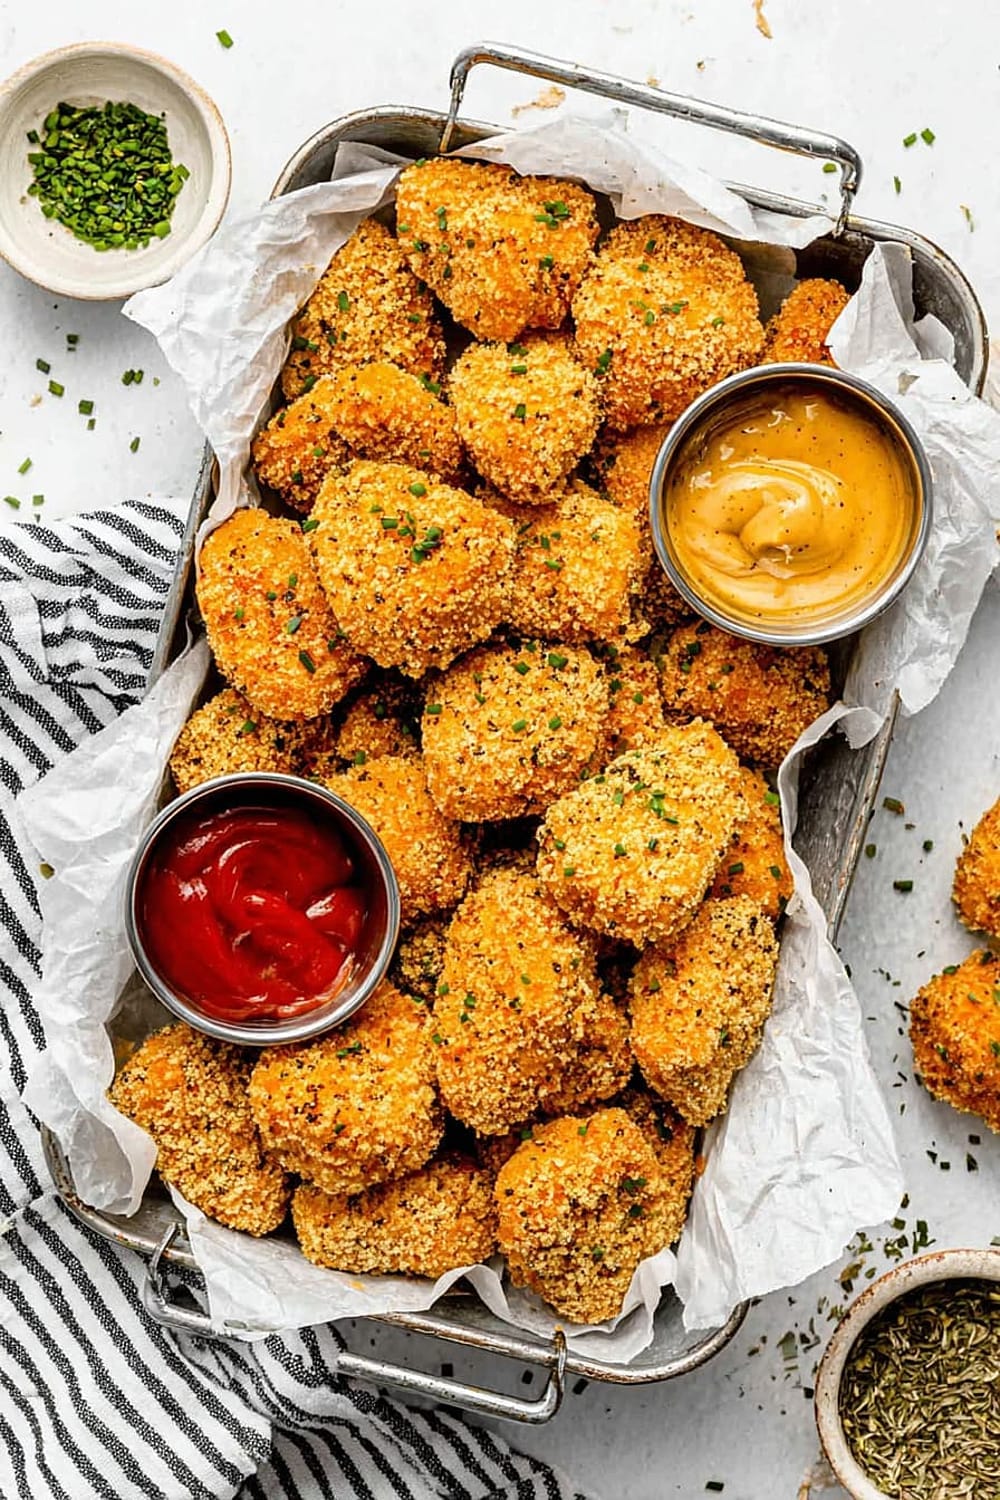
Healthy Homemade Chicken Nuggets
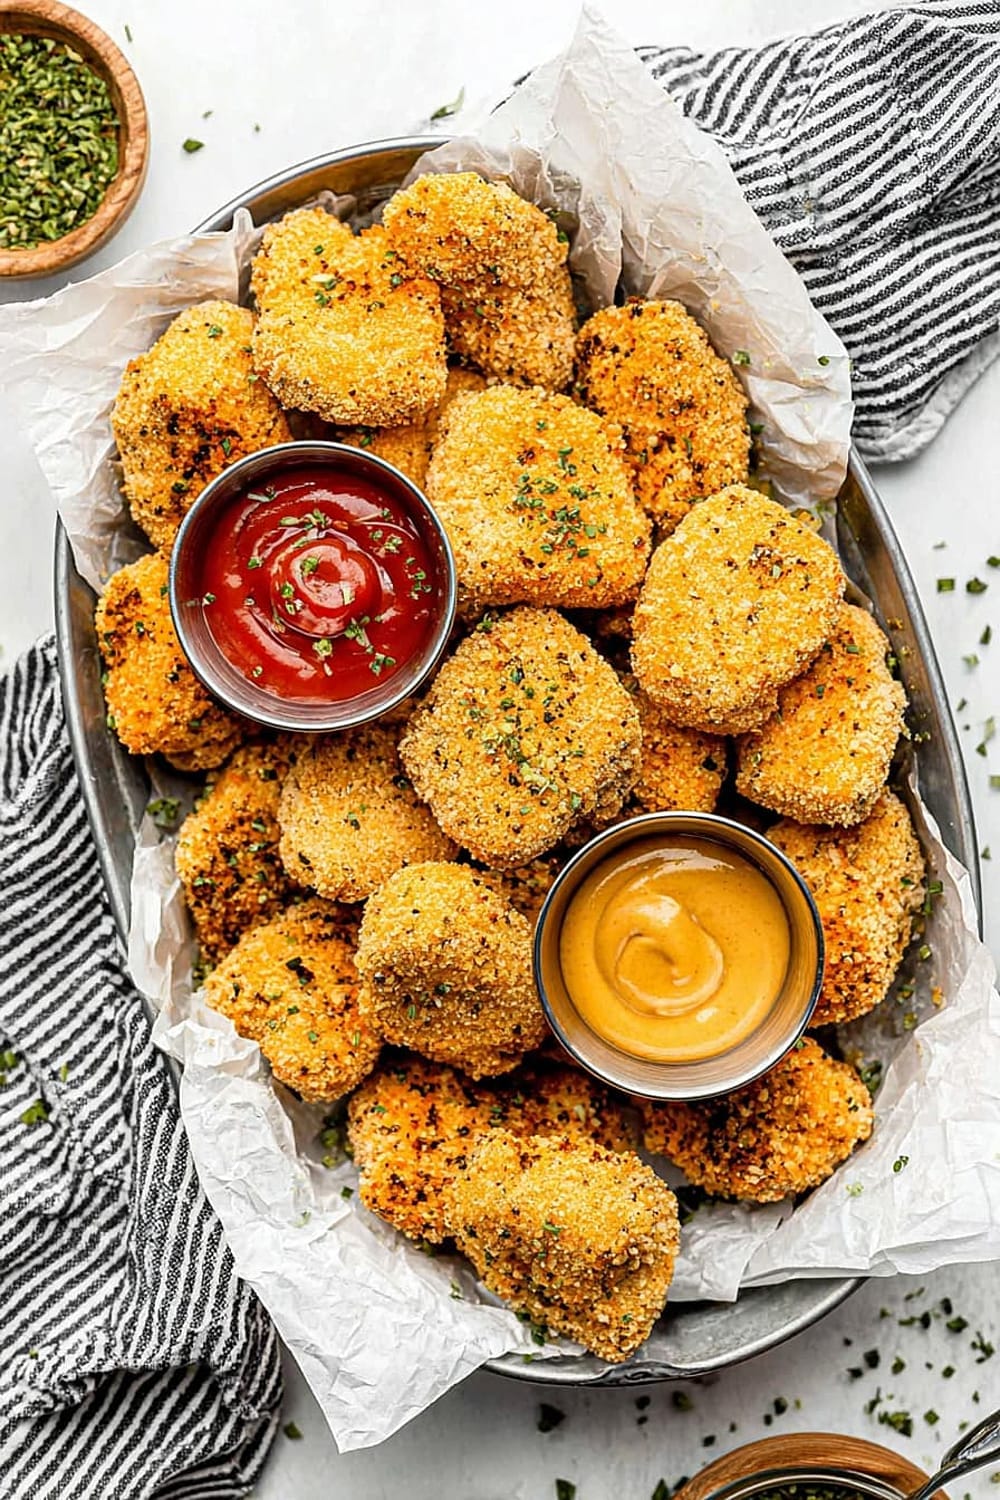
These crispy, golden chicken nuggets are about to become your new obsession – and the best part is you can feel good about serving them to your family.
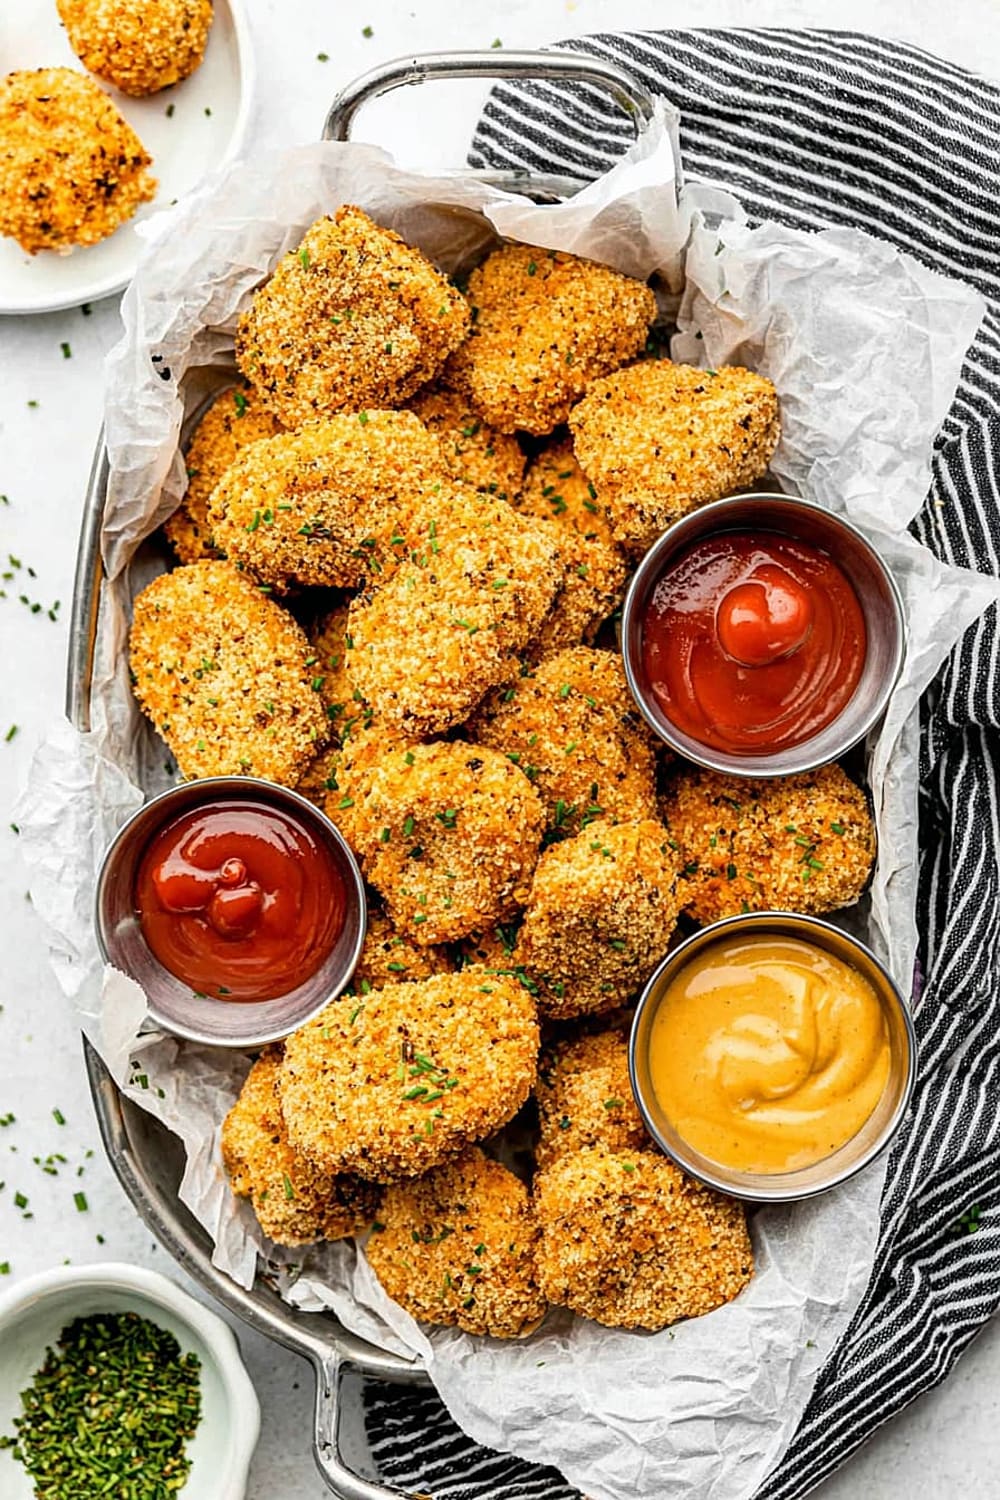
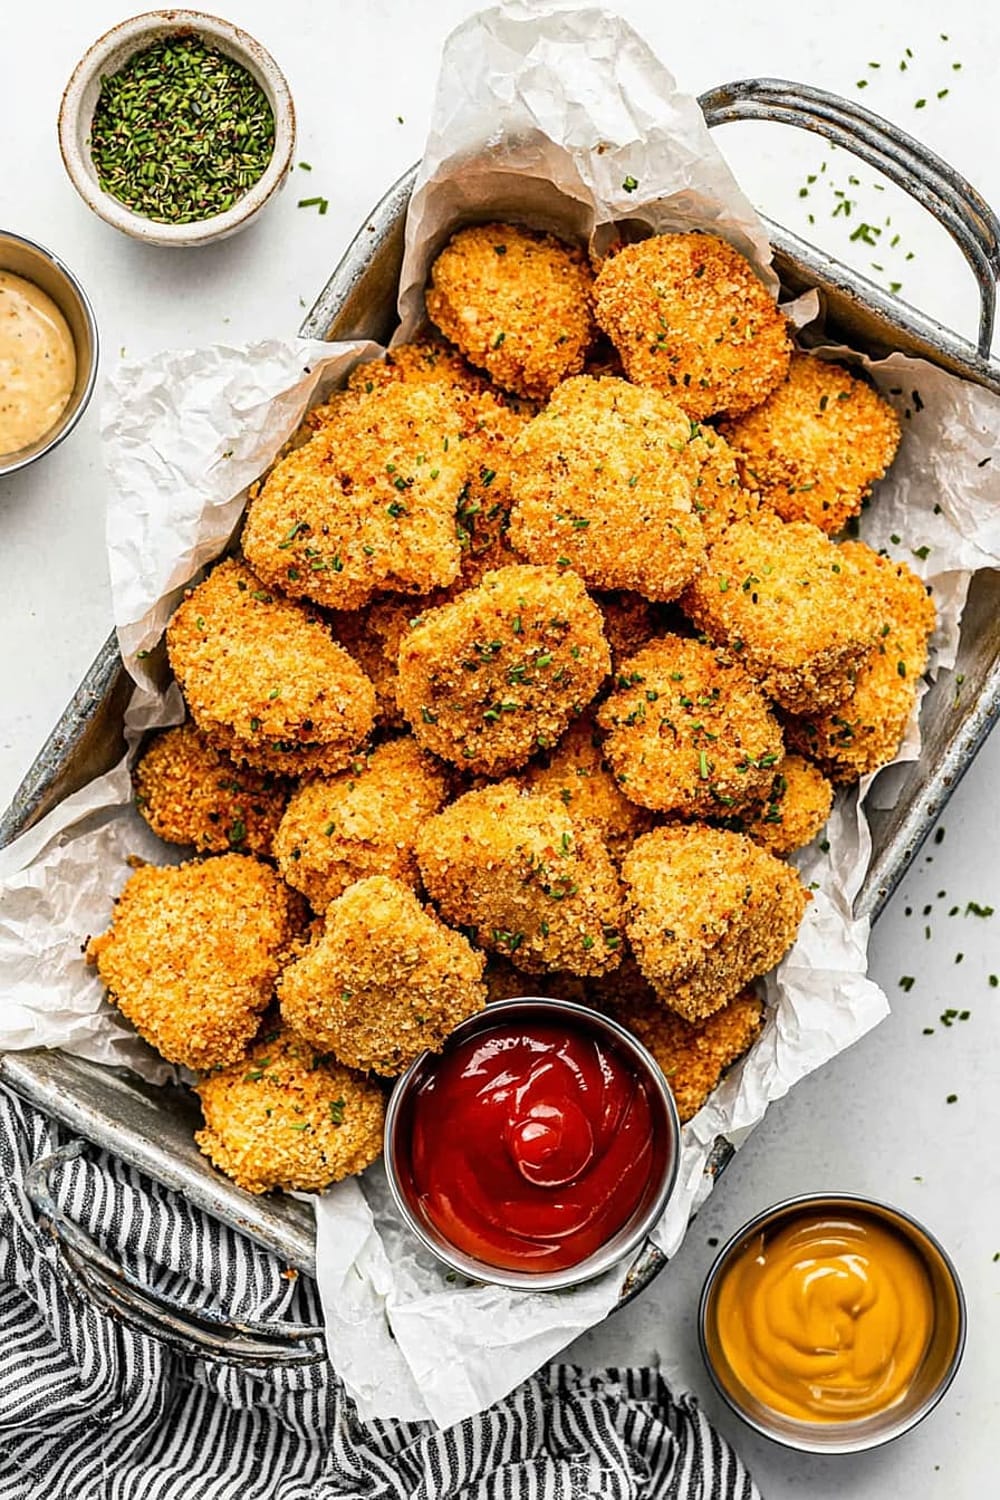
Forget everything you know about processed chicken nuggets because these homemade beauties are baked to perfection with a satisfying crunch that rivals any fast-food version.
The secret weapon here is toasting the gluten-free panko breadcrumbs first, which creates an incredibly crispy coating that stays crunchy even after baking.
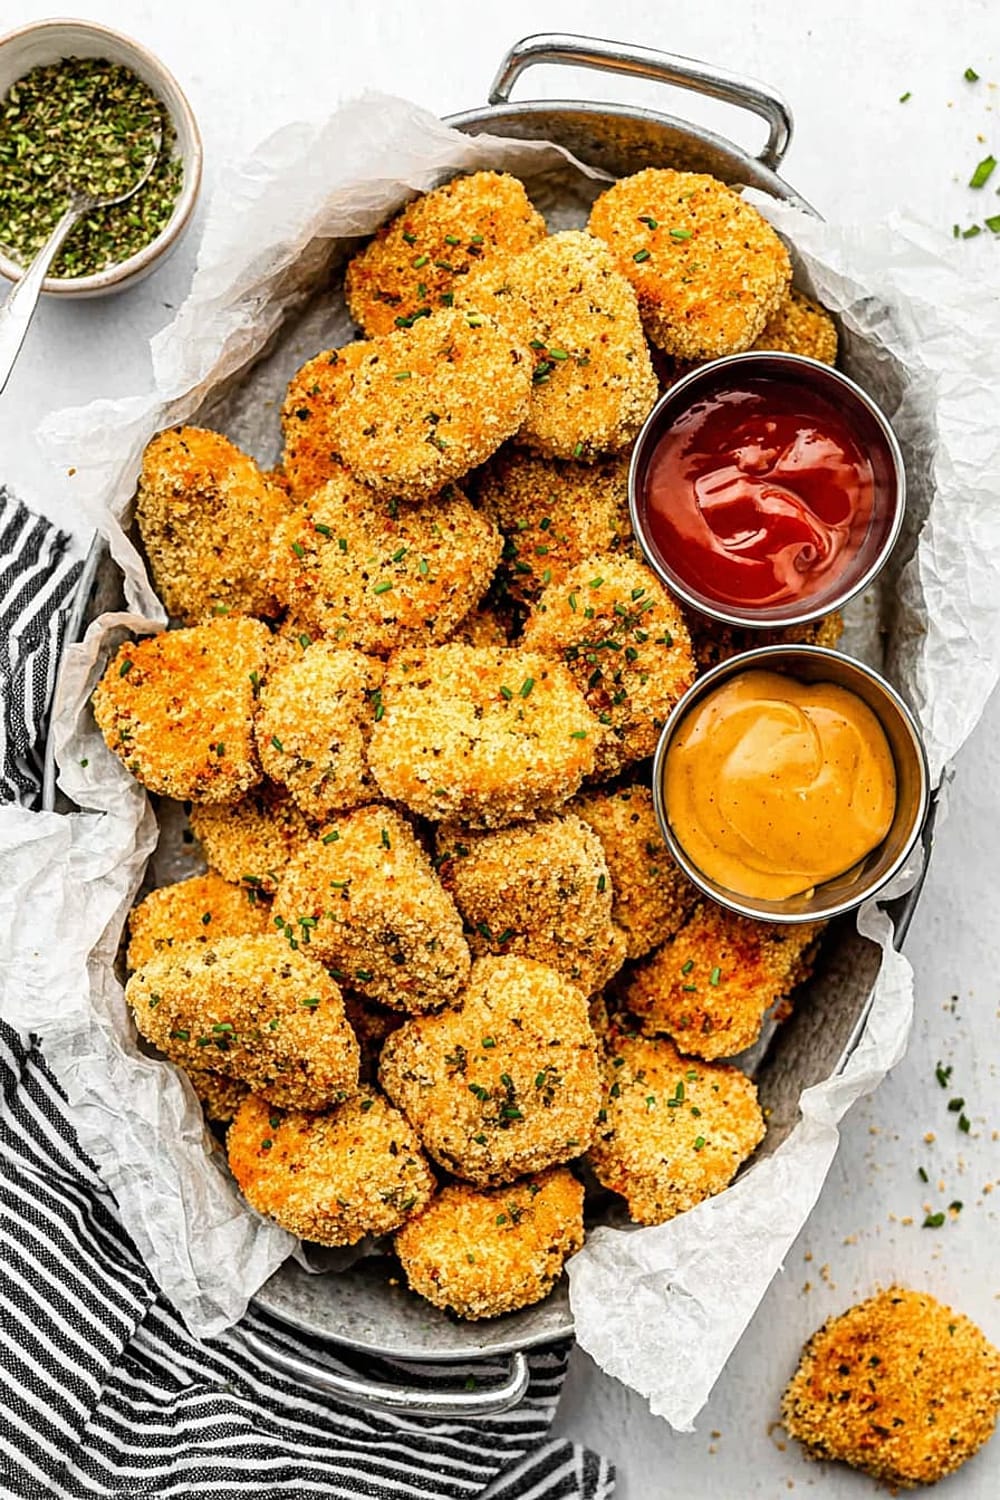
Each bite delivers tender, juicy chicken wrapped in a perfectly seasoned golden crust that’s completely free from artificial additives and excess oil.

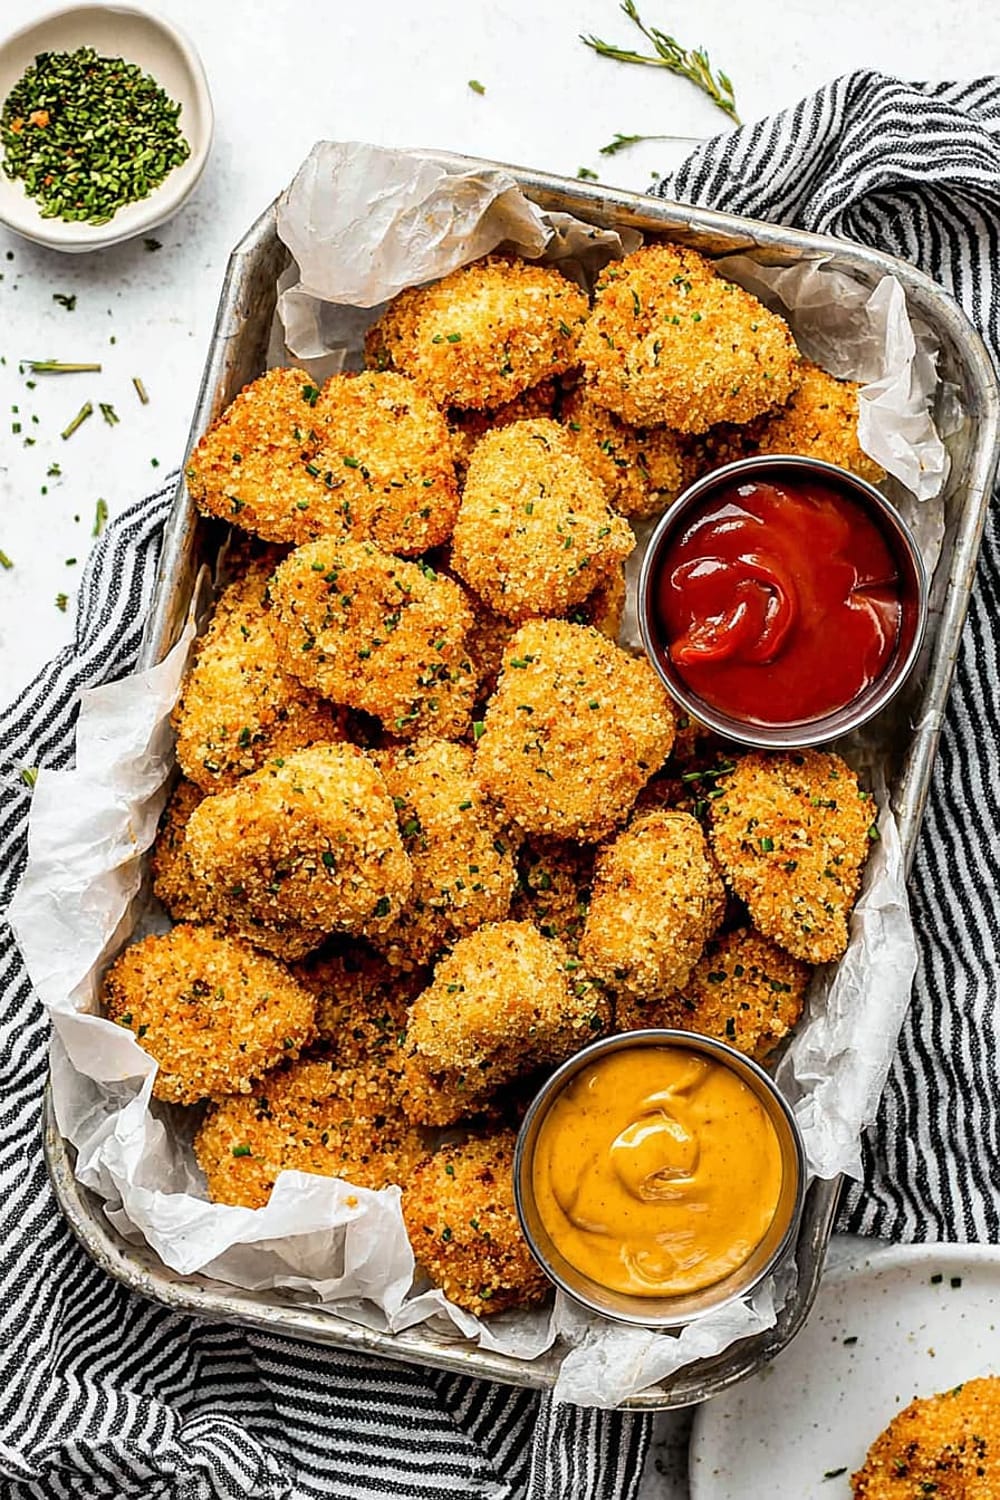
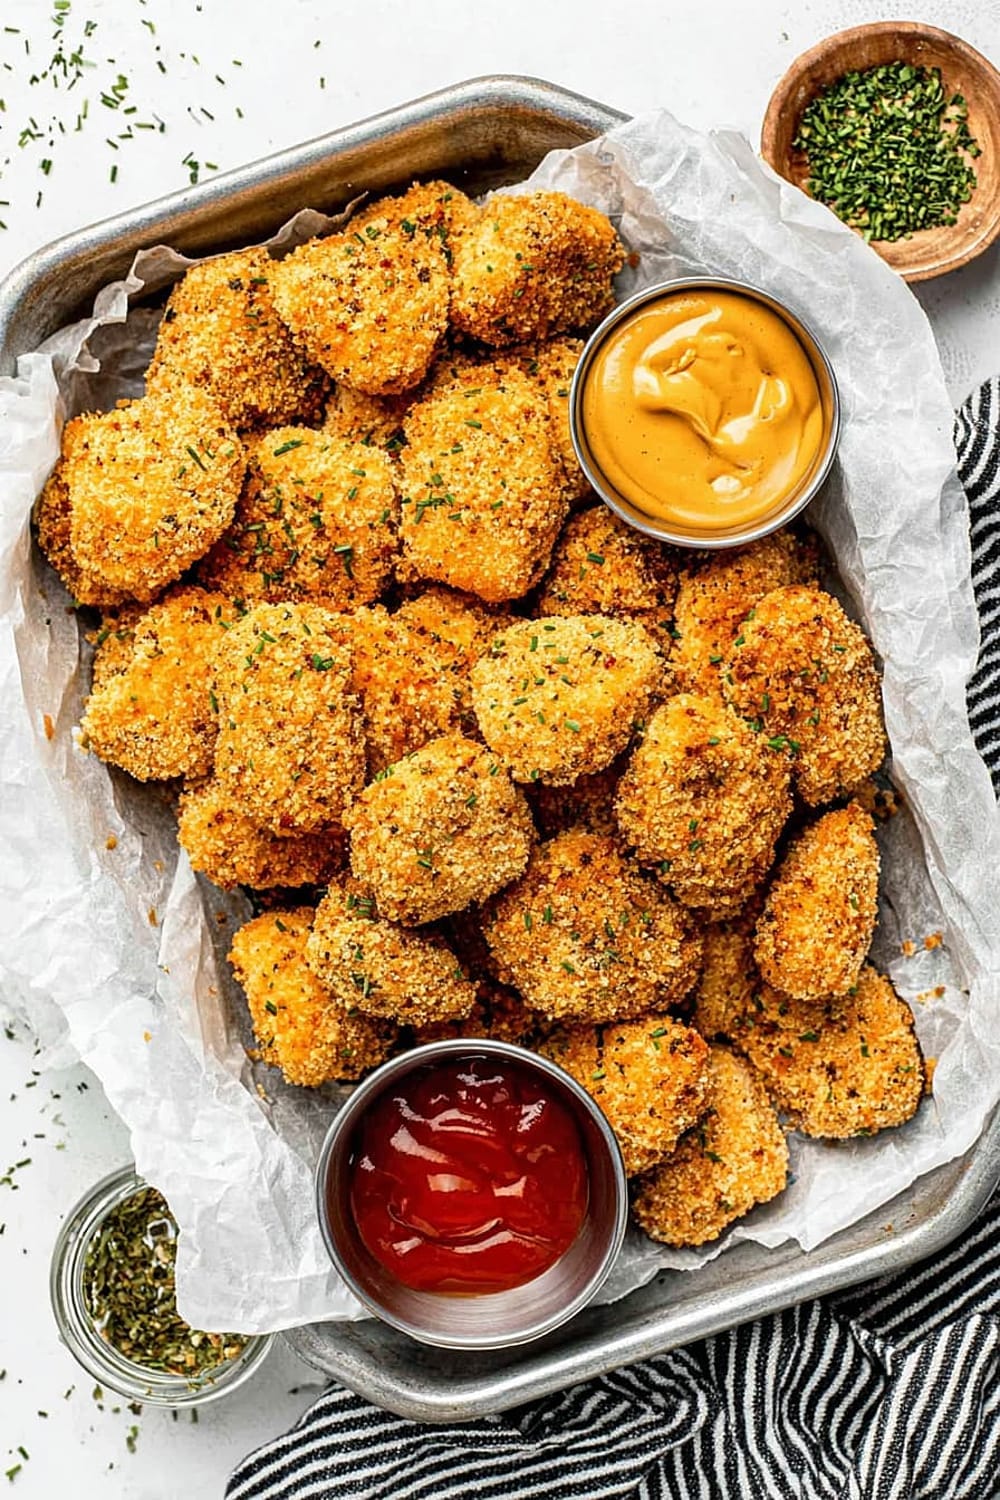
The combination of garlic powder, onion powder, and paprika creates a flavor profile that’s familiar yet sophisticated enough to impress dinner guests.
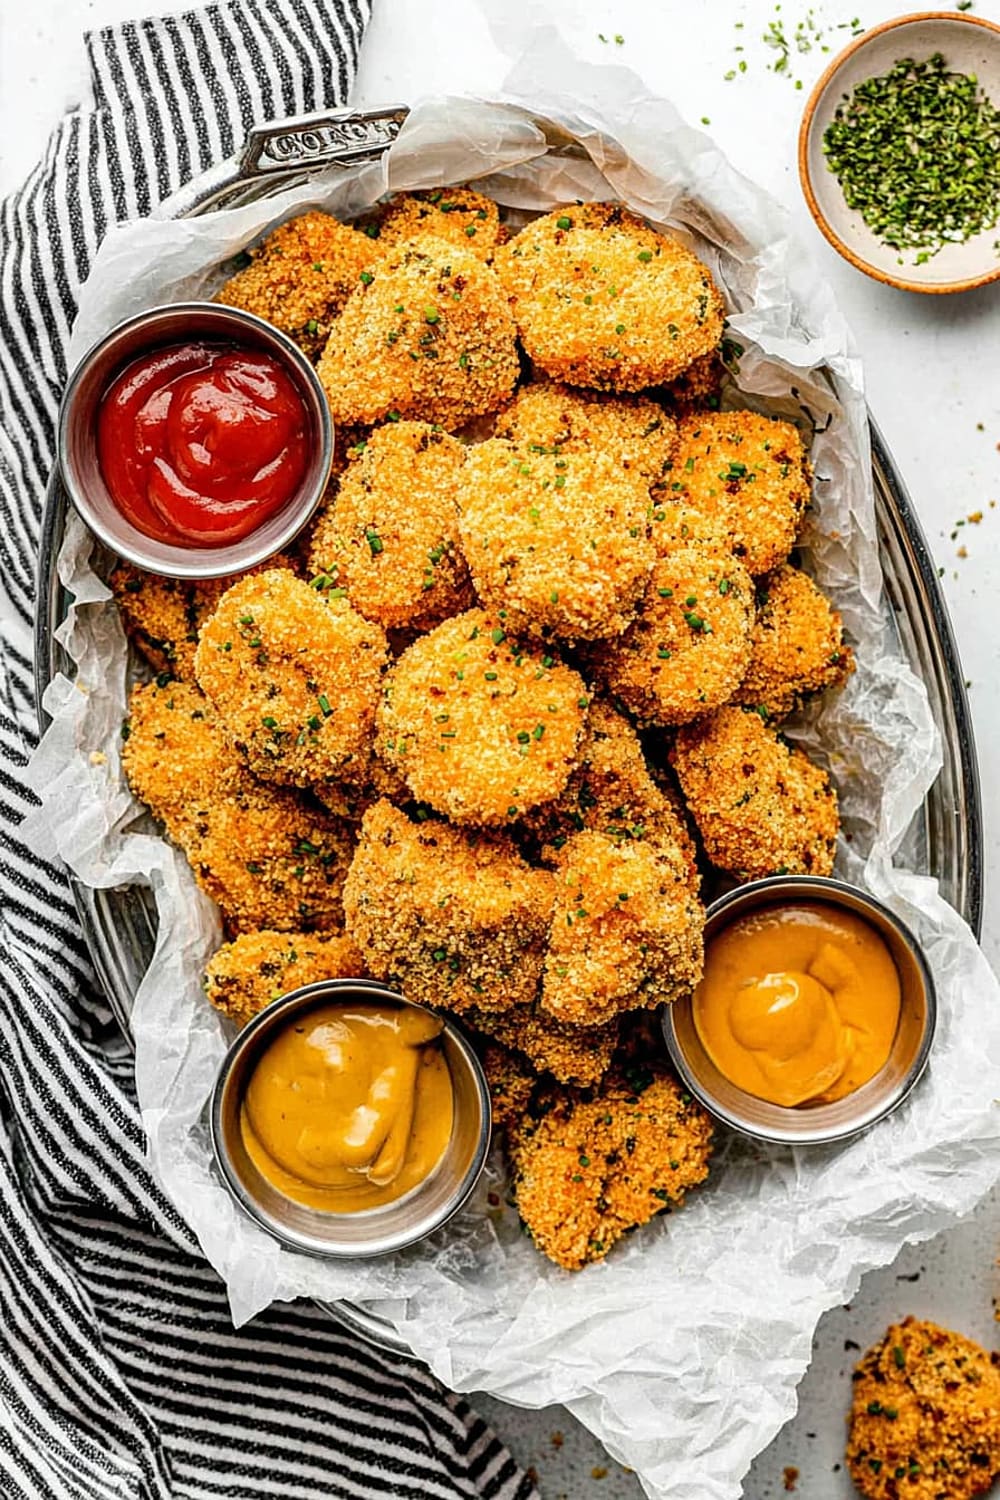
Whether you’re meal prepping for the week or need a crowd-pleasing dinner that kids and adults will devour, these nuggets deliver restaurant-quality results from your own kitchen.
Ingredients
For the Chicken
- 1 ½ pounds boneless, skinless chicken breast
- ¼ cup almond milk (coconut milk or dairy milk work too)
- 2 large eggs
- 1 tablespoon apple cider vinegar
For the Crispy Coating
- 2 cups gluten-free panko breadcrumbs
- 1 tablespoon avocado oil
- 2 teaspoons salt
- 1 teaspoon paprika
- ¼ teaspoon black pepper
- 1 teaspoon garlic powder
- 1 teaspoon onion powder
Optional Seasonings
- ½ – 1 teaspoon cajun seasoning (like Old Bay)
- ½ – 1 teaspoon dried dill
- Dried chives or sliced green onion for garnish
Instructions
Preparation
- 1 Preheat your oven to 400°F (200°C). This temperature is crucial for achieving that perfect golden-brown crust without overcooking the chicken inside.
- 2 Cut the chicken breast into nugget-sized pieces, approximately 1-inch cubes. Uniform sizing ensures even cooking – pieces that are too large will be undercooked while smaller pieces become dry and tough.
- 3 In a large mixing bowl, whisk together eggs, almond milk, and apple cider vinegar until well combined. The acid in the vinegar helps tenderize the chicken while creating a better binding surface for the breadcrumbs. Add the chicken pieces and stir until every piece is thoroughly coated. Let this marinate while you prepare the breadcrumb coating.
Creating the Perfect Coating
- 4 Add the panko breadcrumbs to a food processor and pulse 2-3 times until they reach a finer consistency. Don’t over-process – you want fine crumbs, not powder. This step is essential for creating a coating that adheres properly and crisps evenly.
- 5 Line a large baking sheet with parchment paper and pour the processed breadcrumbs into a mound. Drizzle 1 tablespoon of avocado oil over the breadcrumbs and mix thoroughly until the oil is evenly distributed. This oil coating is what creates the golden, crispy exterior.
- 6 Spread the oiled breadcrumbs in a single, even layer on the prepared baking sheet. Bake for 10-12 minutes until the breadcrumbs turn golden brown, stirring once halfway through. Watch carefully during the last few minutes to prevent burning – they can go from golden to burnt quickly.
Seasoning and Assembly
- 7 Transfer the toasted breadcrumbs to a shallow bowl and immediately add all the seasonings: salt, paprika, black pepper, garlic powder, onion powder, and any optional seasonings. Stir well to ensure even distribution. The residual heat helps the spices bloom and become more aromatic.
- 8 Grease a wire baking rack with cooking spray and place it over a sheet pan lined with fresh parchment paper. The wire rack allows air to circulate around the nuggets, ensuring they crisp up on all sides rather than becoming soggy on the bottom.
Coating and Baking
- 9 Working in small batches of 6-8 pieces, remove chicken from the egg mixture and transfer to the seasoned breadcrumb mixture. Use your fingers to toss and press the breadcrumbs firmly into each piece, ensuring complete coverage. The pressing motion is crucial – it helps the coating adhere during baking.
- 10 Arrange the coated nuggets on the prepared wire rack, leaving space between each piece for proper air circulation. Bake at 400°F (200°C) for 15-18 minutes until the coating is golden brown and an instant-read thermometer inserted into the thickest piece reads 165°F (74°C). The internal temperature is your most reliable indicator of doneness.
- 11 Serve immediately while hot and crispy, accompanied by your favorite dipping sauces. These nuggets are best enjoyed fresh from the oven when the coating is at its crispiest.
Recommended Equipment and Kitchen Tools
Essential Tools (for best results)
- Food processor – Creates the perfect breadcrumb texture that’s fine enough to adhere well but coarse enough to stay crispy. A blender can work in a pinch, but pulse carefully to avoid creating breadcrumb powder.
- Wire baking rack – Absolutely crucial for achieving crispy nuggets on all sides. The elevated design allows hot air to circulate completely around each piece, preventing soggy bottoms.
- Instant-read thermometer – Takes the guesswork out of determining doneness. Chicken safety depends on reaching that 165°F (74°C) internal temperature.
- Parchment paper – Prevents sticking and makes cleanup effortless, especially when toasting the breadcrumbs.
Helpful Upgrades
- Kitchen scale – For precise measurements, especially when scaling the recipe up or down. Professional bakers swear by weight measurements for consistency.
- Silicone spatula – Perfect for stirring the oil into breadcrumbs without scratching your baking sheet.
- Multiple mixing bowls – Having separate bowls for the egg mixture and seasoned breadcrumbs streamlines the coating process.
Nice-to-Have Options
- Bench scraper – Makes transferring seasoned breadcrumbs from baking sheet to bowl much easier and cleaner.
- Tongs – Some cooks prefer tongs for handling the chicken pieces, though fingers work perfectly well for this recipe.
Recipe Variations and Dietary Modifications
Flavor Variations
- Italian-Style: Replace cajun seasoning with 1 teaspoon dried oregano, ½ teaspoon dried basil, and ¼ teaspoon red pepper flakes
- Ranch-Style: Add 1 packet ranch dressing mix to the breadcrumb mixture for that familiar tangy flavor
- Spicy Buffalo: Increase cajun seasoning to 1 ½ teaspoons and add ¼ teaspoon cayenne pepper
- Herb-Crusted: Double the dried dill and add 1 teaspoon dried thyme and ½ teaspoon dried rosemary
Protein Alternatives
- Turkey nuggets: Substitute ground turkey formed into nugget shapes, reducing cooking time to 12-15 minutes
- Fish nuggets: Use firm white fish like cod or halibut, cutting cooking time to 10-12 minutes
- Cauliflower nuggets: For vegetarian option, use large cauliflower florets and reduce cooking time to 20-25 minutes
Coating Variations
- Nut-free: Replace almond milk with oat milk or regular dairy milk
- Extra crispy: Add 2 tablespoons cornstarch to the breadcrumb mixture for enhanced crispiness
- Parmesan boost: Mix ¼ cup grated Parmesan cheese into the seasoned breadcrumbs
Nutritional Information and Health Benefits
Key Nutritional Highlights
Each serving (approximately 4-5 nuggets) contains roughly 280 calories, with 32 grams of high-quality protein, 8 grams of healthy fats, and 12 grams of carbohydrates. The baked preparation method significantly reduces the fat content compared to traditional fried nuggets while maintaining that satisfying crunch.
Health Benefits of Main Ingredients
The chicken breast provides complete protein containing all essential amino acids necessary for muscle maintenance and growth. It’s also rich in niacin (vitamin B3), which supports brain function and healthy cholesterol levels. The gluten-free panko breadcrumbs make this recipe accessible to those with celiac disease or gluten sensitivities without sacrificing texture. Avocado oil contributes heart-healthy monounsaturated fats and has a high smoke point, making it ideal for baking applications. The apple cider vinegar not only tenderizes the chicken but may help with blood sugar regulation and digestion.
Dietary Considerations
This recipe is naturally gluten-free when using certified gluten-free panko breadcrumbs. It’s also dairy-free when using plant-based milk alternatives. The recipe contains eggs, so it’s not suitable for those with egg allergies. Each serving provides approximately 15% of the daily recommended protein intake for adults, making it an excellent choice for active individuals or those looking to increase their protein consumption.
Smart Swaps and Ingredient Substitutions
Common Substitutions:
- Almond milk → Regular dairy milk, oat milk, or coconut milk in equal amounts
- Apple cider vinegar → White vinegar or lemon juice (1 tablespoon each)
- Gluten-free panko → Regular panko breadcrumbs or finely crushed cornflakes
- Avocado oil → Olive oil, melted butter, or coconut oil (1 tablespoon)
Budget-Friendly Swaps:
- Chicken breast → Chicken thighs (boneless, skinless) for more affordable option with extra flavor
- Gluten-free panko → Make your own by processing gluten-free bread slices
- Specialty seasonings → Basic garlic powder, onion powder, salt, and pepper work perfectly
Pantry Emergency Substitutions:
- Panko breadcrumbs → Crushed crackers, cornflake crumbs, or regular breadcrumbs
- Eggs → 2 tablespoons ground flaxseed mixed with 6 tablespoons water (let sit 5 minutes)
- Cajun seasoning → ¼ teaspoon each: paprika, garlic powder, onion powder, oregano, and cayenne
Pro Tips for Substitutions:
- When using regular breadcrumbs instead of panko, reduce the amount by ¼ cup as they’re denser
- If substituting chicken thighs, increase cooking time by 3-5 minutes due to higher fat content
Make It Diabetes-Friendly
Carb Reduction Strategies:
- Breadcrumb substitute: Replace panko with 1 cup almond flour mixed with 1 cup grated Parmesan cheese for a low-carb coating that’s equally crispy
- Portion control: Serve 3-4 nuggets instead of 5-6, paired with a large salad or roasted vegetables
- Total carb reduction: Almond flour coating reduces carbs from 12g to approximately 4g per serving
Blood Sugar Management:
- Protein pairing: The high protein content (32g per serving) helps stabilize blood sugar levels
- Healthy fats: Avocado oil provides sustained energy without blood sugar spikes
- Fiber addition: Serve with high-fiber vegetables like broccoli or Brussels sprouts to slow glucose absorption
Timing and Serving Tips:
- Pre-meal timing: Eat a small handful of nuts 15 minutes before the meal to help moderate blood sugar response
- Balanced plate: Fill half your plate with non-starchy vegetables, one quarter with these nuggets, and one quarter with a complex carb like quinoa
- Dipping sauce alternatives: Choose sugar-free options like mustard, sugar-free ketchup, or homemade avocado ranch
Perfect Pairing Suggestions
Beverage Pairings
A crisp Sauvignon Blanc or Pinot Grigio complements the herb-seasoned coating beautifully, while the acidity cuts through the richness. For beer lovers, a light wheat beer or pilsner provides a refreshing contrast. Non-alcoholic options include sparkling water with lemon, unsweetened iced tea, or a cucumber mint agua fresca that cleanses the palate between bites.
Side Dish Recommendations
Honey-roasted carrots add natural sweetness that balances the savory nuggets perfectly. Garlic-parmesan roasted broccoli provides a nutritious, flavorful contrast with complementary seasonings. Sweet potato fries baked alongside the nuggets create a complete comfort food experience. For lighter options, a mixed green salad with balsamic vinaigrette or coleslaw with Greek yogurt dressing adds freshness and crunch.
Complete Meal Ideas
Start with a spinach and strawberry salad to awaken the palate, serve the nuggets as the main course with roasted seasonal vegetables, and finish with fresh fruit or yogurt parfait for a balanced, family-friendly dinner. For entertaining, create a nugget bar with various dipping sauces, vegetable sticks, and whole grain rolls.
Occasion Suggestions
Perfect for casual family dinners, kids’ birthday parties, game day gatherings, or meal prep sessions. The make-ahead friendly nature makes them ideal for busy weeknight dinners or lunch boxes.
Pro Tips and Troubleshooting
Professional Techniques
The key to restaurant-quality nuggets lies in the double-coating method – let the coated nuggets rest for 5 minutes before baking to help the coating adhere better. Preheat your baking sheet for 2-3 minutes before adding the nuggets for extra crispiness. For maximum flavor, season the chicken pieces with salt and pepper before dredging in the egg mixture.
Common Mistakes and Solutions
If your coating falls off during baking, you likely didn’t press the breadcrumbs firmly enough or the egg mixture was too thin – add an extra egg next time. Soggy nuggets result from overcrowding the pan or skipping the wire rack. Dry nuggets indicate overcooking – invest in an instant-read thermometer for precision.
Storage and Reheating
Store leftover nuggets in the refrigerator for up to 3 days in an airtight container. Reheat in a 400°F (200°C) oven for 5-7 minutes to restore crispiness – never use the microwave, which makes them soggy. For longer storage, freeze cooked nuggets for up to 2 months and reheat directly from frozen, adding 2-3 minutes to the reheating time.
Make-Ahead Strategies
Prepare nuggets through the coating stage and freeze on a baking sheet. Once frozen solid, transfer to freezer bags. Bake directly from frozen, adding 5-7 minutes to the cooking time. You can also toast the breadcrumbs up to 3 days ahead and store in an airtight container.
These homemade chicken nuggets prove that healthy eating doesn’t mean sacrificing flavor or satisfaction. With their golden, crispy exterior and tender, juicy interior, they deliver everything you love about the classic comfort food while providing the nutritional benefits of whole, real ingredients. The beauty of this recipe lies in its versatility – whether you’re feeding picky eaters, meal prepping for the week, or entertaining guests, these nuggets consistently deliver delicious results that everyone will love.