Loaded Potato Skins
Let’s be honest—these loaded potato skins are the ultimate crowd-pleaser that nobody can resist.
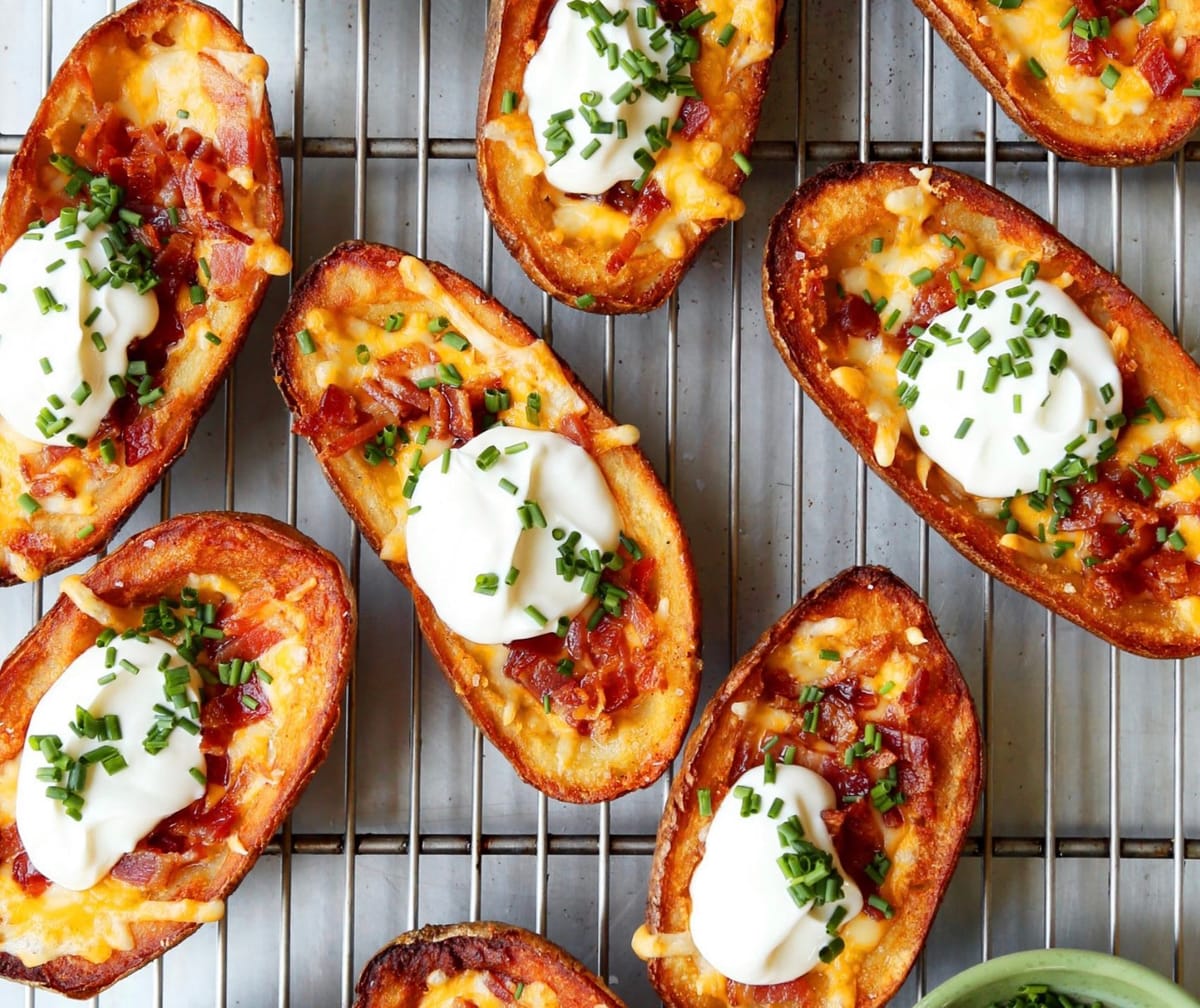
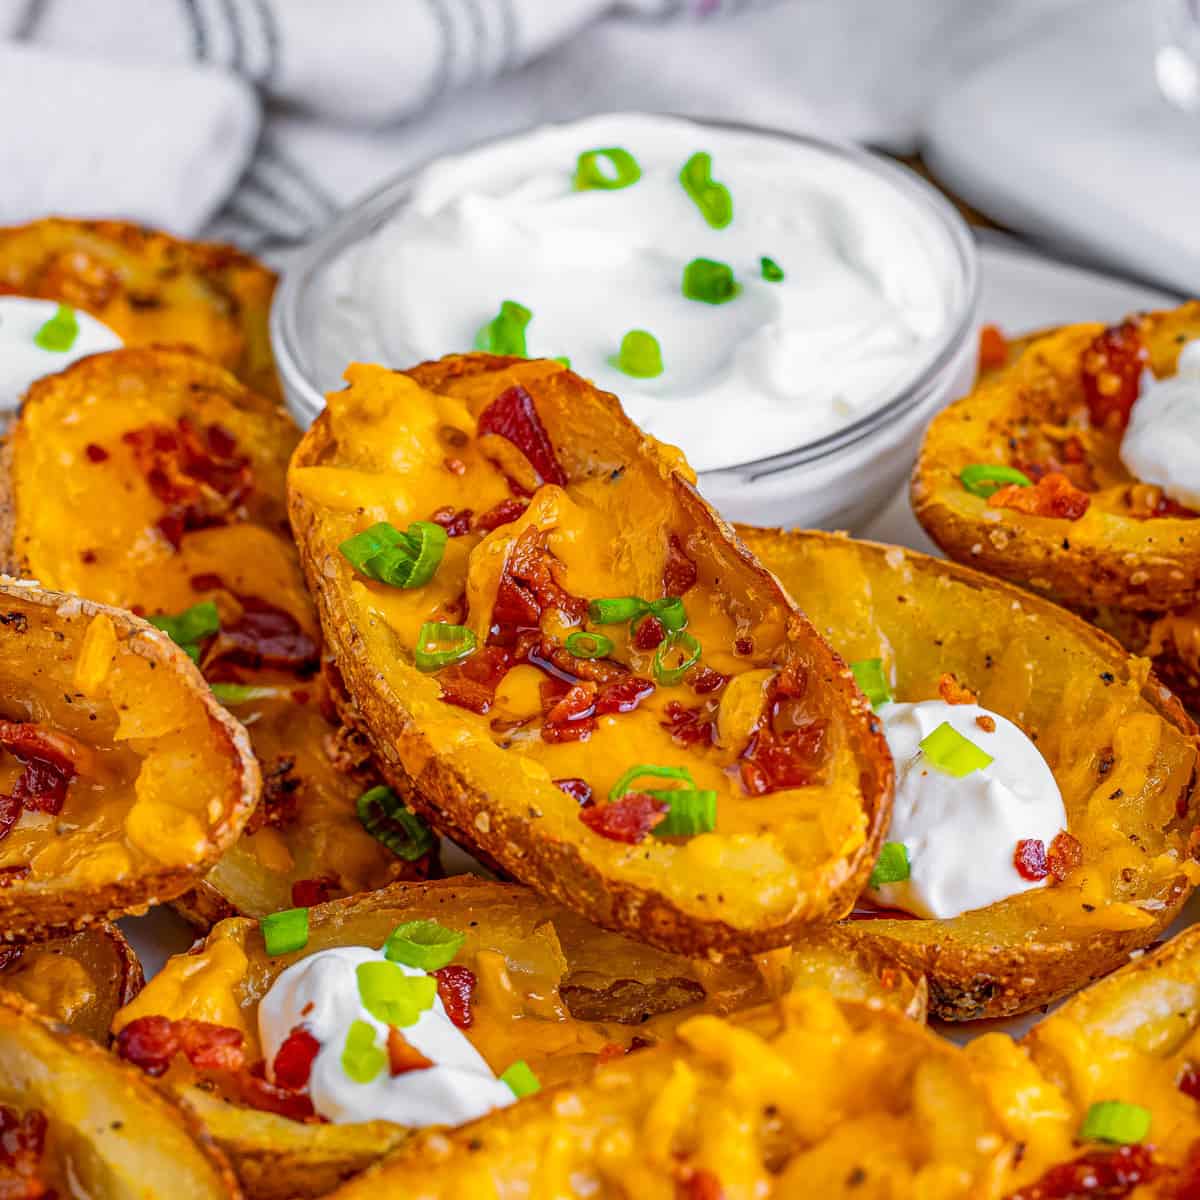
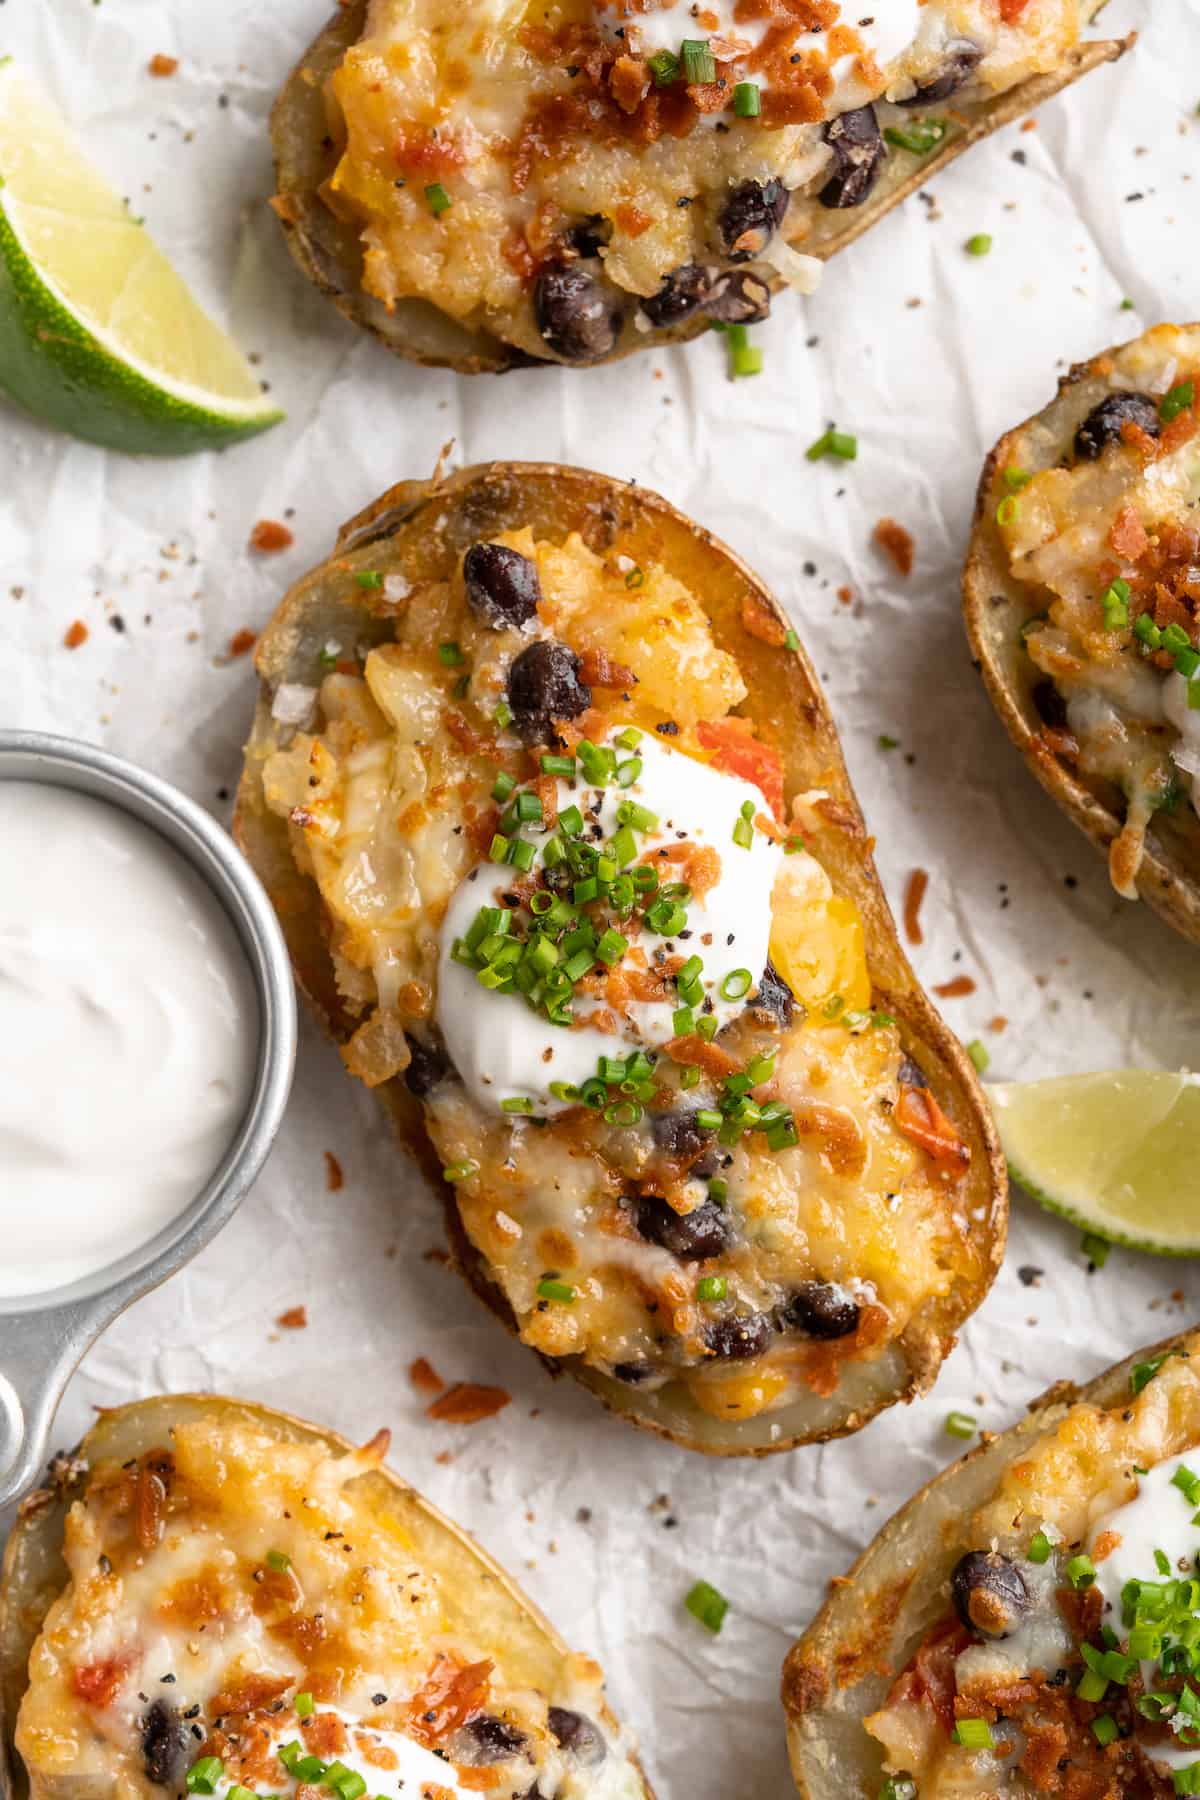
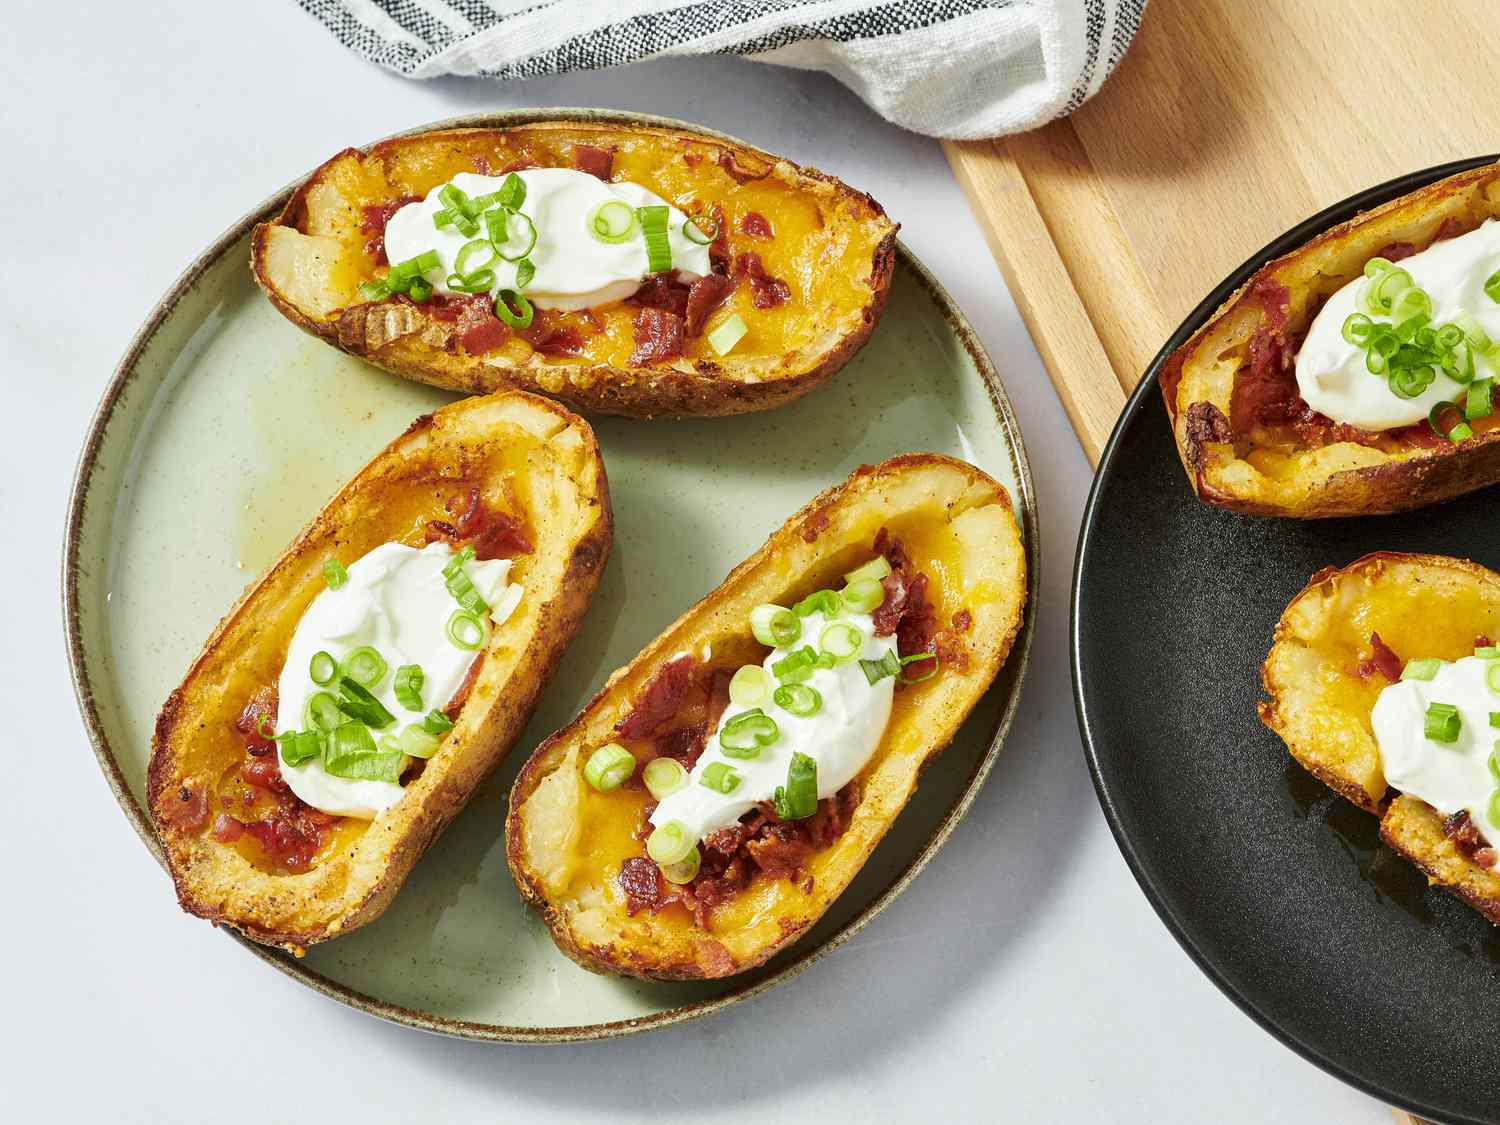
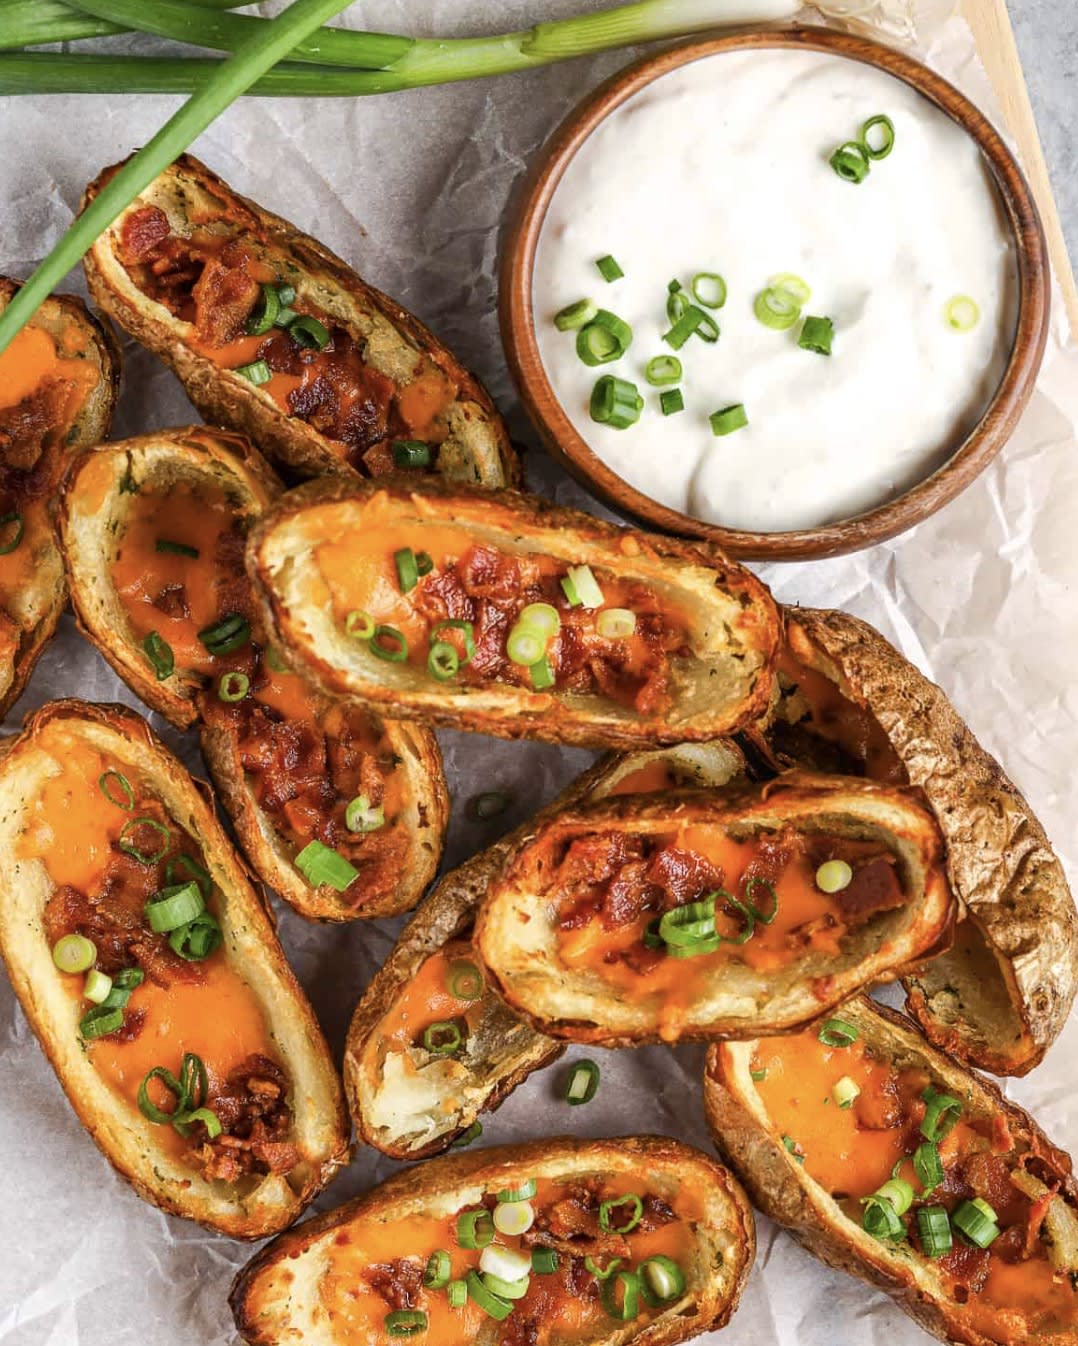
Crispy on the outside, fluffy on the inside, and topped with all the good stuff: melty cheese, crispy bacon, cool sour cream, and fresh chives.
Game day, movie night, or just because it’s Tuesday—these are the appetizer that turns any occasion into a celebration.
What makes these potato skins special is the perfect balance of textures.
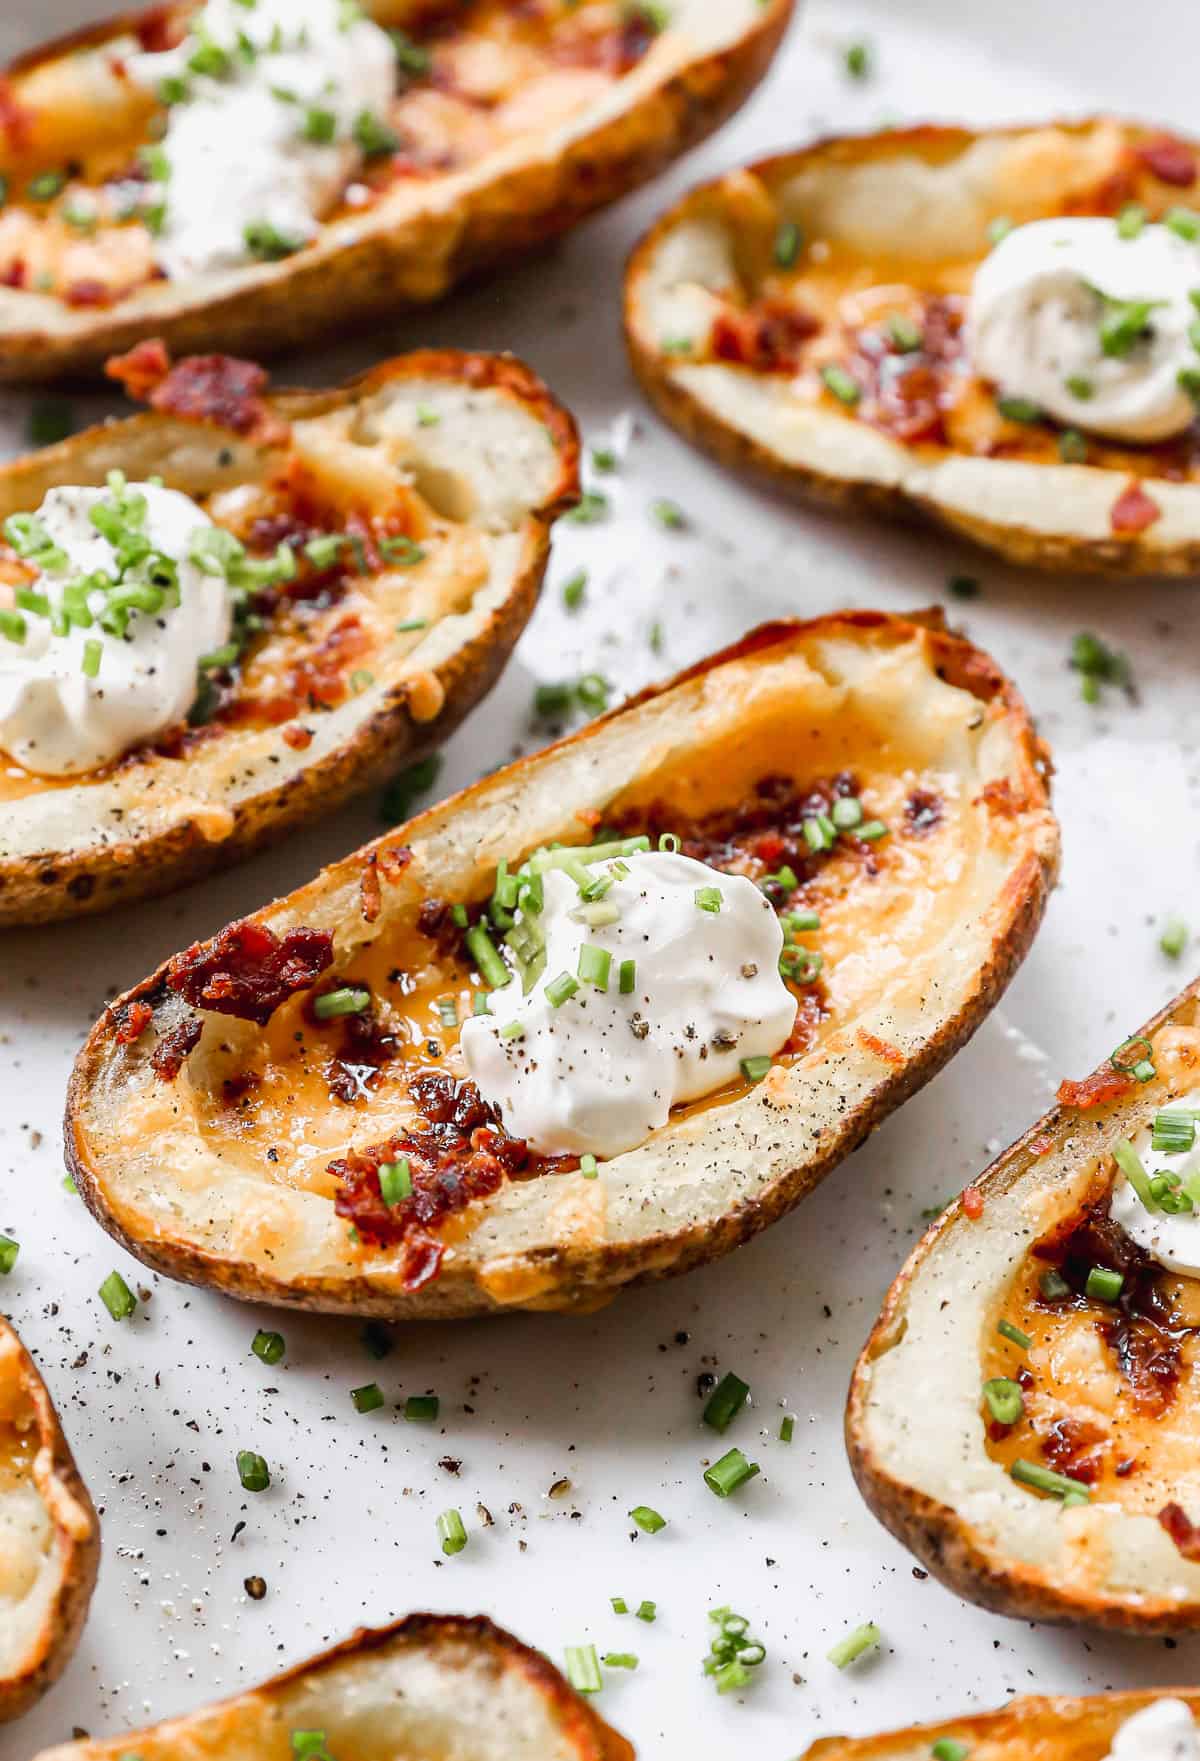
That satisfying crunch when you bite into the buttery, broiled potato skin gives way to the creamy interior, while the sharp cheddar and salty bacon bring those rich, savory flavors that keep you coming back for “just one more.”
They’re restaurant-quality appetizers you can make at home with simple ingredients and zero fancy techniques.
Ingredients
- 6 small to medium sized Russet potatoes, washed and pat dry
- 8 ounces shredded cheddar cheese
- 8 slices bacon, cooked and crumbled
- 1/4 cup unsalted butter (half of a stick), melted
- Sour cream, for topping
- Chives (or green onion), chopped, for topping
- Salt, to taste
- Freshly ground black pepper, to taste
Steps
- Bake Potatoes: Preheat oven to 400°F (205°C). Poke potatoes several times with a fork (this prevents them from exploding in the oven). Place on a baking sheet and cook for 1 hour. The potatoes are done when a fork easily pierces through to the center. Remove from the baking sheet, and allow to cool for about 15 minutes or until cool enough to handle without burning your fingers.
- Cut Potatoes: For large potatoes, cut each potato lengthwise into three sections, creating three long slices. Each potato should yield two skins, plus a middle section that you can save for potato salad or mashed potatoes. For small potatoes, simply cut in half lengthwise. A sharp knife makes this much easier and safer.
- Hollow Out: Use a small spoon to scoop out some of the potato flesh in the center, leaving a 1/4-inch thick layer near the skin. Don’t scoop too much or the skins will be flimsy and may break; don’t scoop too little or there won’t be room for toppings. You’re creating a “boat” shape that will hold all your delicious toppings.
- Season: Turn your oven on to a high broil (500°F/260°C). Brush the potatoes with melted butter on both the inside and outside using a pastry brush (this ensures even coverage). Place them back onto the baking sheet, skin-side down. Season with salt and pepper—be generous as potatoes need plenty of seasoning to shine.
- First Broil: Position the baking sheet about 6 inches from the broiler element and broil for 7-8 minutes until the insides get a bit crispy and golden brown from the melted butter. Watch carefully as broilers can burn food quickly. The edges should be starting to crisp up, but not blacken.
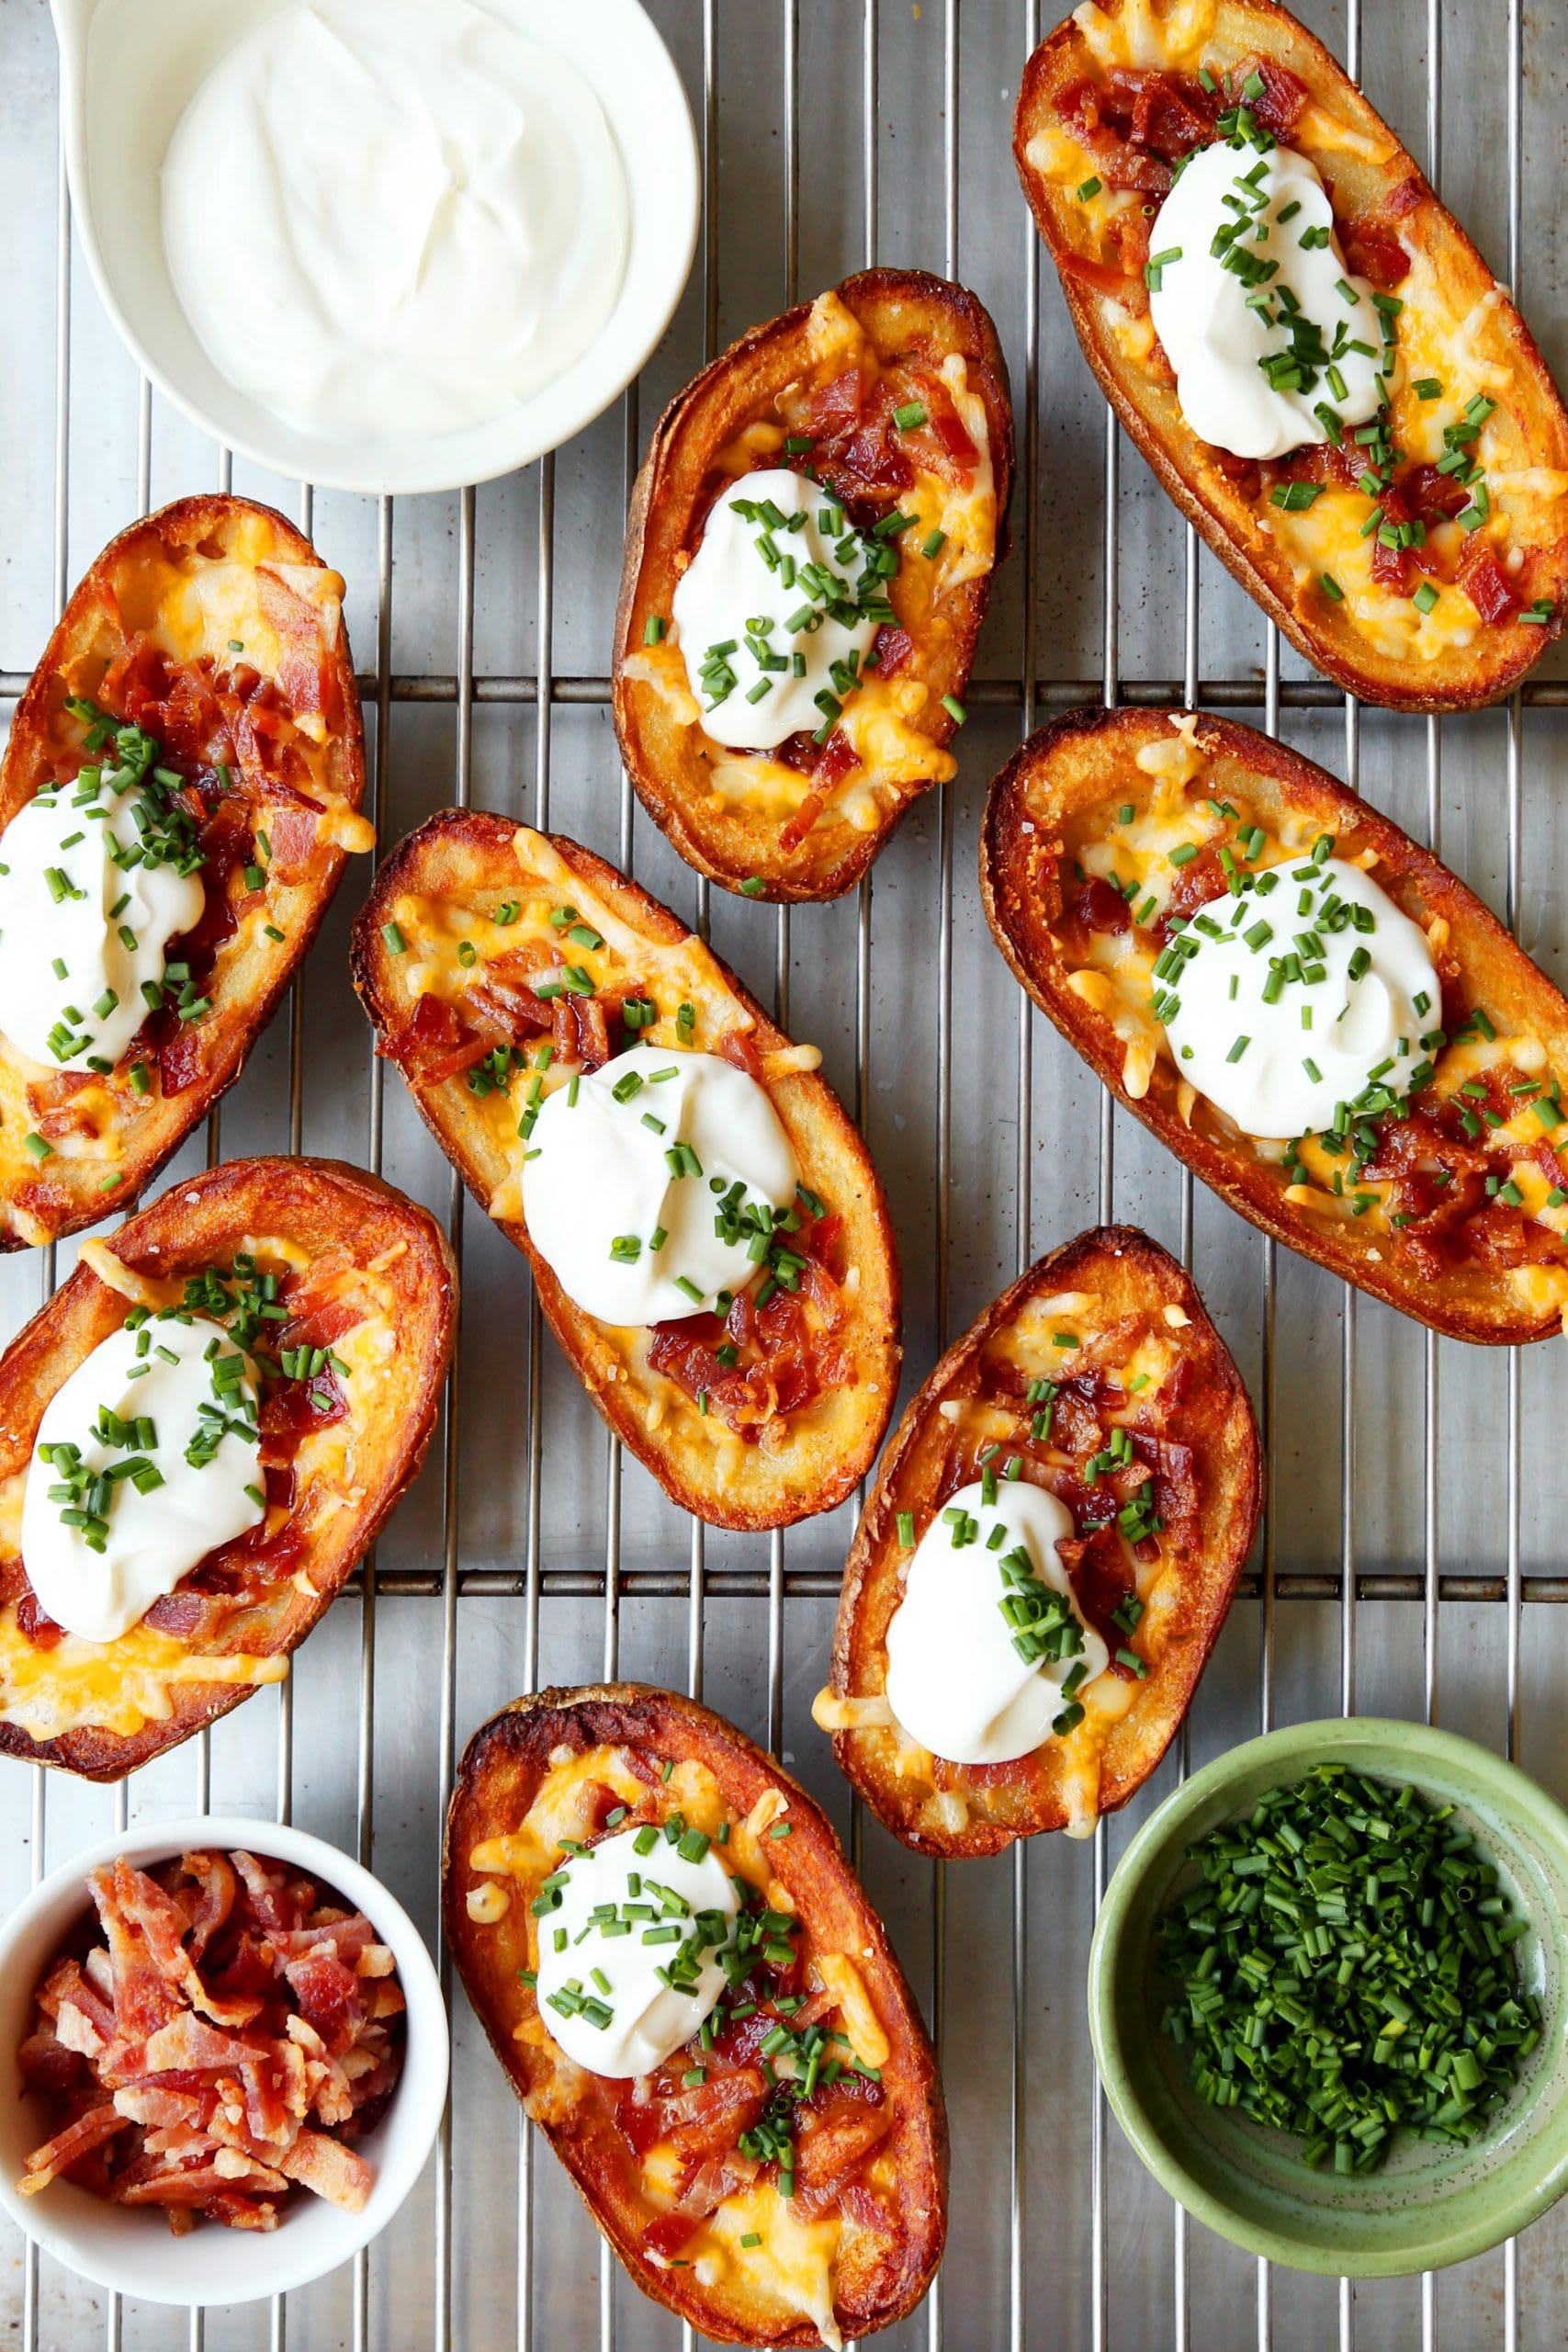
- Add Cheese and Bacon: Remove from the oven (close the oven door to maintain heat). Add a generous amount (about 1 tablespoon) of shredded cheese into each skin, followed by a sprinkle of bacon pieces. Distribute toppings evenly for consistent flavor in every bite.
- Final Broil: Place back under the broiler for about 3-4 minutes until the cheese is completely melted and bubbly with some golden spots beginning to form. Again, watch carefully to prevent burning—the difference between perfectly melted and burnt cheese can be less than a minute.
- Serve: Remove from oven and let cool for 1-2 minutes (this helps toppings set). Top each skin with a small dollop (about 1 teaspoon) of sour cream and a sprinkle of chopped chives or green onion. Serve while still warm for the best texture and flavor experience.
- Store: Refrigerate leftover potato skins in an airtight container for up to 3 days. To reheat, place in a 350°F (175°C) oven for 10 minutes or in an air fryer at 375°F (190°C) for 3-4 minutes until heated through and crispy again. Avoid microwaving as it makes them soggy.
Smart Swaps
- Greek yogurt instead of sour cream (1:1 ratio) – adds protein and tangy flavor without changing the creamy texture
- Turkey bacon instead of regular bacon – reduces fat content by about 40% while maintaining that smoky flavor
- Dairy-free cheese for a lactose-free version – look for brands that melt well like Daiya or Violife
- Sweet potatoes instead of Russet – adds more vitamins and a touch of natural sweetness
Make It Diabetes-Friendly
- Use small potatoes and count as one carb serving (approximately 15g carbs) per skin
- Top with reduced-fat cheese (use 6 ounces instead of 8) to lower fat content without sacrificing meltability
- Add extra protein with diced grilled chicken to help balance blood sugar response
- Serve with a side salad dressed with olive oil and vinegar to slow carbohydrate absorption
- For lower carb count, scoop out more potato flesh leaving just a 1/8-inch shell (saves approximately 5g carbs per skin)
Pro Tips
- Pat potatoes completely dry before baking for the crispiest skins
- For extra crispy skins, rub the outside with a little olive oil and salt before the initial bake
- Save the scooped potato flesh for tomorrow’s mashed potatoes or potato pancakes
- Line your baking sheet with parchment paper for easier cleanup
- If your broiler runs hot, leave the oven door cracked slightly open to prevent burning
- For make-ahead prep, complete through step 5, then refrigerate for up to 24 hours before finishing