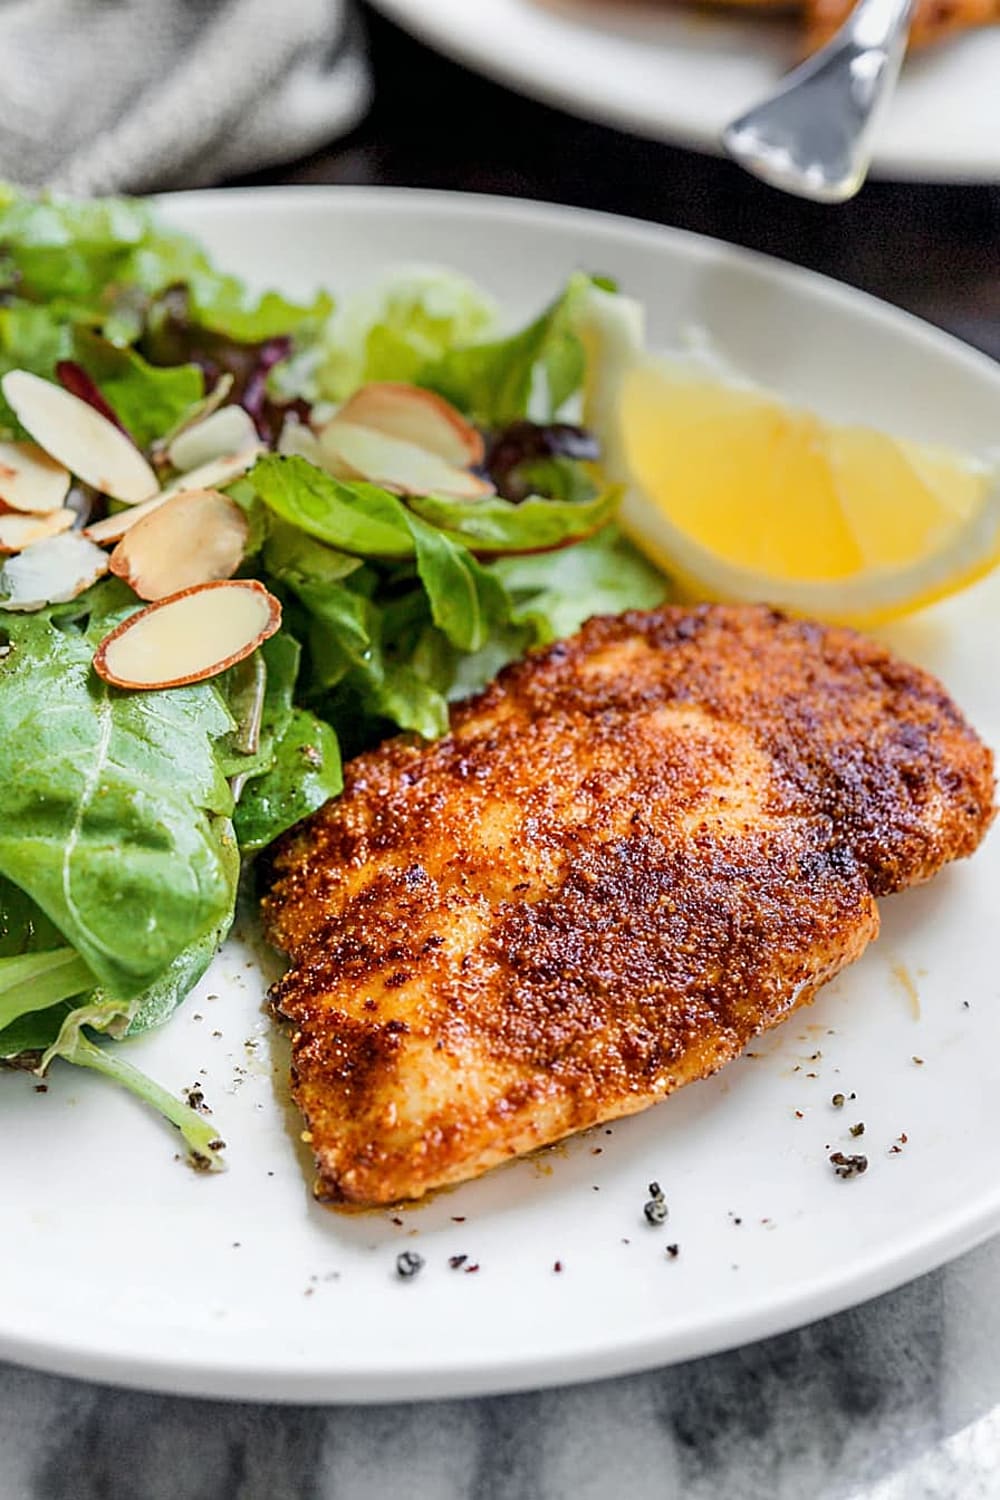
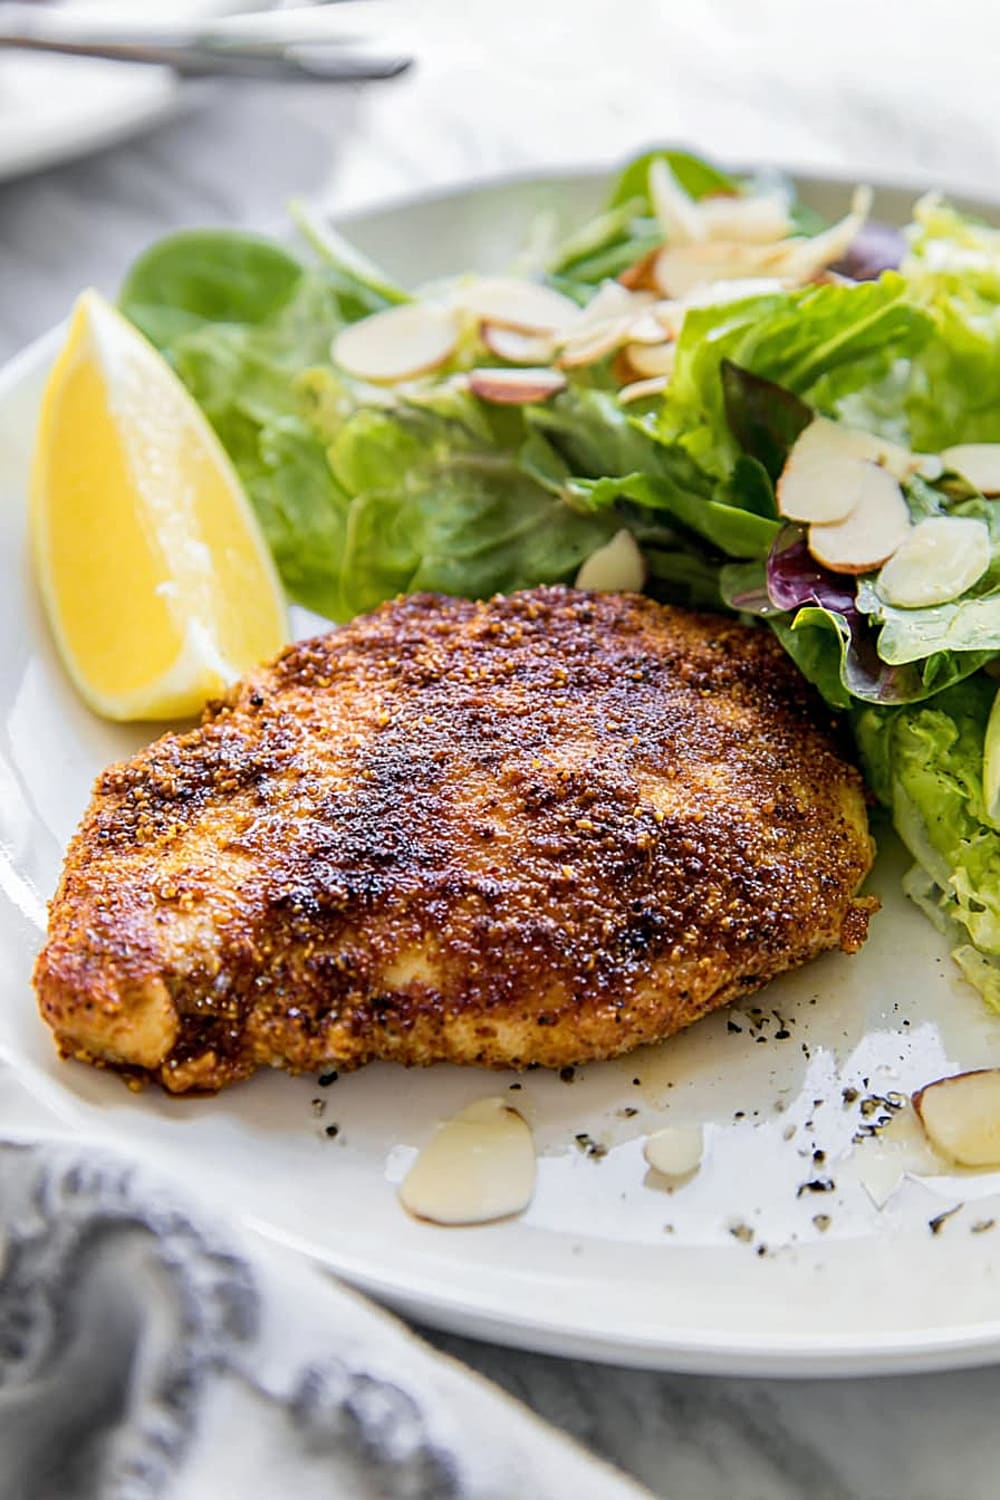
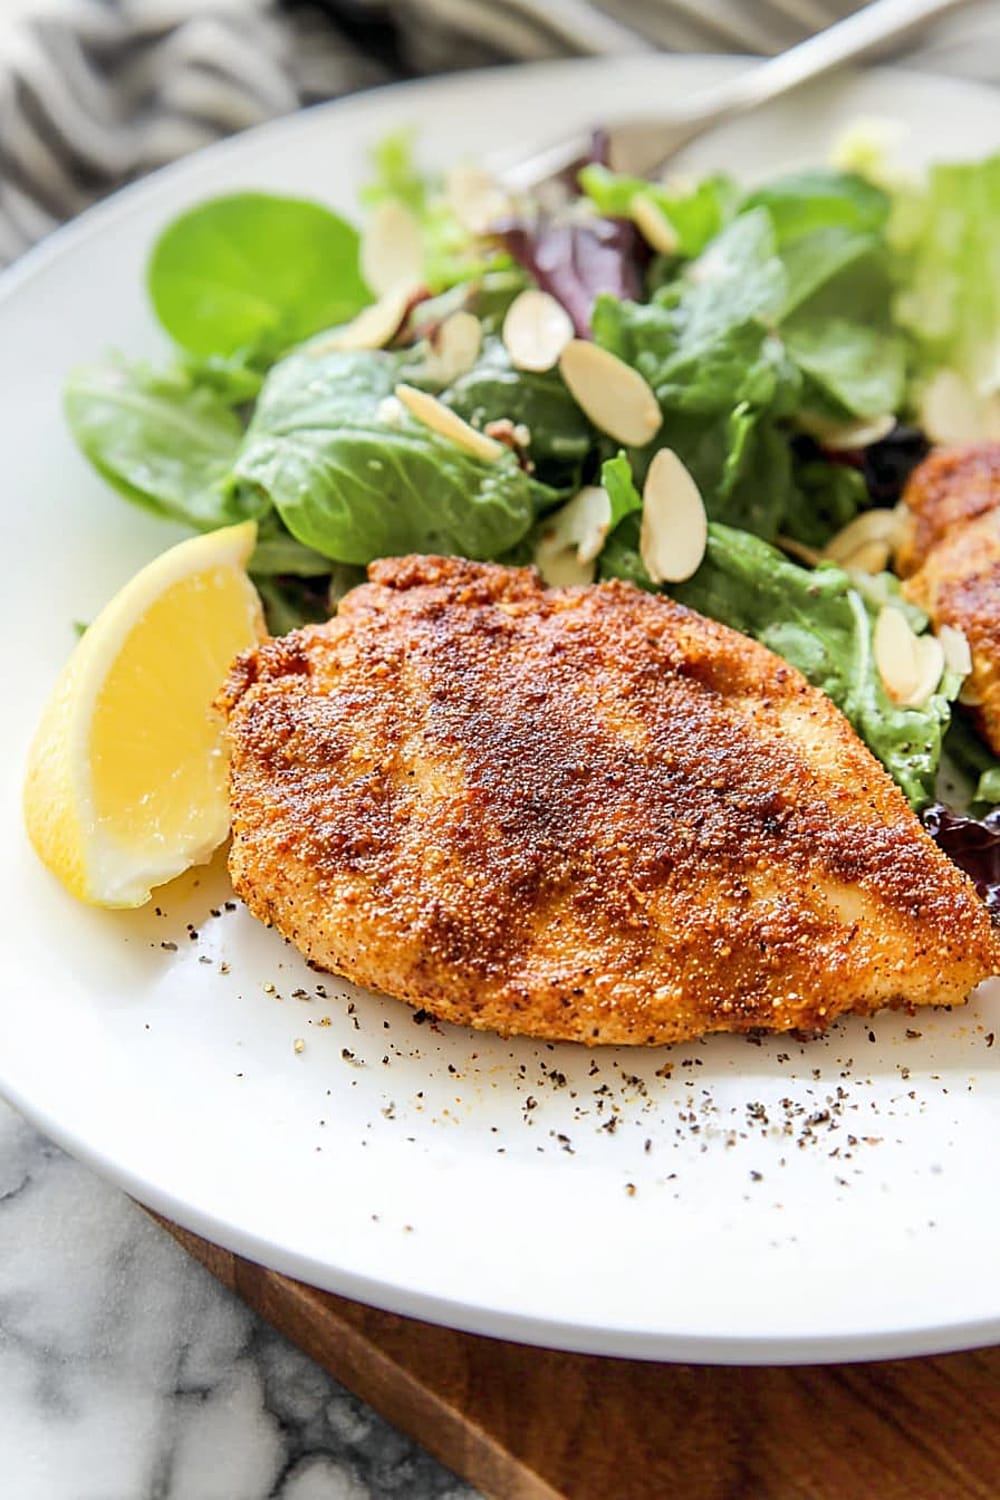
Medieval Pan Fried Chicken Breast

This medieval-inspired pan fried chicken breast is about to become your secret weapon for impressive weeknight dinners that taste like you’ve been slaving away for hours.
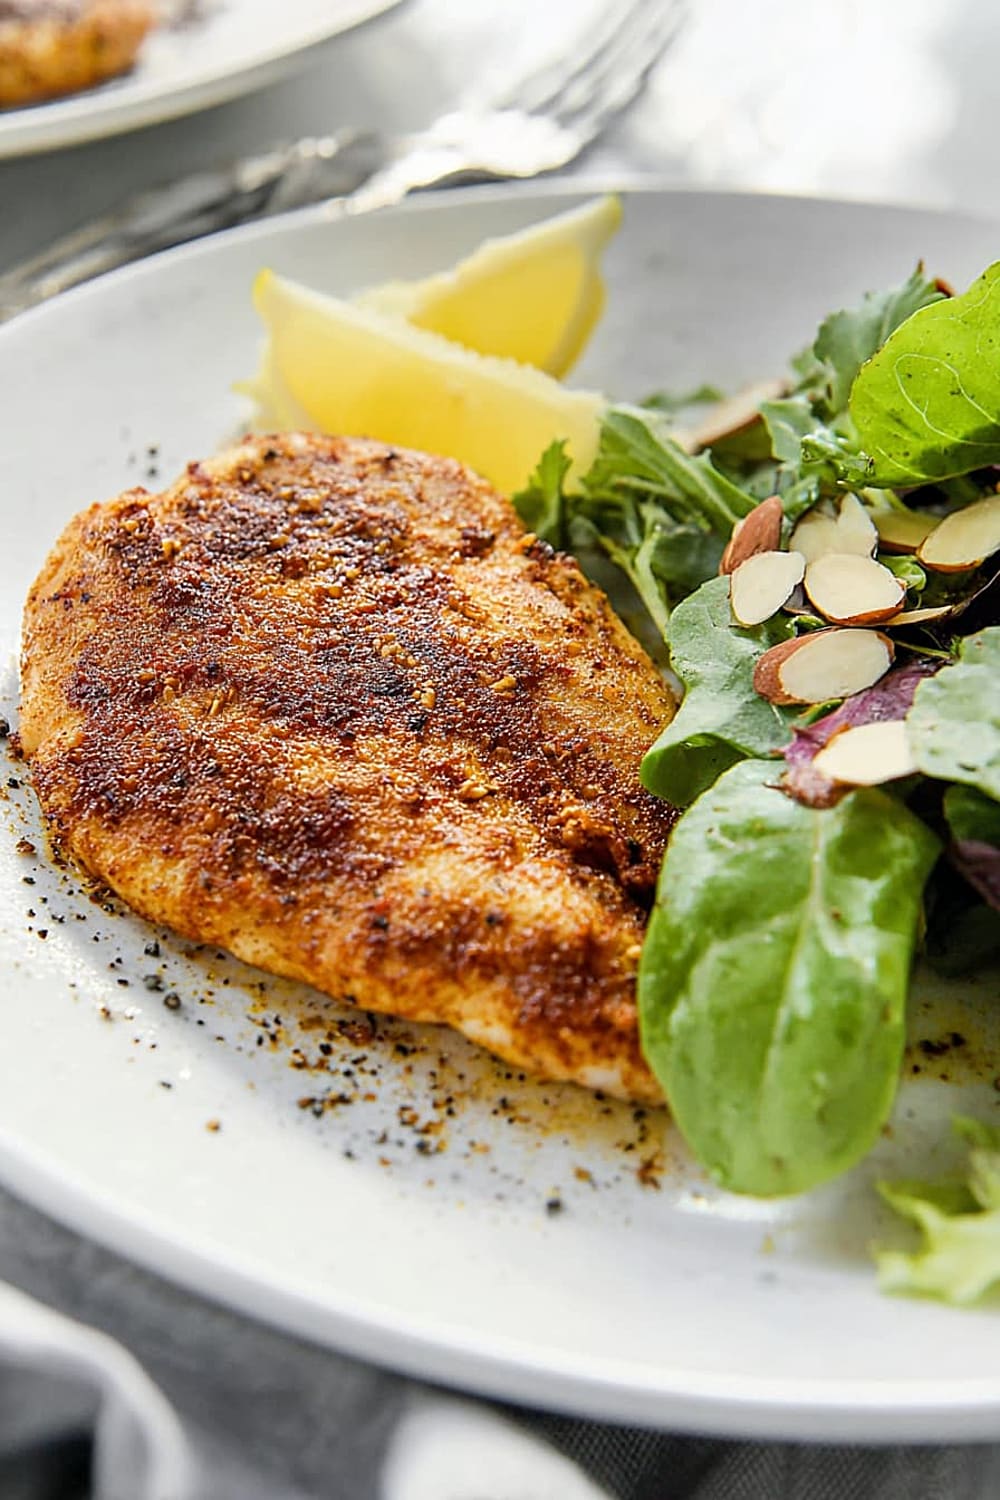
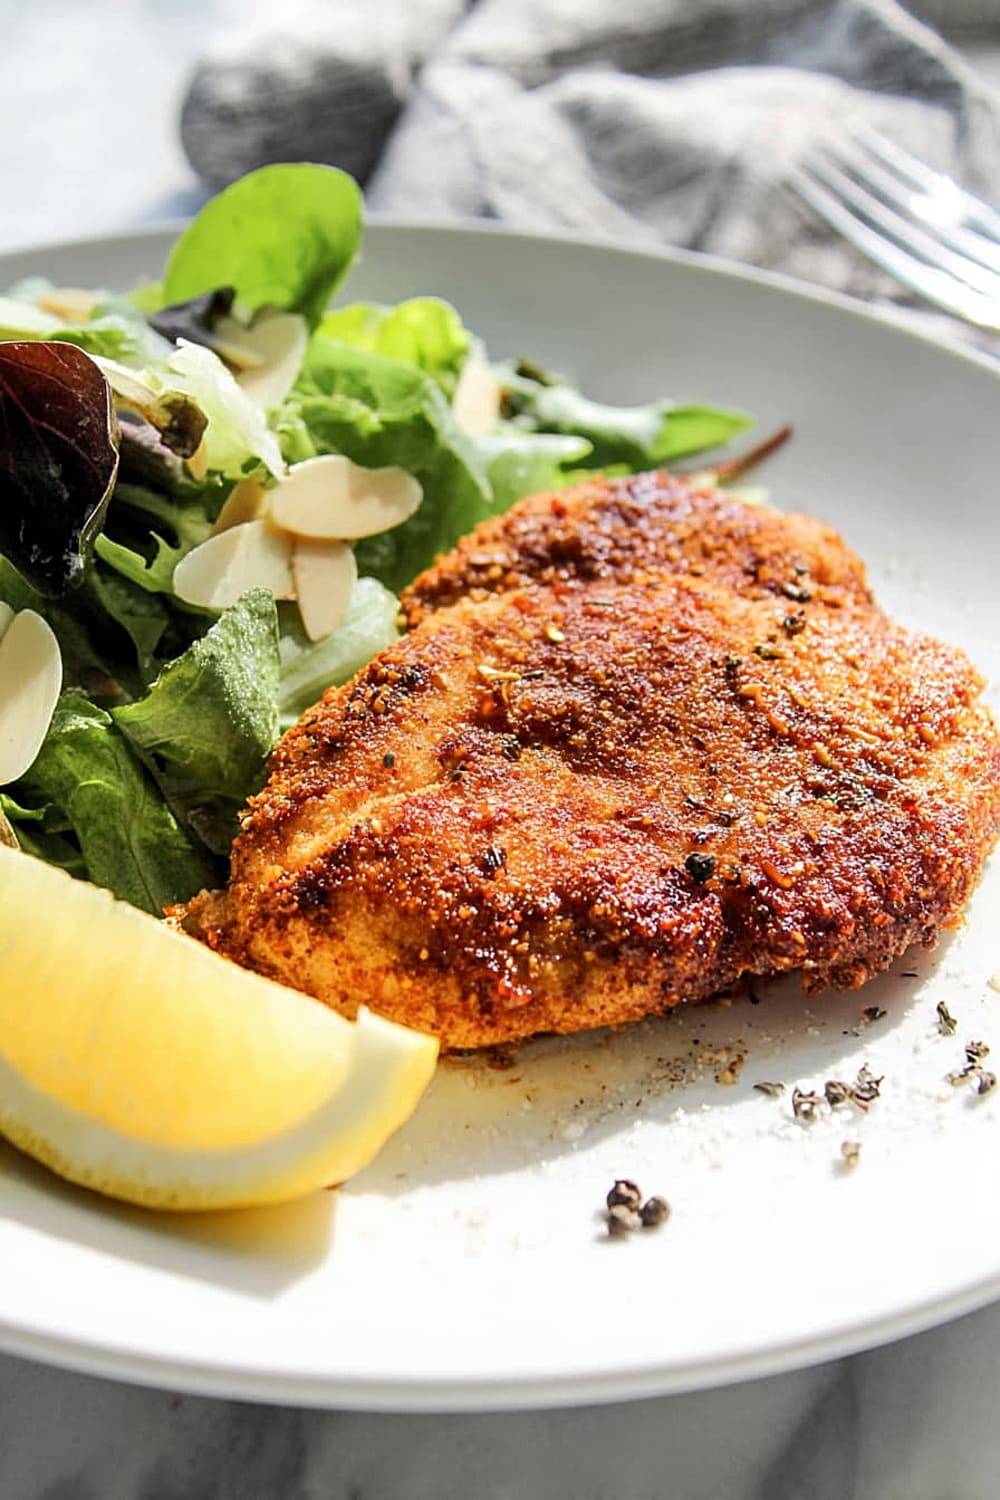
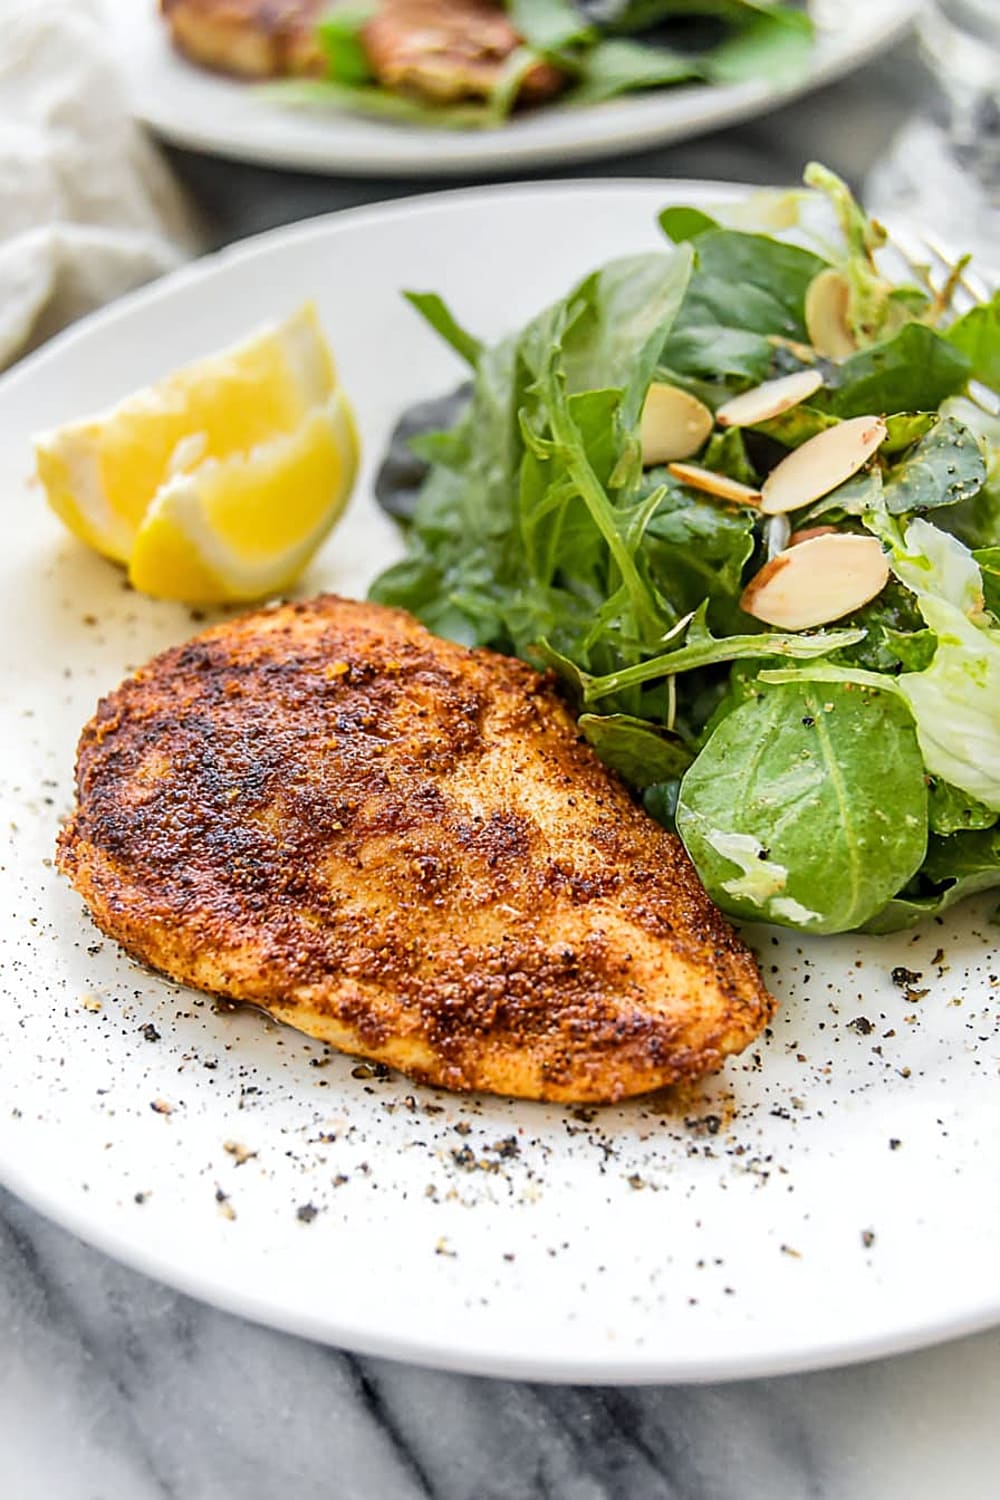
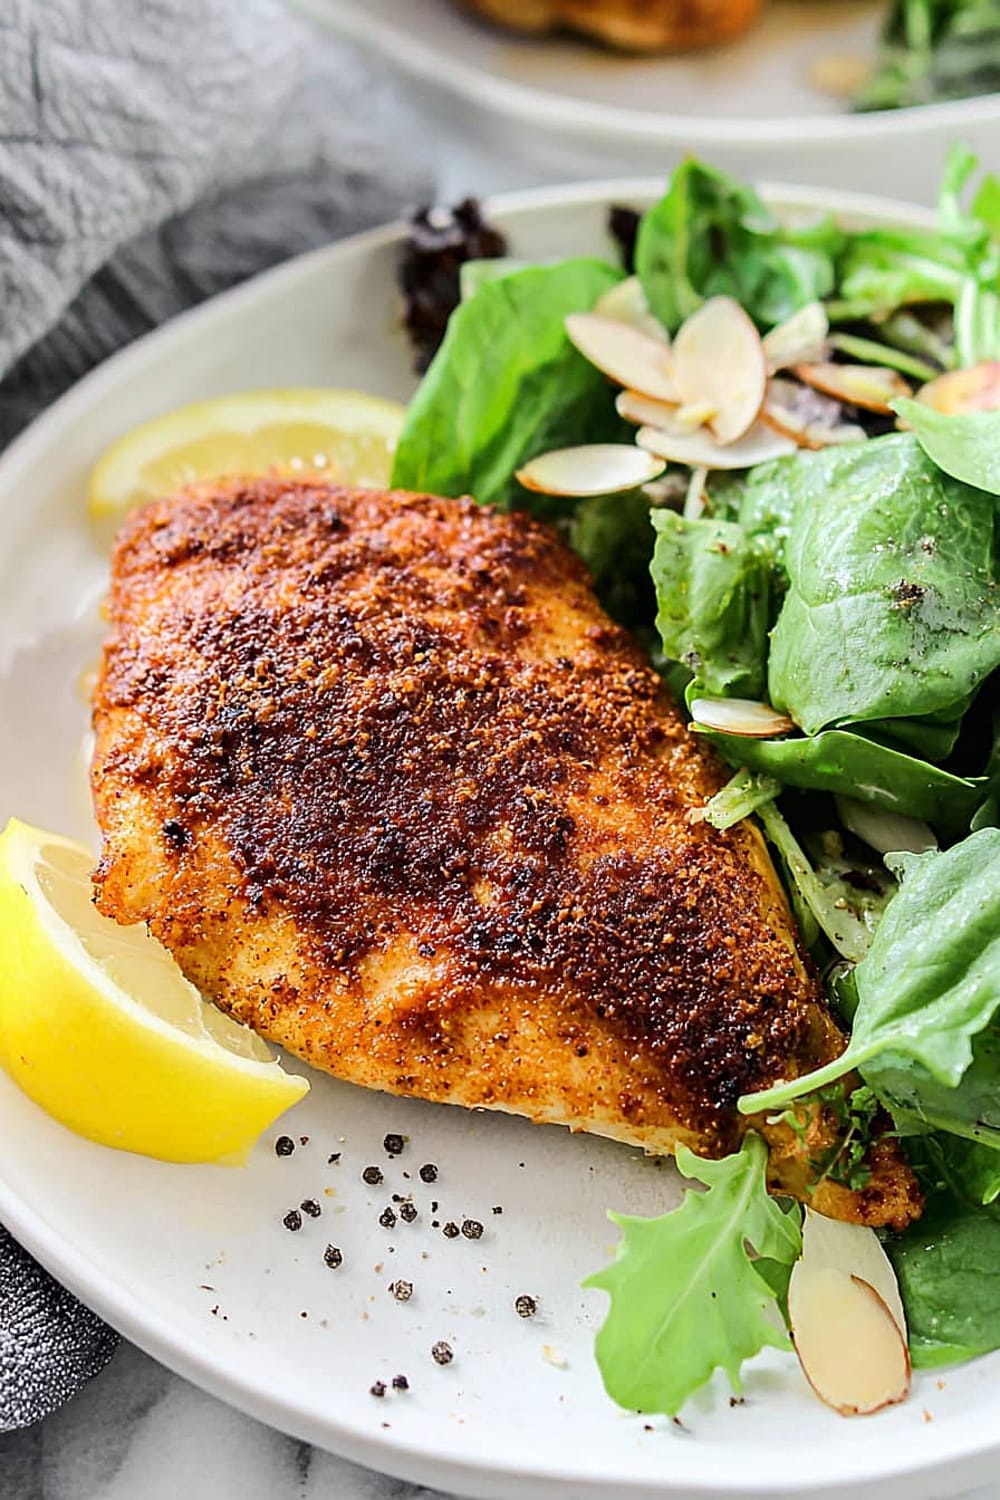
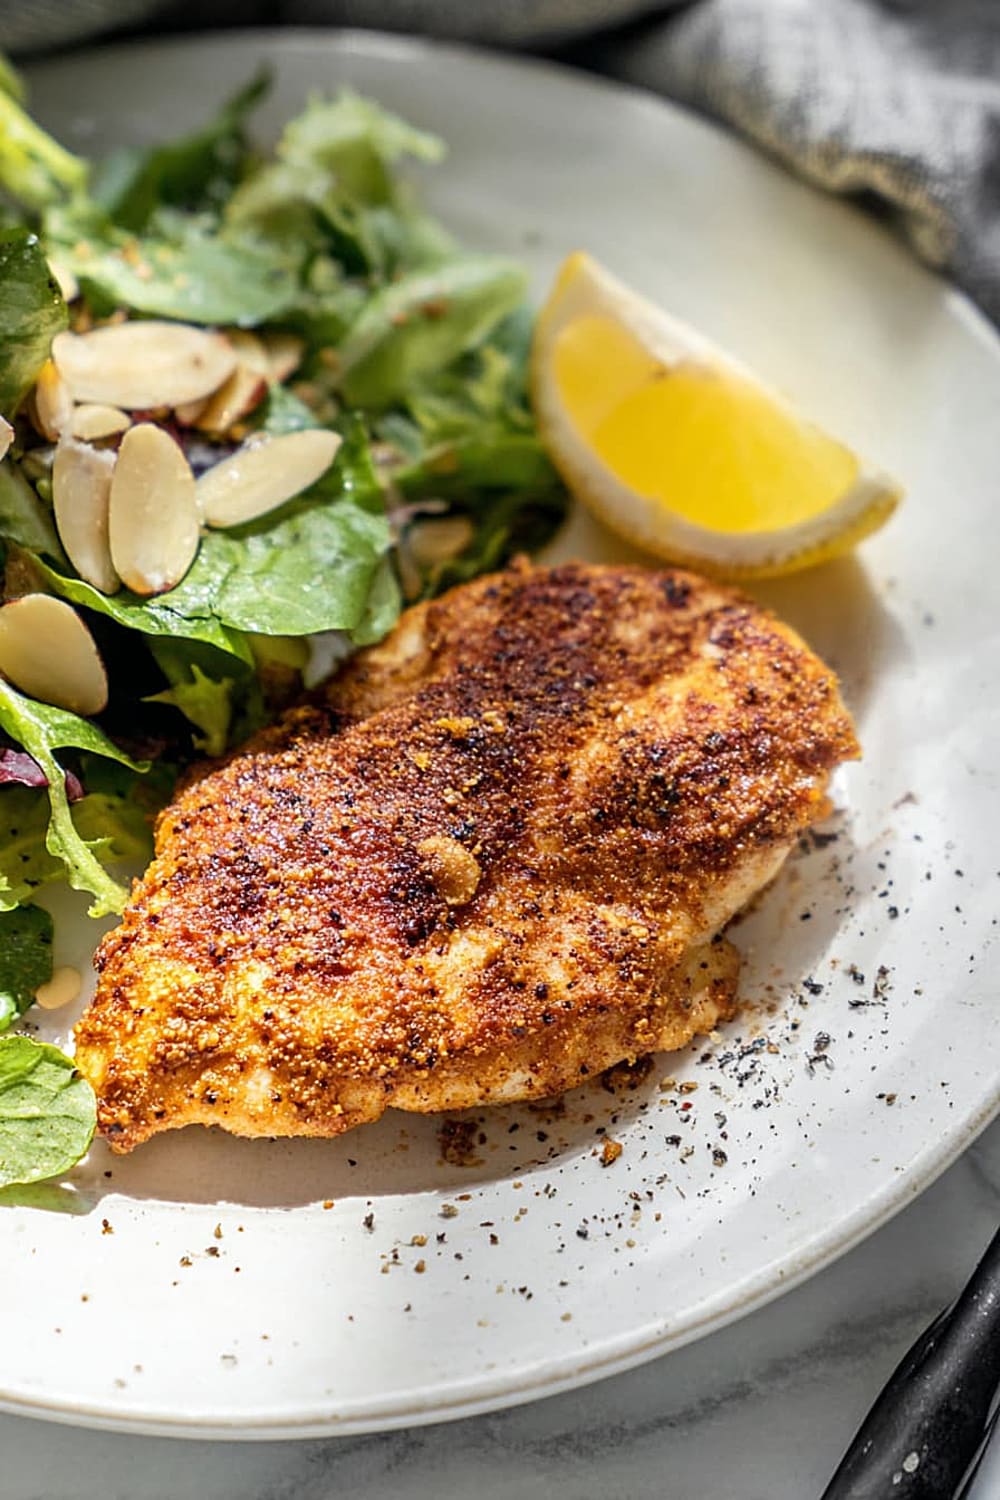
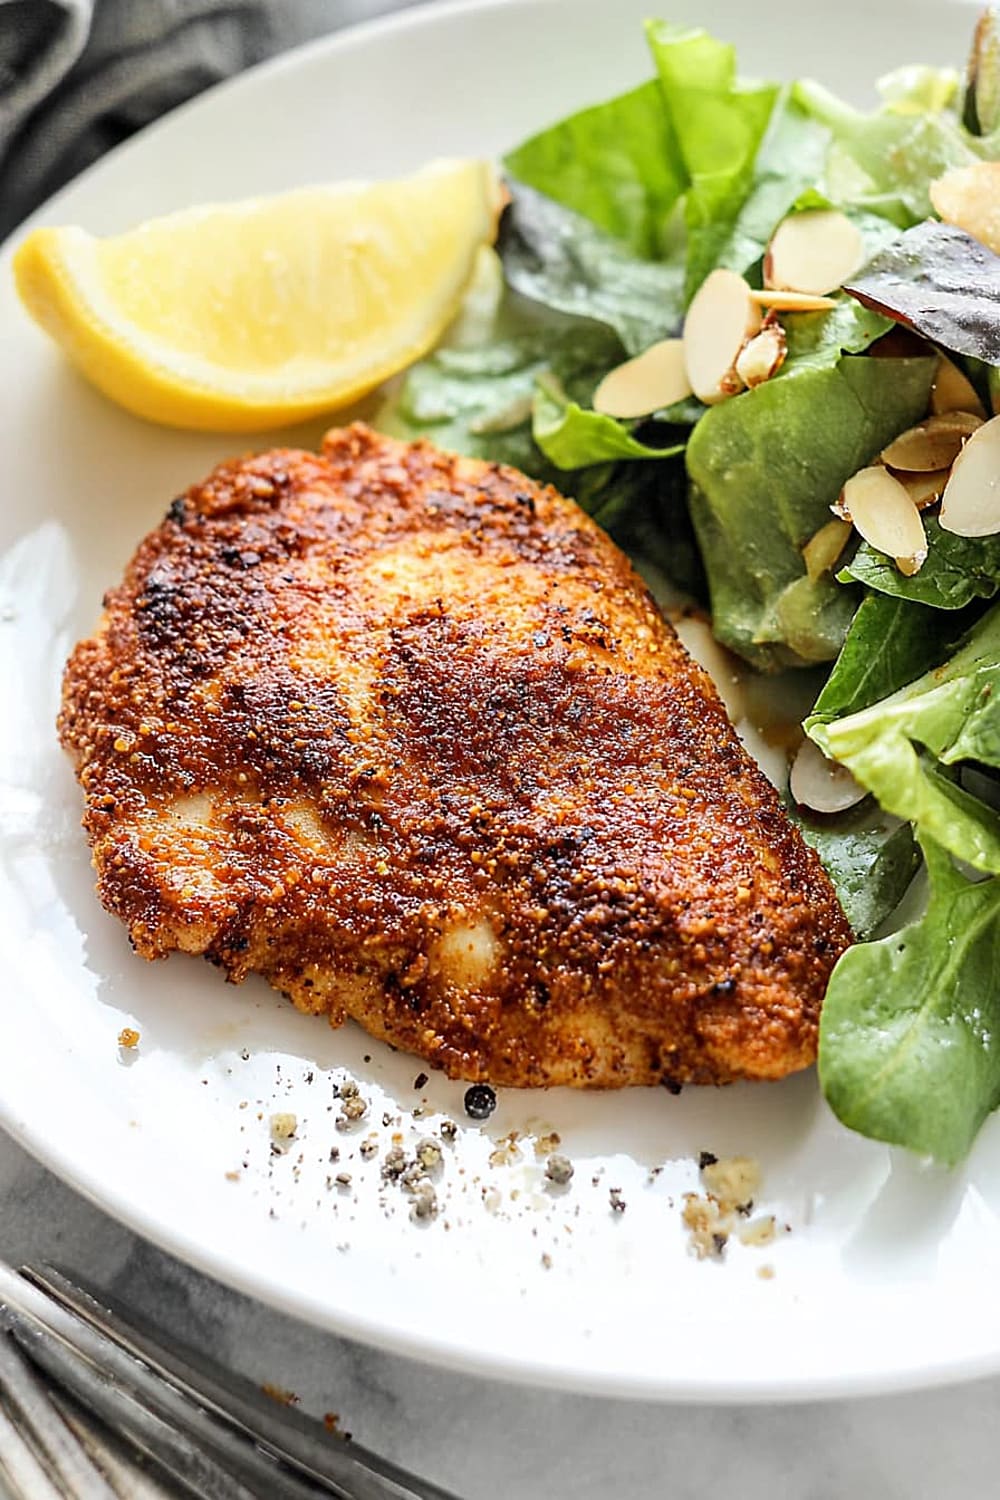
The golden, crispy exterior gives way to impossibly juicy meat that’s been seasoned with a blend of warm spices that would make any medieval feast proud.
What makes this recipe absolutely genius is how it transforms simple pantry spices into something that tastes like you raided a castle kitchen, but requires zero advanced culinary skills.
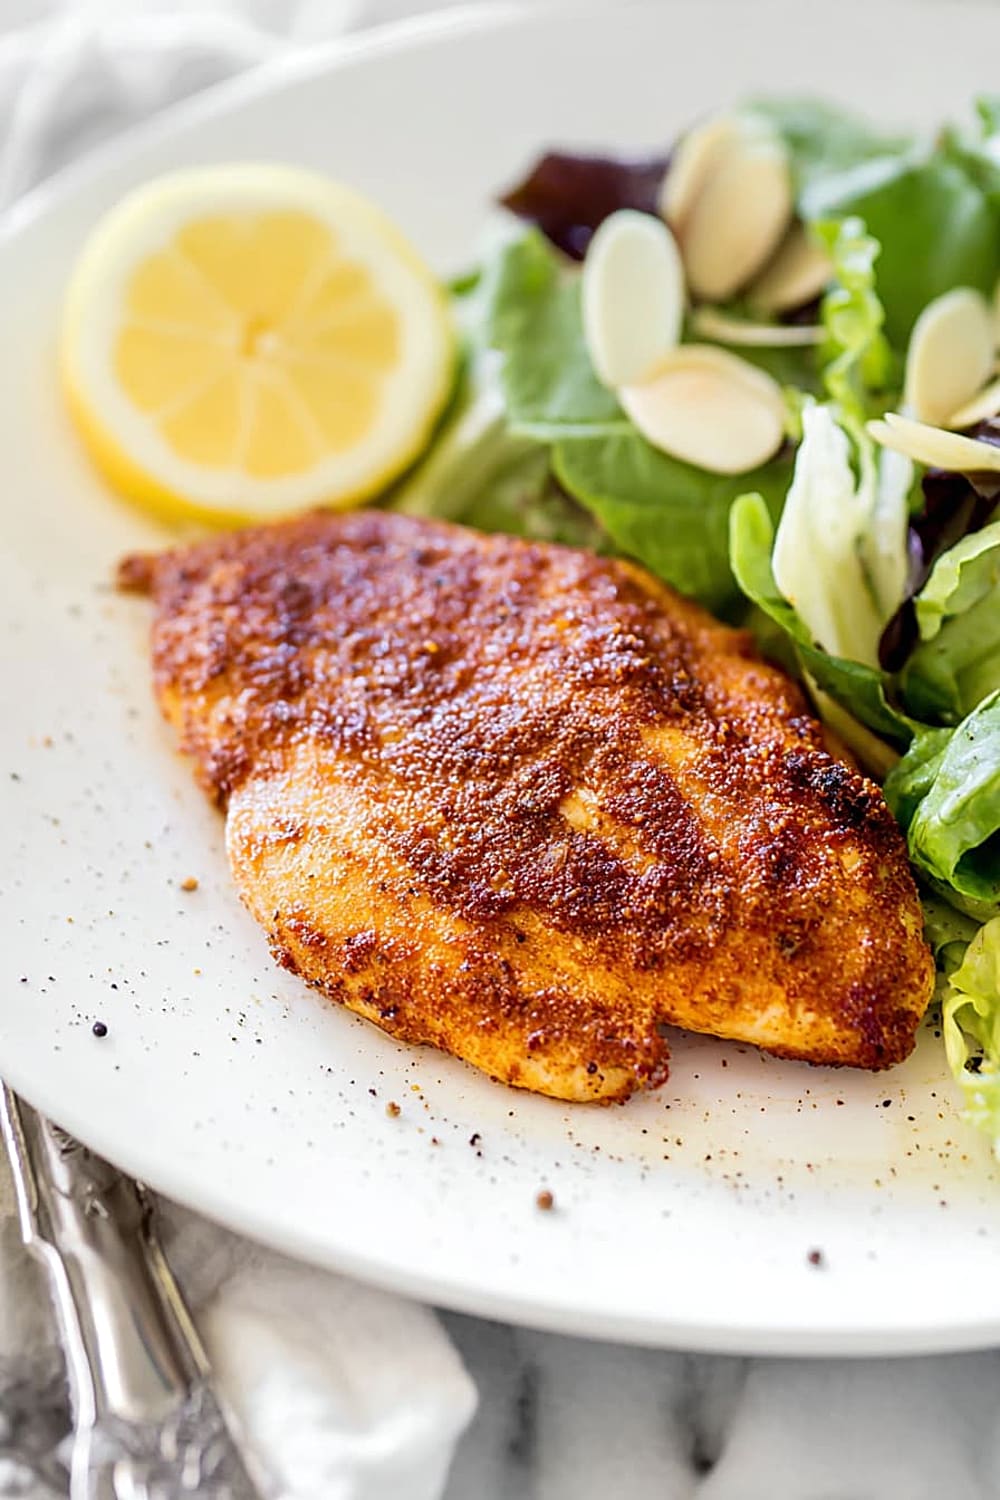
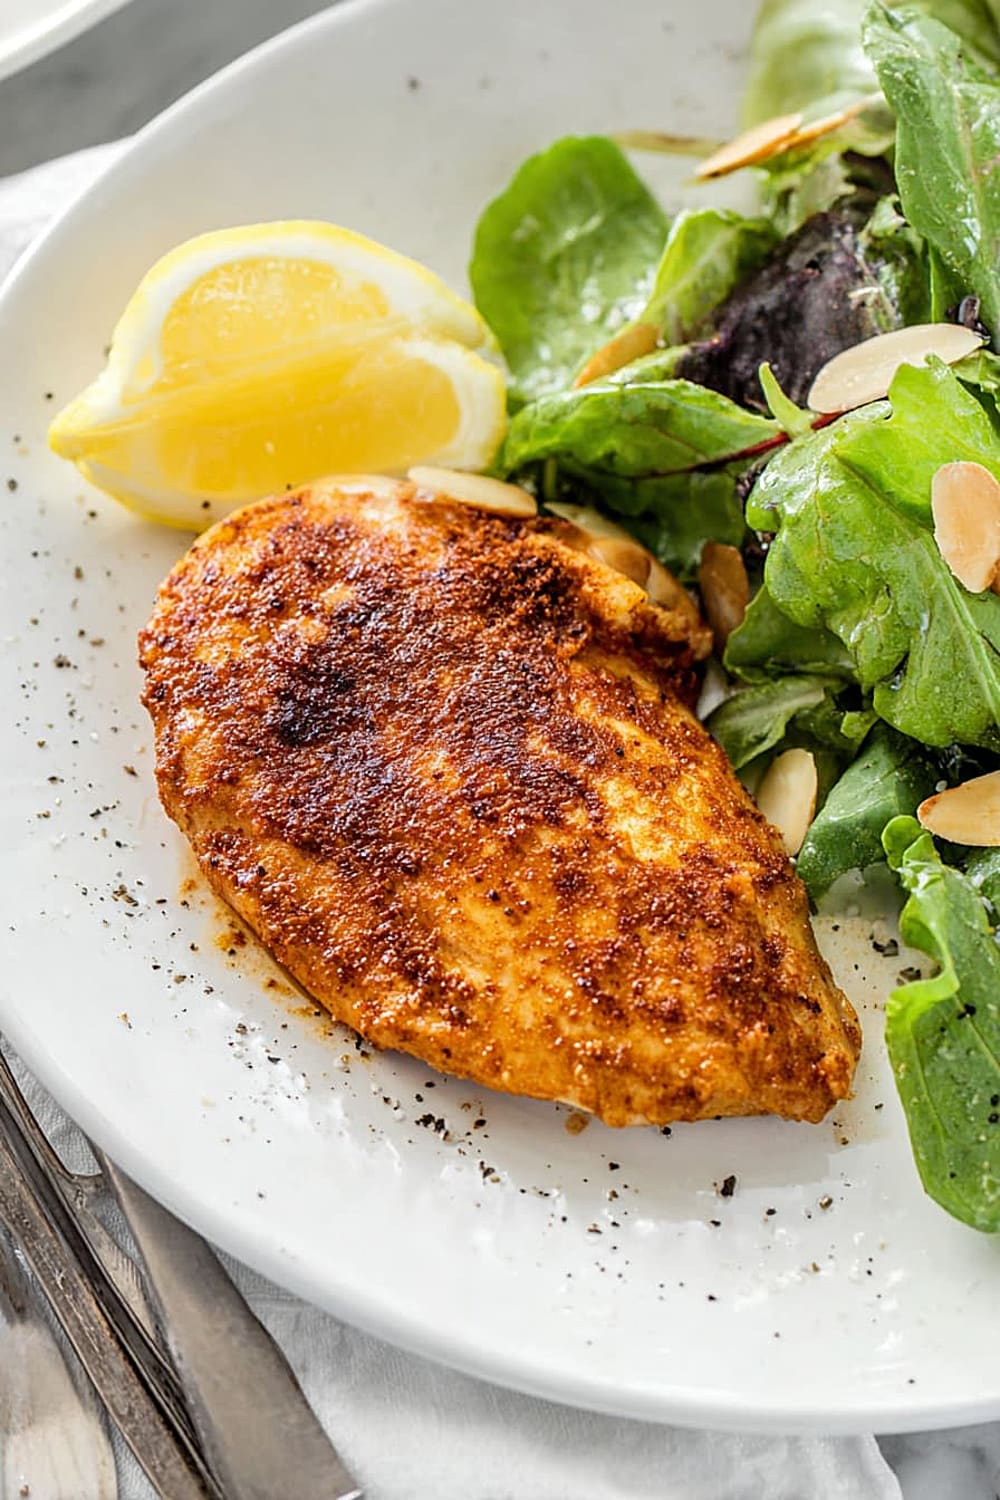
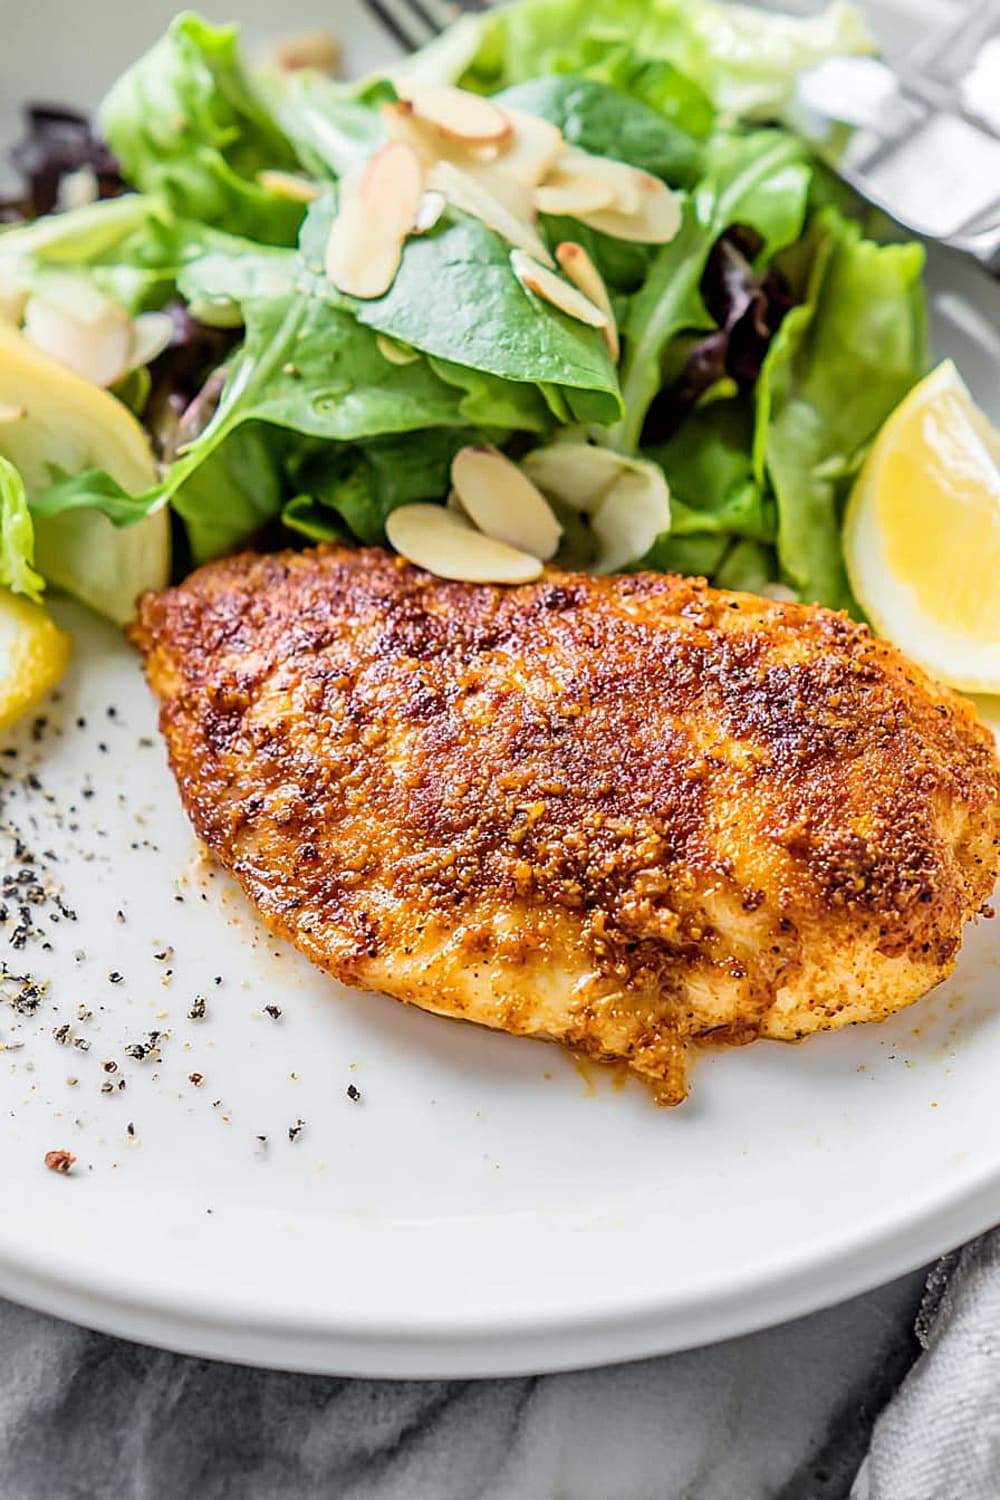
The paprika and garlic powder create this incredible aromatic crust that literally makes your kitchen smell like a five-star restaurant.
Perfect for those nights when you want to feel like a culinary rockstar without the stress-sweating that usually comes with trying to impress people.
This is the kind of recipe that makes people ask for your secret, and the secret is literally just following these simple steps and not overthinking it.
Ingredients
For the Chicken
- 1½ pounds boneless, skinless chicken breasts (about 3 medium breasts)
- 1 teaspoon kosher salt, divided
- ½ teaspoon ground black pepper, divided
For the Medieval Spice Coating
- ½ cup white whole wheat flour or all-purpose flour
- 1 tablespoon paprika
- 1 teaspoon dried parsley
- 1 teaspoon garlic powder
- 1 teaspoon onion powder
- ¼ teaspoon cayenne pepper (optional for heat)
For Cooking and Serving
- 2 tablespoons canola oil
- 1 lemon, cut into wedges
- Fresh herbs, chopped (optional for serving) (optional for serving)
Instructions
Preparation
- 1 Remove chicken breasts from the refrigerator and let sit at room temperature for 15 minutes. This ensures even cooking throughout. Place on a sturdy cutting board, cover with a large sheet of plastic wrap (optional to keep things tidier), and gently pound into an even thickness of about ½ inch using a meat mallet or rolling pin.
- 2 With a paper towel, pat the chicken completely dry – this is crucial for achieving that golden crust. Season with ½ teaspoon kosher salt and ¼ teaspoon black pepper. Set aside while you prepare the coating mixture.
Create the Medieval Spice Coating
- 3 In a wide, shallow dish such as a pie plate, stir together the flour, paprika, dried parsley, garlic powder, onion powder, cayenne (if using), and remaining ½ teaspoon salt and ¼ teaspoon black pepper. The combination of these spices creates that distinctive medieval flavor profile that’s both earthy and aromatic.
Dredge and Cook
- 4 Working one chicken breast at a time, dredge each piece in the flour mixture, pressing gently to ensure the coating adheres well. Shake off any excess coating – too much flour will create a gummy texture. Transfer to a clean plate and repeat with remaining chicken.
- 5 Heat the oil in a large, sturdy cast iron skillet or stainless steel pan over medium-high heat. The pan should be hot enough that the oil shimmers but doesn’t smoke – this usually takes 2-3 minutes. A properly heated pan is essential for that perfect golden crust.
Perfect the Pan-Frying Technique
- 6 Once the oil is hot and shining, carefully add the chicken breasts presentation (smooth) side down. Don’t overcrowd the pan – cook in batches if necessary. The chicken should sizzle immediately upon contact with the pan.
- 7 Cook for 4 minutes on the first side without disturbing the chicken. Resist the urge to move or peek – this undisturbed cooking time allows the proteins to properly sear and develop that beautiful golden crust. The chicken should release easily from the pan when it’s ready to flip.
- 8 Flip the chicken and cook an additional 3-5 minutes on the other side, until the chicken reaches 155°F (68°C) on an instant-read thermometer inserted into the thickest part. The chicken is considered fully cooked at 165°F (74°C), but it will continue cooking as it rests, reaching the perfect final temperature.
Rest and Serve
- 9 Transfer the cooked chicken to a plate or cutting board and cover loosely with aluminum foil. Let rest for 10 minutes – this resting period allows the juices to redistribute throughout the meat, ensuring maximum juiciness. Serve warm with a squeeze of fresh lemon juice and a sprinkle of chopped herbs if desired.
Recommended Equipment and Kitchen Tools
Essential Tools (for best results):
- Cast iron skillet or heavy-bottomed stainless steel pan – provides even heat distribution and superior browning capabilities for that perfect golden crust
- Instant-read thermometer – takes the guesswork out of determining doneness and prevents overcooking
- Meat mallet or rolling pin – ensures even thickness for uniform cooking throughout
- Wide shallow dish – makes the dredging process much easier and less messy
Helpful Upgrades:
- Kitchen scale – for precise measurements, especially when scaling the recipe up or down
- Silicone-tipped tongs – perfect for flipping delicate chicken without piercing the crust
- Microplane grater – if you want to add fresh lemon zest for extra brightness
- Parchment paper – line your prep area for easy cleanup during the dredging process
Nice-to-Have Options:
- Splatter screen – keeps your stovetop clean during the pan-frying process
- Digital probe thermometer – allows continuous monitoring without opening the pan
- Professional cutting board with juice groove – contains any resting juices
- Storage containers – perfect for meal prep portions or storing leftovers
Remember, these are suggestions to make your cooking experience more enjoyable and successful, not mandatory requirements for delicious results!
Recipe Variations and Dietary Modifications
Gluten-Free Adaptation:
- Replace all-purpose flour with ½ cup almond flour or ⅓ cup coconut flour for a nutty flavor profile
- Expect a slightly different texture – the coating will be more delicate but equally delicious
- Add an extra ¼ teaspoon salt to enhance flavor when using alternative flours
- Cooking time remains the same, but watch for faster browning with almond flour
Dairy-Free Modifications:
- This recipe is naturally dairy-free as written – no modifications needed
- For serving, pair with dairy-free herb butter made with olive oil and fresh herbs
- Avoid any cream-based sauces and stick with lemon and herb garnishes
Low-Carb/Keto Version:
- Replace flour with ½ cup finely ground pork rinds mixed with 2 tablespoons parmesan cheese
- Alternatively, use ⅓ cup almond flour plus 2 tablespoons coconut flour
- Reduces carbs from approximately 12g to 3-4g per serving
- Maintain all the same spices for authentic medieval flavor
Flavor Variations:
- Mediterranean twist: Add dried oregano, basil, and a pinch of fennel seeds to the coating
- Smoky version: Replace paprika with smoked paprika and add ½ teaspoon chipotle powder
- Herb-crusted: Double the dried parsley and add dried thyme and rosemary
- Spicy medieval: Increase cayenne to ½ teaspoon and add ¼ teaspoon ground mustard
Cooking Method Alternatives:
- Oven-finished: Start on stovetop, then transfer to 400°F (200°C) oven for final 5-8 minutes
- Air fryer adaptation: Cook at 380°F (193°C) for 12-15 minutes, flipping halfway through
Nutritional Information and Health Benefits
Key Nutritional Highlights:
This medieval pan fried chicken breast provides approximately 280 calories per serving, with 35 grams of high-quality complete protein that contains all essential amino acids. The lean chicken breast is naturally low in saturated fat while providing 4 grams of healthy fats from the minimal oil used in cooking. Each serving contains roughly 8 grams of carbohydrates from the flour coating, making it suitable for moderate-carb eating plans.
Health Benefits of Main Ingredients:
The chicken breast serves as an excellent source of selenium, phosphorus, and B vitamins, particularly niacin and B6, which support energy metabolism and nervous system function. Paprika contributes vitamin A and capsaicin compounds that may support metabolism and provide anti-inflammatory benefits. Garlic powder retains many of the cardiovascular benefits of fresh garlic, including compounds that may help support healthy blood pressure. The parsley adds vitamin K and antioxidants, while onion powder provides quercetin, a flavonoid with anti-inflammatory properties.
Dietary Considerations:
This recipe is naturally gluten-containing due to the wheat flour coating, but easily adaptable for gluten-free diets. It’s dairy-free and suitable for most eating plans including Mediterranean, paleo (with flour substitution), and moderate low-carb approaches. The lean protein content makes it excellent for muscle maintenance and weight management goals, with the coating adding minimal calories while maximizing flavor impact.
Smart Swaps and Ingredient Substitutions
Common Substitutions:
- All-purpose flour → Equal amount of whole wheat pastry flour, or ¾ amount of chickpea flour for extra protein
- Canola oil → Avocado oil for higher smoke point, or olive oil for Mediterranean flavor (though with lower smoke point)
- Paprika → Equal amount of smoked paprika for deeper flavor, or sweet Hungarian paprika for authentic taste
- Dried parsley → 1 tablespoon fresh parsley (add after cooking), or dried oregano for different herb profile
Budget-Friendly Swaps:
- Boneless chicken breasts → Chicken thighs (bone-in, skin-on) for richer flavor at lower cost – adjust cooking time to 6-8 minutes per side
- Individual spices → 2 tablespoons pre-made poultry seasoning blend plus extra salt and pepper
- Fresh lemon → 2 tablespoons bottled lemon juice, though fresh provides better flavor
- Kosher salt → Regular table salt using ¾ the amount due to finer grain size
Pantry Emergency Substitutions:
- Garlic powder → ½ teaspoon granulated garlic, or 2 cloves fresh garlic minced into the flour
- Onion powder → ½ teaspoon granulated onion, or 2 tablespoons very finely minced fresh onion
- Cayenne pepper → Pinch of red pepper flakes crushed fine, or hot paprika
- White whole wheat flour → All-purpose flour works perfectly with no adjustments needed
Pro Tips for Substitutions:
- When using fresh herbs instead of dried, triple the amount and add them after cooking to preserve flavor
- Store opened spice containers in cool, dark places and replace annually for best flavor impact
- If substituting different oils, ensure they can handle medium-high heat to prevent burning
Make It Diabetes-Friendly
Flour & Carb Modifications:
- Replace ½ cup all-purpose flour with ⅓ cup almond flour to reduce carbs from 12g to 4g per serving
- Alternative option: Use ¼ cup coconut flour plus 2 tablespoons ground flaxseed for even lower carb content
- Consider crushed pork rinds (½ cup) mixed with parmesan for virtually zero-carb coating
- These swaps reduce total carbohydrates by approximately 60-80% while maintaining the crispy texture
Portion & Timing Tips:
- Stick to 4-5 oz chicken portions to maintain consistent carb counts from coating
- Estimated 6-8 grams total carbs per serving with traditional flour, 2-3 grams with almond flour substitution
- Pair with non-starchy vegetables like roasted broccoli or sautéed spinach to add fiber without significant carbs
- The high protein content (35g per serving) helps stabilize blood sugar response
Cooking Method Adjustments:
- Use avocado oil spray instead of 2 tablespoons oil to reduce calories and fat if needed
- Add extra herbs and spices to compensate for any flavor loss from flour substitutions
- Consider serving over cauliflower rice or zucchini noodles instead of traditional starches
Blood Sugar Management:
- The combination of lean protein and minimal carbs makes this naturally diabetes-friendly
- Total Carb Reduction: From 12g to 2-4g per serving with recommended substitutions
- High protein content promotes satiety and helps prevent blood sugar spikes
Perfect Pairing Suggestions
Beverage Pairings:
This medieval-spiced chicken pairs beautifully with medium-bodied red wines like Côtes du Rhône or Chianti, where the earthy paprika and garlic flavors complement the wine’s herbal notes. For white wine lovers, try a crisp Sauvignon Blanc or unoaked Chardonnay to balance the richness. Craft beer enthusiasts should reach for a Belgian wheat beer or amber ale that won’t overpower the delicate spice blend. Non-alcoholic options include sparkling water with lemon, iced herbal tea with mint, or even a light apple cider that echoes medieval feast traditions.
Side Dish Recommendations:
The warm spice profile calls for roasted root vegetables like carrots, parsnips, and sweet potatoes that echo medieval cooking styles. Sautéed green beans with almonds provide a crisp contrast to the tender chicken, while wild rice pilaf or herb-roasted potatoes create a satisfying, hearty base. For lighter options, consider a mixed greens salad with apple slices and walnuts, or roasted Brussels sprouts with bacon for complementary savory notes.
Complete Meal Ideas:
Start with a simple soup like butternut squash or mushroom bisque to set a medieval tone. Build the main course around this chicken with honey-glazed carrots and rosemary roasted potatoes. For entertaining, add a crusty artisan bread and herb butter to complete the feast-like atmosphere.
Occasion Suggestions:
Perfect for cozy autumn dinners, casual dinner parties, or Sunday family meals when you want something special but approachable. The medieval theme makes it ideal for Renaissance fair preparation meals or themed dinner parties. It’s sophisticated enough for date nights but simple enough for weeknight family dinners.
Pro Tips and Troubleshooting
Professional Techniques:
The key to restaurant-quality results lies in temperature control – use medium-high heat consistently and resist moving the chicken during the initial sear. Brining the chicken for 30 minutes in salt water before seasoning creates even more juicy results. Pound the chicken to uniform thickness using plastic wrap to prevent splattering, and always let it come to room temperature before cooking for even heat penetration. Test your oil temperature by dropping a pinch of flour mixture – it should sizzle immediately but not smoke.
Common Mistake Prevention:
Never skip the resting period – cutting immediately releases all the carefully retained juices. Don’t overcrowd the pan, which drops the temperature and creates steaming instead of searing. Avoid pressing down on the chicken while cooking, as this squeezes out moisture. Don’t flip too early – the chicken will release naturally when the crust is properly formed.
Storage and Reheating:
Store leftover chicken in the refrigerator for up to 3 days in airtight containers. Reheat gently in a 300°F (150°C) oven for 10-12 minutes to maintain moisture, or slice and add to salads cold. Freezing works for up to 3 months, though the coating may lose some crispness.
Make-Ahead Strategies:
Pound and season chicken up to 24 hours ahead, storing covered in refrigerator. Mix the spice coating weeks in advance and store in an airtight container. For meal prep, cook completely and portion with sides for grab-and-go lunches.
Recipe Scaling:
This recipe doubles easily for larger gatherings – just cook in batches to avoid overcrowding. Halving works perfectly for smaller portions, maintaining the same cooking times and temperatures.
This medieval pan fried chicken breast proves that impressive flavors don’t require complicated techniques or exotic ingredients. With just a handful of pantry spices and some basic cooking know-how, you’ve created something that tastes like it came from a much fancier kitchen than it actually did. The golden, crispy exterior and perfectly seasoned, juicy interior make this a recipe you’ll return to again and again, whether you’re cooking for family weeknight dinners or trying to impress guests at your next dinner party.