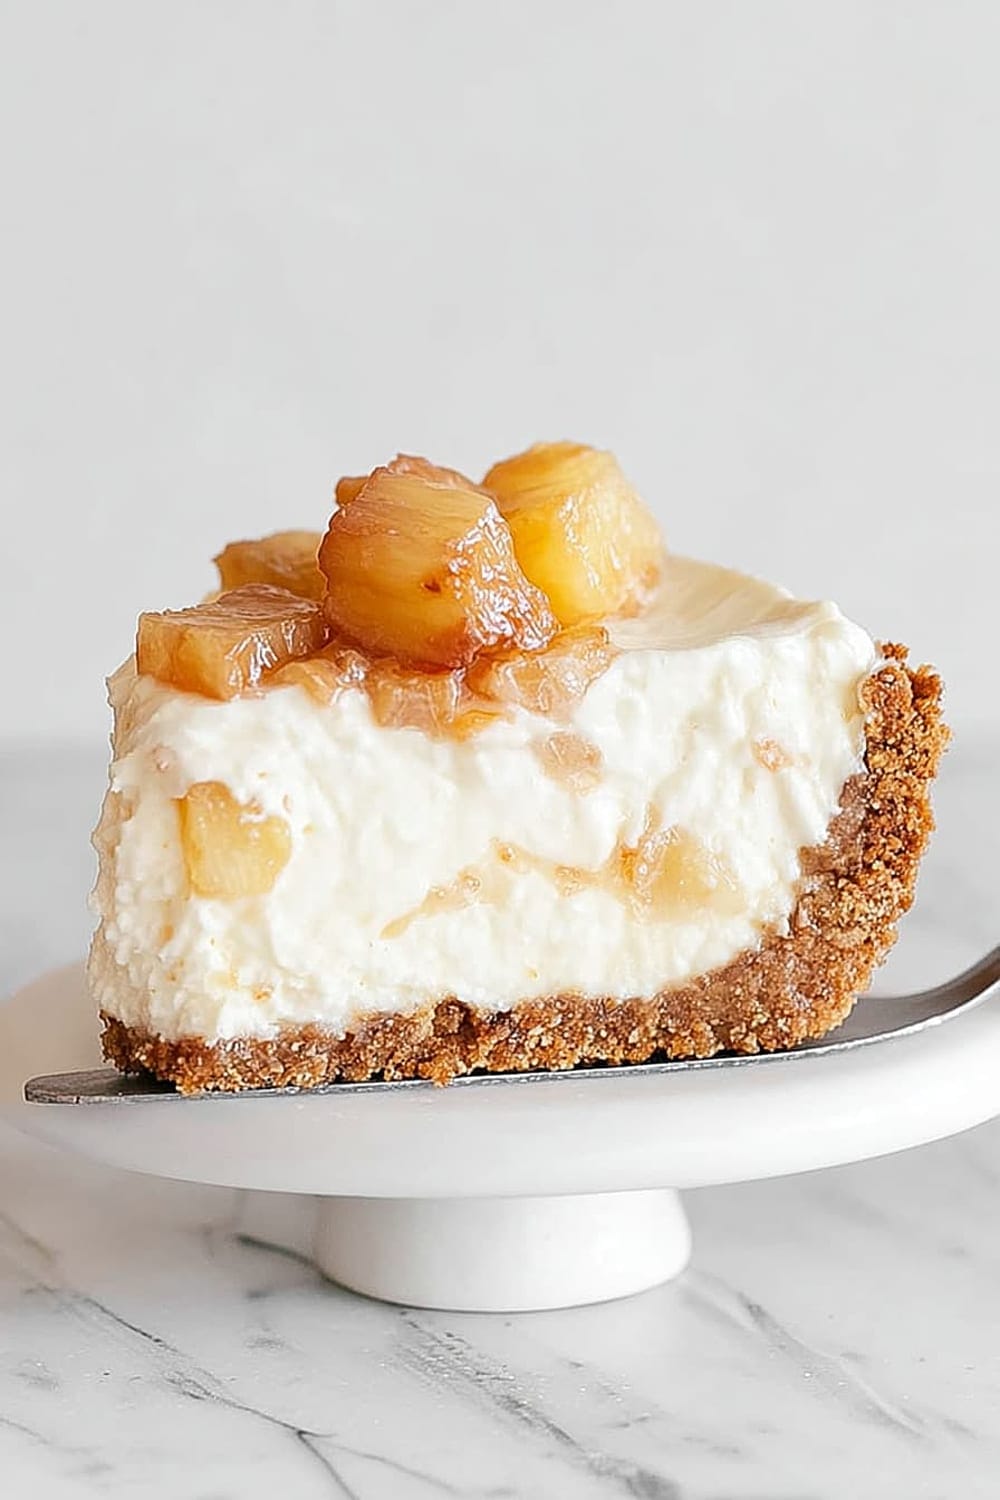
No Bake Pineapple Pie (with cream cheese)
This is the dessert equivalent of finding a twenty-dollar bill in your old jeans pocket – pure, unexpected joy with zero effort required.
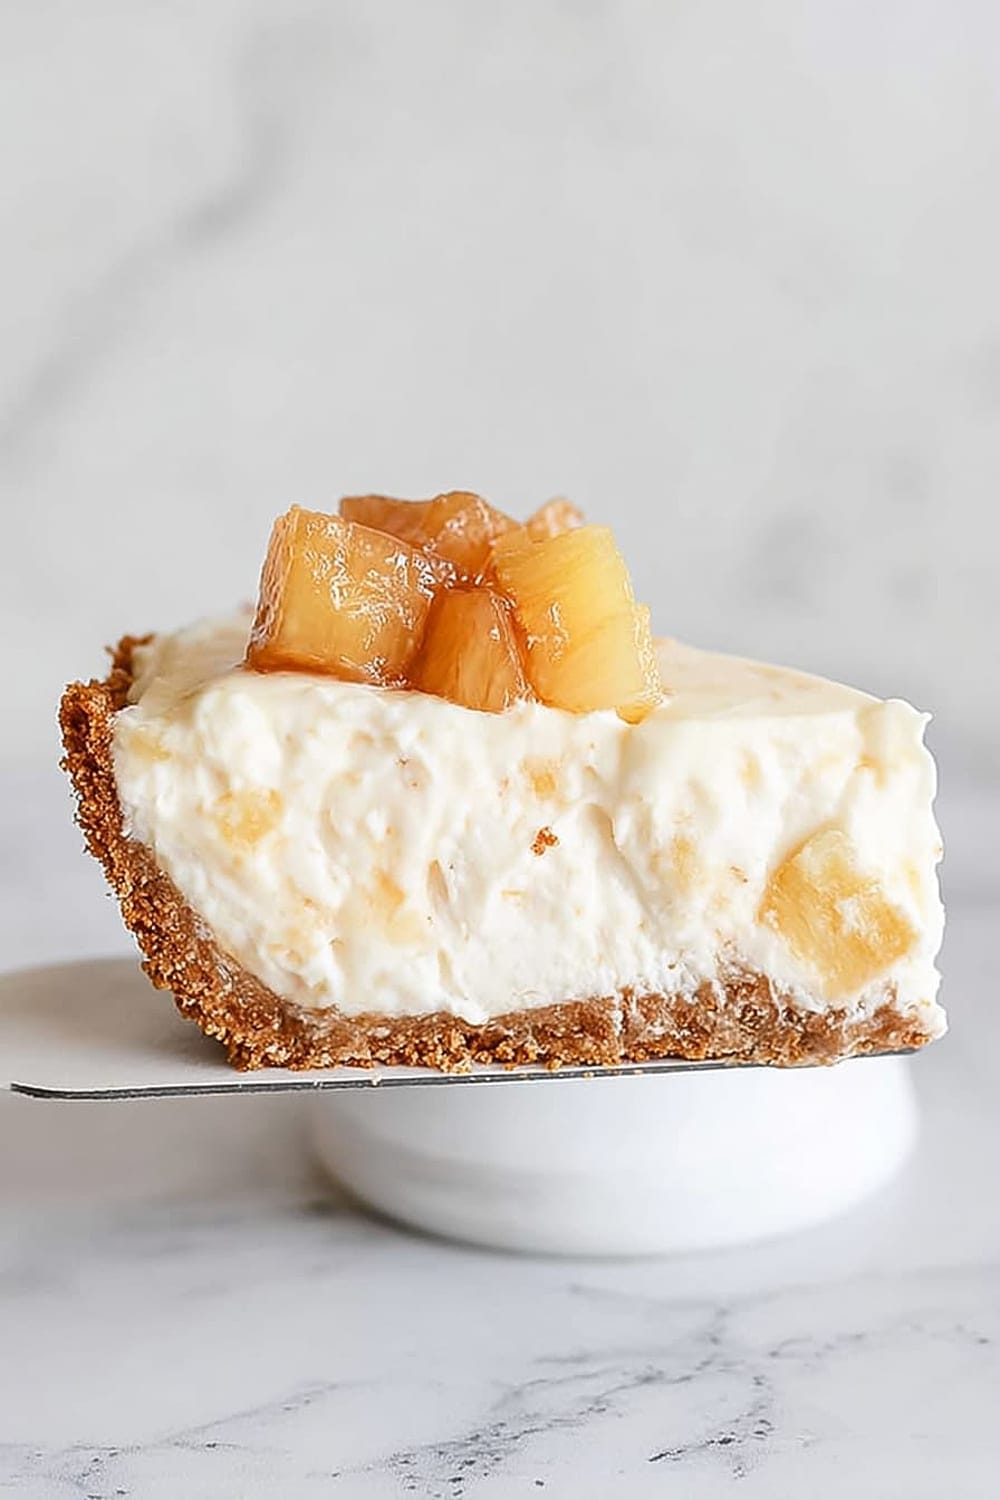
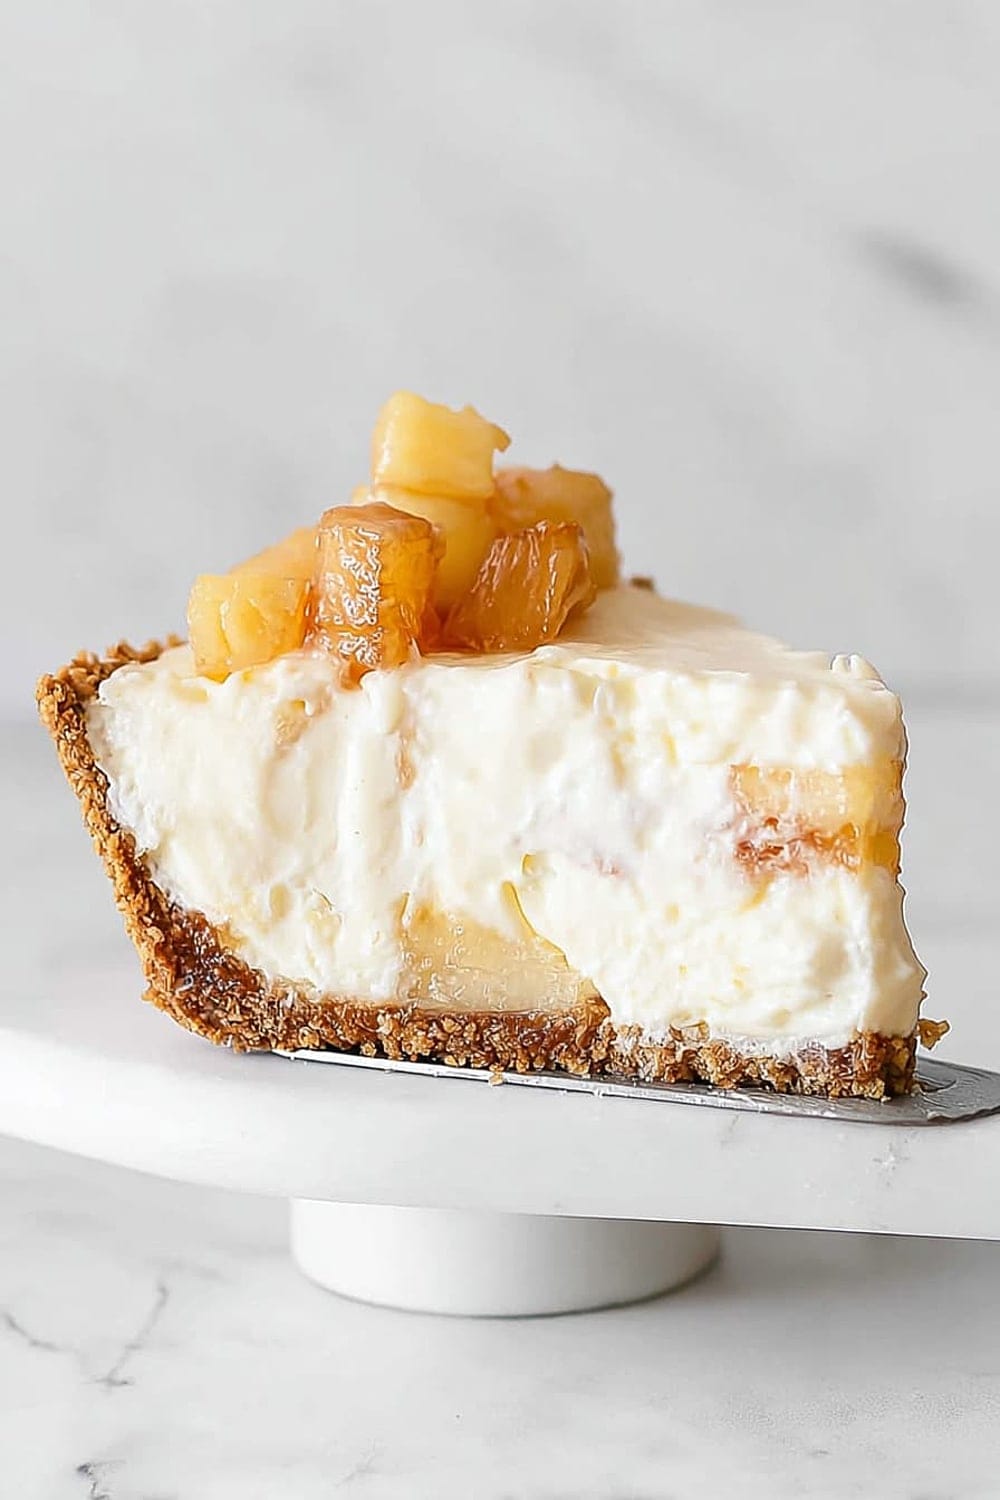
Picture this: a buttery graham cracker crust that practically builds itself, topped with the most luscious cream cheese and pineapple filling that tastes like tropical vacation vibes decided to move into your refrigerator permanently.

The best part about this no-bake wonder is that it’s basically foolproof – even if your kitchen skills peak at making toast, you’re going to absolutely nail this pie.
We’re talking about a dessert that comes together in just 20 minutes of actual work time, then does all the heavy lifting while chilling in your fridge, emerging hours later as the kind of showstopper that makes people assume you went to culinary school.
The creamy, tangy filling paired with sweet, juicy pineapple creates this perfect balance that’s refreshing enough for summer but indulgent enough to satisfy your deepest dessert cravings year-round.
Plus, you can make this beauty up to three days ahead of time, which means you can be the relaxed, confident host who’s sipping wine while everyone else is frantically whisking last-minute desserts.

Ingredients
For the crumb crust
- 1¾ cups fine graham cracker crumbs
- 2 tablespoons brown sugar
- ½ cup butter, melted
For the filling
- 8 oz cream cheese, at room temperature
- 1 cup heavy or heavy whipping cream, cold
- ½ cup sugar
- 20 oz can of pineapple, drained
- 1 teaspoon vanilla extract
For the topping
- 3-4 pineapple rings (use extra or from the total amount above)
- 2-3 tablespoons sugar (if you wish to caramelize them)
- Drizzle of oil or dab of butter (if you wish to caramelize them)
Instructions
Prepare the crumb crust
- 1 Preheat the oven to 350°F (180°C) if you’re baking the crust, though you can opt for simply chilling it until firm for a completely no-bake approach.
- 2 Have ready a 9-inch pie plate or pie pan with a removable bottom and high sides – this makes serving so much easier later.
- 3 For the cookie crumbs, the easiest way is to use a food processor and process until you have fine crumbs. Make sure there are no large pieces or very coarse crumb mixture, as this will prevent the mixture from compressing well and holding together. You can also make the crumbs by hand using a rolling pin, though it takes patience. Crush the cookies by putting them in a large plastic bag, leaving it slightly open to let air escape as you roll.
- 4 By hand method: Mix crumbs with the brown sugar in a medium mixing bowl. Add the melted butter and combine everything until it resembles wet sand with no dry spots remaining – this texture is crucial for a crust that holds together.
- 5 Food processor method: You can make the mixture directly in the bowl of the processor. Simply process the graham crackers with the sugar, then add the melted butter to the bowl and pulse a few times until you have your perfect graham mixture ready.
- 6 Press the mixture onto the pan, starting at the edges and the angles where the base and sides join together, making sure it’s well compacted. This careful edge work will help tremendously when removing slices from the pan later.
- 7 Bake for 10 minutes, until lightly golden and dry to the touch. Let cool completely on a wire rack before filling – rushing this step will melt your beautiful filling.
- 8 For a completely no-bake version: Simply put the crust in the refrigerator for at least 1 hour to allow the butter to firm up. This will make it slightly less sturdy and might crumble here and there when you cut it, but it’s worth it if you don’t want to turn on the oven.
Create the pineapple filling
- 9 Beat the cold heavy cream in a large bowl using an electric mixer until it forms medium-firm peaks – don’t overbeat or you’ll end up with butter instead of fluffy whipped cream. Reserve this in the refrigerator.
- 10 In another large mixing bowl, beat the softened cream cheese with the sugar until completely smooth, lump-free, and the sugar has dissolved. An electric mixer with paddle attachment works beautifully for this step, ensuring no lumps survive.
- 11 Add the vanilla extract and drained pineapple chunks, mixing to incorporate well. The pineapple should be thoroughly drained to prevent a watery filling.
- 12 Add the pineapple mixture to the beaten cream in 2 parts, mixing lightly the first time and making sure it’s fully incorporated the second time. Don’t overmix, but ensure no streaks remain. Use a silicone spatula to fold everything together gently but thoroughly.
- 13 Fill the prepared crust, smooth the top with an offset spatula, and refrigerate the pie for several hours until completely firm – at least 4 hours, but overnight is even better.
Prepare the caramelized topping
- 14 If you’re short on time or prefer simplicity, simply chop fresh or canned pineapple, drain it well, and top the cold pie just before serving.
- 15 For caramelized pineapple: Heat butter or oil in a non-stick skillet over medium heat and add the pineapple rings.
- 16 Sprinkle with half the sugar and cook for 3-4 minutes without moving them, allowing proper caramelization to develop.
- 17 Flip carefully and sprinkle the remaining sugar on top, cooking another 3-4 minutes until both sides are golden brown and caramelized. Move them occasionally to prevent burning.
- 18 Let cool completely, cut into attractive pieces, and distribute on top of the chilled pie just before serving. The pie should always be served cold for the best texture and flavor.
Recommended Equipment and Kitchen Tools
Recommended Tools (for best results)
- Food processor – Makes perfect, uniform graham cracker crumbs in seconds and ensures your crust holds together beautifully
- Electric mixer or stand mixer – Essential for achieving the right texture in both the whipped cream and cream cheese mixture without overworking
- 9-inch pie plate with removable bottom – Makes serving clean slices so much easier and more professional-looking
- Silicone spatula – Perfect for folding the delicate whipped cream into the pineapple mixture without deflating it
Helpful Upgrades
- Kitchen scale – For the most accurate measurements, especially when making your own graham cracker crumbs
- Non-stick skillet – If you’re making the caramelized pineapple topping, this prevents sticking and ensures even browning
- Wire cooling rack – Allows proper air circulation for cooling the baked crust completely before adding the filling
Nice-to-Have Options
- Offset spatula – Creates a perfectly smooth, professional-looking top on your pie filling
- Bench scraper – Helpful for transferring chopped ingredients and keeping your workspace organized
Recipe Variations and Dietary Modifications
Gluten-Free Adaptation
- Replace graham crackers with gluten-free graham crackers or gluten-free vanilla wafers using the same measurements
- Alternatively, use 2 cups almond flour mixed with ¼ cup melted butter and 2 tablespoons sugar for a nutty, naturally gluten-free crust
- The texture will be slightly more tender but equally delicious
Dairy-Free Modifications
- Substitute dairy-free cream cheese (like Kite Hill or Tofutti) for regular cream cheese
- Replace heavy cream with coconut cream (the thick part from a chilled can of full-fat coconut milk)
- Use vegan butter or coconut oil (solid, not melted) for the crust
- Expect a slightly different texture but wonderful tropical flavor enhancement
Flavor Variations
- Coconut Pineapple: Add ½ cup toasted coconut flakes to the filling and sprinkle more on top
- Pineapple Lime: Add 2 tablespoons fresh lime juice and 1 tablespoon lime zest to the filling for a bright, citrusy twist
- Tropical Medley: Mix in ½ cup diced mango or passion fruit pulp with the pineapple
- Ginger Spice: Add 1 teaspoon fresh grated ginger to the filling for a warm, spicy note
Crust Alternatives
- Vanilla wafer crust: Replace graham crackers with vanilla wafers for a sweeter, more delicate base
- Coconut crust: Use 2 cups toasted coconut flakes mixed with ¼ cup melted butter for an ultra-tropical version
Nutritional Information and Health Benefits
Key Nutritional Highlights
This no-bake pineapple pie provides approximately 320-380 calories per slice (based on 8 servings), with the majority coming from healthy fats in the cream cheese and cream, plus natural sugars from the pineapple. Each serving contains roughly 6-8 grams of protein from the dairy components and 25-30 grams of carbohydrates, making it a satisfying dessert that won’t leave you crashing later.
Health Benefits of Main Ingredients
Fresh pineapple is packed with vitamin C (providing over 100% of your daily needs per serving), plus bromelain, a powerful enzyme that aids digestion and has anti-inflammatory properties. The cream cheese provides calcium and protein for bone health and satiety. Heavy cream contains vitamin A and healthy saturated fats that help with nutrient absorption. Even the graham cracker crust contributes some B vitamins and iron from the enriched flour.
Dietary Considerations
This recipe contains dairy and gluten, making it unsuitable for those with related allergies or intolerances without modifications. The natural fruit content provides fiber and antioxidants, while the no-bake preparation preserves more of the pineapple’s heat-sensitive vitamins. For balanced nutrition, pair with a lighter meal and consider the pie as an occasional treat rather than an everyday dessert.
Smart Swaps and Ingredient Substitutions
Common Substitutions:
- Heavy cream → Half-and-half plus 2 tablespoons butter (whip the butter in first, then add half-and-half gradually)
- Cream cheese → Mascarpone cheese for an even richer, more luxurious texture
- Fresh pineapple → Canned pineapple in juice (drain thoroughly) or frozen pineapple chunks (thaw and drain completely)
- Graham crackers → Digestive biscuits or vanilla wafers for different flavor profiles
Budget-Friendly Swaps:
- Fresh pineapple → Canned pineapple chunks in juice (much more affordable and available year-round)
- Heavy cream → Whipped topping (like Cool Whip) though texture will be lighter and less rich
- Name-brand cream cheese → Store-brand cream cheese (works just as well when brought to room temperature)
Pantry Emergency Substitutions:
- Brown sugar → White sugar plus 1 teaspoon molasses or just white sugar (slightly less complex flavor)
- Vanilla extract → Almond extract (use half the amount) or rum extract for tropical flair
- Butter → Coconut oil (solid, not melted) or margarine for the crust
Pro Tips for Substitutions:
- Always drain canned pineapple thoroughly to prevent watery filling
- When using frozen pineapple, thaw completely and press out excess moisture with paper towels
- Room temperature cream cheese is crucial regardless of brand – cold cream cheese creates lumps that won’t smooth out
Make It Diabetes-Friendly
Sugar Substitutions:
- Replace the ½ cup sugar in the filling with ⅓ cup erythritol or stevia blend (like Truvia)
- Substitute the 2 tablespoons brown sugar in the crust with 1 tablespoon brown sugar substitute
- For caramelized topping, use sugar-free brown sugar substitute instead of regular sugar
- Total carb reduction: Approximately 15-20 grams per slice
Portion & Timing Tips:
- Cut into 10-12 smaller slices instead of 8 to reduce carb load per serving
- Estimated 18-22 grams of carbs per smaller slice (compared to 25-30 in regular portions)
- Pair with protein-rich foods like nuts or cheese to slow sugar absorption
- The high fat content from cream cheese naturally helps moderate blood sugar spikes
Additional Modifications:
- Choose sugar-free canned pineapple or use fresh pineapple in smaller quantities
- Add chopped walnuts or pecans to the filling for extra protein and healthy fats
- Consider using almond flour crust instead of graham crackers for lower carb count
- The no-bake nature means you can easily adjust sweetness to taste before setting

Perfect Pairing Suggestions
Beverage Pairings
Coffee lovers will find this pie pairs beautifully with a medium roast coffee or cold brew – the acidity cuts through the richness perfectly. For wine enthusiasts, try a late-harvest Riesling or Moscato that complements the pineapple’s sweetness, or go bold with a coconut rum cocktail for full tropical vibes. Sparkling water with lime provides a refreshing, palate-cleansing contrast that won’t compete with the pie’s flavors.
Side Dish Recommendations
This rich, creamy pie shines after lighter main courses like grilled fish tacos, coconut curry chicken, or fresh summer salads. The tropical flavors make it a natural follow-up to Hawaiian-style dishes or Asian-inspired meals. For entertaining, serve alongside fresh berries and toasted coconut flakes to create a beautiful dessert spread that plays up the tropical theme.
Complete Meal Ideas
Build a tropical-themed dinner party around this pie by starting with coconut shrimp appetizers, followed by teriyaki salmon with jasmine rice and grilled pineapple. For casual gatherings, this pie is perfect after barbecue dinners, taco nights, or summer potluck spreads. The make-ahead nature means you can focus on other dishes while this beauty chills to perfection.
Occasion Suggestions
This pie is ideal for summer entertaining, luau parties, birthday celebrations, and potluck dinners. Its no-bake convenience makes it perfect for hot weather when you don’t want to heat up the kitchen, while the elegant presentation works beautifully for dinner parties and holiday gatherings.
Pro Tips and Troubleshooting
Professional Techniques
Room temperature cream cheese is absolutely non-negotiable – cold cream cheese creates lumps that never fully smooth out, no matter how long you beat it. Set it out 2-3 hours before you plan to bake, or soften quickly by cutting into cubes. Drain pineapple thoroughly by pressing it in a fine-mesh strainer for 10 minutes – excess moisture will make your filling weepy and prevent proper setting.
Common Mistake Prevention
Don’t overwhip the cream – stop at medium-firm peaks or you’ll end up with butter instead of fluffy whipped cream. Fold gently when combining the pineapple mixture with whipped cream; aggressive mixing deflates all that beautiful volume you just created. Chill completely before serving – this pie needs at least 4 hours to set properly, and overnight is even better.
Storage and Make-Ahead
This pie actually improves with time – make it up to 3 days ahead for the best flavor development. Store covered in the refrigerator and add caramelized pineapple topping just before serving. Freeze for up to 2 months – just thaw in the refrigerator overnight before serving. The texture remains remarkably good after freezing.
Scaling and Presentation
Double the recipe easily for larger crowds by making two pies or using a 9×13 inch pan for bar-style servings. For elegant presentation, pipe extra whipped cream around the edges and garnish with toasted coconut and fresh mint leaves. Clean slices come from dipping your knife in warm water between cuts.