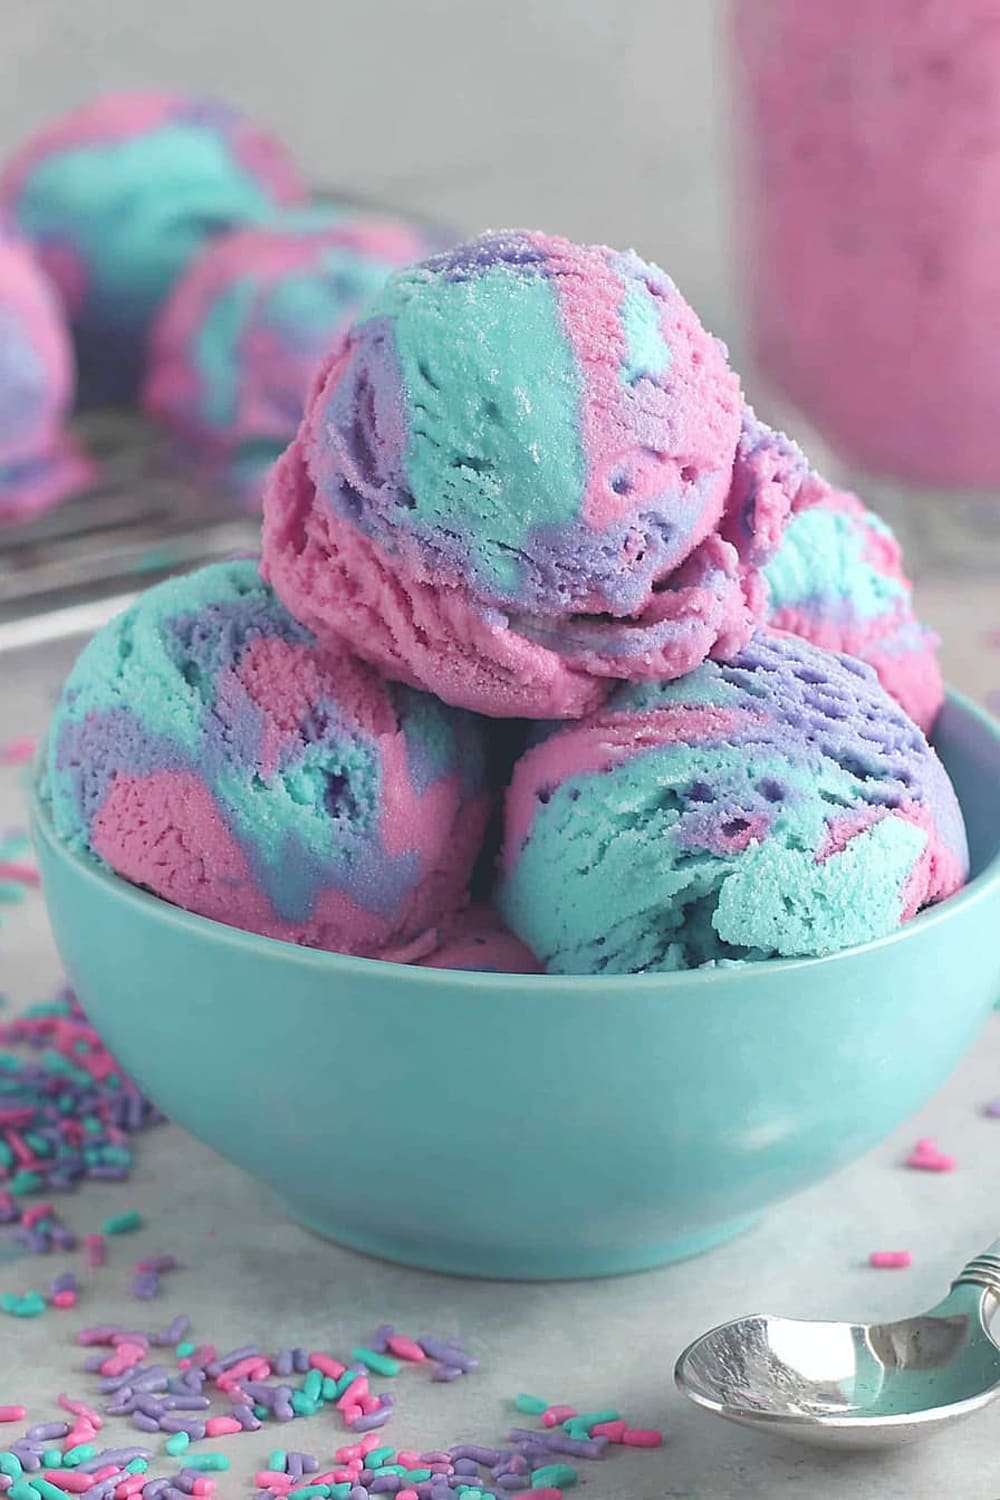
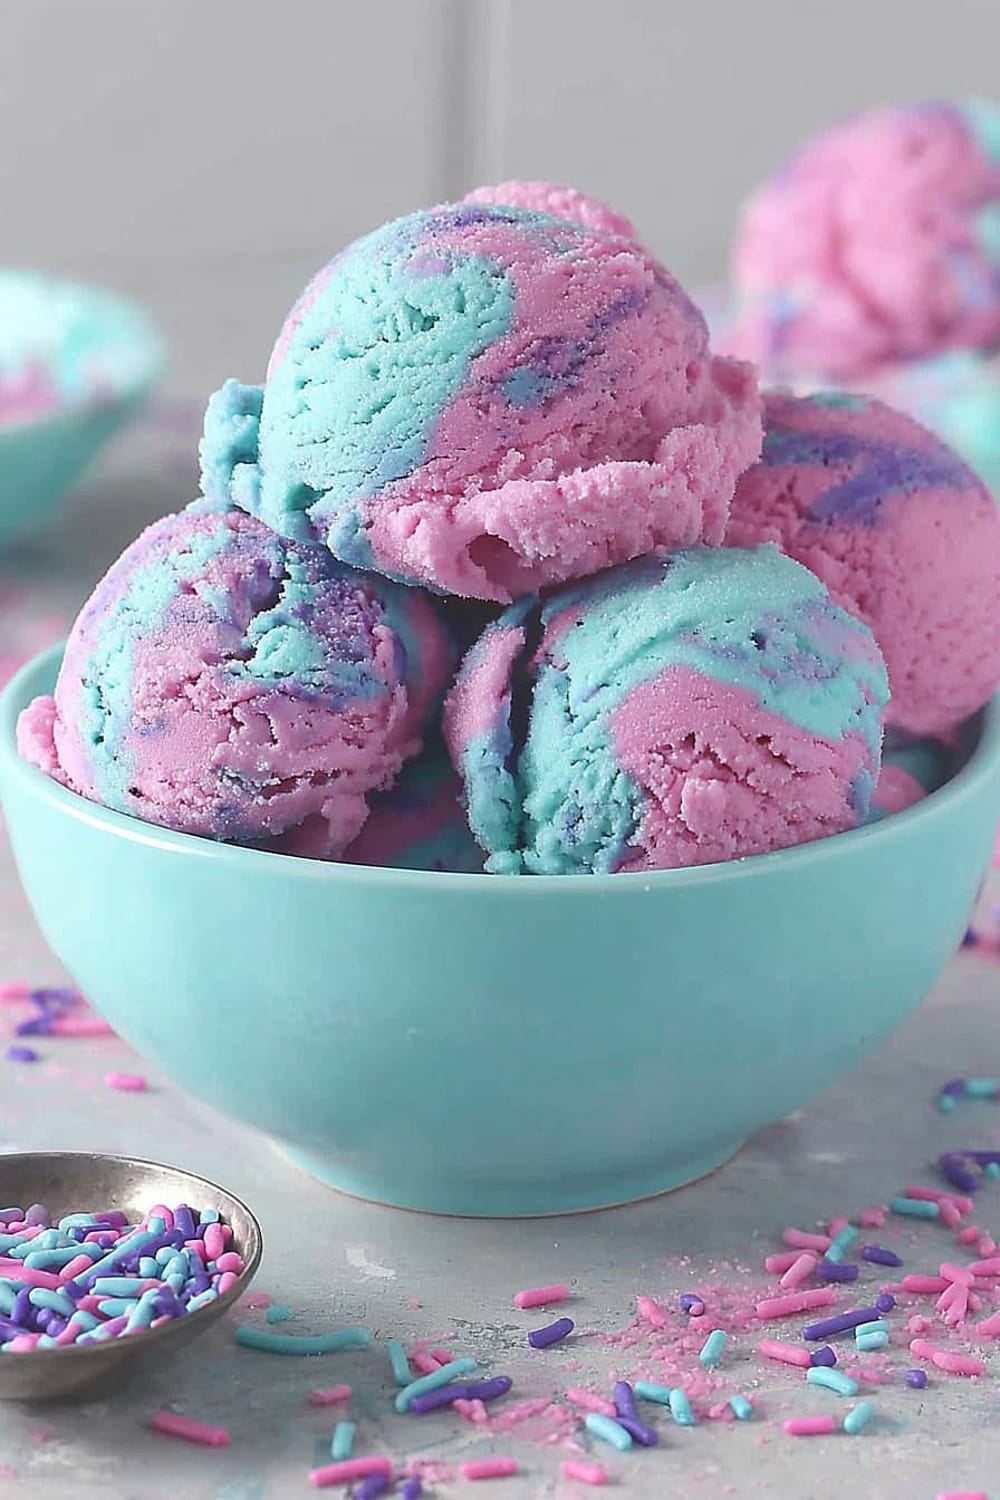
No-Churn Cotton Candy Ice Cream
This no-churn cotton candy ice cream is about to become your new favorite summer obsession, and honestly, it’s almost embarrassingly easy to make.
Just four ingredients stand between you and the most nostalgic, carnival-worthy dessert that’ll have everyone asking for your secret (spoiler: the secret is literally just following directions).
The best part is watching people’s faces light up when they realize you’ve captured that magical cotton candy flavor in creamy, scoopable form without any fancy ice cream maker.
Those dreamy pink and blue swirls aren’t just Instagram-worthy – they taste exactly like stepping into a fairground, but way more sophisticated and infinitely more satisfying.
No tempering eggs, no babysitting a custard base, no churning required – just whip, fold, freeze, and prepare for the compliments to roll in.
This is the kind of dessert that makes you look like a culinary genius while secretly knowing you just mixed four things together and let your freezer do all the heavy lifting.
Ingredients
For the ice cream base
- 2 cups very cold heavy whipping cream
- 1 (14-ounce) can sweetened condensed milk, cold
- 2 teaspoons cotton candy flavoring
For the coloring
- Food coloring in pink and blue (optional but recommended)
Instructions
Preparation
- 1 Place your loaf pan, large mixing bowl, and whisk (or stand mixer bowl) in the freezer for 30 minutes before starting. This pre-chilling step is crucial for achieving the perfect texture – cold equipment helps the cream whip faster and hold its peaks better. Make sure your heavy whipping cream and sweetened condensed milk are thoroughly chilled in the refrigerator.
- 2 Remove the chilled equipment from the freezer. In the large bowl or stand mixer bowl, beat the heavy whipping cream until stiff peaks form, approximately 4 minutes with a stand mixer or 6-8 minutes by hand. You’ll know you’ve reached the right consistency when the peaks hold their shape and don’t collapse when you lift the whisk. Over-whipping will create a grainy texture, so stop as soon as those peaks stand tall.
Mixing the base
- 3 In a separate medium bowl, stir together the sweetened condensed milk and cotton candy flavoring until completely smooth. The mixture should be uniform in color and consistency – no streaks of flavoring should be visible. This ensures even distribution of that signature cotton candy taste throughout every bite.
- 4 Here’s where technique matters most: gradually add the condensed milk mixture to the whipped cream by gently folding it in with a silicone spatula. Use a cutting and folding motion, rotating the bowl as you work. This preserves the air you’ve whipped into the cream, which is what gives no-churn ice cream its creamy texture. Aggressive stirring will deflate the mixture and result in dense, icy ice cream.
Creating the swirls
- 5 Divide the mixture evenly between 2 separate bowls – you’ll have approximately 3 cups in each bowl. Add pink food coloring to one bowl and blue food coloring to the other, using just a few drops at first. Fold the coloring in gently, adding more drops until you achieve your desired shade. Remember, the colors will appear slightly more muted once frozen.
Assembly and freezing
- 6 Remove the pre-chilled loaf pan from the freezer. Drop spoonfuls of the pink and blue ice cream mixture alternately into the container, creating a natural marbled effect. Don’t worry about making it perfect – the random swirls will look beautiful once sliced.
- 7 Optional finishing touch: Sprinkle the top with colorful sprinkles or jimmies for extra carnival flair and textural interest. This adds a delightful crunch that contrasts beautifully with the smooth ice cream.
- 8 Cover tightly with plastic wrap pressed directly onto the surface, then wrap the entire pan in aluminum foil. Freeze for at least 8 hours or overnight. The ice cream is ready when it’s firm enough to scoop but not rock-hard – it should have the consistency of premium store-bought ice cream.
Recommended Equipment and Kitchen Tools
Essential tools for best results
- Stand mixer or hand mixer – A stand mixer makes whipping cream effortless and ensures consistent results, but a quality hand mixer works perfectly well
- Large mixing bowls – Stainless steel bowls chill faster and hold temperature better than plastic
- Silicone spatula – Essential for gentle folding without deflating the whipped cream
- Loaf pan or freezer-safe container – A 9×5-inch loaf pan creates perfect slicing portions
Helpful upgrades
- Kitchen scale – For precise measurements if you’re scaling the recipe up or down
- Instant-read thermometer – To ensure your cream is at the optimal 35-40°F (2-4°C) temperature for whipping
- Bench scraper – Makes transferring the mixture cleaner and more efficient
Nice-to-have options
- Ice cream scoop – A quality scoop with antifreeze handle makes serving easier
- Parchment paper – Line your container for easy removal and clean presentation
- Airtight storage containers – For long-term freezer storage without ice crystals
Recipe Variations and Dietary Modifications
Flavor variations
- Vanilla cotton candy – Replace cotton candy flavoring with vanilla extract and add cotton candy pieces
- Strawberry version – Use strawberry cotton candy flavoring and pink coloring only
- Rainbow swirls – Divide into three bowls and create pink, blue, and yellow layers
- Adult version – Add a tablespoon of vanilla vodka for smoother texture and subtle complexity
Dairy-free modifications
- Replace heavy cream with 2 cups chilled coconut cream (from refrigerated cans)
- Substitute dairy-free condensed milk (coconut or oat-based)
- Whipping time may increase to 6-8 minutes for proper peaks
- Texture will be slightly denser but equally delicious
Sugar-conscious version
- Use sugar-free condensed milk alternative
- Replace food coloring with natural alternatives like beet powder (pink) and spirulina (blue-green)
- Add 1 tablespoon of vanilla extract to enhance sweetness perception
Mix-in options
- Cotton candy pieces – Fold in actual cotton candy for textural surprise
- Crushed cookies – Add vanilla wafers or sugar cookies for crunch
- Mini marshmallows – Enhances the carnival theme and adds chewiness
Nutritional Information and Health Benefits
Key nutritional highlights
This indulgent treat provides approximately 280 calories per serving when divided into 6 portions. Each serving contains roughly 18 grams of fat, 24 grams of carbohydrates, and 5 grams of protein. The high fat content from heavy cream contributes to the luxurious mouthfeel and helps with satiety.
Health benefits of main ingredients
Heavy whipping cream provides fat-soluble vitamins A, D, E, and K, plus calcium for bone health. The high-fat content helps slow sugar absorption, preventing rapid blood sugar spikes. Sweetened condensed milk offers concentrated protein and calcium, though it’s also high in added sugars. The dairy combination provides complete proteins containing all essential amino acids.
Dietary considerations
This recipe contains dairy and is naturally gluten-free. It’s high in saturated fat and added sugars, making it best enjoyed as an occasional treat. The no-cook preparation preserves the nutritional integrity of the dairy ingredients, unlike cooked custard bases that may denature some proteins.
Portion guidance
A 1/2 cup serving provides a satisfying dessert portion while keeping calories reasonable. The rich, creamy texture means a little goes a long way in terms of satisfaction.
Smart Swaps and Ingredient Substitutions
Common substitutions:
- Heavy whipping cream → 1 cup heavy cream + 1 cup whipped topping (slightly less rich but still creamy)
- Sweetened condensed milk → 3/4 cup sugar + 1/2 cup evaporated milk heated until dissolved
- Cotton candy flavoring → 1 teaspoon vanilla extract + 1 teaspoon almond extract for similar sweetness profile
Budget-friendly swaps:
- Premium cotton candy flavoring → Generic vanilla extract with cotton candy pieces folded in
- Heavy whipping cream → 1 1/2 cups heavy cream + 1/2 cup whole milk (slightly less rich but more economical)
Pantry emergency substitutions:
- Food coloring → Beet juice powder (pink) or frozen blueberries pureed and strained (purple-blue)
- Cotton candy flavoring → Vanilla extract + powdered sugar for similar sweetness intensity
Pro tips for substitutions:
- Store opened cotton candy flavoring in a cool, dark place for up to 2 years
- Homemade sweetened condensed milk can be made ahead and refrigerated for 5 days
- Always chill substitute ingredients to the same temperature as originals for consistent results

Make It Diabetes-Friendly
Sugar substitutions:
- Replace sweetened condensed milk with sugar-free condensed milk (available from brands like Wholesome or make homemade with erythritol)
- Total carb reduction: Approximately 15-18 grams per serving versus original recipe
- Use stevia-based food coloring to avoid additional sugar from conventional colorings
Portion and timing tips:
- Reduce serving size to 1/3 cup portions for better blood sugar management
- Estimated carbs per modified serving: 8-10 grams versus 24 grams in original
- Pair with protein-rich nuts or serve after a balanced meal to slow sugar absorption
- Best timing: As an occasional treat rather than daily dessert
Additional modifications:
- Add 1 tablespoon chia seeds per serving for fiber boost and slower sugar absorption
- Consider sugar-free cotton candy flavoring if available in your area
- Monitor blood glucose 2 hours after eating to understand personal response
Total carb reduction: 60-65% compared to original recipe when using sugar-free condensed milk alternative.
Perfect Pairing Suggestions
Beverage pairings
Sparkling water with fresh berries cleanses the palate between bites of this rich dessert. Cold brew coffee provides a sophisticated contrast to the sweet, nostalgic flavors. For special occasions, prosecco or champagne creates an elegant carnival-meets-fine-dining experience. Milk alternatives like oat or almond milk complement the creamy texture without overwhelming the delicate cotton candy notes.
Complementary desserts
Serve alongside vanilla wafer cookies or sugar cookies for textural contrast. Fresh strawberries and blueberries add natural sweetness and beautiful color coordination. Homemade waffle cones elevate the carnival theme while providing satisfying crunch. Whipped cream dollops with rainbow sprinkles enhance the festive presentation.
Complete meal ideas
Perfect finale for backyard barbecues or casual summer dinners. Pairs beautifully after grilled chicken or fish tacos when you want something cooling and sweet. Ideal for children’s birthday parties or family game nights when you want a special treat that feels celebratory.
Seasonal occasions
Summer festivals, Fourth of July celebrations, and county fair-themed parties are natural fits. Kids’ sleepovers and pool parties benefit from this make-ahead dessert that serves a crowd.
Pro Tips and Troubleshooting
Professional techniques
Pre-chill everything – your bowls, whisks, and even the mixing bowl of your stand mixer. This single step dramatically improves whipping time and final texture. Test your peaks by turning the bowl upside down briefly; properly whipped cream won’t move. Fold, don’t stir when combining mixtures to preserve the airiness that creates smooth, creamy texture.
Common mistake prevention
Over-whipping cream creates grainy, butter-like texture – stop immediately when peaks hold their shape. Warm ingredients won’t whip properly and create icy crystals. Aggressive mixing deflates the cream and results in dense, hard ice cream. Insufficient freezing time leads to soft, soupy consistency.
Storage and serving
Store covered for up to 2 weeks in the freezer. Remove 5-10 minutes before scooping for easier serving. Press plastic wrap directly onto surface to prevent ice crystals. Refreeze promptly after serving to maintain quality.
Scaling success
Double the recipe easily – just use two loaf pans or one large container. Individual portions can be frozen in 4-ounce mason jars for perfect single servings. Halving the recipe works perfectly for smaller households.
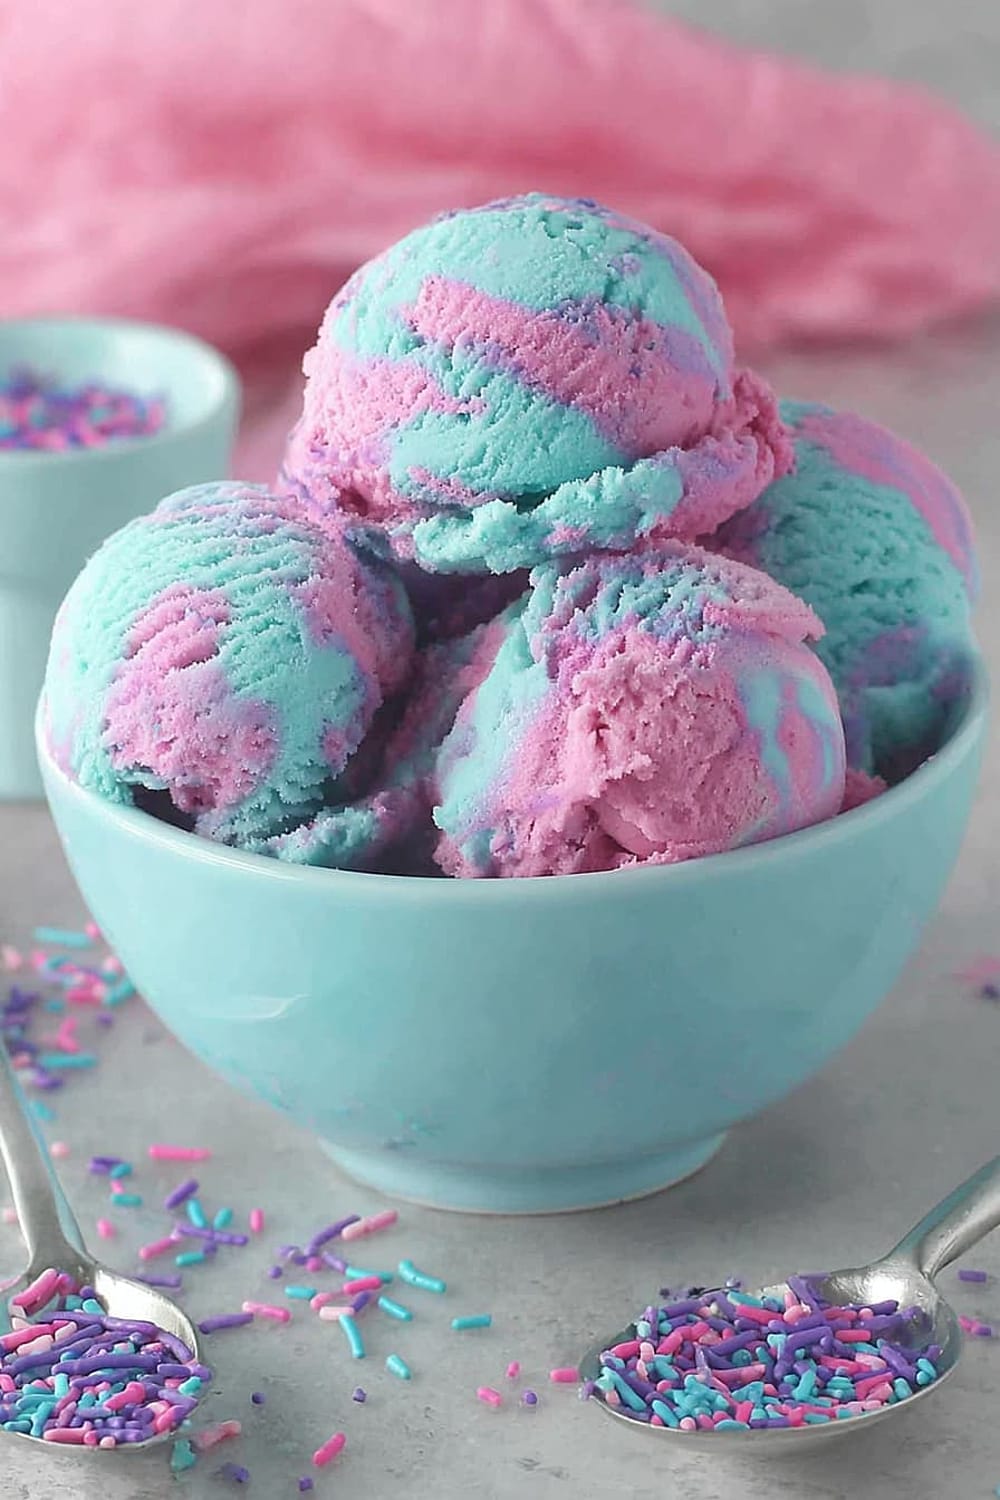
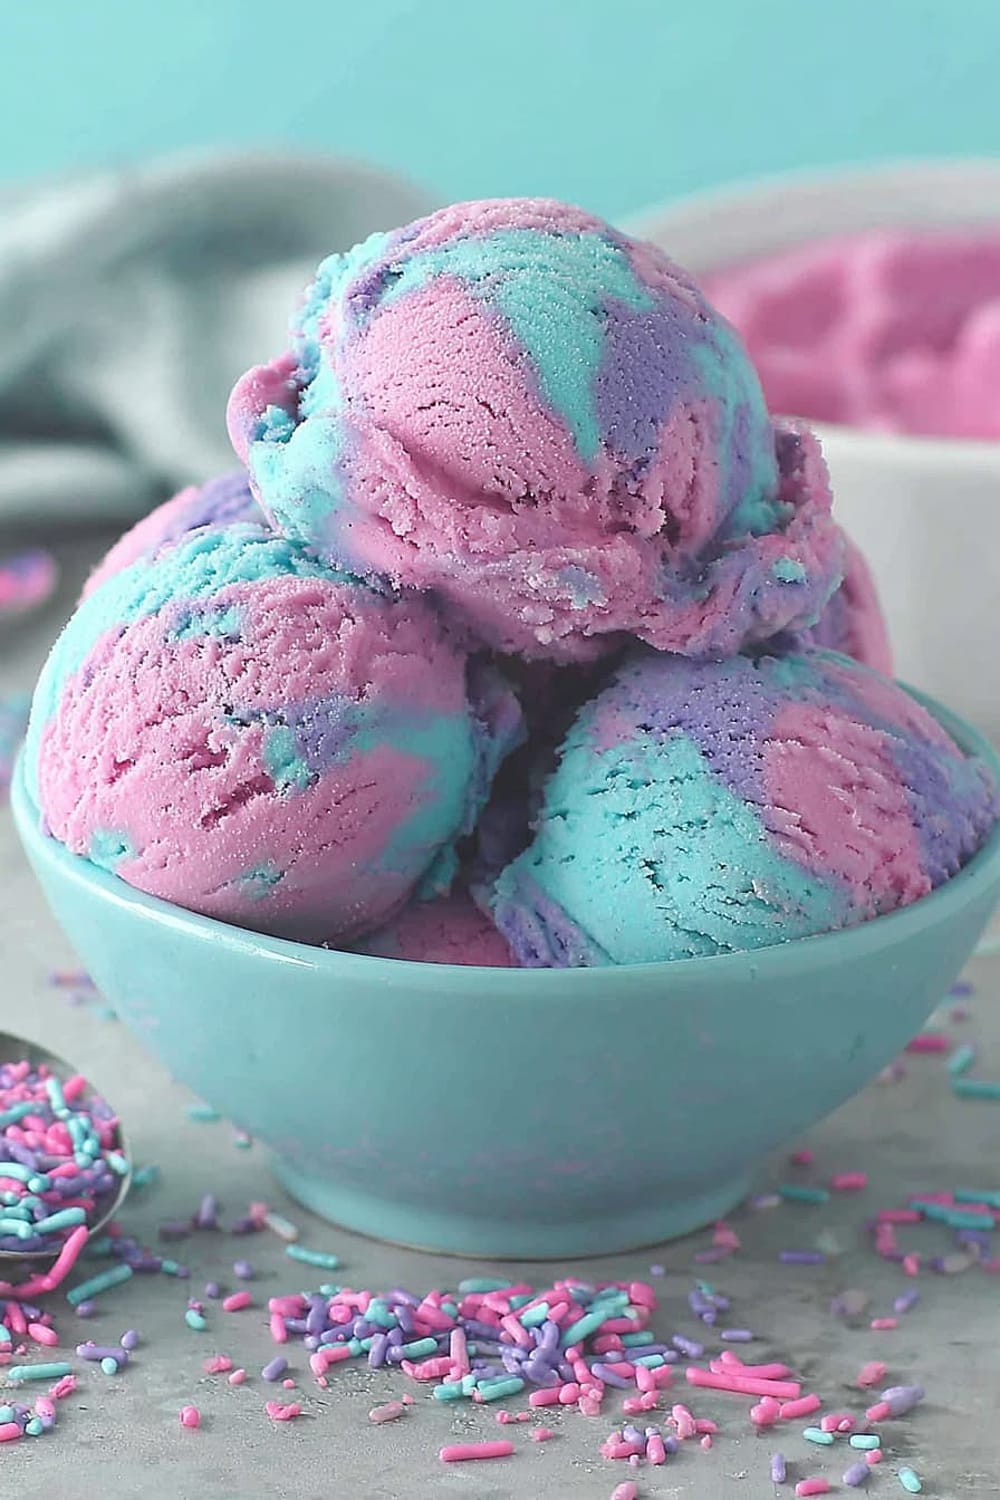
This cotton candy ice cream proves that the most magical desserts often come from the simplest techniques. Every spoonful delivers pure nostalgia with a sophistication that’ll have guests convinced you’ve been secretly attending culinary school. The beauty lies not just in its stunning pink and blue swirls, but in how effortlessly it transforms basic pantry ingredients into something truly extraordinary that captures the essence of childhood wonder in every creamy, dreamy bite.