Old Fashioned Butter Tarts
Get ready for the ultimate Canadian dessert experience!
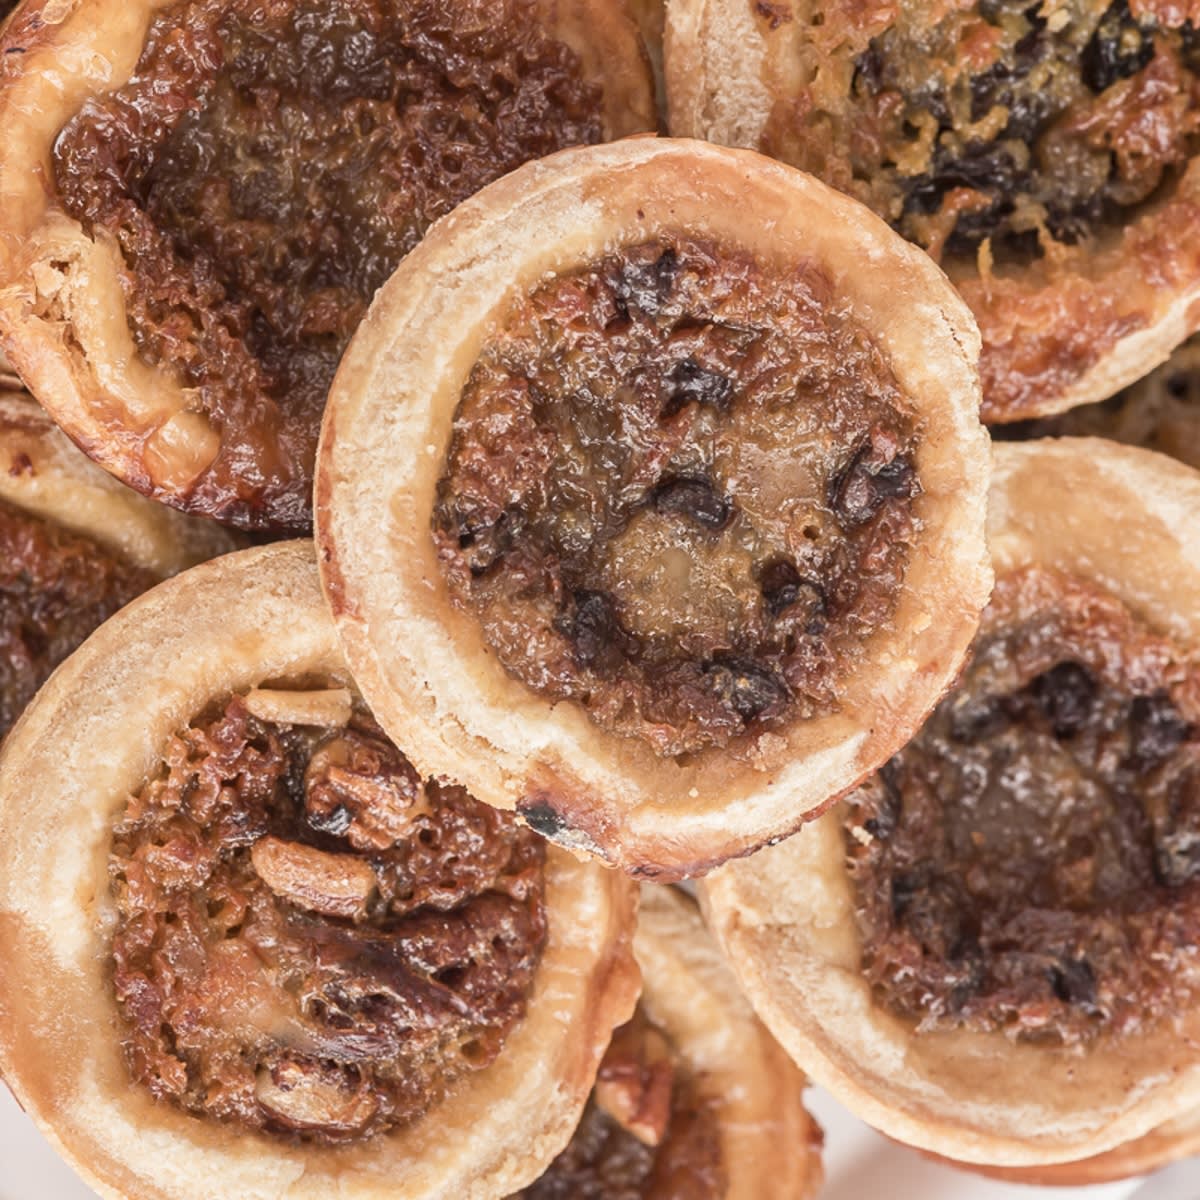
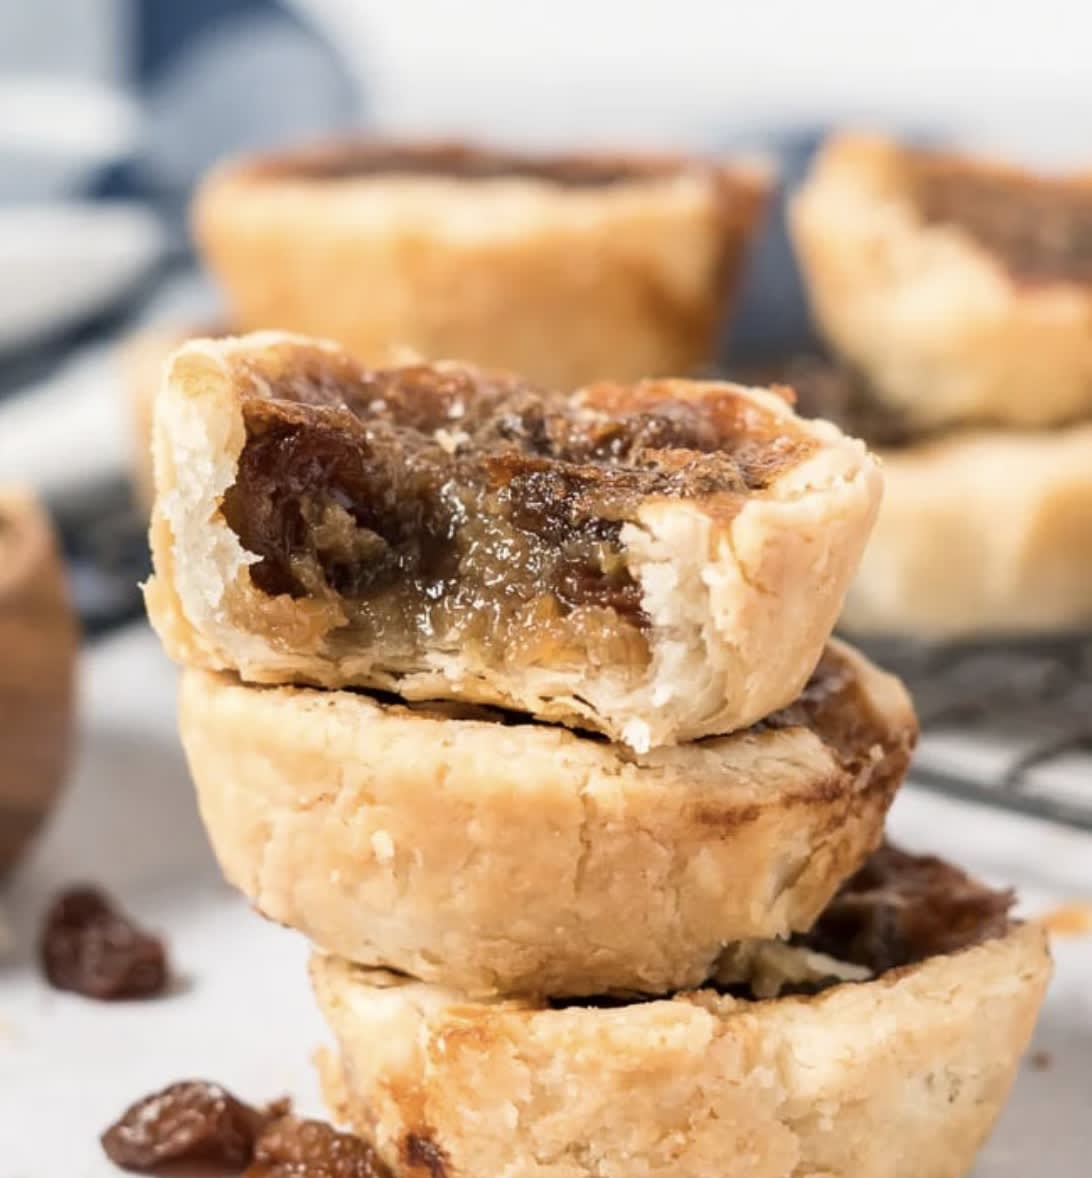
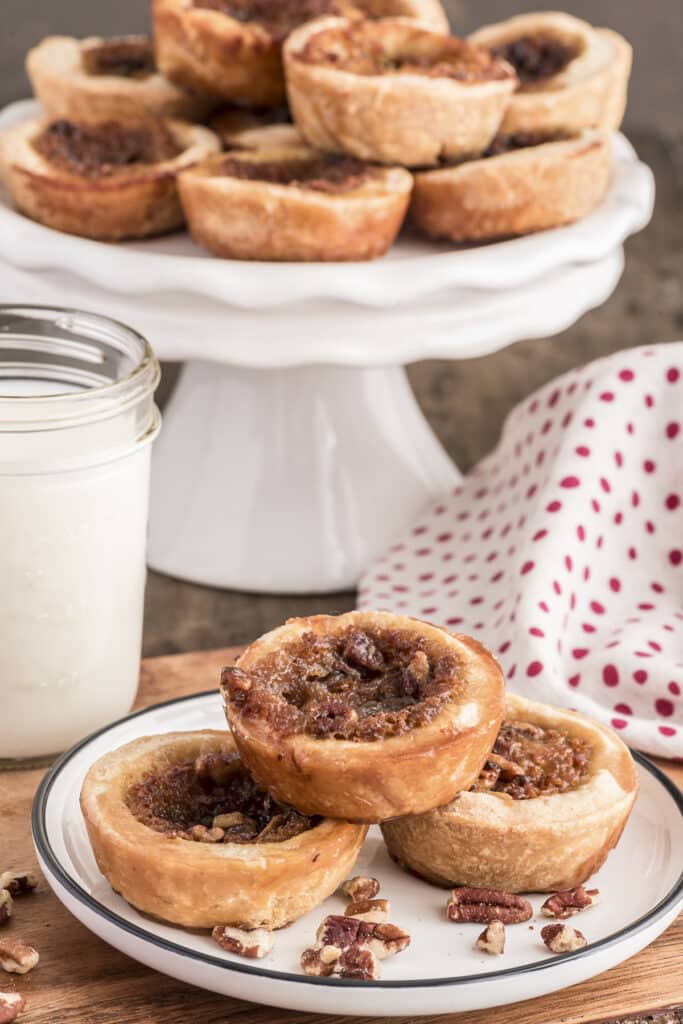
These old fashioned butter tarts are little cups of pure bliss – with their flaky pastry shells cradling that signature gooey, caramelized filling that’s somehow both buttery and sweet at the same time.
One bite and you’ll understand why butter tarts have been a treasured Canadian tradition for generations.
What makes these butter tarts special is their versatility.
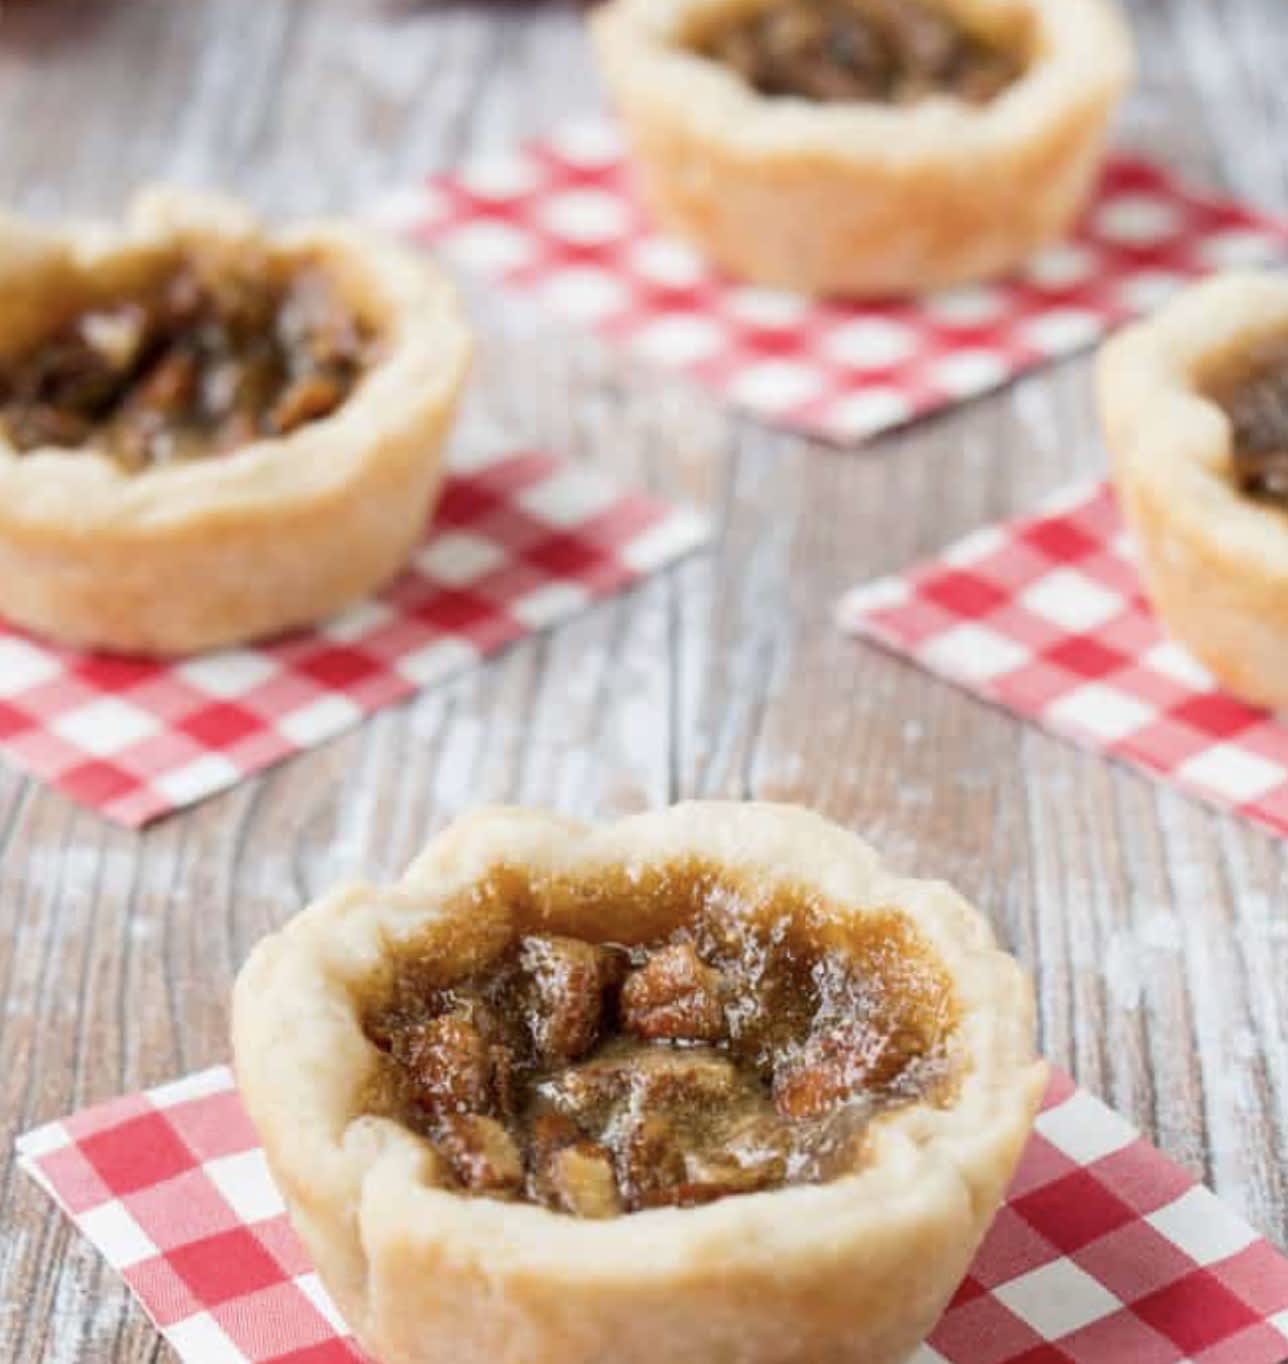
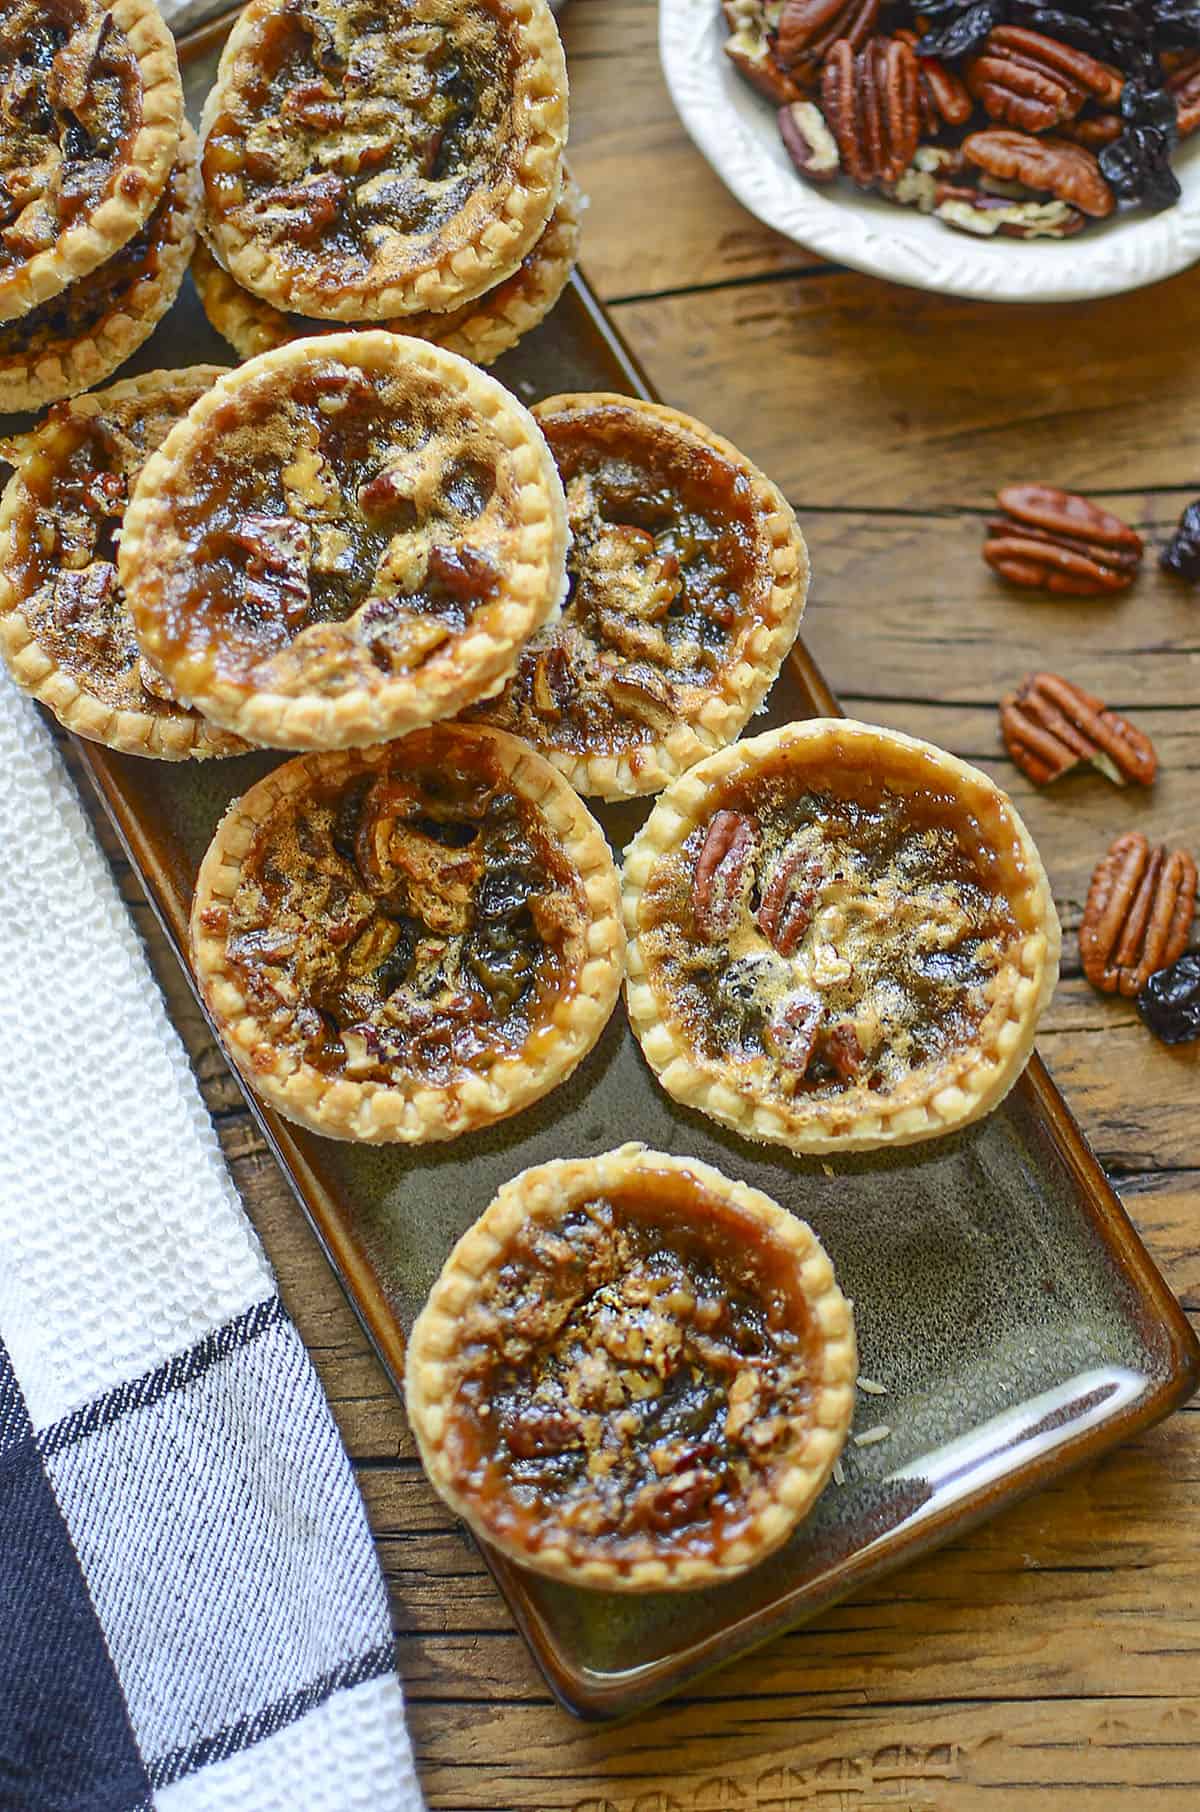
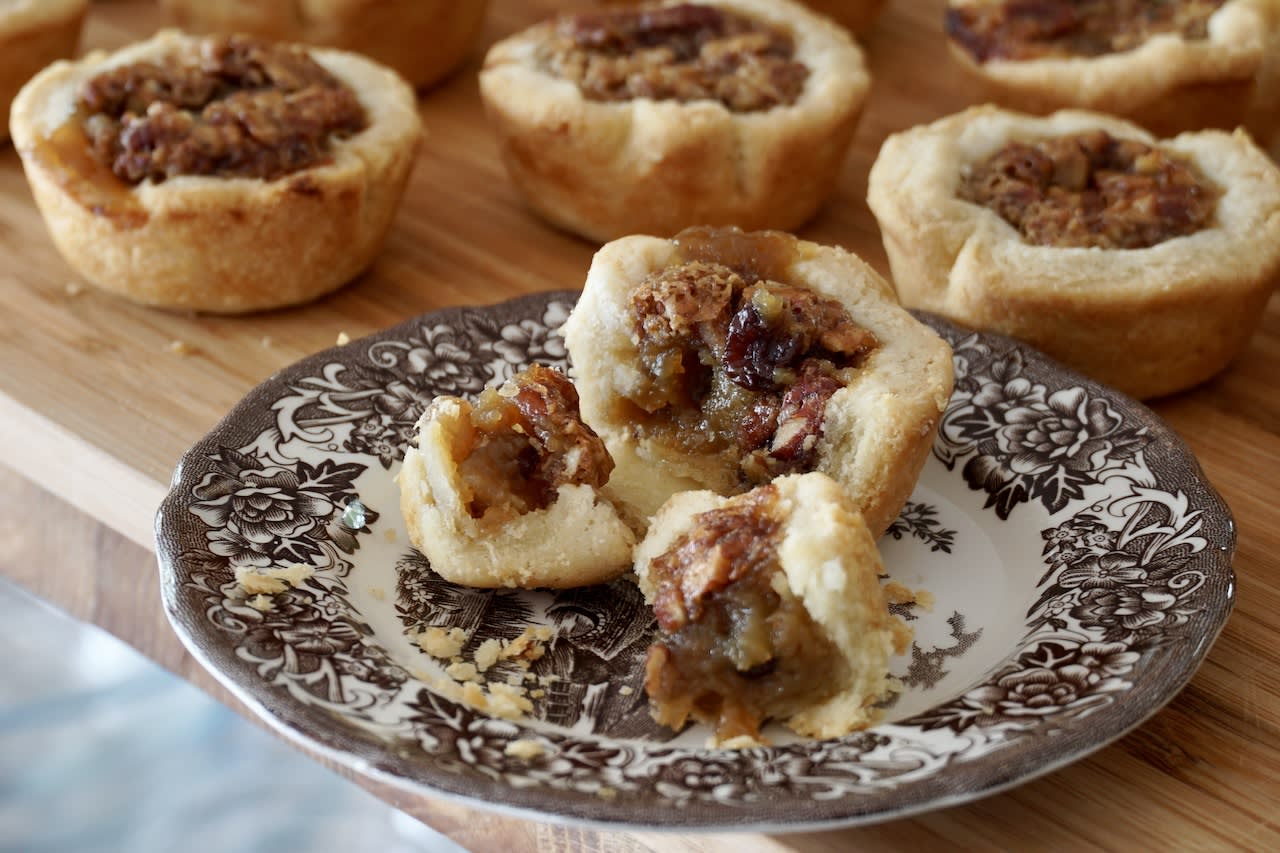
Whether you prefer them with plump, juicy raisins, crunchy pecans, or decadent chocolate chips (or gloriously plain!), the rich, amber filling transforms into something magical during baking.
The edges caramelize into a delicate crispness while the center remains deliciously soft and gooey – creating that perfect textural contrast that butter tart aficionados live for.
Ingredients
PIE PASTRY
- 1 Pie Pastry Recipe or 12 pre-made tart shells
BUTTER TART FILLING
PLAIN FILLING (without add-ins)
- ¼ cup butter, melted and cooled
- ½ cup brown sugar, lightly packed
- ½ cup corn syrup*
- Pinch of salt
- 1 large egg, lightly beaten
- ½ teaspoon vanilla
*You can substitute with Maple syrup but start with a ⅓ cup since it is thinner than corn syrup.
RAISIN FILLING (add-in)
- ¾ cup raisins
- 2-3 cups boiling water
CHOCOLATE CHIP FILLING (add-in)
- ¼ cup mini chocolate chips
PECAN FILLING (add-in)
- ⅓ cup coarsely chopped pecans (or walnuts)
Steps
PIE PASTRY
- Prepare either the Simple Pie Dough or Brown Sugar Pie Dough. For a time-saving alternative, you can use prepared store-bought tart shells. If making homemade pastry, remember to chill it for at least 30 minutes before rolling – this prevents shrinkage during baking.
- Remove the pastry from the fridge and let it sit for 5 minutes to slightly soften. Roll out on a lightly floured surface to ⅛-inch thickness. Too thin and the shells will break; too thick and they’ll be doughy rather than flaky.
- Cut out rounds using a 4-inch round cookie cutter or drinking glass. You should get approximately 12 rounds from a standard pie crust recipe. Gather scraps and re-roll as needed, but avoid overworking the dough which can make it tough.
- Gently form the circles into the muffin tin, pressing lightly at the bottom and allowing the sides to naturally fall into place. For perfectly shaped tarts, use a small lightly floured shot glass to gently form the rounds into the tin without stretching the dough.
- Pre-heat oven to 400°F (200°C). While waiting, grease and flour a 12-size medium muffin tin. The flour helps prevent sticking, which is crucial for clean removal after baking.
BUTTER TART FILLING
- If using raisins, place them in a medium bowl and cover with boiling water. Let sit for 10-15 minutes until plump, then drain thoroughly. Inadequate draining will result in a watery filling, so make sure they’re properly drained.
- For raisin filling: Immediately add the hot raisins to the butter mixture and stir until butter has completely melted. The residual heat from the raisins should melt the butter – if not, warm very gently. Then add the lightly beaten egg, vanilla, brown sugar, salt, and corn syrup. Stir just until combined – overmixing incorporates too much air and can cause the filling to puff up and then collapse.
- For plain filling (or other add-ins): Melt the butter in a microwave or small saucepan, then let cool slightly for 2-3 minutes (hot butter will cook the egg). Add the lightly beaten egg, vanilla, brown sugar, salt, and corn syrup. Stir to combine but do not overmix. At this point, you can either stir in the chopped pecans, chocolate chips, or leave the filling plain.
- Pour the filling into the prepared tart shells, filling each about ¾ full (approximately 2 tablespoons per tart). The filling will bubble up during baking, so avoid overfilling or you’ll have a sticky mess to clean up.
- Bake for 15 minutes at 400°F (200°C), then reduce heat to 350°F (180°C) and continue baking for approximately 10-15 minutes until the edges are golden brown and the filling has puffed up slightly. The center should still have a slight jiggle – this ensures that signature gooey texture. If you bake until completely set, you’ll lose the runny center that defines a classic butter tart.
- Once they are cool enough to touch (about 5 minutes), carefully run a knife around the edges and transfer to a wire rack to cool completely before serving. The filling is extremely hot right out of the oven and needs time to set. Enjoy at room temperature for the perfect texture!
Smart Swaps
- Use coconut palm sugar instead of brown sugar (1:1 ratio) for a slightly lower glycemic option with a deeper caramel flavor
- Replace ½ cup corn syrup with ½ cup pure maple syrup for an even more Canadian flavor (reduce to ⅓ cup initially as it’s thinner)
- Try dried cranberries instead of raisins for a tart contrast to the sweet filling
- Use gluten-free pie crust for those with gluten sensitivities without affecting the filling
Make It Diabetes-Friendly
- Replace brown sugar with ¼ cup allulose plus 1 tablespoon molasses to reduce carbs by approximately 50% per serving
- Substitute corn syrup with ¼ cup allulose syrup mixed with ¼ cup sugar-free maple syrup to lower the glycemic impact
- Make mini tarts using a 24-cup mini muffin tin – this reduces portion size to approximately 8g carbs per mini tart versus 18g for standard size
- Serve with a small portion of plain Greek yogurt (the protein and fat help slow sugar absorption)
Pro Tips
- For the perfect gooey-to-set ratio, look for edges that are golden and slightly bubbling with centers that still have a slight wobble
- Chill the filled tart shells for 15 minutes before baking to help prevent the pastry from shrinking
- For picture-perfect tarts, freeze the shaped pastry shells for 10 minutes before filling
- The filling can be made a day ahead and refrigerated – just bring to room temperature and stir well before using
- These tarts freeze beautifully for up to 3 months – thaw at room temperature for about 1 hour before serving