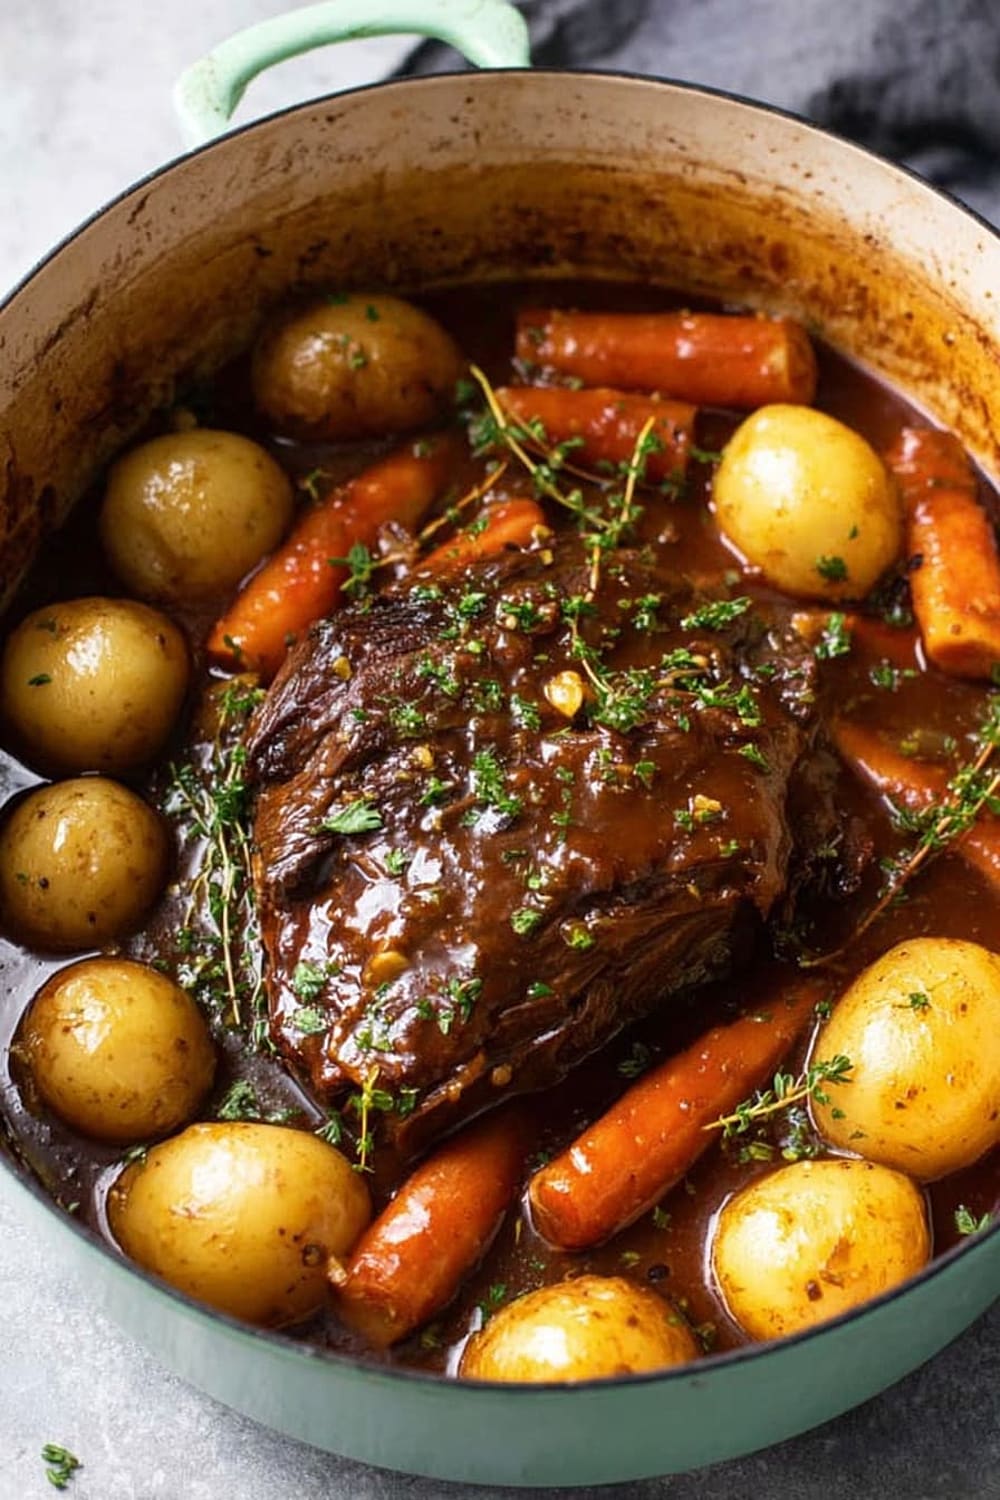
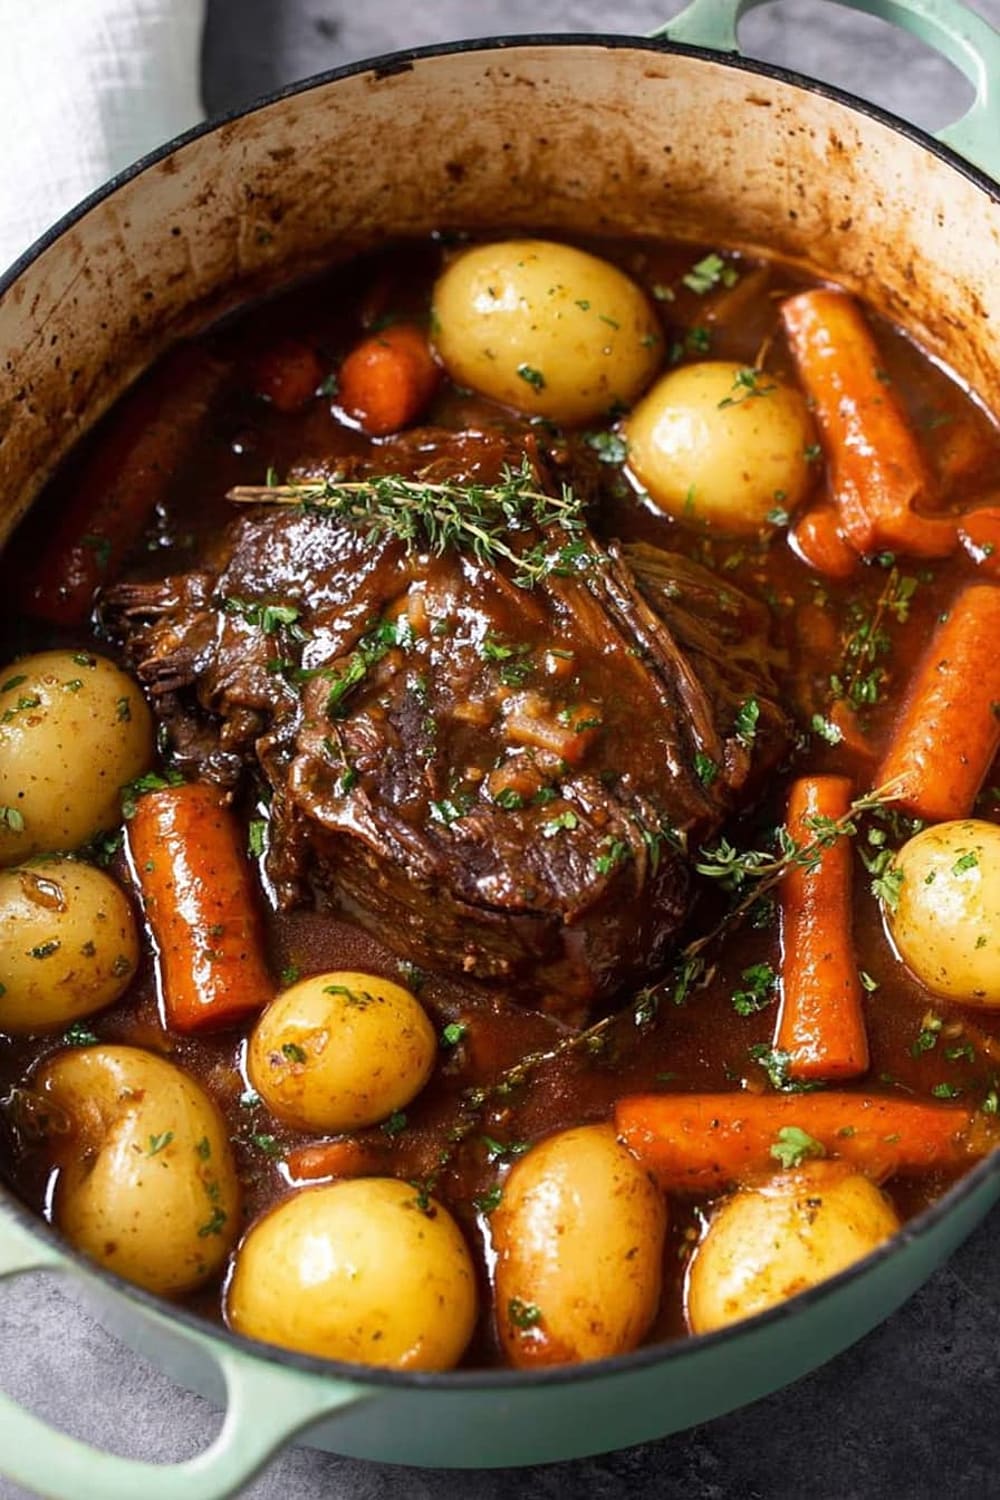
Old Fashioned Classic Pot Roast
This is the kind of pot roast that makes your kitchen smell like a hug and your neighbors suddenly very interested in being friends.
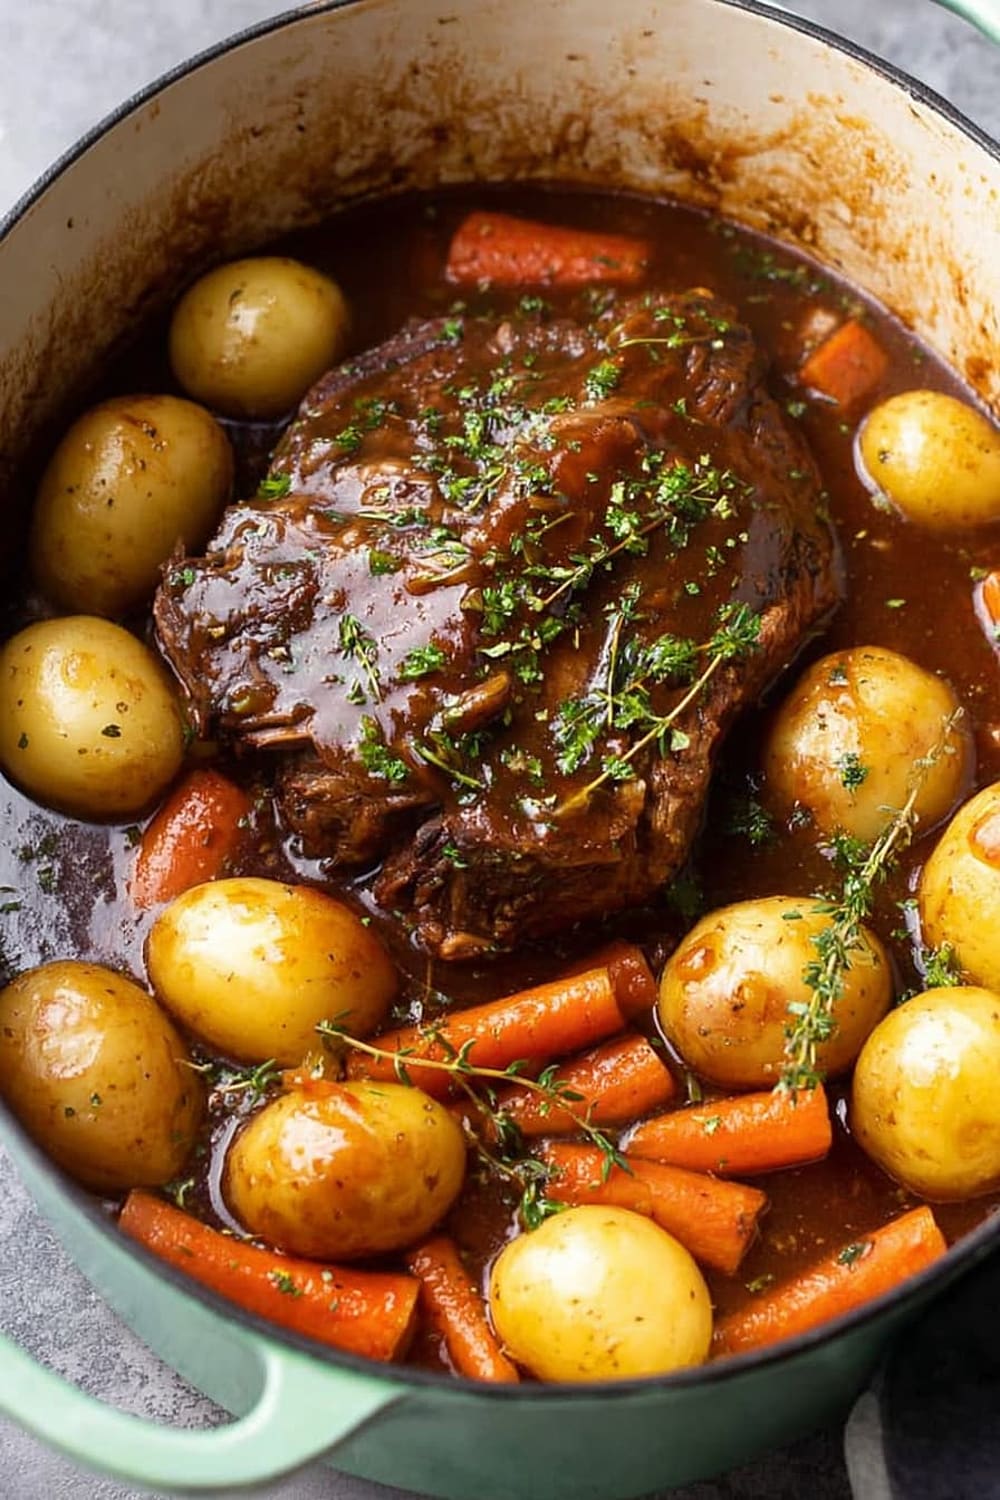
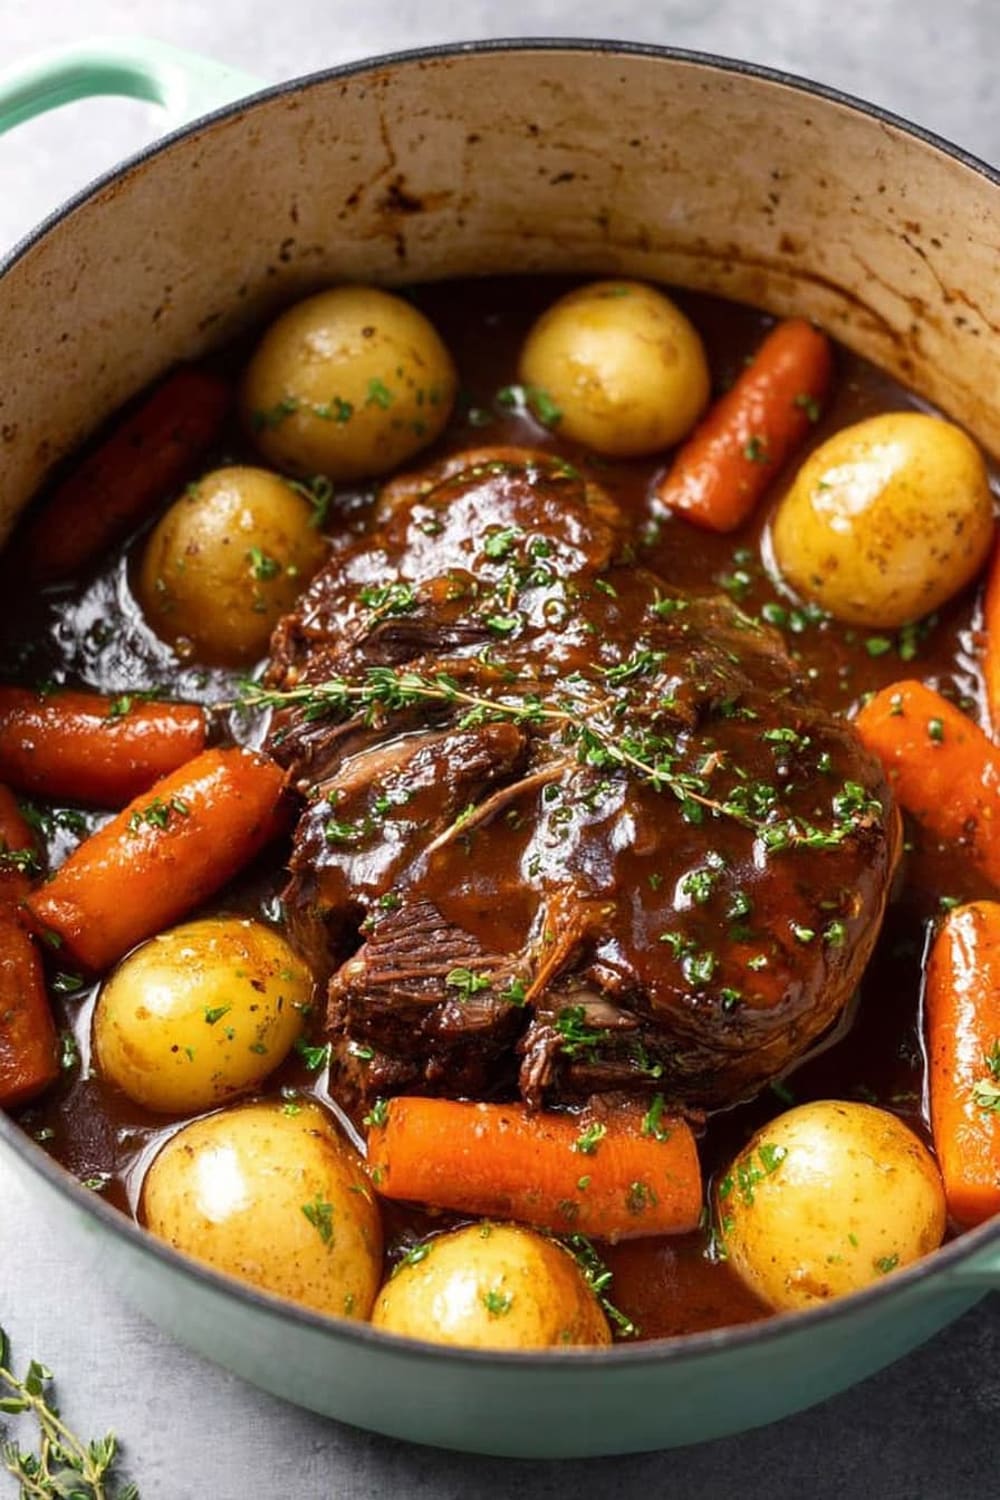
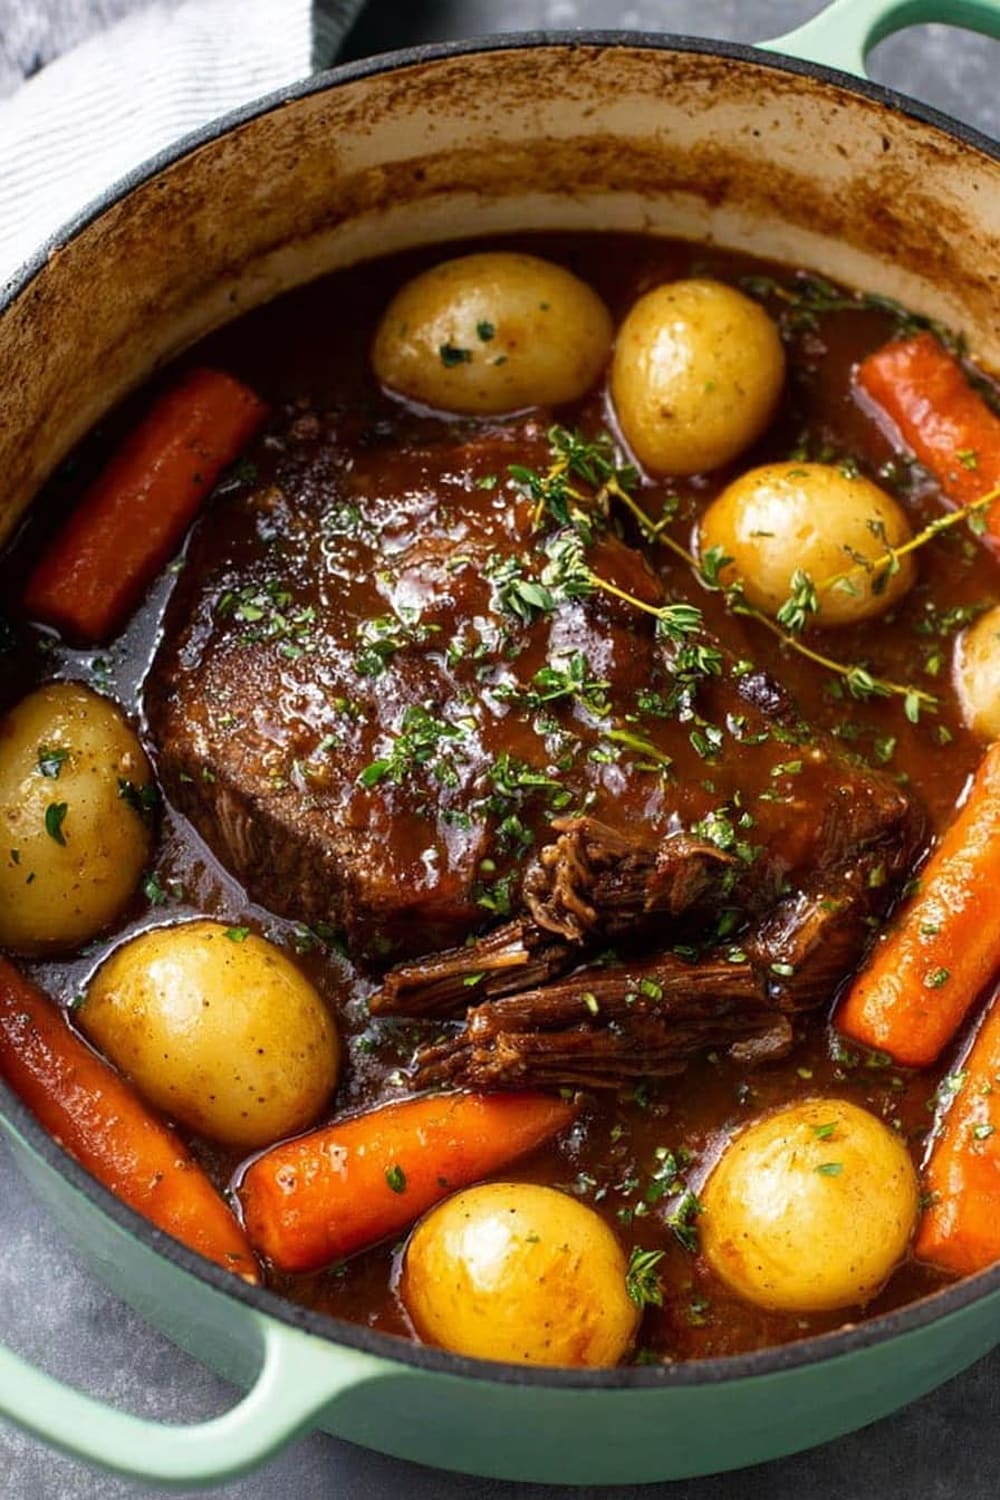
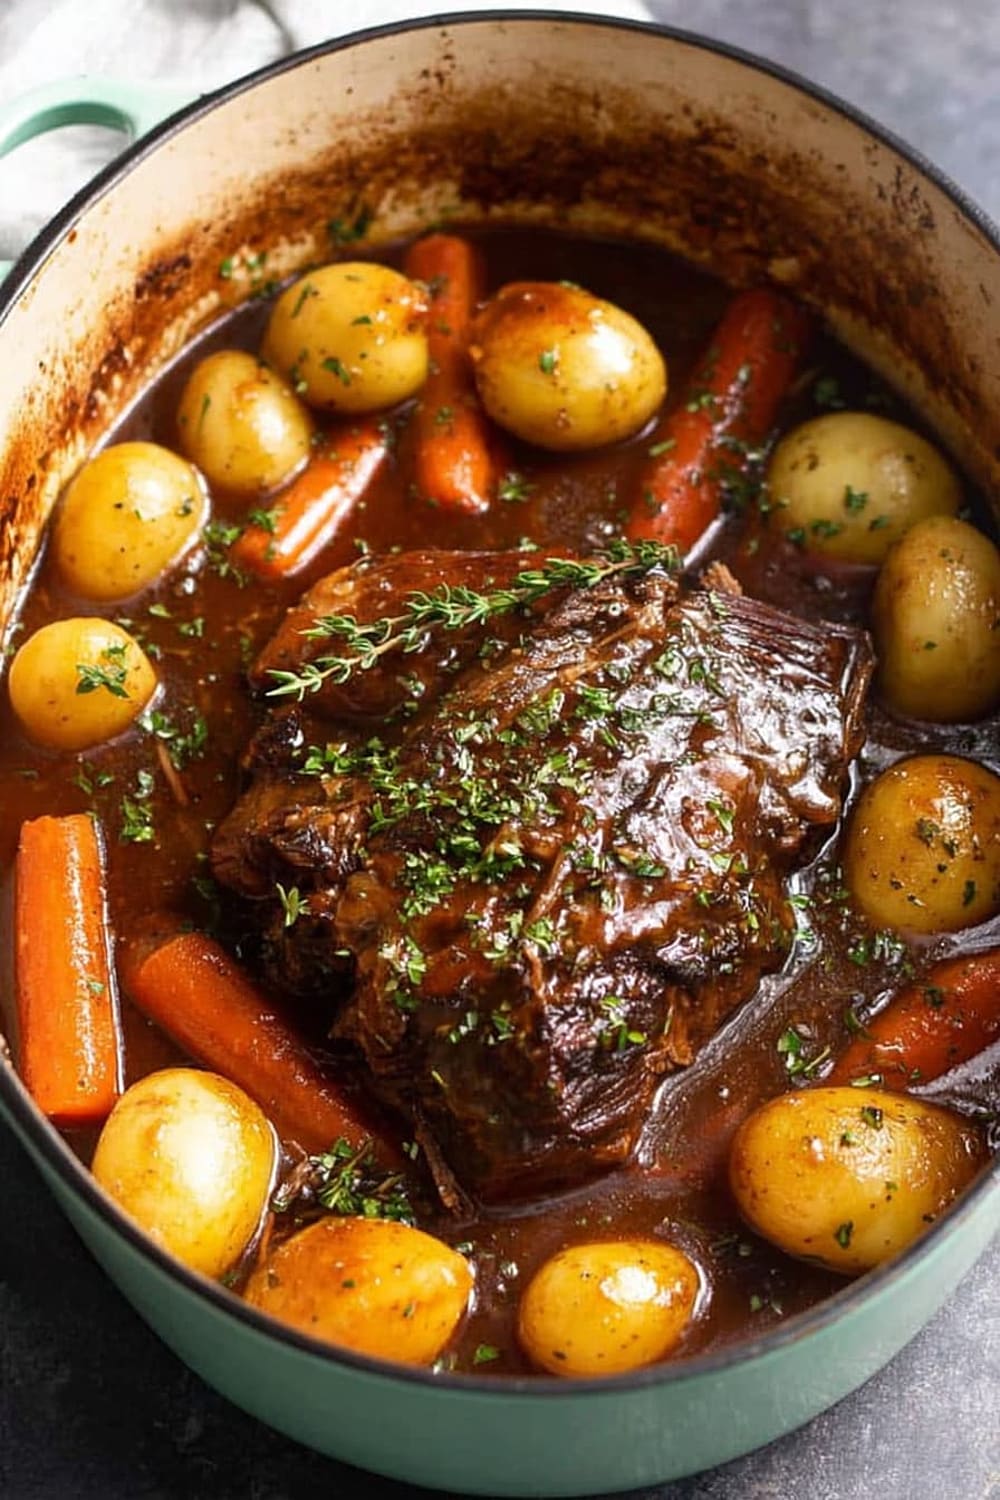
We’re talking about melt-in-your-mouth chuck roast that’s been slow-cooked to perfection with tender carrots, creamy potatoes, and a rich broth that’s basically liquid comfort.
The secret weapon here is that initial browning step – it creates a flavor foundation that transforms ordinary ingredients into something restaurant-worthy, except you’re making it in your pajamas.
This recipe is foolproof enough for beginners but delivers the kind of results that make people think you’ve been hiding serious cooking skills.
Plus, it’s the ultimate meal prep champion – leftovers taste even better the next day, and it freezes beautifully for those nights when cooking feels impossible.
Get ready to become the person everyone asks for this recipe, because once you master this classic technique, you’ll never want to order pot roast anywhere else.
Ingredients
For the roast
- 3 lb chuck roast, shoulder cut
- Table salt and black pepper, to taste
- 2 tbsp olive oil (or avocado oil for higher heat tolerance)
For the aromatics
- 1 large onion, chopped
- 3 cloves garlic, minced or pressed
- 1 tbsp tomato paste (adds deep umami flavor)
For the braising liquid
- 2 tbsp all-purpose flour (or gluten-free flour, cassava flour)
- 1 cup red wine (Cabernet Sauvignon or Merlot work beautifully)
- 32 oz beef broth (low-sodium preferred for better control)
For the vegetables
- 2 lb small yellow potatoes (Yukon Gold are perfect)
- 1 lb carrots, cut into chunks
- 2 bay leaves
- Fresh thyme sprigs
- Fresh parsley or cilantro for garnish
Instructions
Preparation
- 1 Preheat your oven to 350°F (175°C) and ensure your dutch oven or heavy pot is ready for stovetop-to-oven cooking.
- 2 Season the 3 lb chuck roast generously on all sides with table salt and black pepper, pressing the seasonings into the meat to create a flavorful crust.
Browning the meat
- 3 Heat 2 tbsp olive oil in your dutch oven over medium-high heat until the oil shimmers and moves freely around the pan.
- 4 Brown the roast on all sides for approximately 15 minutes total, turning every 3-4 minutes to develop a deep, caramelized crust that locks in moisture and creates incredible flavor depth. Transfer to a plate.
Building the flavor base
- 5 Add the chopped onion and minced garlic to the remaining grease in the pot, sautéing until the onions become translucent, about 2-3 minutes. The onions will continue softening during the long cooking process.
- 6 Stir in the tomato paste, then immediately add the flour, stirring constantly. This happens quickly – the flour will absorb all the oil and moisture, creating a thick paste that will thicken your braising liquid.
Creating the braising liquid
- 7 Pour in the red wine, stirring continuously and allowing it to reduce for 1-2 minutes. The alcohol will cook off while the wine adds rich, complex flavors to the base.
- 8 Add the 32 oz beef broth, fresh thyme sprigs, and bay leaves, stirring to combine all ingredients into a smooth braising liquid.
Final assembly and cooking
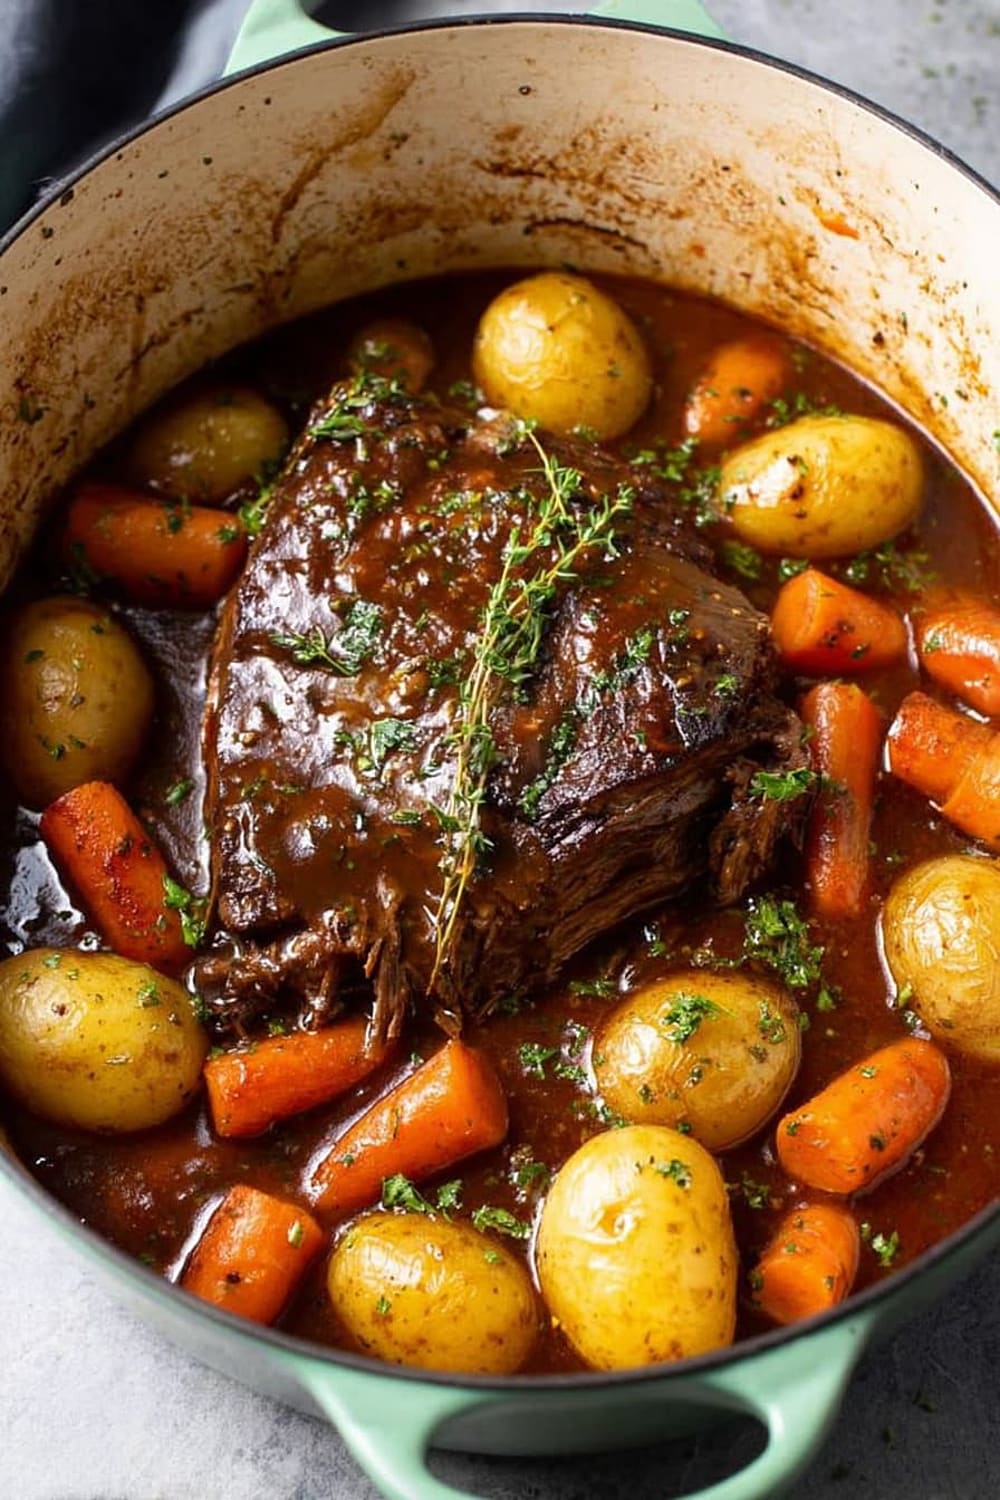
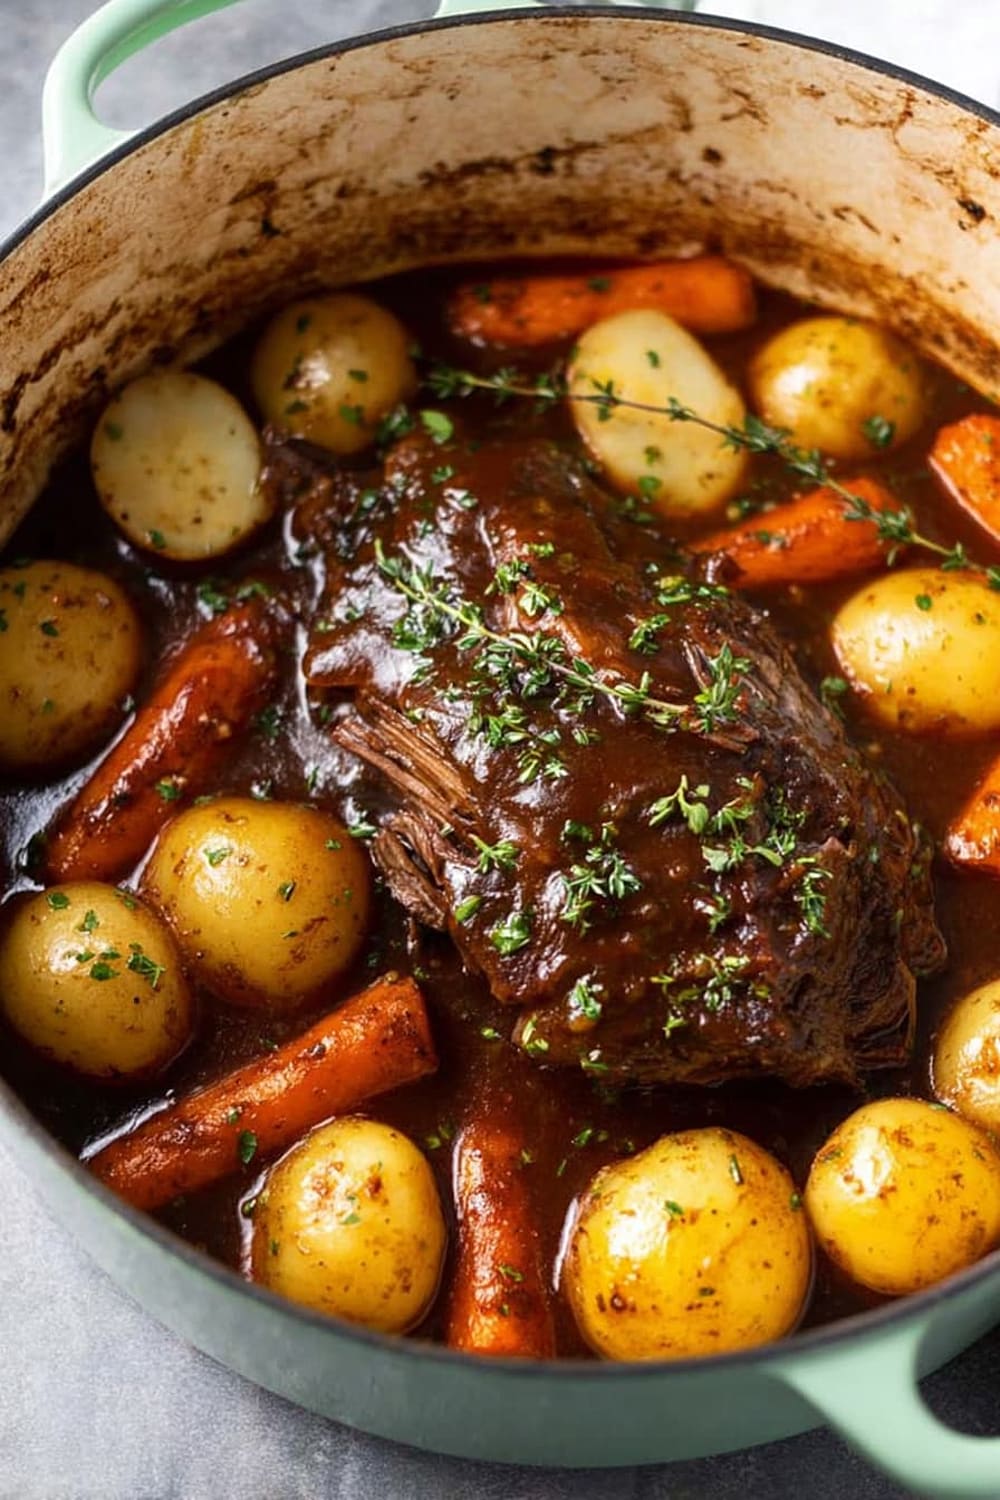
- 9 Return the browned chuck roast to the pot, then arrange the yellow potatoes and carrot chunks around the beef, ensuring they’re partially submerged in the liquid.
- 10 Cover with a tight-fitting lid and cook in the preheated oven for 2½ to 3 hours, until the meat easily shreds with a fork and the vegetables are tender throughout.
Finishing touches
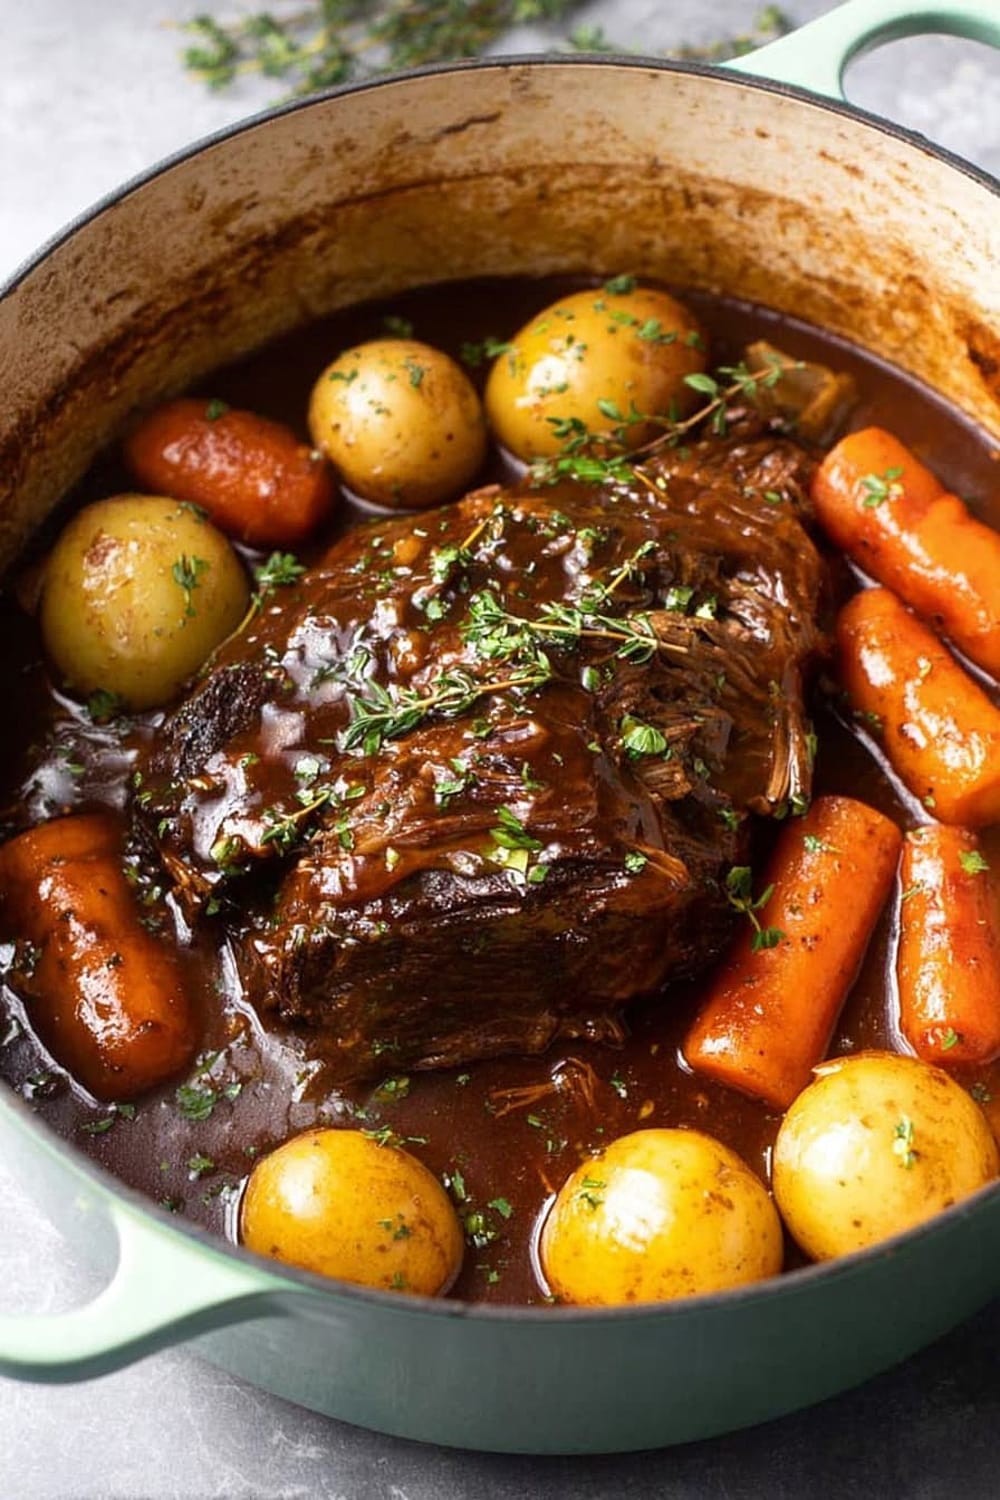
- 11 Remove the bay leaves and garnish with freshly chopped thyme, parsley, or cilantro before serving family-style directly from the dutch oven.
Recommended Equipment and Kitchen Tools
Essential Tools (for best results)
- Dutch oven or heavy pot – A 5-7 quart enameled cast iron dutch oven provides even heat distribution and goes seamlessly from stovetop to oven, making it perfect for this braising technique
- Instant-read thermometer – Ensures your roast reaches the optimal internal temperature of 195-205°F (90-96°C) for maximum tenderness
- Tongs – Heavy-duty tongs make turning and handling the large roast much safer and easier than trying to use forks or spatulas
- Cutting board – A large, sturdy cutting board with a juice groove prevents mess when slicing the finished roast
Helpful Upgrades
- Kitchen scale – Measuring ingredients by weight, especially the flour, ensures consistent results every time you make this recipe
- Silicone spatula – Perfect for scraping up all the flavorful browned bits when building your sauce base
- Cast iron skillet – If your dutch oven isn’t large enough, you can brown the roast in a cast iron skillet before transferring to a roasting pan
Nice-to-Have Options
- Bench scraper – Makes transferring chopped vegetables from cutting board to pot much more efficient
- Storage containers – Glass containers with tight-fitting lids are perfect for storing leftovers, which taste even better the next day
Recipe Variations and Dietary Modifications
Gluten-Free Adaptation
- Replace all-purpose flour with equal amounts of cassava flour or gluten-free flour blend
- The texture remains identical, and cassava flour actually provides excellent thickening power
- Ensure your beef broth is certified gluten-free, as some brands contain wheat-based additives
Low-Carb/Keto Version
- Substitute small yellow potatoes with radishes cut into similar-sized chunks – they absorb flavors beautifully and develop a potato-like texture
- Replace all-purpose flour with almond flour or xanthan gum (use only 1 teaspoon xanthan gum instead of 2 tablespoons flour)
- This reduces carbs from approximately 25g to under 8g per serving
Slow Cooker Adaptation
- Complete steps 1-8 exactly as written, then transfer everything to your slow cooker
- Cook on LOW for 8 hours or HIGH for 4-5 hours
- The meat will be equally tender, though you’ll miss some of the concentrated flavors from oven braising
Instant Pot Version
- Follow browning steps using the Sauté function
- Add all remaining ingredients and cook on High Pressure for 90 minutes with natural release
- Total cooking time reduces to about 2 hours including pressure building and release
Flavor Variations
- Mediterranean style: Add kalamata olives, sun-dried tomatoes, and rosemary instead of thyme
- Herb-crusted: Mix fresh rosemary, sage, and oregano with the initial seasoning
- Root vegetable medley: Include parsnips, turnips, and sweet potatoes alongside traditional vegetables
Nutritional Information and Health Benefits
Key Nutritional Highlights
This classic pot roast provides approximately 450-500 calories per serving, with 35-40g high-quality protein from the grass-fed chuck roast. The slow braising method breaks down tough connective tissues into gelatin, creating a protein-rich broth that supports joint health and provides essential amino acids. Each serving contains roughly 25g carbohydrates from the potatoes and carrots, along with 4-5g fiber from the vegetables.
Health Benefits of Main Ingredients
The chuck roast provides complete protein, iron, zinc, and B-vitamins, particularly B12 which supports nerve function and energy metabolism. Carrots contribute beta-carotene (converted to vitamin A), supporting eye health and immune function, while the slow cooking process actually increases the bioavailability of these carotenoids. Yellow potatoes offer potassium for heart health, vitamin C, and resistant starch that feeds beneficial gut bacteria. The red wine adds antioxidants like resveratrol, though most alcohol cooks off during the braising process.
Dietary Considerations
This recipe is naturally gluten-free when using alternative flours, dairy-free, and fits well into paleo and whole30 eating patterns with minor modifications. The high protein content makes it excellent for muscle building and weight management, while the collagen from slow-cooked connective tissue supports skin and joint health.
Smart Swaps and Ingredient Substitutions
Common Substitutions:
- Chuck roast → Beef brisket or bottom round roast (increase cooking time by 30 minutes for tougher cuts)
- Red wine → Additional beef broth plus 2 tbsp balsamic vinegar for depth without alcohol
- Yellow potatoes → Red potatoes or fingerling potatoes (similar cooking times and textures)
- Fresh thyme → 1 tsp dried thyme or fresh rosemary sprigs for different aromatic profiles
Budget-Friendly Swaps:
- Grass-fed chuck roast → Conventional chuck roast (still delivers excellent results at lower cost)
- Fresh herbs → Dried herb blends (use ⅓ the amount of dried vs fresh)
- Organic vegetables → Conventional produce (focus budget on quality meat instead)
Pantry Emergency Substitutions:
- Tomato paste → 2 tbsp ketchup or 1 diced fresh tomato (reduces slightly in umami depth)
- Fresh garlic → 1 tsp garlic powder (add with other seasonings, not during sautéing)
- Bay leaves → 1 tsp dried oregano or omit entirely without major flavor impact
Pro Tips for Substitutions:
- Store leftover tomato paste in ice cube trays, then transfer to freezer bags for future use
- When using dried herbs, add them earlier in the cooking process to allow flavors to develop fully
Make It Diabetes-Friendly
Carb Modifications:
- Replace 2 lb yellow potatoes with 1 lb radishes and 1 lb cauliflower florets to reduce carbs from 25g to 8g per serving
- Use almond flour instead of all-purpose flour for thickening (same 2 tbsp amount)
- This modification cuts total carbohydrates by approximately 65% while maintaining satisfying texture
Portion & Timing Tips:
- Stick to 4-5 oz meat portions with ½ cup vegetables to control carb intake
- Pair with a side salad dressed with olive oil and vinegar to add fiber and healthy fats
- The high protein content helps stabilize blood sugar when eaten as part of balanced meals
- Estimated carbs per modified serving: 8-10g vs 25g in original recipe
Cooking Method Benefits:
- The slow braising process breaks down proteins without adding sugars or simple carbs
- Natural gelatin from connective tissue provides satiety without blood sugar spikes
- Rich, satisfying flavors reduce cravings for higher-carb comfort foods
Blood Sugar Management:
- The high protein content (35-40g per serving) helps maintain steady glucose levels
- Healthy fats from olive oil slow digestion and prevent glucose spikes
- Consider eating smaller portions with non-starchy vegetables to further optimize blood sugar response
Perfect Pairing Suggestions
Beverage Pairings
This rich, savory pot roast pairs beautifully with full-bodied red wines like Cabernet Sauvignon or Malbec, which complement the deep, braised flavors without being overwhelmed. For beer lovers, try dark stouts or porter beers that echo the hearty, warming qualities. Non-alcoholic options include sparkling water with lemon, unsweetened iced tea, or rich bone broth as a warming accompaniment during colder months.
Side Dish Recommendations
Balance the richness with fresh, crisp salads featuring arugula, mixed greens, and vinaigrette dressing to cut through the savory flavors. Roasted Brussels sprouts or green beans add color and nutritional variety, while crusty sourdough bread or dinner rolls are perfect for soaking up the incredible braising liquid. Creamy mashed cauliflower provides a lower-carb alternative to traditional mashed potatoes.
Complete Meal Ideas
Start with simple appetizers like cheese and charcuterie boards or roasted vegetable crostini that won’t compete with the main event. For family dinners, serve alongside honey-glazed carrots and herb-roasted root vegetables. Holiday entertaining calls for cranberry sauce, dinner rolls, and seasonal salads featuring pomegranate seeds and toasted nuts.
Occasion Suggestions
This pot roast shines during Sunday family dinners, holiday gatherings, and cold weather entertaining. It’s perfect for meal prep Sundays, potluck contributions, and comfort food cravings throughout fall and winter months.
Pro Tips and Troubleshooting
Professional Techniques
Always pat the roast completely dry before seasoning – moisture prevents proper browning and reduces flavor development. Don’t overcrowd the pot during browning; if your dutch oven is small, brown the roast in batches rather than steaming it. Deglaze thoroughly when adding wine, scraping up all the caramelized bits that add incredible depth to your braising liquid. Check liquid levels halfway through cooking – add more beef broth if needed to prevent burning.
Common Mistake Prevention
Never skip the browning step – this creates 80% of your final flavor profile through the Maillard reaction. Avoid lifting the lid frequently during braising, as this releases steam and extends cooking time significantly. Don’t rush the cooking process – tough cuts like chuck roast need the full 2½-3 hours to break down properly. Temperature matters: if your oven runs hot, reduce to 325°F (163°C) to prevent the braising liquid from boiling aggressively.
Storage and Make-Ahead
This pot roast improves overnight in the refrigerator as flavors meld and develop. Store in the original braising liquid to prevent the meat from drying out. Reheat gently in a 300°F (149°C) oven, covered, until heated through. For meal prep, portion into glass containers with liquid and vegetables – it keeps for 4-5 days refrigerated or 3 months frozen.
Troubleshooting Guide
If your roast seems tough after the recommended time, continue cooking – some cuts need an extra 30-60 minutes. Thin braising liquid can be reduced on the stovetop after removing the meat and vegetables. Oversalted liquid can be balanced with a splash of apple cider vinegar or additional unsalted broth.
This old fashioned pot roast represents everything wonderful about comfort cooking – simple techniques that transform humble ingredients into something truly spectacular. The beauty lies in its forgiving nature and the way it fills your home with incredible aromas while you go about your day. Whether you’re feeding a crowd or meal prepping for the week, this recipe delivers consistent, restaurant-quality results that’ll have everyone asking for seconds and the recipe itself.