One Hour, No Knead, Easy Church Rolls
This recipe is basically a miracle in disguise—fluffy, golden dinner rolls that taste like you spent all day in the kitchen, but actually take just over an hour from start to finish.
No kneading required means no sore arms, no flour explosions, and definitely no intimidating bread-making techniques that make you question your life choices.
These rolls come out so perfectly soft and buttery that people will absolutely assume you’re hiding some secret family recipe passed down through generations.
The magic happens with buttermilk and a touch of baking soda, creating that signature church roll tang and impossibly tender crumb that makes everyone reach for seconds.
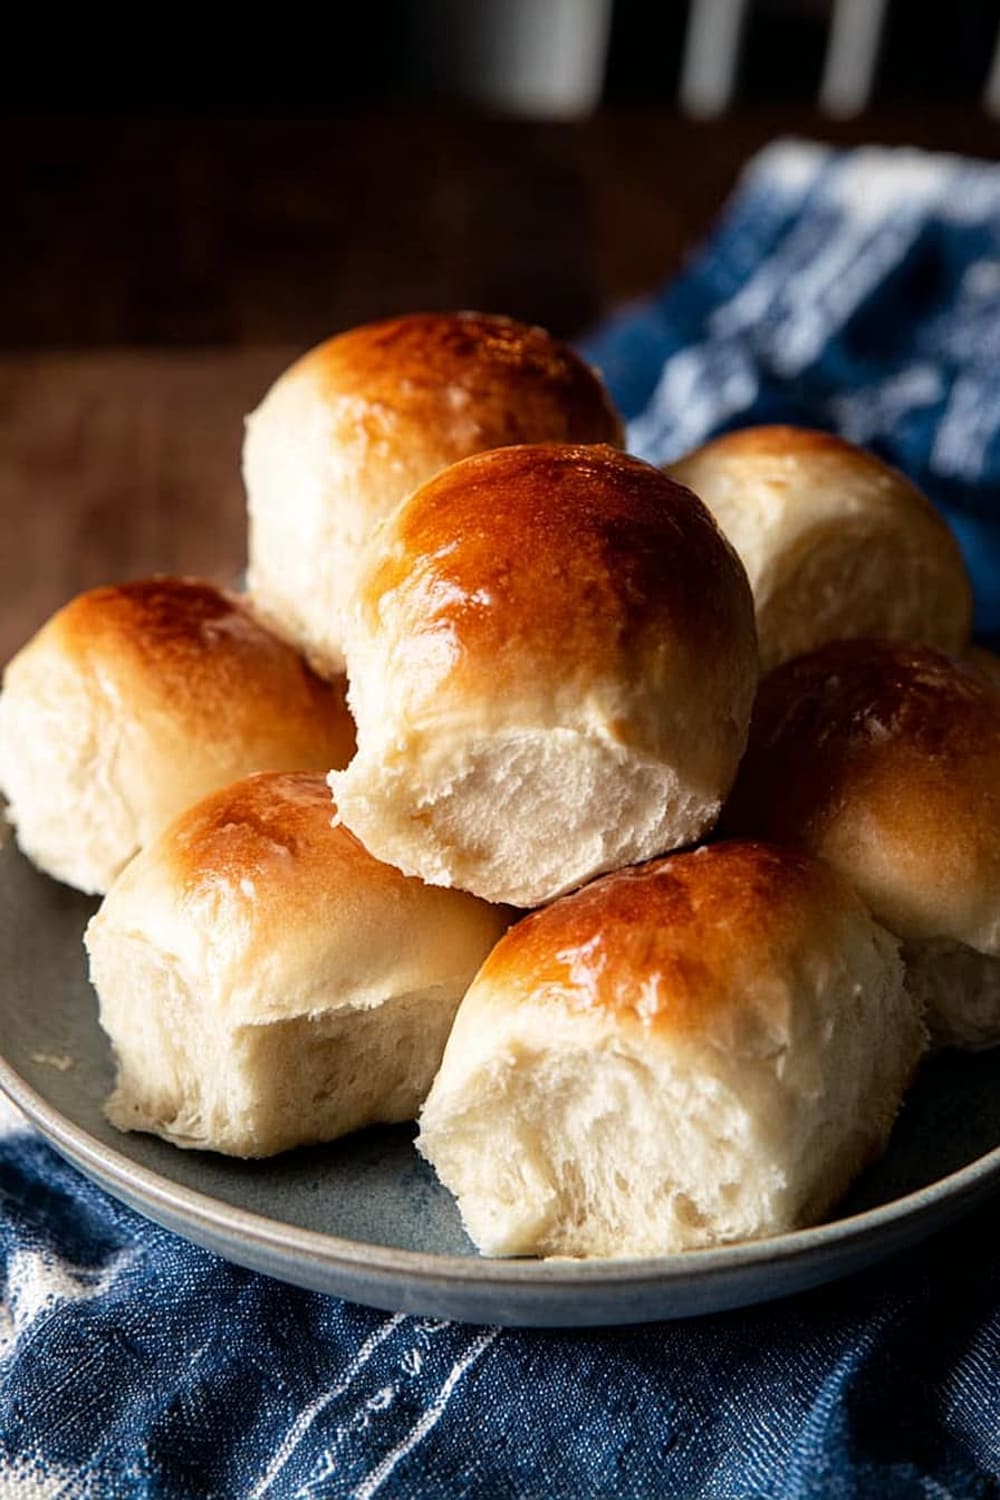
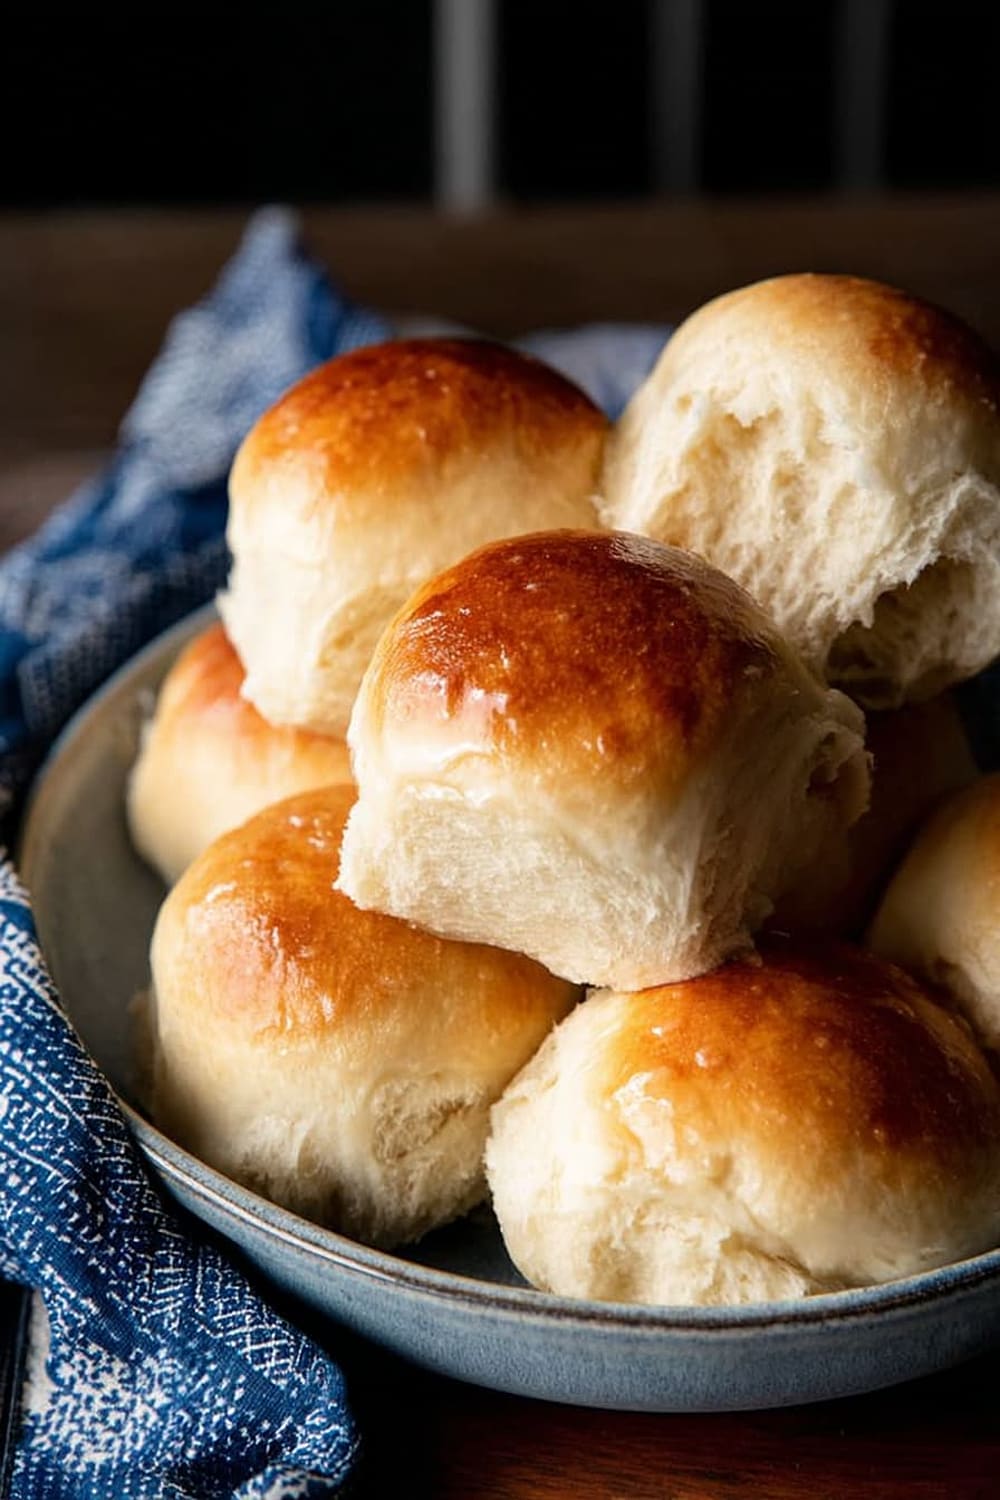
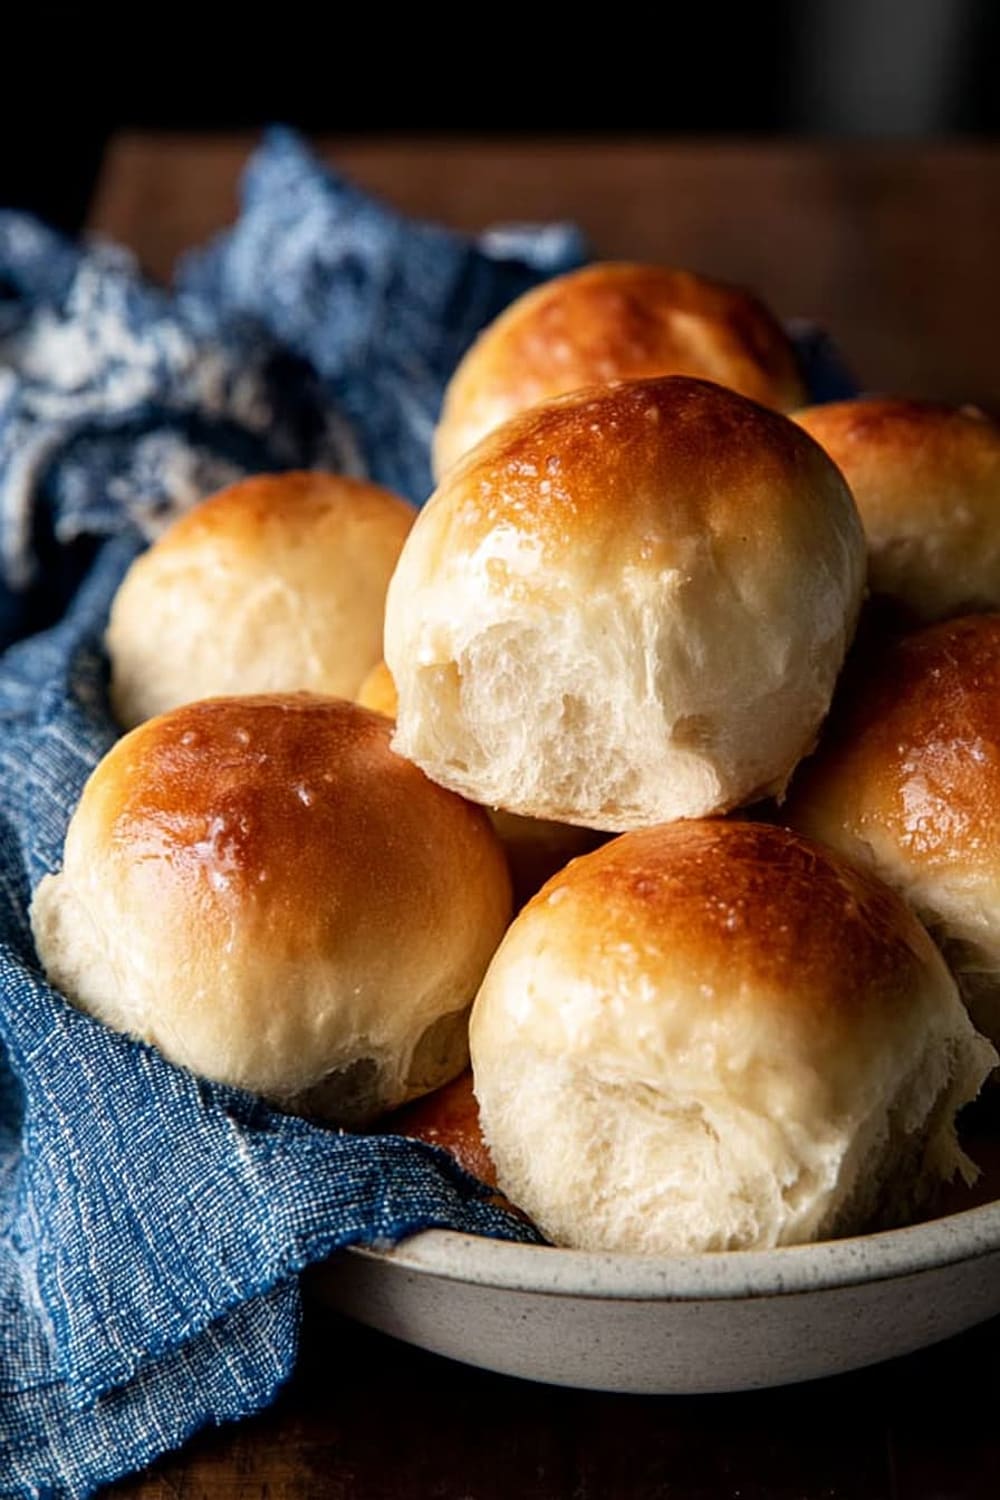
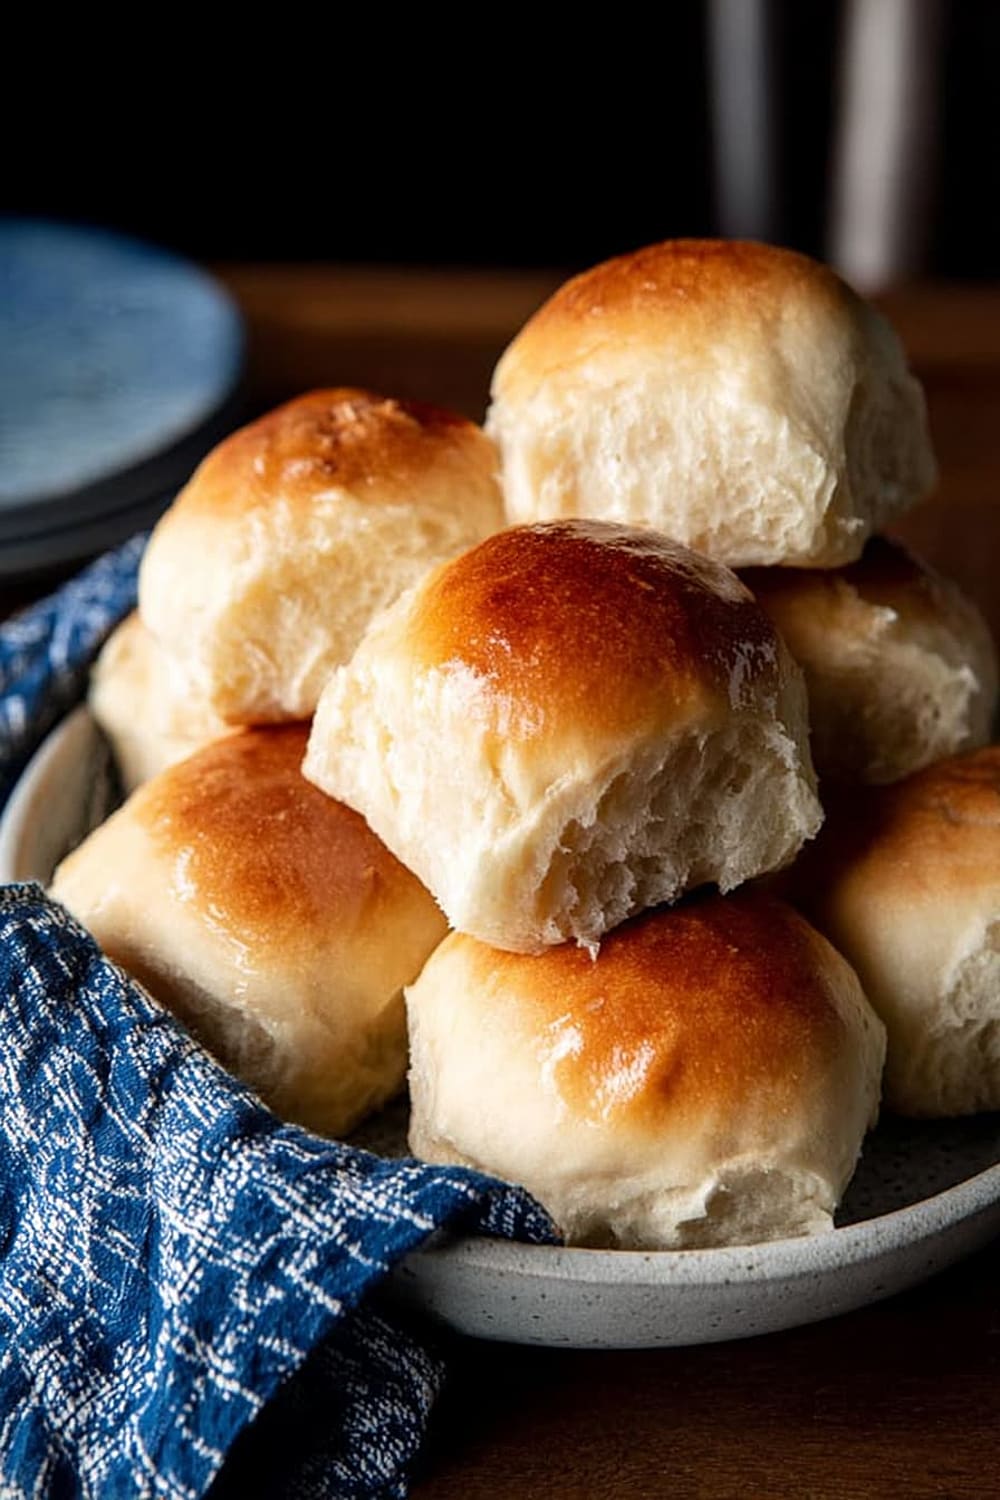
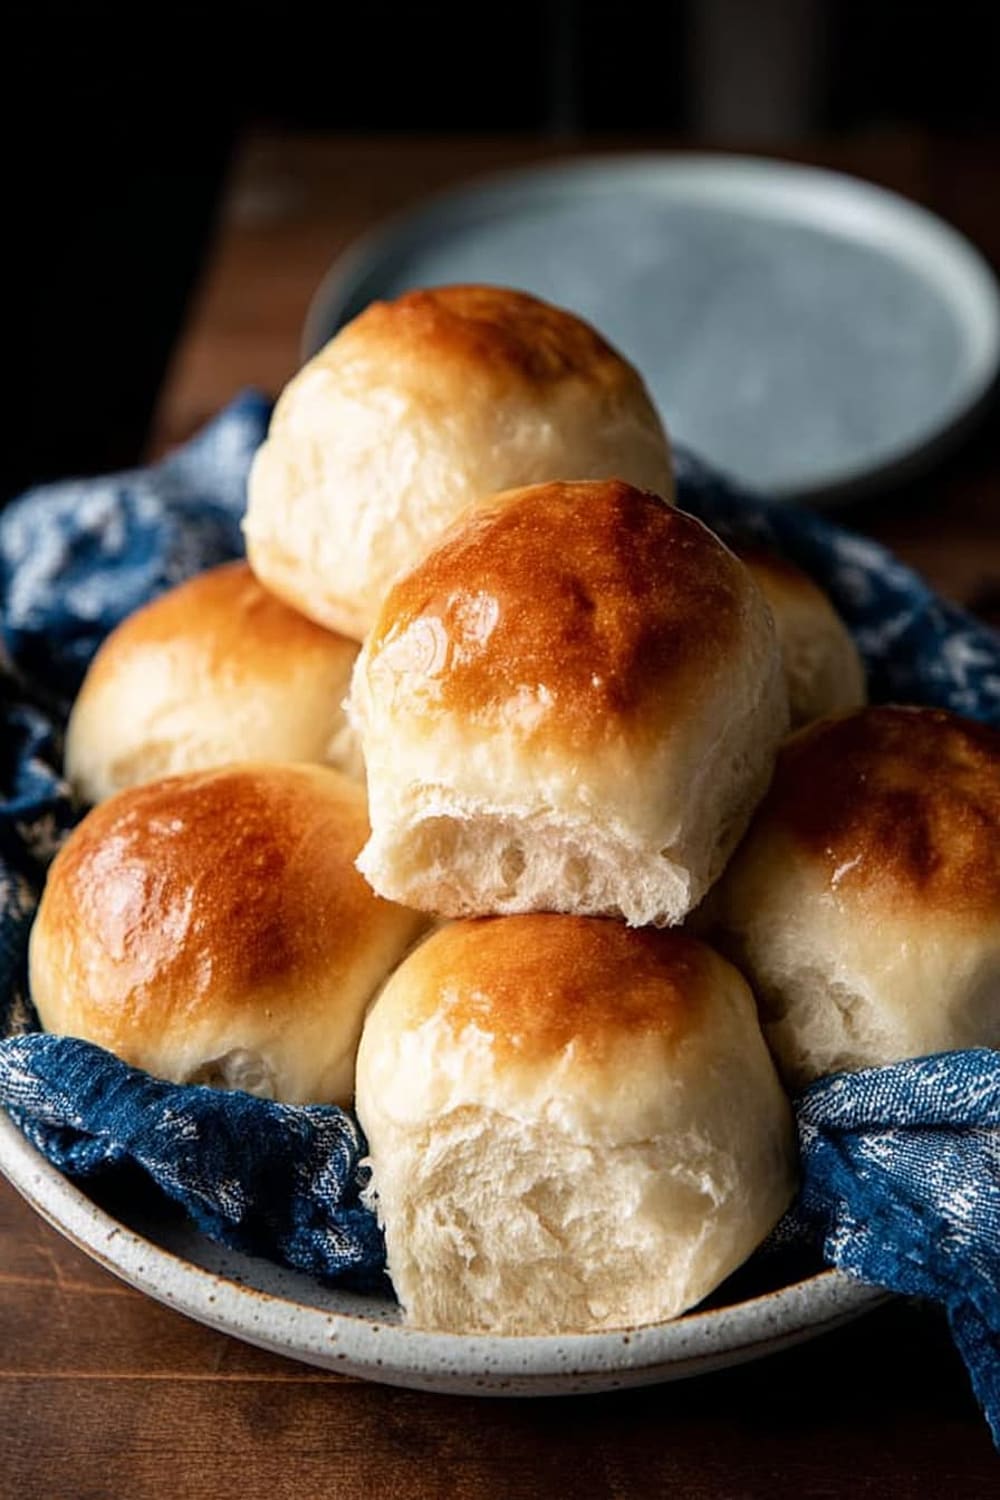
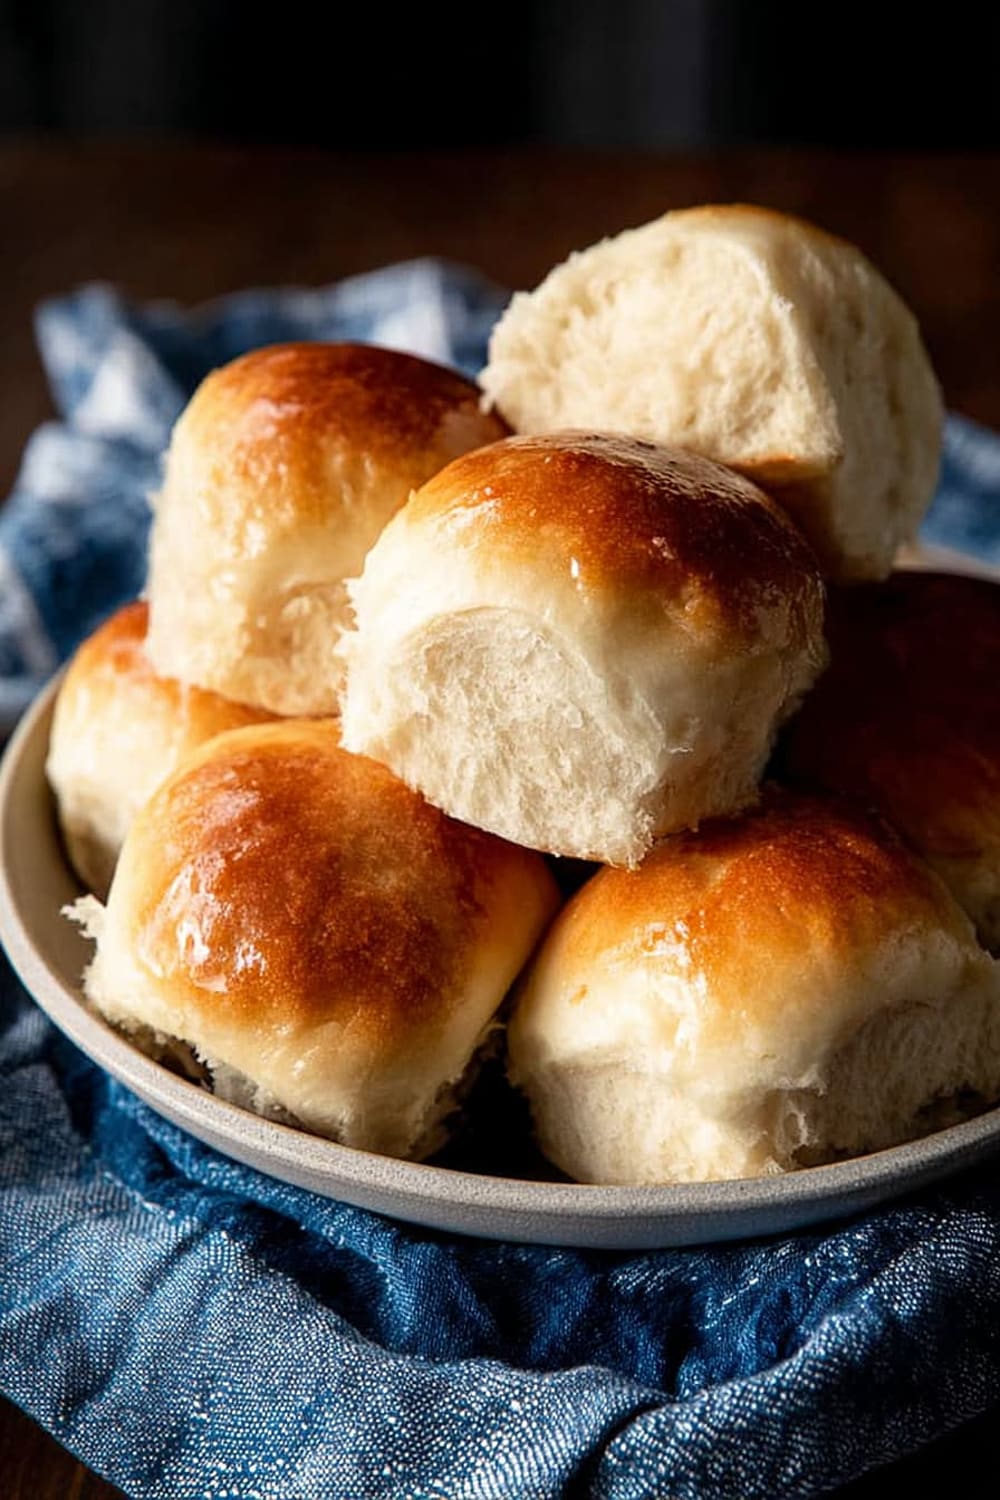
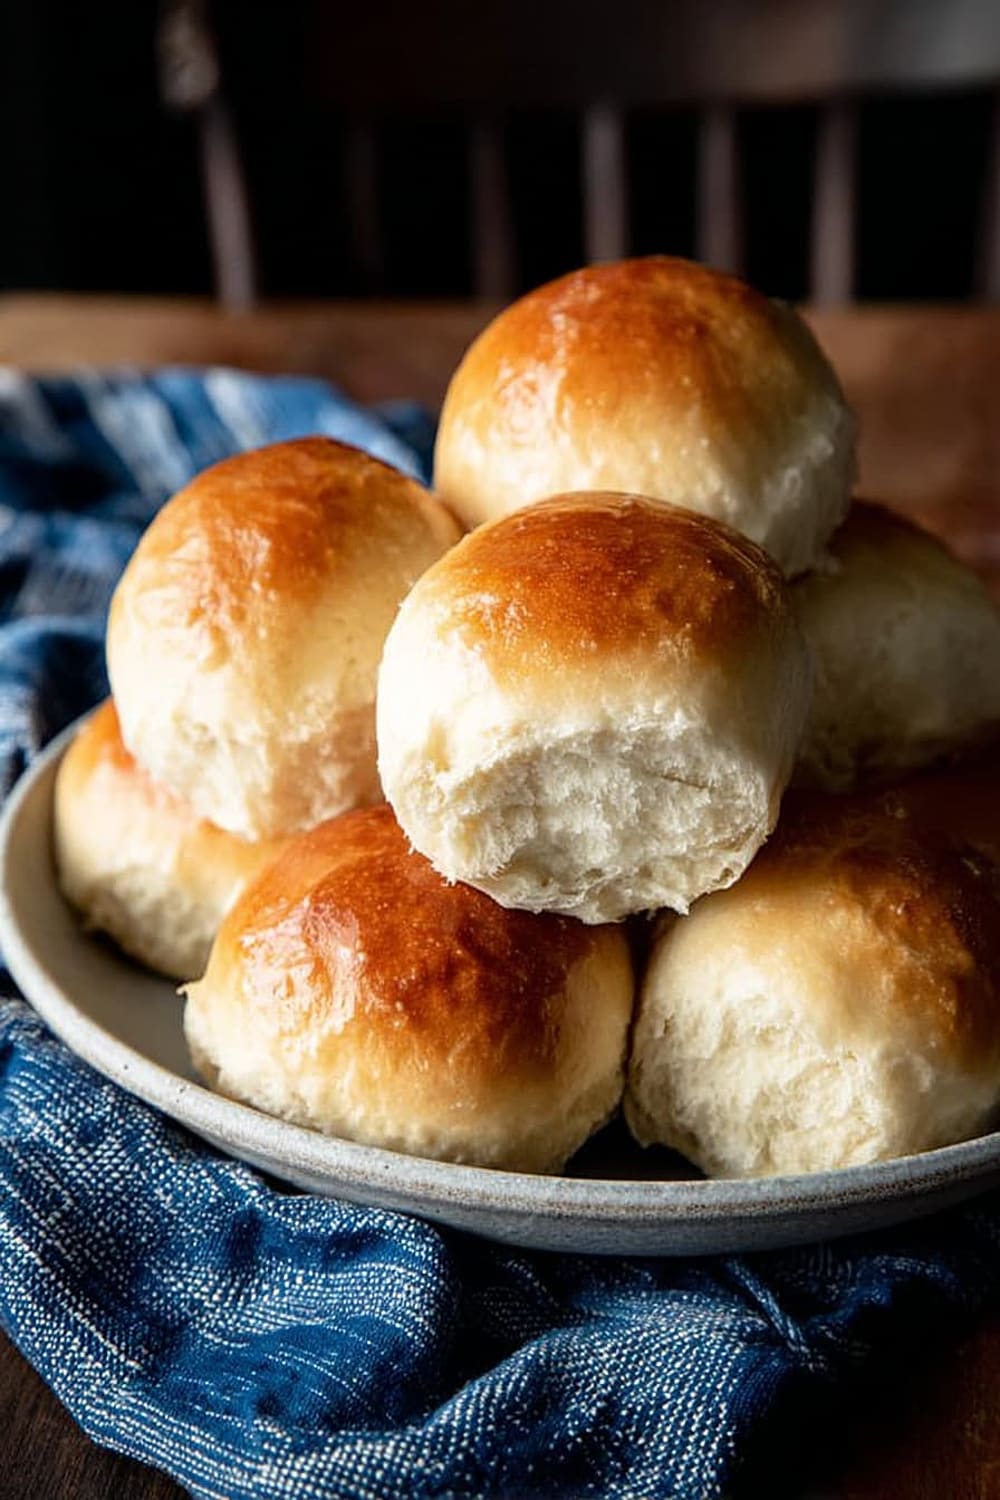
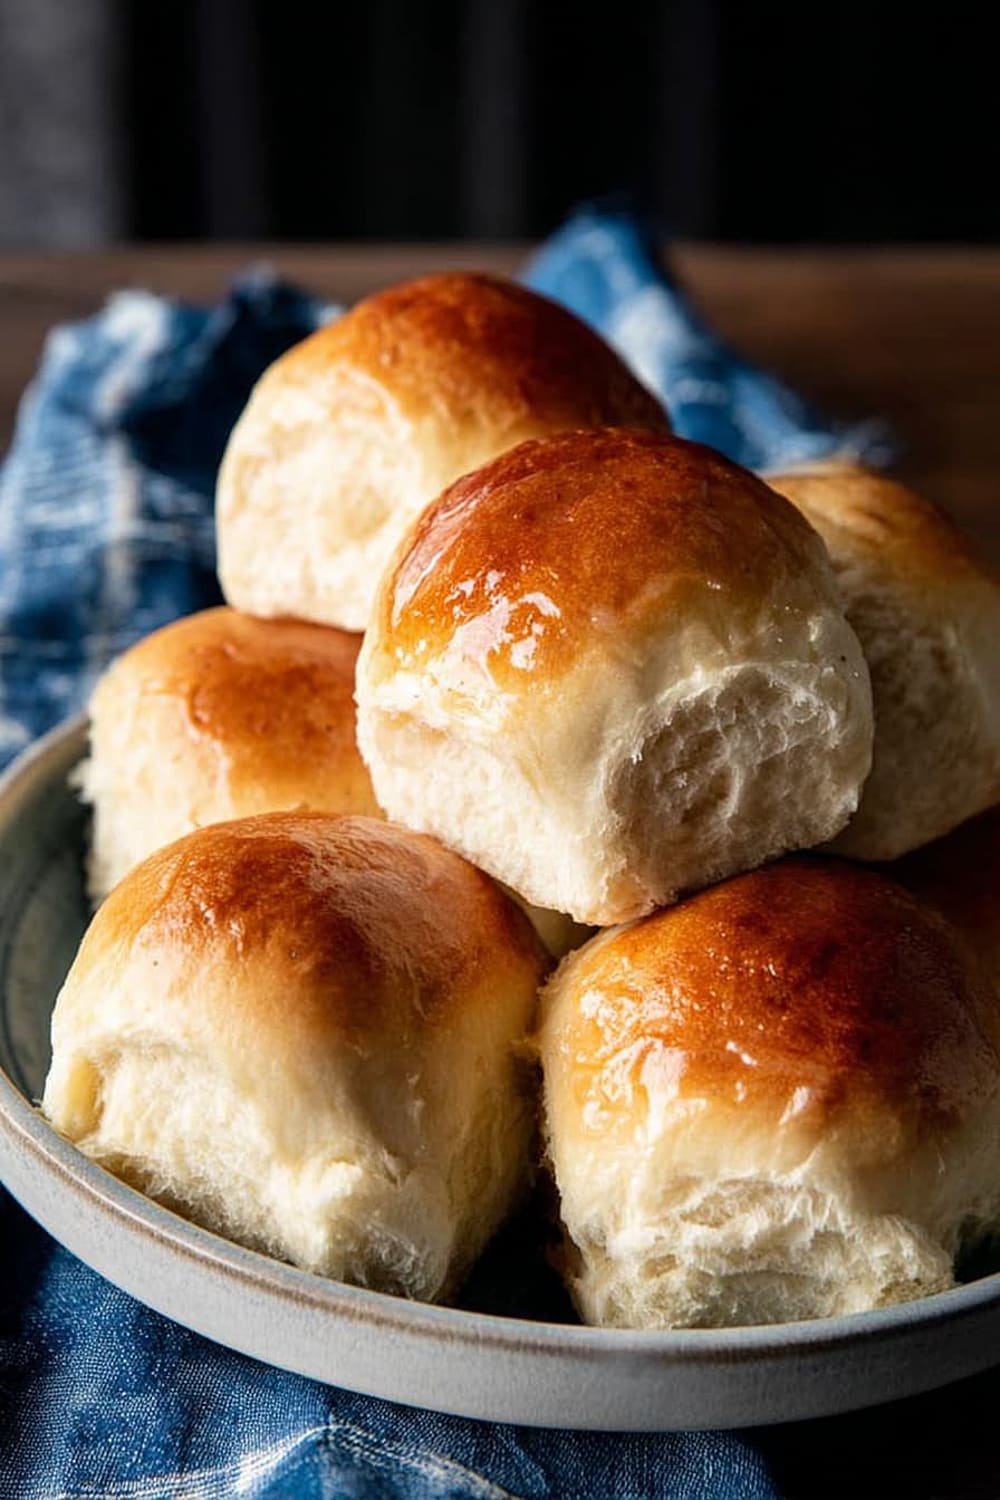
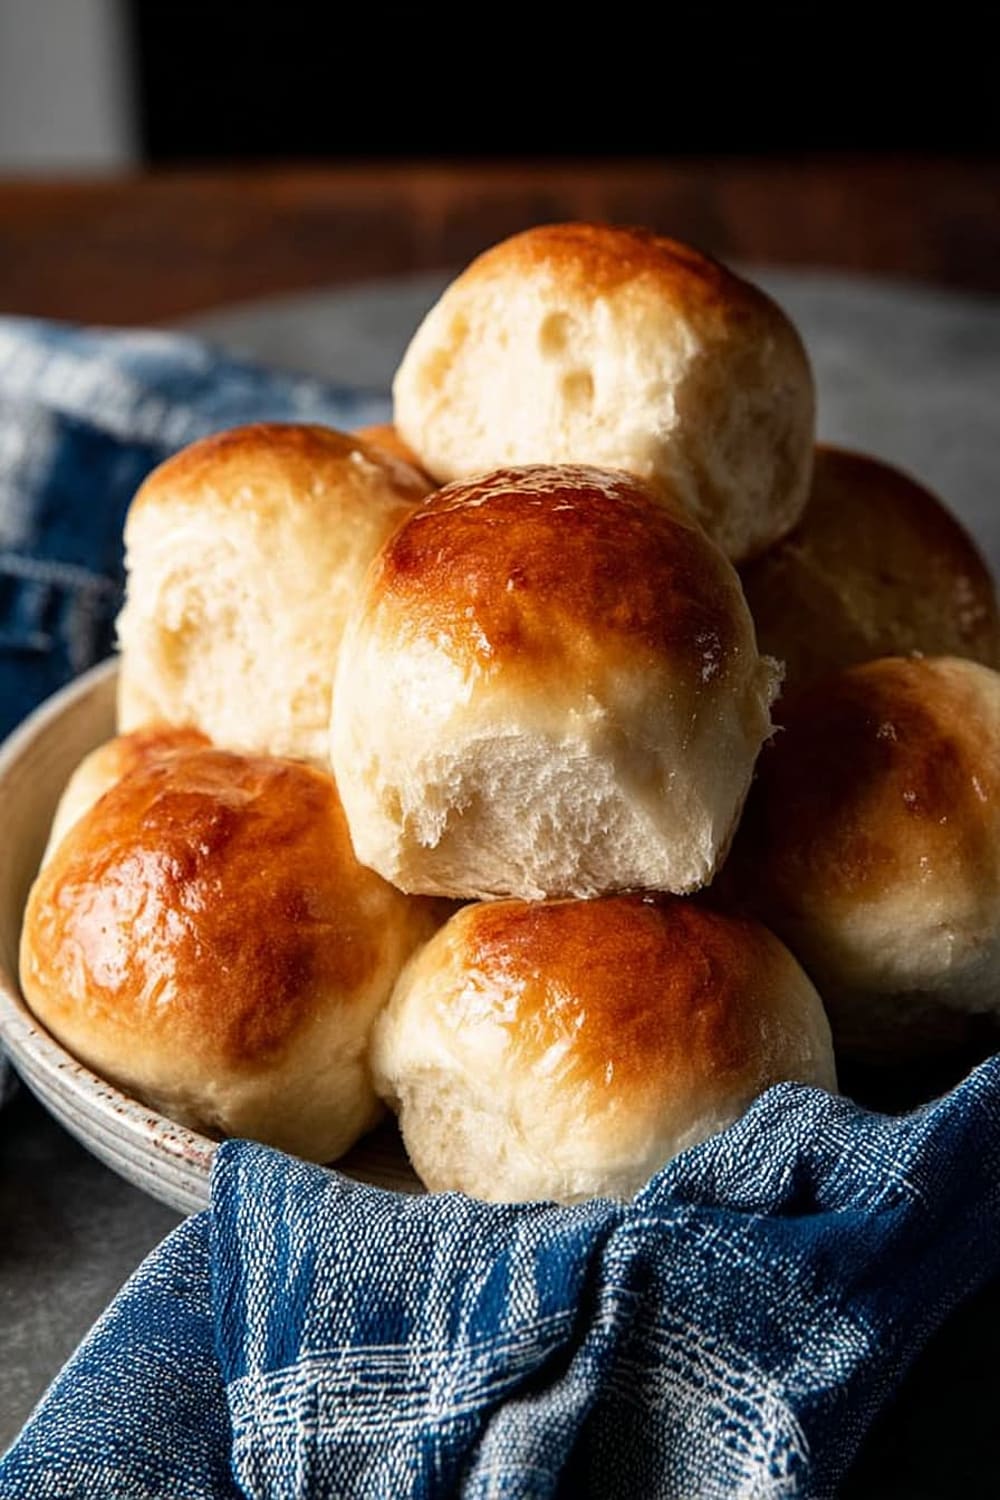
You’ll get 24 gorgeous rolls that are perfect for soaking up gravy, making mini sandwiches, or just eating warm with a pat of butter melting into every fluffy bite.
Fair warning: making these will permanently establish you as the person who “always brings the amazing rolls” to every gathering, so prepare for that responsibility.
Ingredients
For the yeast mixture
- 2 envelopes (¼ ounce each) dry active yeast (about 4½ teaspoons total)
- ¼ cup lukewarm water (110°F – 115°F)
For the wet ingredients
- 1½ cups lukewarm buttermilk (110°F – 115°F)
- ⅓ cup granulated sugar
- ½ cup shortening, melted and slightly cooled
For the dry ingredients
- 4½ cups bread flour (measured properly)
- 1½ teaspoons salt
- ½ teaspoon baking soda
For finishing
- 1-2 tablespoons melted butter
Instructions
Activate the yeast
- 1 In a large mixing bowl, dissolve the 2 envelopes of yeast in the ¼ cup lukewarm water (110°F-115°F). Let it sit for 5-10 minutes until it becomes bubbly and foamy—this proves your yeast is alive and ready to work its magic.
- 2 Add the 1½ cups lukewarm buttermilk, ⅓ cup granulated sugar, and ½ cup melted shortening to the yeast mixture. Use a whisk to combine everything thoroughly, ensuring the sugar dissolves completely.
Prepare the dry ingredients
- 3 In a separate large bowl, whisk together the 4½ cups bread flour, 1½ teaspoons salt, and ½ teaspoon baking soda. This ensures even distribution of the leavening agents throughout the flour.
Form the dough
- 4 Stir the flour mixture into the buttermilk mixture until well combined and a soft, shaggy dough comes together. If the dough seems too dry with pockets of unincorporated flour, add 1 tablespoon of warm water at a time until the dough comes together. The dough should be soft but not sticky—you want it moist enough that all flour incorporates without being wet.
First rise
- 5 Oil or spray a large mixing bowl with nonstick cooking spray. Place the dough in the greased bowl, turning once to coat the top with oil. Cover with a clean kitchen towel and let stand in a warm spot for 10 minutes.
Prepare for shaping
- 6 Grease a 9 x 13-inch baking dish and an 8 x 8-inch baking dish with butter or cooking spray. Set aside—you’ll need both pans to accommodate all 24 rolls.
Shape the rolls
- 7 Using a bench scraper or sharp knife, divide the dough into 24 even pieces. A kitchen scale works perfectly for this—each piece should weigh about 2 ounces.
- 8 Working with one piece of dough at a time, shape each piece into smooth, round balls. Tuck the edges underneath toward the middle of the roll, creating a smooth, round top while pinching and sealing the bottom. This technique creates the classic dinner roll shape with a beautiful smooth top.
Arrange and second rise
- 9 Arrange 15 dough balls in the prepared 9 x 13-inch baking dish and 9 dough balls in the 8 x 8-inch baking dish. Space them evenly—they’ll expand and touch as they rise, creating that signature pull-apart texture.
- 10 Cover both dishes with clean kitchen towels and let the dough rise in a warm spot until puffy, about 30-40 minutes. The rolls should nearly double in size and feel light when gently poked.
Bake to perfection
- 11 While the dough rises, preheat your oven to 425°F (220°C). This high temperature creates the perfect golden crust while keeping the interior soft and fluffy.
- 12 Bake the rolls, uncovered, for 10-12 minutes until the tops are golden brown and the internal temperature reaches 190°F (88°C). Don’t overbake—these rolls go from perfect to dry quickly at this high temperature.
- 13 Immediately brush the warm rolls with 1-2 tablespoons melted butter for that glossy, flavorful finish. Serve while warm for the ultimate experience.
Recommended Equipment and Kitchen Tools
Essential Tools (for best results)
- Large mixing bowls – You’ll need at least two good-sized bowls for mixing wet and dry ingredients separately, plus one for the first rise
- Bench scraper – Makes dividing the dough into 24 even pieces incredibly easy and precise, though a sharp knife works too
- Instant-read thermometer – Critical for getting your liquids to the perfect 110°F-115°F temperature for yeast activation
- Kitchen scale – Ensures each roll is exactly the same size (about 2 ounces each) for even baking and professional presentation
Helpful Upgrades
- Stand mixer with dough hook – While not necessary for this no-knead recipe, it makes combining ingredients effortless if you have one
- Digital kitchen scale – More accurate than measuring cups for flour, especially important with bread recipes where precision matters
- Silicone spatula – Perfect for scraping down bowl sides and incorporating ingredients without overworking the dough
Nice-to-Have Options
- Parchment paper – Line your baking dishes for easier cleanup and transfer, though greasing works perfectly fine
- Clean kitchen towels – Essential for covering rising dough; avoid terry cloth which can stick to the dough surface
Recipe Variations and Dietary Modifications
Gluten-Free Adaptation
- Replace the 4½ cups bread flour with a 1:1 gluten-free flour blend that contains xanthan gum
- Add an extra 1 teaspoon xanthan gum if your blend doesn’t include it
- Expect a slightly denser texture and extend rising time by 10-15 minutes
- May need an additional 2-3 tablespoons of liquid due to gluten-free flour absorption
Dairy-Free Modifications
- Substitute the 1½ cups buttermilk with 1½ cups non-dairy milk plus 1½ tablespoons lemon juice (let sit 5 minutes to curdle)
- Replace melted butter finish with vegan butter or olive oil
- The shortening is typically already dairy-free, but verify your brand
Vegan Version
- Use the dairy-free buttermilk substitute above
- Replace shortening with vegan butter or coconut oil (solid, then melted)
- Finish with vegan butter instead of regular butter
- All other ingredients are naturally vegan
Flavor Variations
- Herb rolls: Add 2 tablespoons fresh chopped rosemary or 1 tablespoon dried herbs to the flour mixture
- Garlic butter finish: Mix 2 minced garlic cloves into the melting butter for brushing
- Sweet rolls: Increase sugar to ½ cup and add 1 teaspoon vanilla extract to wet ingredients
- Whole grain: Replace 1 cup bread flour with whole wheat flour for added fiber and nutty flavor
Nutritional Information and Health Benefits
Key Nutritional Highlights
Each roll contains approximately 147 calories, making them a reasonable addition to any meal without excessive caloric impact. The primary macronutrients come from the bread flour providing complex carbohydrates for sustained energy, while the shortening and butter contribute healthy fats. The buttermilk adds protein and essential B vitamins, particularly B12 and riboflavin, which support energy metabolism and nervous system function.
Health Benefits of Main Ingredients
The buttermilk provides probiotics that support digestive health, plus calcium for bone strength and protein for muscle maintenance. Bread flour offers more protein and gluten structure than all-purpose flour, creating better texture while providing iron and B vitamins. The active dry yeast contributes B-complex vitamins, particularly folate and niacin, which are essential for cellular function and energy production. Even the shortening, when used in moderation, provides essential fatty acids needed for nutrient absorption.
Dietary Considerations
These rolls contain gluten, dairy, and are not suitable for those with celiac disease or severe dairy allergies without modifications. Each roll provides approximately 28 grams of carbohydrates, making portion control important for those managing blood sugar levels. The moderate sodium content (150mg per roll) fits well within daily recommended limits when enjoyed as part of a balanced meal.
Smart Swaps and Ingredient Substitutions
Common Substitutions:
- Bread flour → All-purpose flour (1:1 ratio, but expect slightly less chewy texture)
- Shortening → Melted butter or vegetable oil (same amount, adds richer flavor)
- Buttermilk → Regular milk + 1½ tablespoons lemon juice (let sit 5 minutes to curdle)
- Active dry yeast → Instant yeast (use same amount, no need to dissolve first)
Budget-Friendly Swaps:
- Bread flour → All-purpose flour + 1 tablespoon vital wheat gluten (creates similar protein content for less cost)
- Buttermilk → Powdered buttermilk reconstituted according to package directions (longer shelf life, more economical)
Pantry Emergency Substitutions:
- Fresh yeast → 1 envelope active dry yeast equals ⅔ ounce fresh yeast (crumble and dissolve the same way)
- Granulated sugar → Honey or maple syrup (use ¼ cup and reduce liquid by 2 tablespoons)
- Salt → Sea salt or kosher salt (use same amount, though kosher salt may taste less salty)
Pro Tips for Substitutions:
- When using oil instead of shortening, the rolls will be slightly more tender but less flaky
- Whole milk works in place of buttermilk but reduces the characteristic tang—add lemon juice for best results
- Store active dry yeast in the refrigerator after opening to maintain potency for up to 6 months
Make It Diabetes-Friendly
Flour & Carb Modifications:
- Replace 2 cups of the bread flour with almond flour or coconut flour (use ¾ cup coconut flour as it’s more absorbent)
- Substitute 1 cup bread flour with ground flaxseed meal for added fiber and omega-3 fatty acids
- This reduces total carbs from approximately 28g per roll to about 18-20g per roll
Sugar Substitutions:
- Replace ⅓ cup granulated sugar with 3 tablespoons erythritol or stevia blend designed for baking
- Use 2 tablespoons monk fruit sweetener for zero-carb option
- These swaps eliminate approximately 12g carbs from the total recipe
Portion & Timing Tips:
- Make 32 smaller rolls instead of 24 regular-sized ones for better portion control
- Each smaller roll contains approximately 18g carbs instead of 28g
- Pair with protein-rich foods like turkey or chicken to slow glucose absorption
- Serve with healthy fats like avocado or olive oil-based spreads to moderate blood sugar response
Additional Modifications:
- Add 2 tablespoons ground psyllium husk to increase fiber content and slow carb absorption
- Include 1 tablespoon apple cider vinegar in the wet ingredients to help with blood sugar management
Total Carb Reduction: These modifications can reduce carbs by 35-40% while maintaining delicious flavor and texture.
Perfect Pairing Suggestions
Beverage Pairings
These buttery, tangy rolls pair beautifully with crisp white wines like Sauvignon Blanc or Pinot Grigio, whose acidity complements the buttermilk’s tang. For beer lovers, a light wheat beer or pilsner won’t compete with the rolls’ delicate flavor. Sweet tea or fresh lemonade creates a perfect Southern comfort combination, while coffee or black tea works wonderfully for brunch settings.
Side Dish Recommendations
The rolls’ mild, buttery flavor makes them ideal for soaking up rich gravies and pan sauces from roasted meats. They’re perfect alongside honey-glazed ham, roast turkey, or beef pot roast where their soft texture contrasts beautifully with crispy-skinned proteins. Creamy mashed potatoes and green bean casserole create classic comfort food combinations, while fresh salads with vinaigrette provide a bright, acidic contrast to the rolls’ richness.
Complete Meal Ideas
Build Sunday dinner around these rolls with roast chicken, seasonal vegetables, and gravy for dipping. For holiday entertaining, serve alongside glazed ham, cranberry sauce, and roasted Brussels sprouts. Weeknight family dinners become special when you add these rolls to simple soup and salad combinations—they transform basic tomato soup into a restaurant-worthy meal.
Occasion Suggestions
These rolls shine at potluck dinners, church suppers, and family gatherings where their pull-apart texture encourages sharing. They’re perfect for Thanksgiving and Christmas dinners, Easter brunches, and any time you want to make an ordinary meal feel celebratory without extensive preparation time.
Pro Tips and Troubleshooting
Professional Techniques
Always check your yeast expiration date—expired yeast is the number one reason for flat, dense rolls that don’t rise properly. Test your liquid temperature with an instant-read thermometer; too hot (over 115°F) kills yeast, while too cool (under 110°F) slows activation significantly. When shaping rolls, work quickly but gently—overhandling develops gluten unnecessarily in this no-knead recipe. Create a warm rising environment by placing covered dough on top of your refrigerator or in an oven with just the light on.
Storage and Make-Ahead Strategies
These rolls freeze beautifully for up to 3 months when wrapped individually in plastic wrap, then stored in freezer bags. Reheat frozen rolls directly from freezer in a 300°F oven for 8-10 minutes. For make-ahead convenience, shape rolls and refrigerate overnight—let them come to room temperature and complete the final rise before baking. Day-old rolls regain their softness when wrapped in damp paper towels and microwaved for 15-20 seconds.
Troubleshooting Common Issues
If your rolls turn out dense and heavy, your yeast was likely inactive or your liquids were too hot. Overly dry rolls usually result from too much flour or overbaking—remember they continue cooking from residual heat after removal. Uneven browning indicates oven hot spots; rotate pans halfway through baking. If rolls don’t rise properly, check that your kitchen isn’t too cold—aim for 75-80°F ambient temperature during rising.
Recipe Scaling Tips
This recipe doubles perfectly for large gatherings—use a very large bowl or divide between two bowls for mixing. When making half batches, use 1 envelope plus 1 teaspoon yeast rather than trying to split packets. Smaller rolls (32 instead of 24) bake in 8-10 minutes, while larger rolls (16 total) need 12-14 minutes.
These rolls prove that impressive homemade bread doesn’t require advanced techniques or all-day commitment—just quality ingredients, proper timing, and the confidence to trust a tried-and-true method that’s been making families happy for generations.