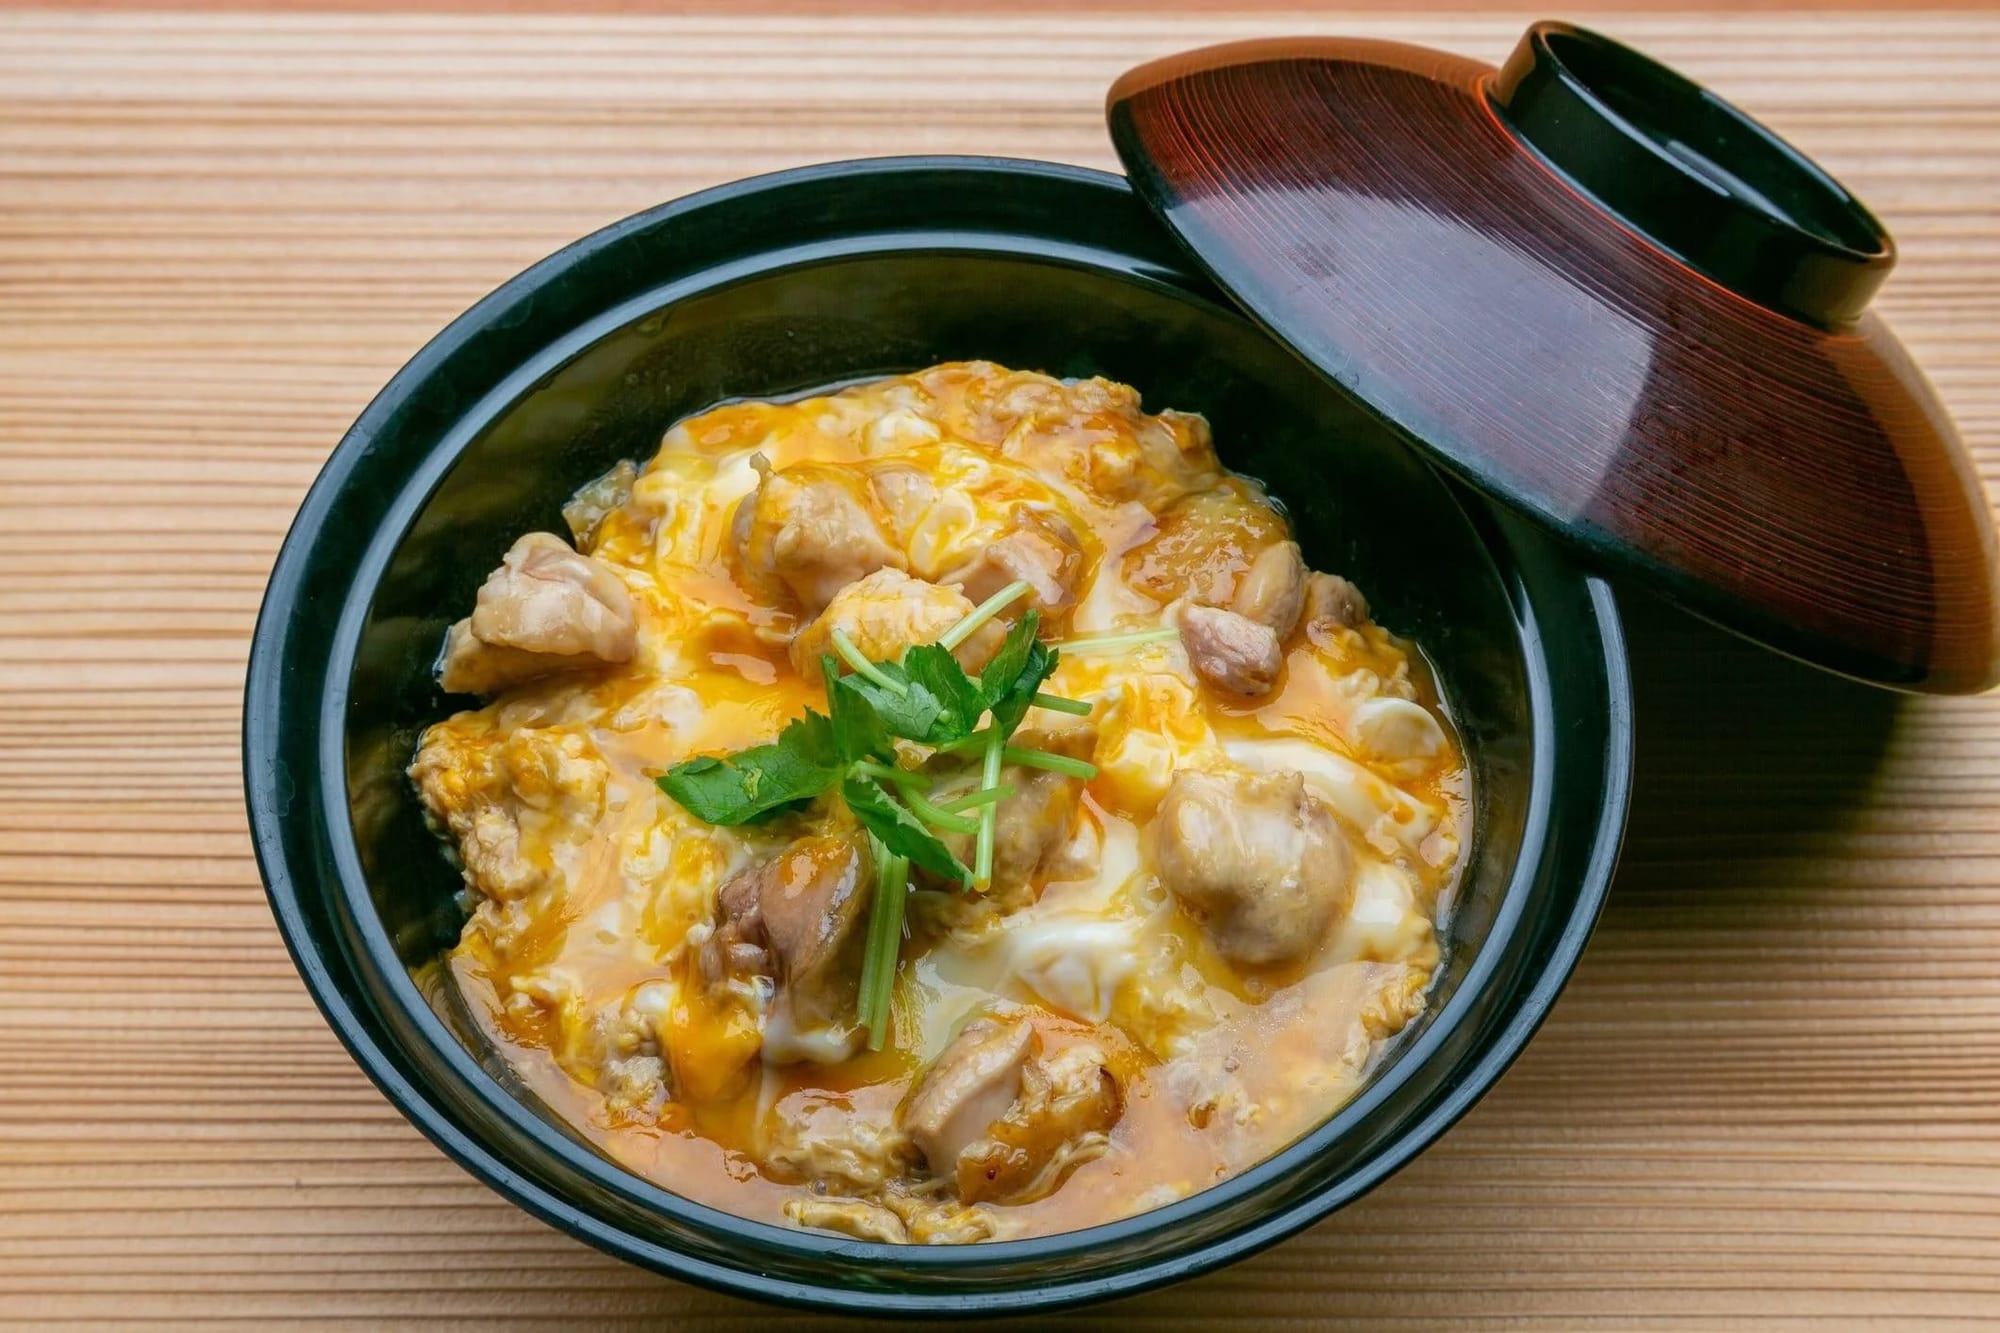
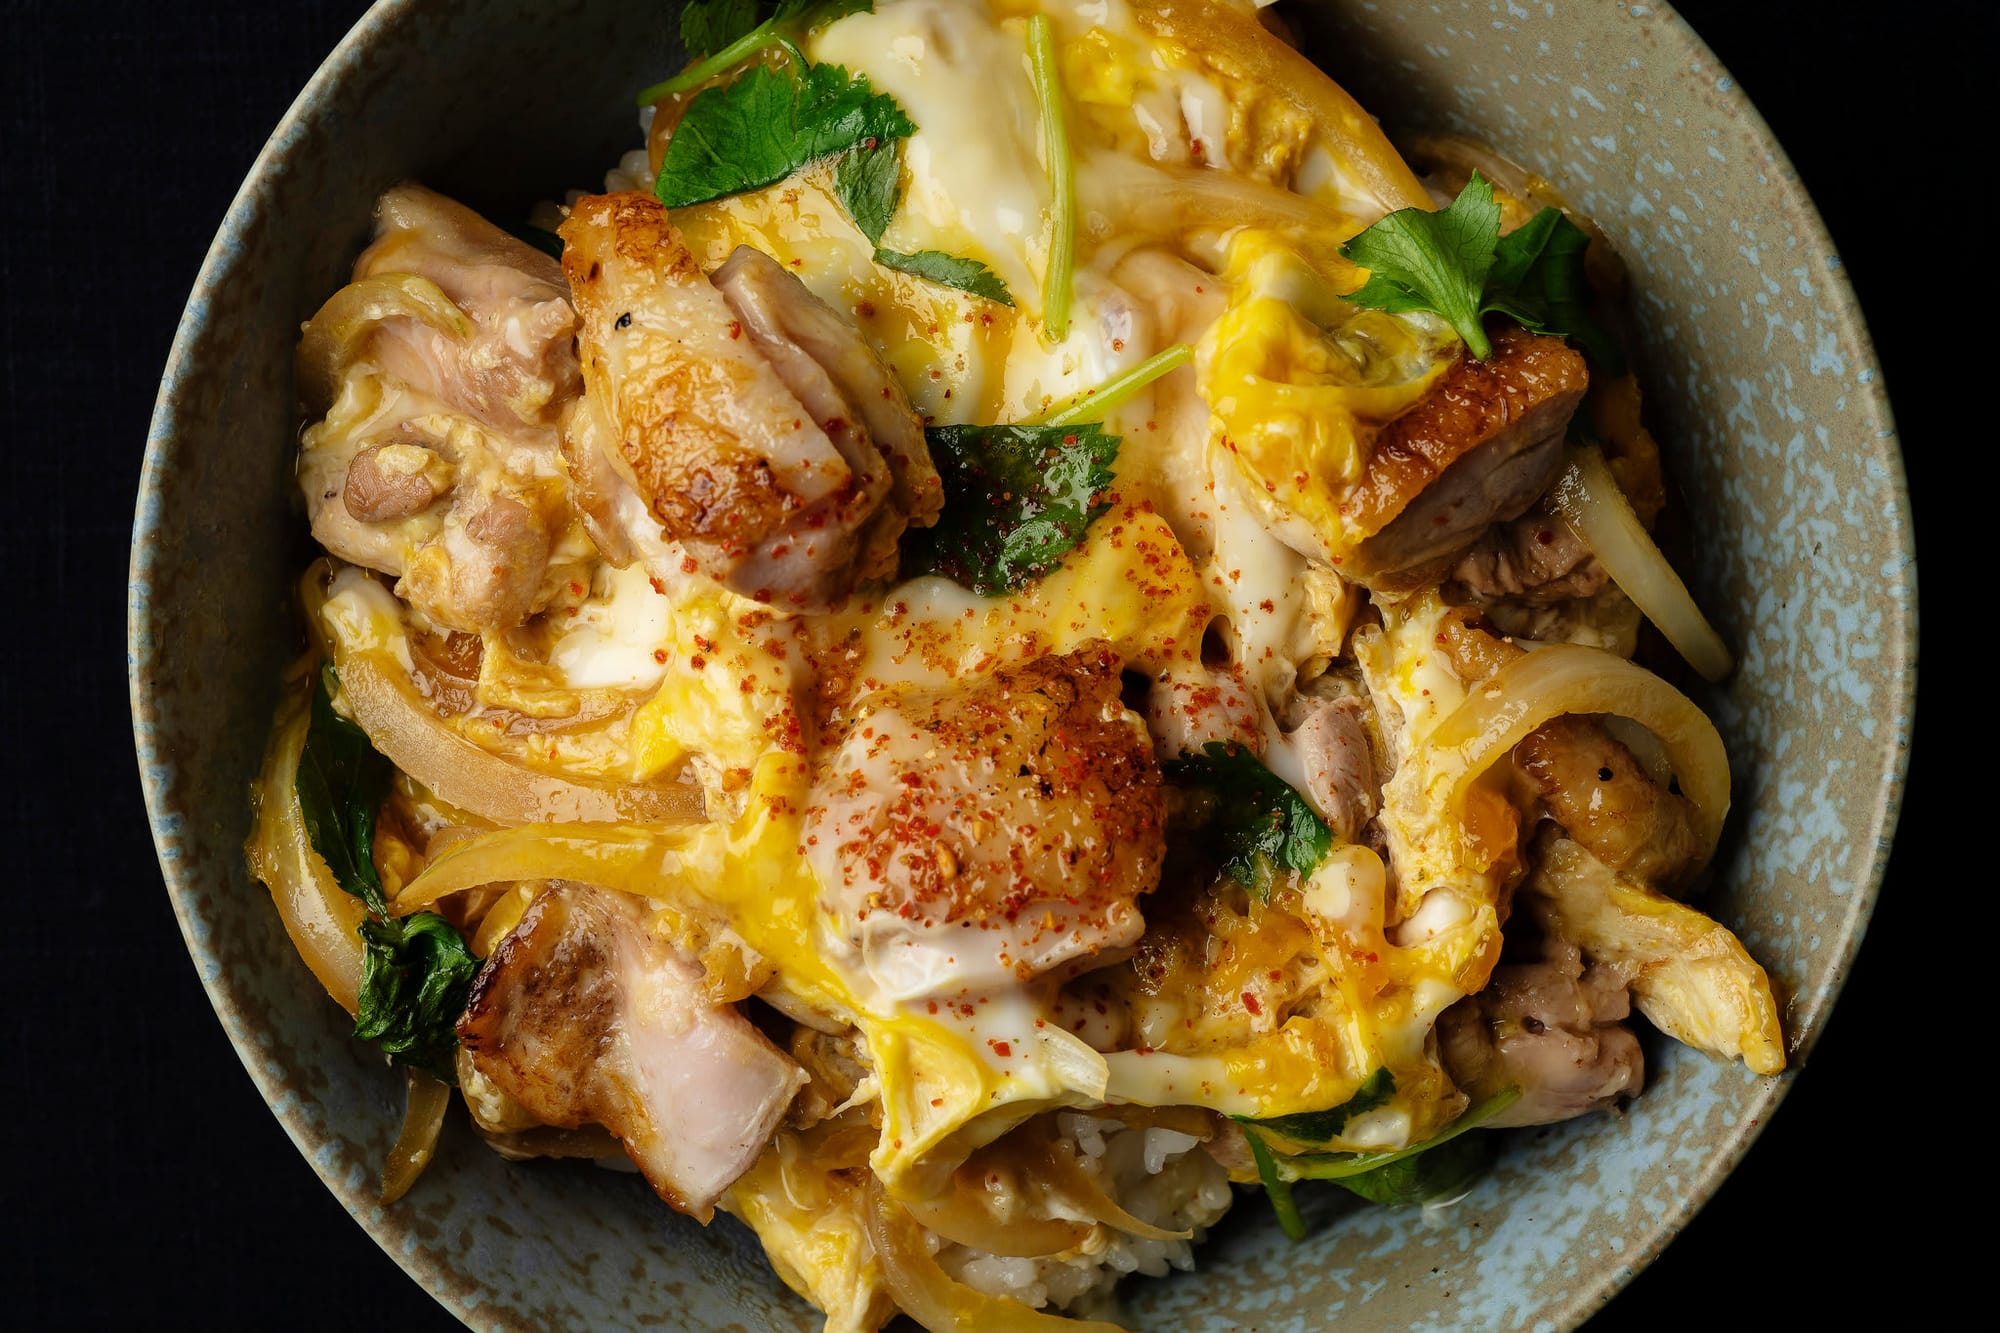
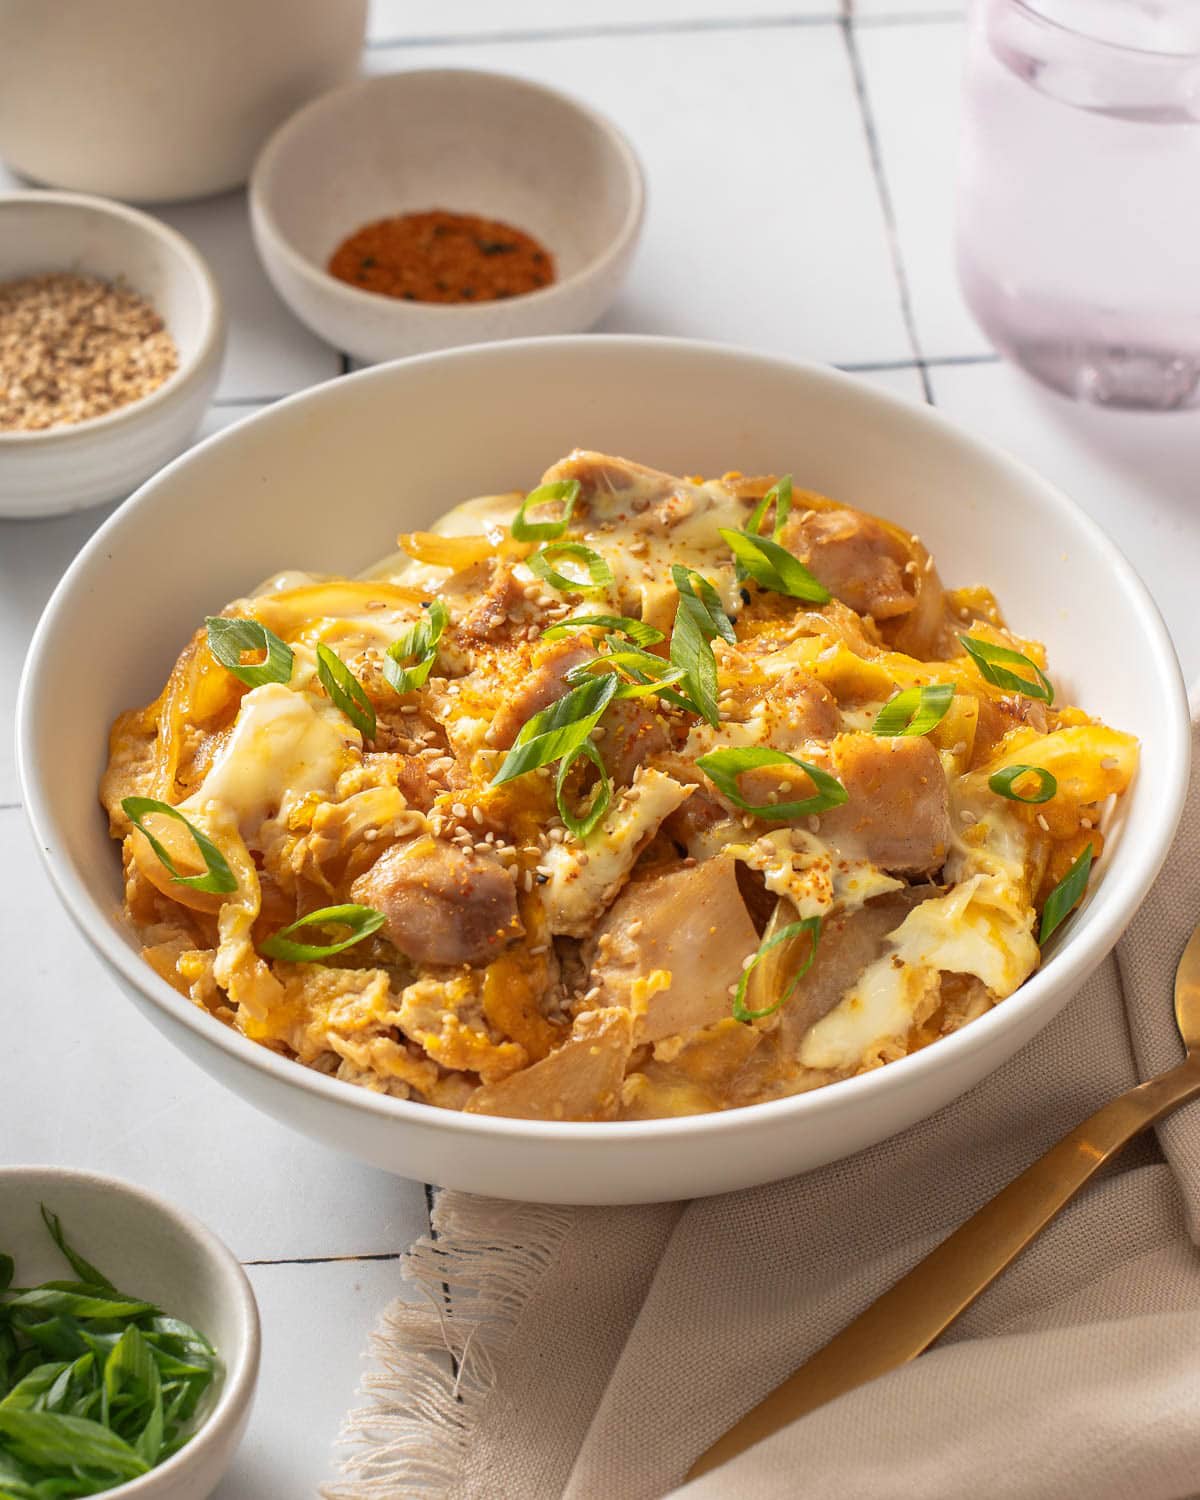
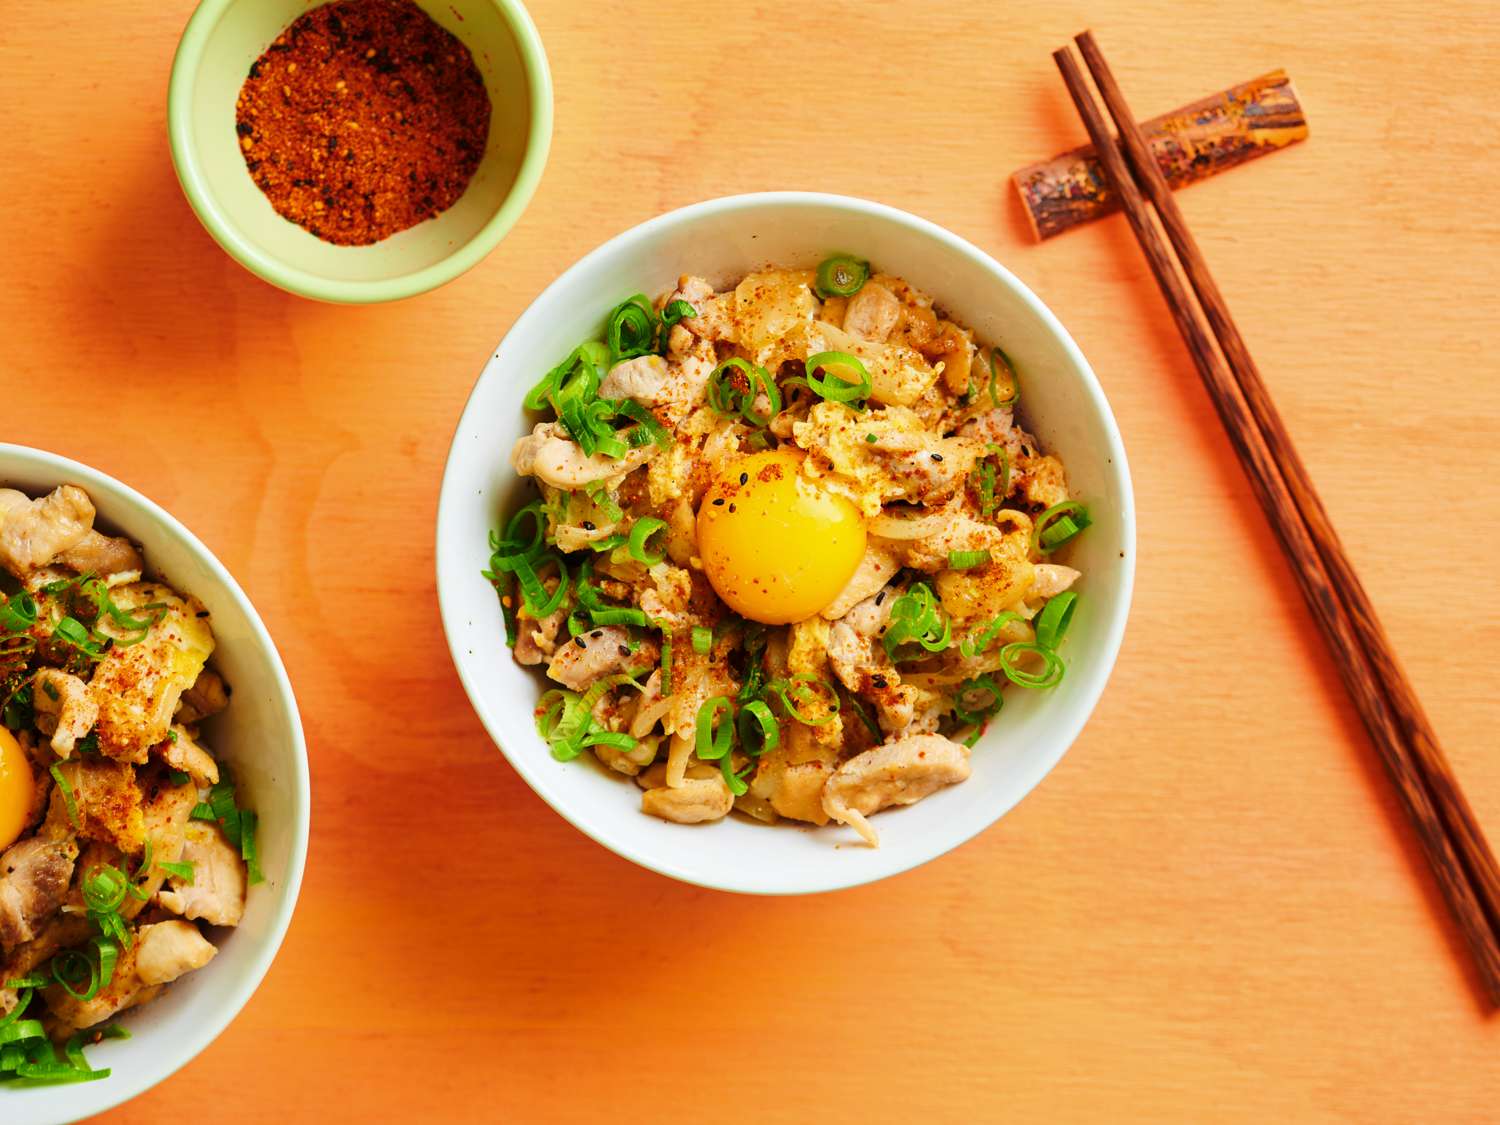
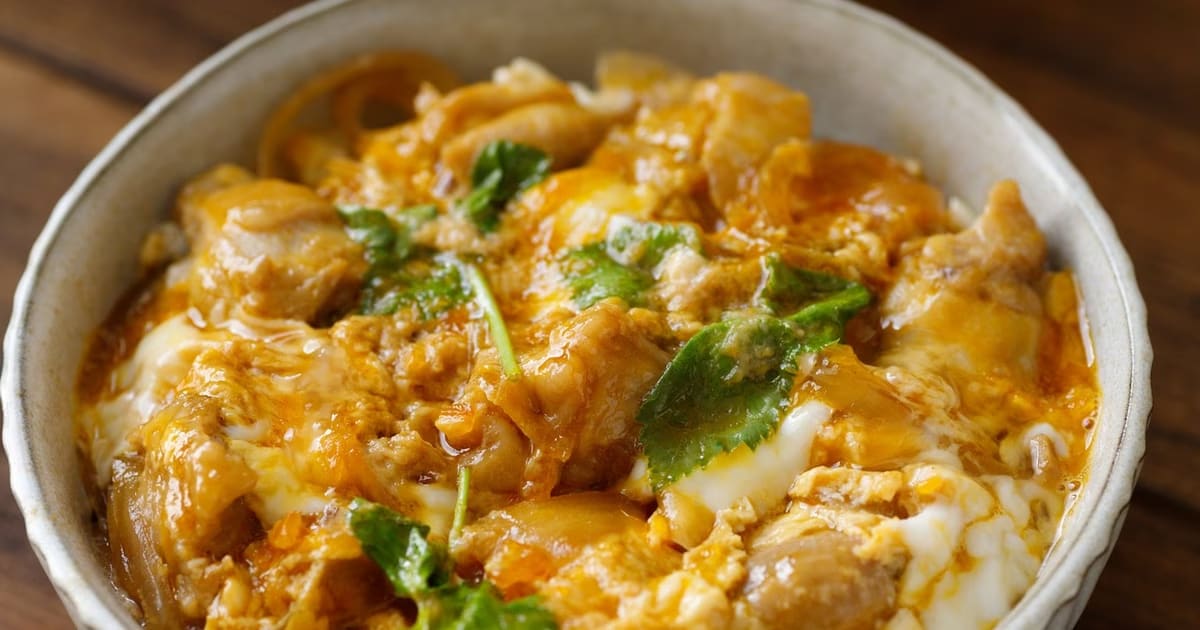
Oyakodon (Chicken and Egg Rice Bowl)
Let’s talk about comfort food that hits different. Oyakodon is that perfect bowl of savory-sweet chicken and silky eggs that practically tucks you in at night. The name literally means “parent-and-child” rice bowl in Japanese, referring to the chicken and egg combo. Trust me, it’s about to become your new weeknight obsession.
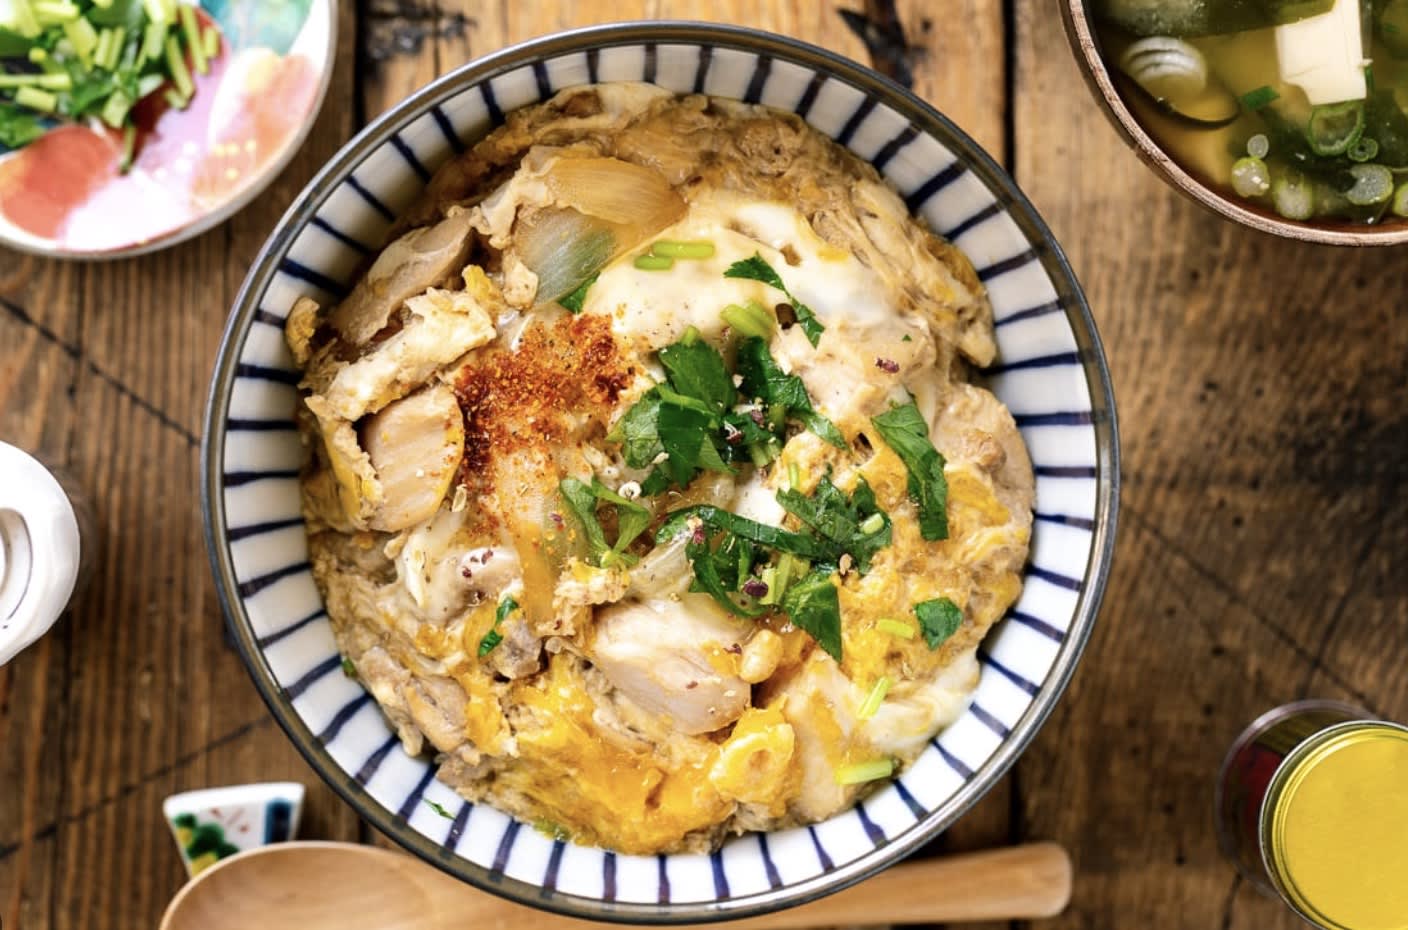
What makes oyakodon truly special is how the delicate eggs create this custardy layer that mingles with the umami-rich sauce and tender chicken. Everything gets soaked into fluffy rice, creating this perfect harmony in every bite. It’s the kind of one-bowl meal that makes you wonder why you ever bothered with complicated dinners.
Ingredients
- 1 tablespoon olive oil
- 4 skinless, boneless chicken thighs, cut into small pieces
- 1 onion, cut in half and sliced
- 2 cups dashi stock, made with dashi powder
- ¼ cup soy sauce
- 3 tablespoons mirin (Japanese rice wine)
- 3 tablespoons brown sugar
- 4 large eggs
- 4 cups hot cooked white rice
Steps
- Heat 1 tablespoon olive oil in a large skillet over medium heat. Add chicken pieces and cook until beginning to brown, about 5 minutes. You’re looking for some golden edges but don’t worry about cooking them through completely at this stage.
- Add the sliced onion to the skillet; cook and stir until onion is translucent, about 5 minutes. The onions should become soft and slightly sweet – they’ll release moisture that helps deglaze any browned bits from the chicken.
- Pour in the 2 cups dashi stock, then whisk in ¼ cup soy sauce, 3 tablespoons mirin, and 3 tablespoons brown sugar; stir until sugar completely dissolves. Make sure to scrape the bottom of the pan to incorporate any browned bits – that’s pure flavor!
- Bring the mixture to a boil, then lower heat to medium-low and simmer until the sauce is slightly reduced and has thickened, about 10 minutes. You want the sauce to coat the back of a spoon but still remain fairly brothy.
- Whisk 4 eggs in a bowl until well-beaten but not frothy. Pour the beaten eggs in a circular motion over the hot stock mixture. Don’t stir! The eggs should sit on top of the mixture.
- Cover the skillet, reduce the heat to low, and allow the eggs to steam until just set but still slightly custardy on top, about 5 minutes. You’re looking for eggs that are cooked through but still tender and silky, not rubbery.
- Remove from the heat immediately when eggs are done to prevent overcooking. The residual heat will continue cooking them slightly.
- Divide 4 cups of hot cooked rice among 4 deep soup bowls and top with equal amounts of the chicken and egg mixture. Pour some of the broth over each portion.
Smart Swaps
- Use chicken breast instead of thighs if you prefer leaner meat (reduce cooking time to 3-4 minutes to prevent drying out)
- Substitute honey for brown sugar (use 2½ tablespoons for the same sweetness)
- Try vegetable broth with 1 teaspoon fish sauce if you can’t find dashi powder
- Use green onions instead of regular onion for a milder, fresher flavor
Make It Diabetes-Friendly
- Replace brown sugar with 2 tablespoons monk fruit sweetener to reduce carbs by approximately 12g per serving
- Use cauliflower rice or a 50/50 mix with regular rice to cut carbs by up to 15g per serving
- Increase the protein-to-carb ratio by adding an extra egg (5 total) to help slow glucose absorption
- Serve with a side of steamed greens dressed with rice vinegar to add fiber that slows sugar absorption
Pro Tips
- Don’t overcook the eggs! They should be just set but still creamy for that signature texture
- Let the dish rest for 2 minutes after cooking for the flavors to meld perfectly
- Drizzle with a few drops of toasted sesame oil right before serving for amazing aroma
- Traditional oyakodon uses a special pan called an oyakodon pan, but any 8-10 inch skillet with a lid works great