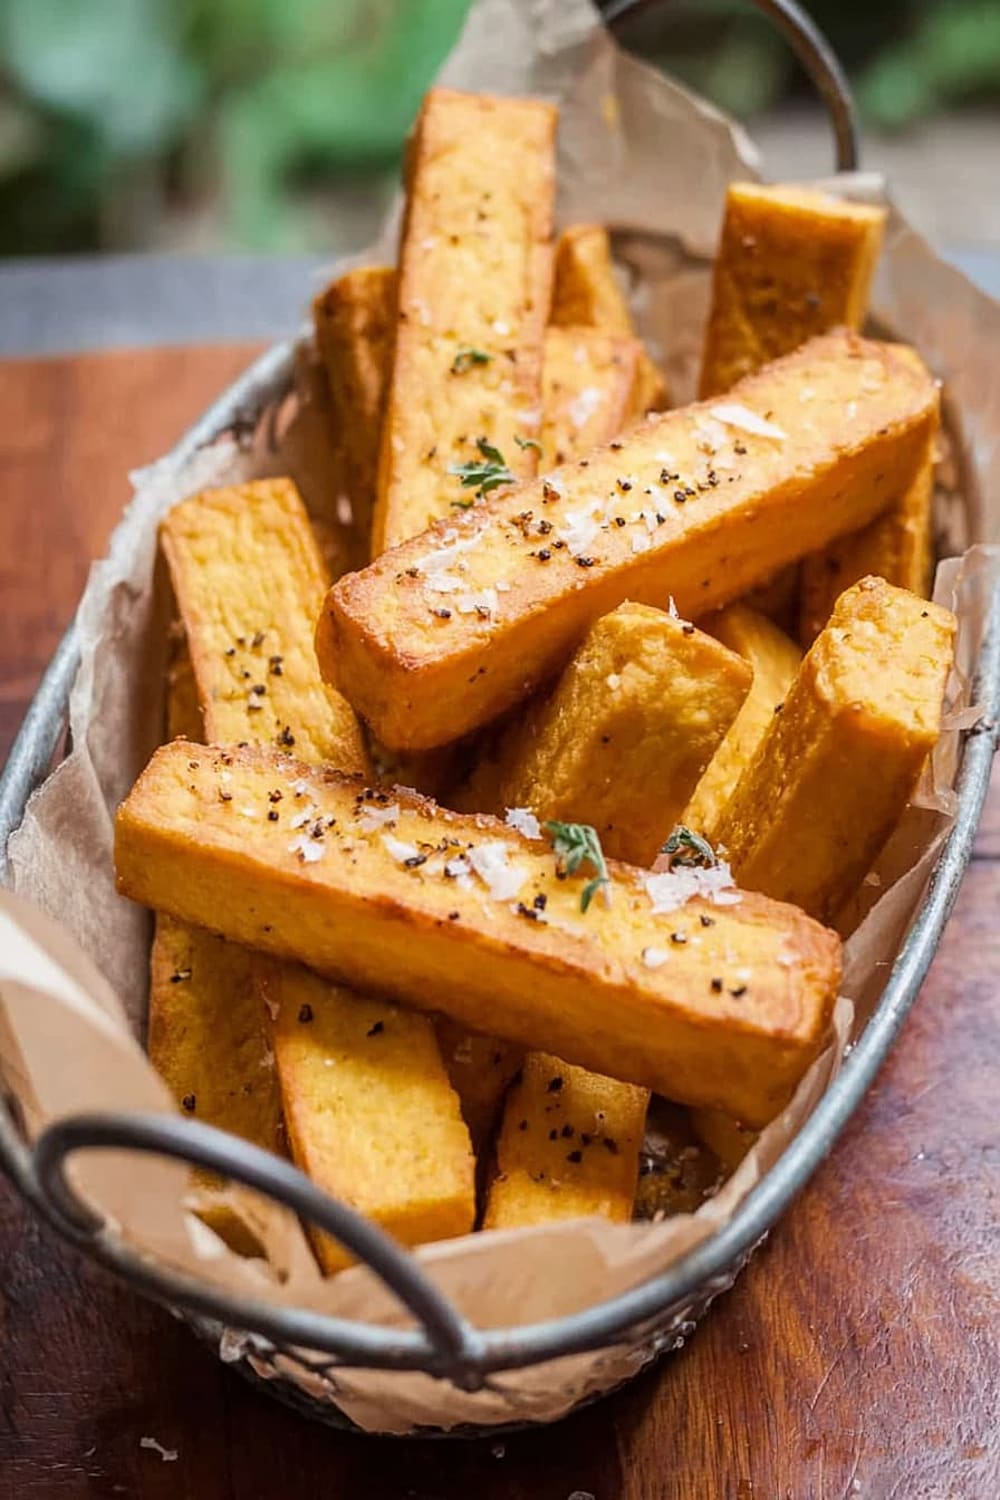
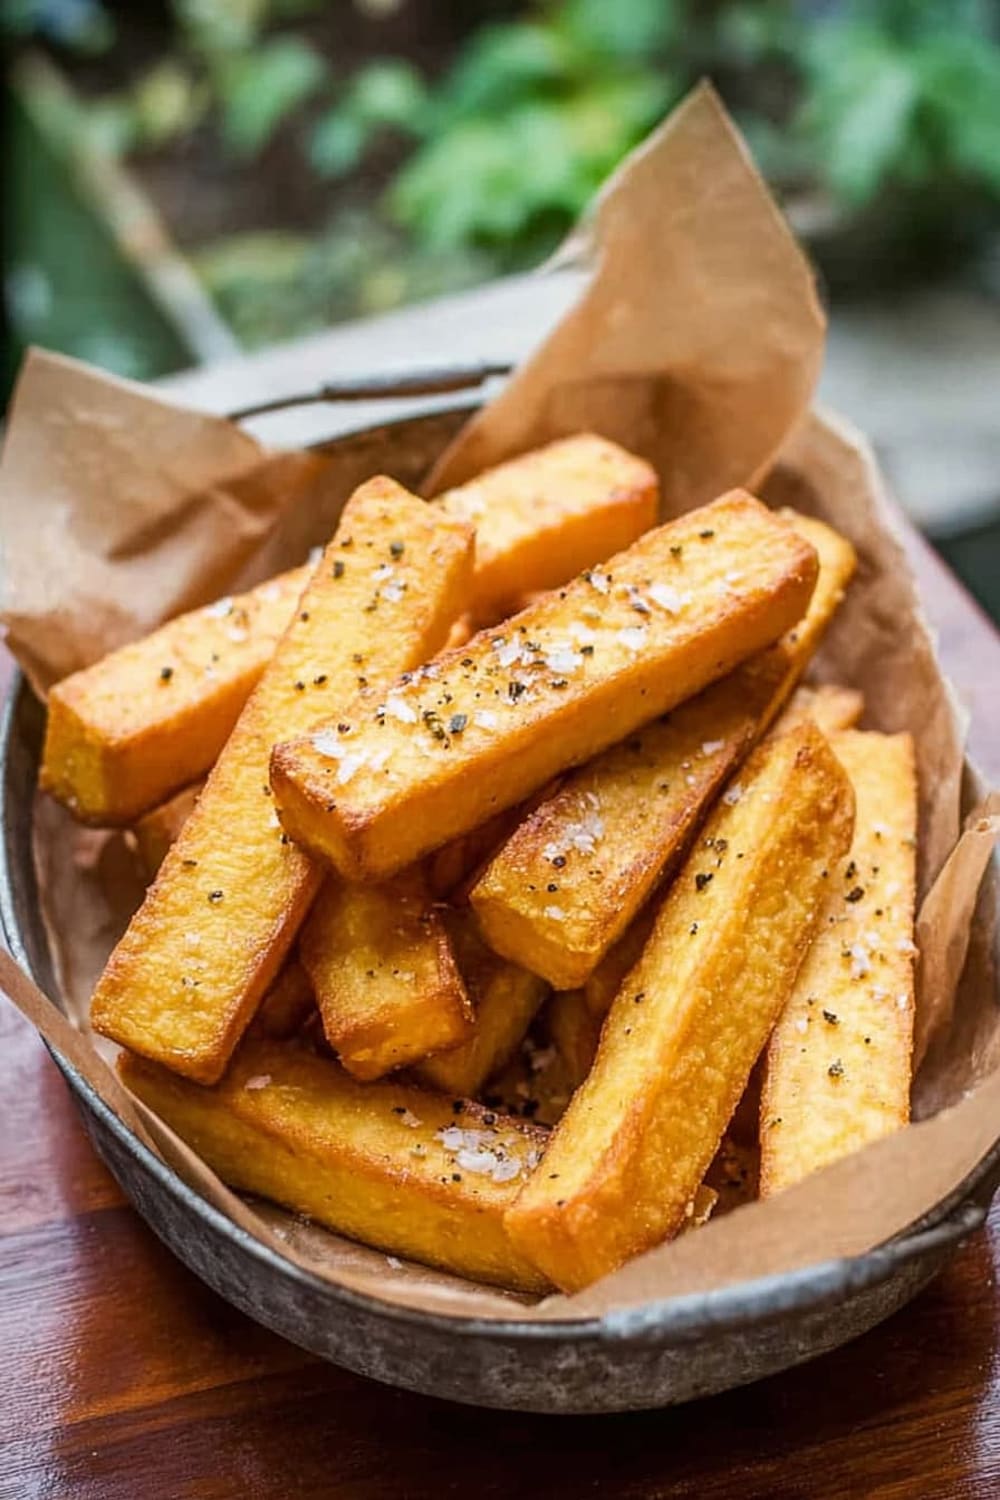
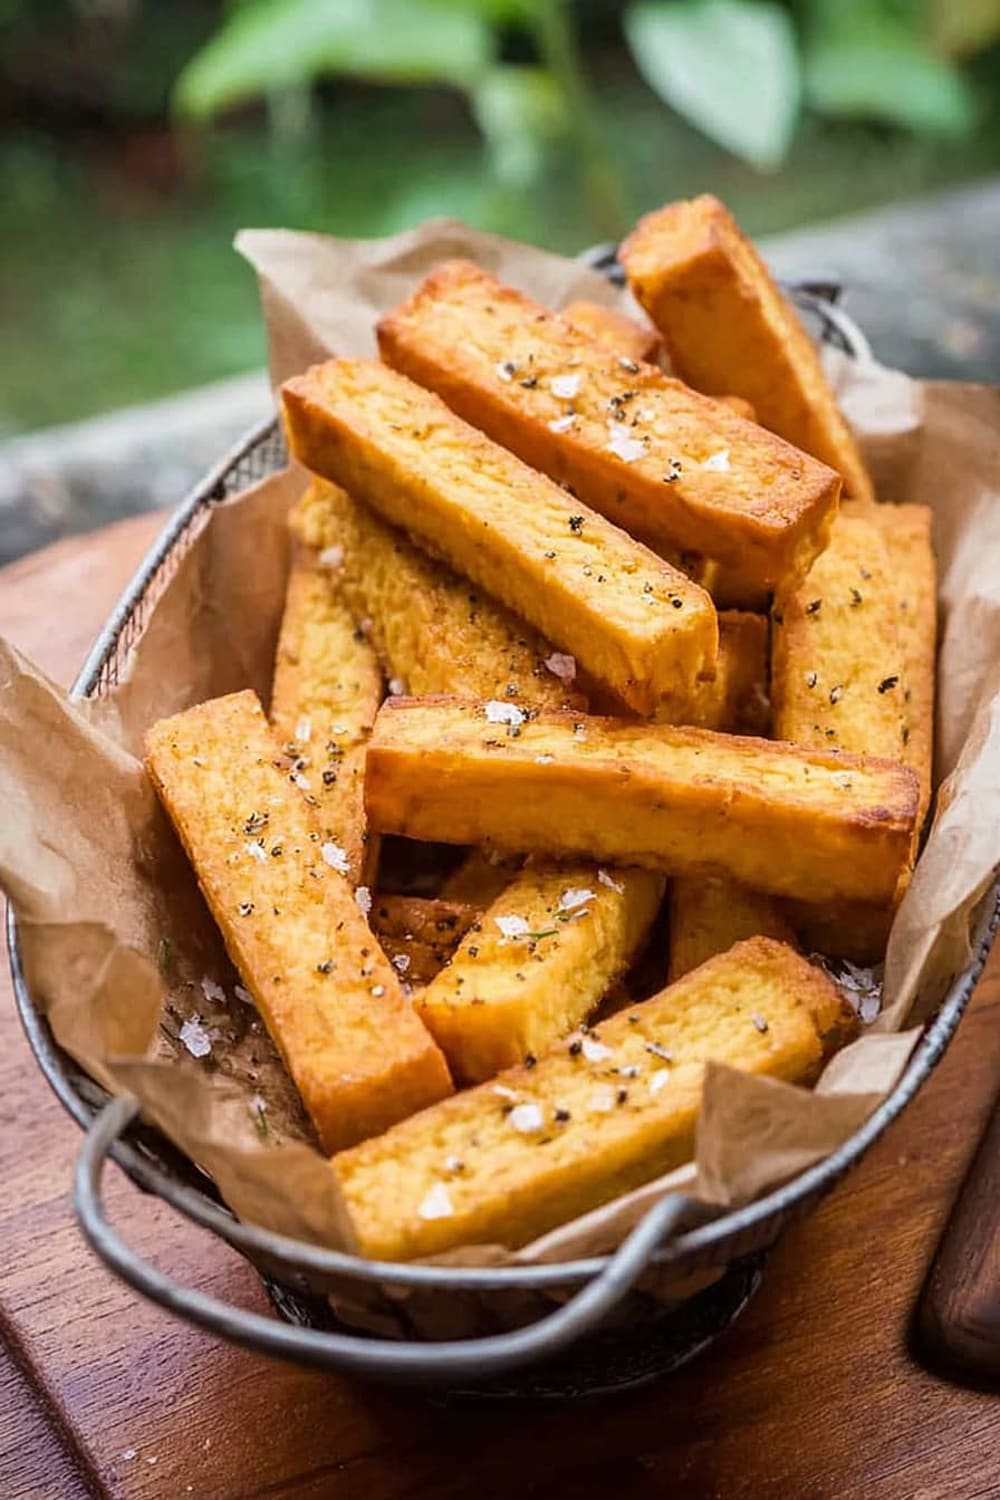
Panisse
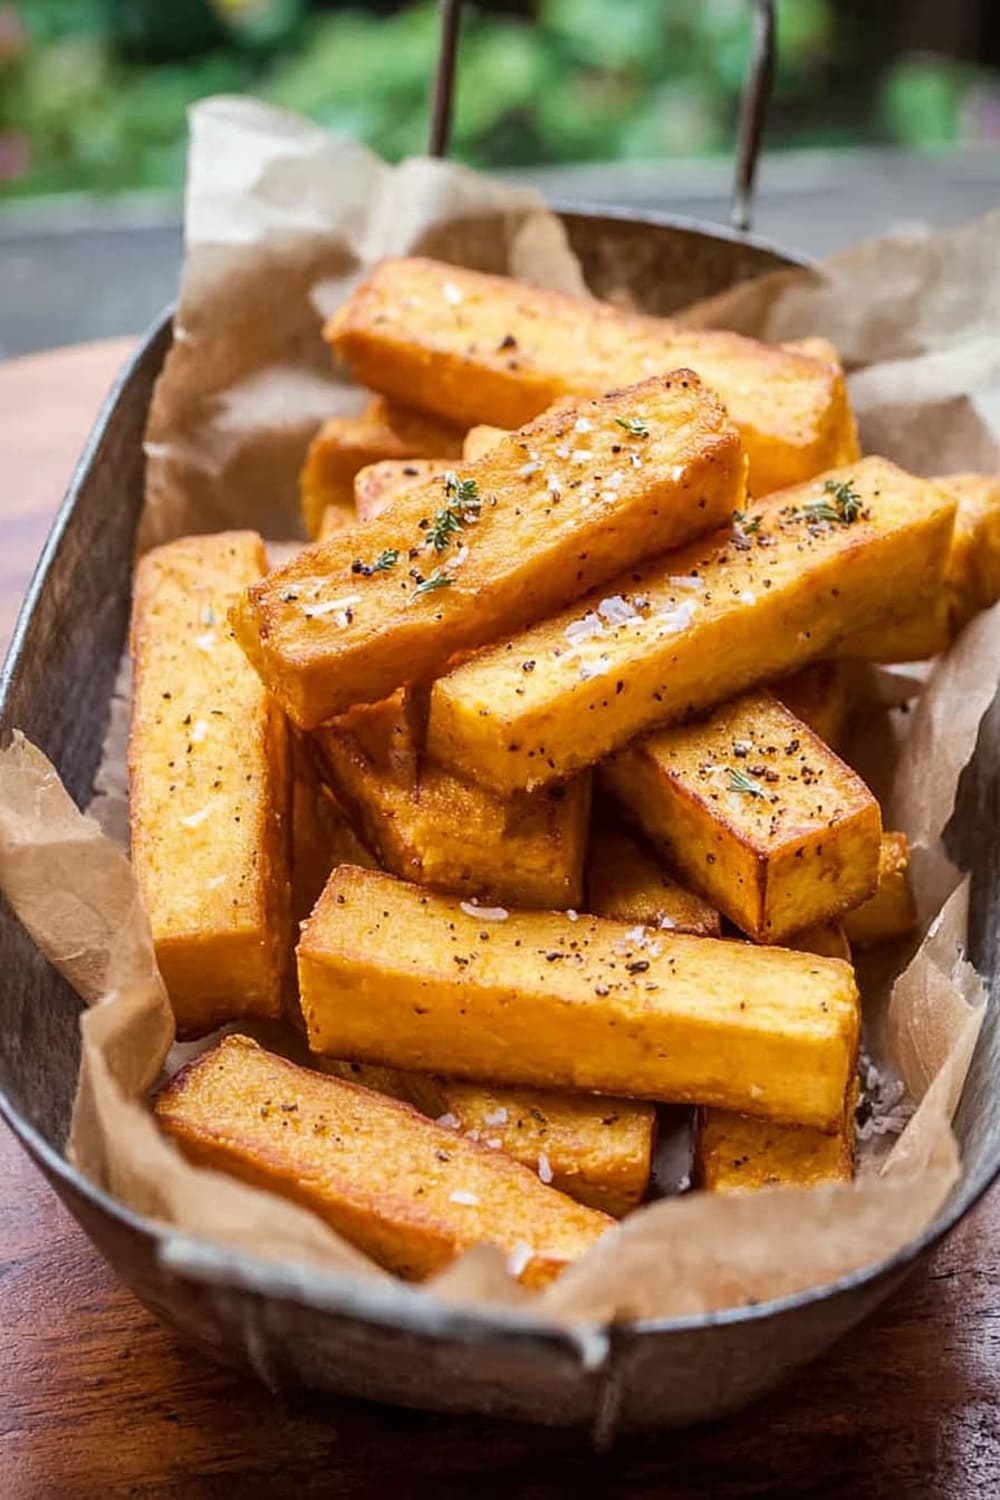
These golden chickpea batons are basically the Mediterranean’s answer to French fries, except they’re gluten-free, packed with protein, and way more impressive at dinner parties.
Picture this: crispy, golden exteriors giving way to creamy, savory centers that taste like a cross between polenta and the world’s most sophisticated comfort food.
This traditional Provençal street food proves that sometimes the simplest ingredients create the most extraordinary results – just chickpea flour, water, and olive oil transform into something that’ll have your guests asking for the recipe.
The best part about panisse is that it’s practically foolproof once you get the hang of the stirring technique, and the active cooking time is surprisingly short for such an impressive result.
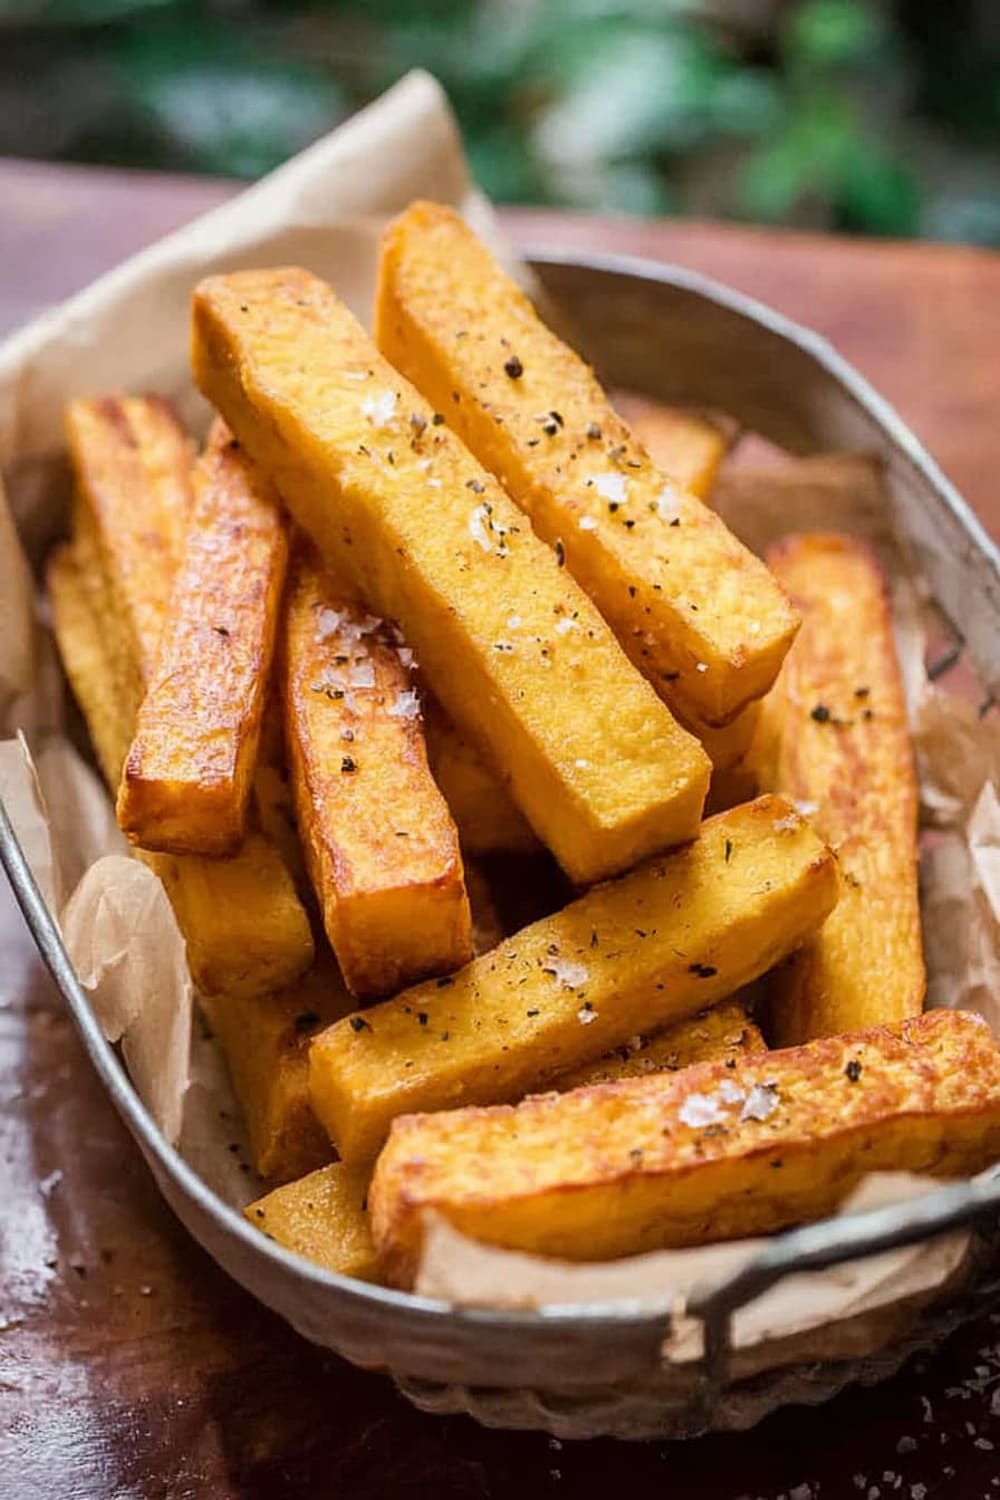
You’ll love how these crispy batons pair with everything from a simple sprinkle of sea salt to fancy aioli, making them perfect for casual snacking or elegant entertaining.
Fair warning: once you master this recipe, you’ll find yourself making excuses to whip up batches because they’re addictively delicious and surprisingly satisfying to make.
Ingredients
For the Panisse Base
- 2 1/4 cups (250g) chickpea flour (also called garbanzo bean flour or besan)
- 1 teaspoon coarse salt
- 2 teaspoons olive oil
- 1 quart (a scant liter) water
For Frying and Serving
- Olive oil for frying (approximately 1-2 cups depending on pan size)
- Coarse salt for seasoning
- Freshly-cracked black pepper for seasoning
Instructions
Prepare the Pan
- 1 Lightly oil a 9-inch (23 cm) square cake pan or similar sized vessel using olive oil. Make sure to coat all sides and corners thoroughly to prevent sticking. A silicone spatula works perfectly for spreading the oil evenly across all surfaces.
Make the Chickpea Mixture
- 2 Pour the chickpea flour into a medium saucepan along with the coarse salt and 2 teaspoons olive oil. Add half of the water and stir with a sturdy whisk until the mixture is completely smooth with no lumps. This initial mixing is crucial – take your time to eliminate any clumps. Gradually whisk in the remaining water until fully incorporated.
Cook the Panisse Base
- 3 Bring the mixture to a boil over high heat, stirring frequently with the whisk until it just begins to boil and thicken. You’ll notice the mixture starting to bubble and become more viscous. Reduce the heat to low-to-medium and continue cooking, stirring constantly with the whisk (or switch to a wooden spoon or spatula if the mixture becomes too thick for the whisk).
- 4 Continue cooking for about 10 minutes, stirring continuously until the mixture thickens dramatically and holds its shape when stirred. The mixture should pull away from the sides of the pan and resemble stiff, sticky mashed potatoes. This constant stirring is essential to prevent lumps and ensure a smooth texture.
Set and Cool
- 5 Immediately scrape the hot mixture into the prepared oiled pan and smooth the top as quickly as possible. Work fast here – the mixture sets quickly as it cools. If the surface is difficult to smooth, dip an offset spatula in water and use it to level the top. For an even smoother finish, fold a kitchen towel on the counter and drop the pan a few times on the towel to help eliminate air bubbles and create a level surface.
- 6 Let the panisse cool completely at room temperature for at least 2 hours or until completely set and firm to the touch. The mixture will transform from a soft, sticky consistency to a firm, sliceable texture that holds its shape when cut.
Cut and Prepare for Frying
- 7 Once completely cooled and set, unmold the solidified mixture onto a cutting board. The panisse should release easily from the oiled pan. Slice the block into three equal rectangles, then use a sharp knife to cut 3/4-inch (2cm) batons. You should end up with approximately 36 pieces.
Fry the Panisse
- 8 In a cast iron skillet or heavy-duty pan, heat 1/3 to 1/2 inch (1.5 cm) of olive oil over medium-high heat. Don’t be stingy with the olive oil – you need enough to properly fry the panisse without them sticking. The oil is ready when it shimmers and a small piece of panisse sizzles immediately when added.
- 9 Fry the panisse in batches, being careful not to overcrowd the pan. Each batch should have plenty of room to cook evenly. Once the bottom is nicely browned and crispy (about 2-3 minutes), use tongs to turn them carefully. Continue frying, turning each piece as the sides become golden brown, until all sides are deep golden brown and crispy. The total frying time will be at least 5 minutes per batch, and remember that the first batch will cook slower than subsequent batches as the oil temperature stabilizes.
- 10 Remove the fried panisse from the pan and drain on paper towels or a brown paper bag. Immediately sprinkle very generously with coarse salt and freshly-cracked pepper – don’t be stingy with the seasoning as this is what makes them truly delicious. Continue frying the remaining batches, adding more oil to the pan as needed to maintain the proper frying depth.
Recommended Equipment and Kitchen Tools
Essential Tools (for best results)
- Cast iron skillet – provides even heat distribution and excellent heat retention for consistent frying temperatures
- Sturdy whisk – essential for creating a smooth, lump-free mixture when combining the chickpea flour and water
- 9-inch square cake pan – the perfect size for setting the panisse to the right thickness for cutting
- Sharp knife – crucial for cutting clean, even batons that fry uniformly
Helpful Upgrades
- Offset spatula – makes smoothing the hot panisse mixture much easier and safer than using a regular spatula
- Kitchen scale – measuring chickpea flour by weight (250g) ensures consistent results every time
- Instant-read thermometer – helps maintain oil temperature between 350-375°F (175-190°C) for perfect frying
- Tongs – essential for safely turning the panisse while frying without breaking the delicate pieces
Nice-to-Have Options
- Silicone spatula – perfect for oiling the pan and scraping every bit of the mixture from the saucepan
- Paper towels or brown paper bags – for draining excess oil and achieving the perfect crispy texture
- Fine-mesh strainer – if you want to strain the chickpea flour before mixing to ensure absolutely no lumps
Recipe Variations and Dietary Modifications
Flavor Variations
- Herbed Panisse – add 2 tablespoons fresh chopped herbs (rosemary, thyme, or sage) to the mixture before cooking
- Spiced Version – incorporate 1 teaspoon ground cumin and 1/2 teaspoon smoked paprika for a North African twist
- Garlic Panisse – add 2-3 minced garlic cloves to the mixture for extra Mediterranean flavor
- Cheese-Enhanced – fold in 1/2 cup grated Parmesan just before pouring into the pan for added richness
Cooking Method Alternatives
- Grilled Panisse – brush cut batons with olive oil and grill over medium heat for 3-4 minutes per side until marked and crispy
- Baked Version – brush with olive oil and bake at 425°F (220°C) for 20-25 minutes, flipping halfway through
- Air Fryer Method – cook at 380°F (195°C) for 8-10 minutes, shaking basket halfway through
Dietary Adaptations
- Lower Sodium – reduce salt to 1/2 teaspoon in the base mixture and use herb seasonings instead of salt for serving
- Oil-Free Cooking – use a non-stick pan with cooking spray for a lighter version, though texture will be less crispy
- Meal Prep Friendly – cut and store unfried panisse in the refrigerator for up to 3 days before frying
Nutritional Information and Health Benefits
Key Nutritional Highlights
Each serving (approximately 4-5 pieces) contains roughly 180-220 calories, with the majority coming from healthy plant-based protein and complex carbohydrates. The chickpea flour provides about 8-10 grams of protein per serving, making panisse an excellent protein source for vegetarians and vegans. The fiber content is impressive at 4-5 grams per serving, supporting digestive health and helping maintain stable blood sugar levels.
Health Benefits of Main Ingredients
Chickpea flour is a nutritional powerhouse, packed with folate, iron, and magnesium. It’s naturally gluten-free and contains all essential amino acids, making it a complete protein source. The high fiber content helps promote satiety and supports healthy cholesterol levels. Olive oil provides heart-healthy monounsaturated fats and vitamin E, while the traditional frying method allows for better absorption of fat-soluble vitamins.
Dietary Considerations
Panisse is naturally gluten-free, dairy-free, and vegan, making it suitable for most dietary restrictions. The legume-based flour provides complex carbohydrates that digest slowly, helping maintain steady energy levels. Those with chickpea allergies should avoid this recipe, and individuals following low-FODMAP diets should consume in moderation as chickpeas can be problematic for some people with digestive sensitivities.
Smart Swaps and Ingredient Substitutions
Common Substitutions:
- Chickpea flour → Besan or garbanzo bean flour (1:1 ratio) – these are the same ingredient with different names
- Coarse salt → Fine sea salt (use 3/4 teaspoon instead of 1 teaspoon) for a more refined flavor
- Olive oil for frying → Avocado oil or grapeseed oil (1:1 ratio) for higher smoke point cooking
Budget-Friendly Swaps:
- Extra virgin olive oil → Regular olive oil for frying (save the expensive stuff for finishing)
- Specialty coarse salt → Kosher salt or regular sea salt works perfectly fine
- Fresh herbs → Dried herbs (use 1/3 the amount) for flavored variations
Pantry Emergency Substitutions:
- Chickpea flour → Lentil flour (1:1 ratio) though texture will be slightly different
- Coarse salt → Table salt (use 1/2 teaspoon) but add gradually to taste
- Olive oil → Vegetable oil for frying, though flavor will be more neutral
Pro Tips for Substitutions:
- Store opened chickpea flour in the refrigerator to prevent rancidity and extend shelf life
- When using different oils for frying, adjust temperature slightly as smoke points vary
- If substituting flours, expect slight texture differences but the basic technique remains the same

Make It Diabetes-Friendly
Carb Content Modifications:
- Standard serving contains approximately 25-30g carbohydrates from chickpea flour
- Reduce portion size to 2-3 pieces instead of 4-5 to cut carbs to 15-20g per serving
- Add fiber boost by incorporating 1 tablespoon ground flaxseed to increase fiber and slow carb absorption
Cooking Method Adjustments:
- Bake instead of frying to eliminate added fats and reduce overall calories
- Use cooking spray instead of oil for a lighter preparation method
- Air fry option provides crispy texture with minimal added fats
Portion & Timing Tips:
- Serve with protein like grilled chicken or fish to balance blood sugar response
- Pair with high-fiber vegetables such as roasted broccoli or mixed greens
- Eat as part of a balanced meal rather than as a standalone snack
- Monitor portions – stick to 2-3 pieces to keep carbohydrates in check
Total Carb Reduction: Using these modifications can reduce carbohydrates by 30-40% while maintaining the satisfying texture and flavor.
Perfect Pairing Suggestions
Beverage Pairings
A crisp Provençal rosé or Sancerre complements the Mediterranean flavors beautifully, while the acidity cuts through the richness of the fried chickpea flour. For beer lovers, a Belgian wheat beer or light lager provides refreshing contrast. Non-alcoholic options include sparkling water with lemon or iced herbal tea – mint or chamomile work particularly well with the earthy chickpea flavors.
Side Dish Recommendations
Panisse pairs wonderfully with ratatouille or roasted Mediterranean vegetables for a complete Provençal experience. A simple arugula salad with lemon vinaigrette provides peppery contrast to the mild chickpea flavor. Tapenade or aioli make excellent dipping sauces, while marinated olives and roasted red peppers create an authentic Mediterranean mezze spread.
Complete Meal Ideas
Build a stunning appetizer platter by serving panisse alongside hummus, baba ganoush, and fresh vegetables. For a main course, pair with grilled fish or herb-crusted chicken and sautéed greens. The neutral flavor makes panisse an excellent base for topped appetizers – try them with goat cheese and sun-dried tomatoes or ricotta and fresh herbs.
Occasion Suggestions
Perfect for casual entertaining or Mediterranean-themed dinner parties, panisse works equally well as cocktail party appetizers or family-style side dishes. They’re excellent for outdoor dining and picnic spreads since they’re delicious at room temperature and travel well.
Pro Tips and Troubleshooting
Professional Techniques
The key to smooth panisse is constant stirring during the cooking phase – never stop moving that whisk or wooden spoon, or you’ll end up with lumps. Use a heavy-bottomed saucepan to prevent scorching, and don’t rush the cooling process. The mixture needs to be completely set before cutting, or your batons will fall apart during frying. When frying, maintain oil temperature between 350-375°F (175-190°C) for optimal crispiness.
Common Mistakes and Solutions
If your mixture is lumpy, strain it through a fine-mesh sieve before cooking. Panisse that falls apart during frying usually wasn’t cooled long enough – let it set for at least 2 hours. If the exterior isn’t getting crispy enough, your oil temperature is too low or you’re overcrowding the pan. Soggy panisse results from insufficient draining – always use paper towels and season immediately while hot.
Storage and Make-Ahead
Unfried panisse keeps in the refrigerator for up to 5 days when wrapped tightly. Cut batons can be stored between parchment paper layers to prevent sticking. Fried panisse are best served immediately but can be reheated in a 400°F (200°C) oven for 5-7 minutes to restore crispiness. For entertaining, prepare the base up to 3 days ahead and fry just before serving.
Scaling and Presentation
This recipe doubles easily – just use a larger pan or two standard pans. For elegant presentation, cut into smaller 1/2-inch batons for cocktail parties, or leave in larger pieces for family-style serving. Garnish with fresh herbs, lemon zest, or flaky sea salt for restaurant-quality presentation.
This traditional Provençal street food proves that the most memorable dishes often come from the simplest ingredients, and once you’ve mastered the technique, you’ll find yourself turning to panisse whenever you want to impress guests with minimal effort and maximum flavor.