Pão de Queijo (Brazilian Cheese Bread)
Get ready for a bite of Brazilian heaven!
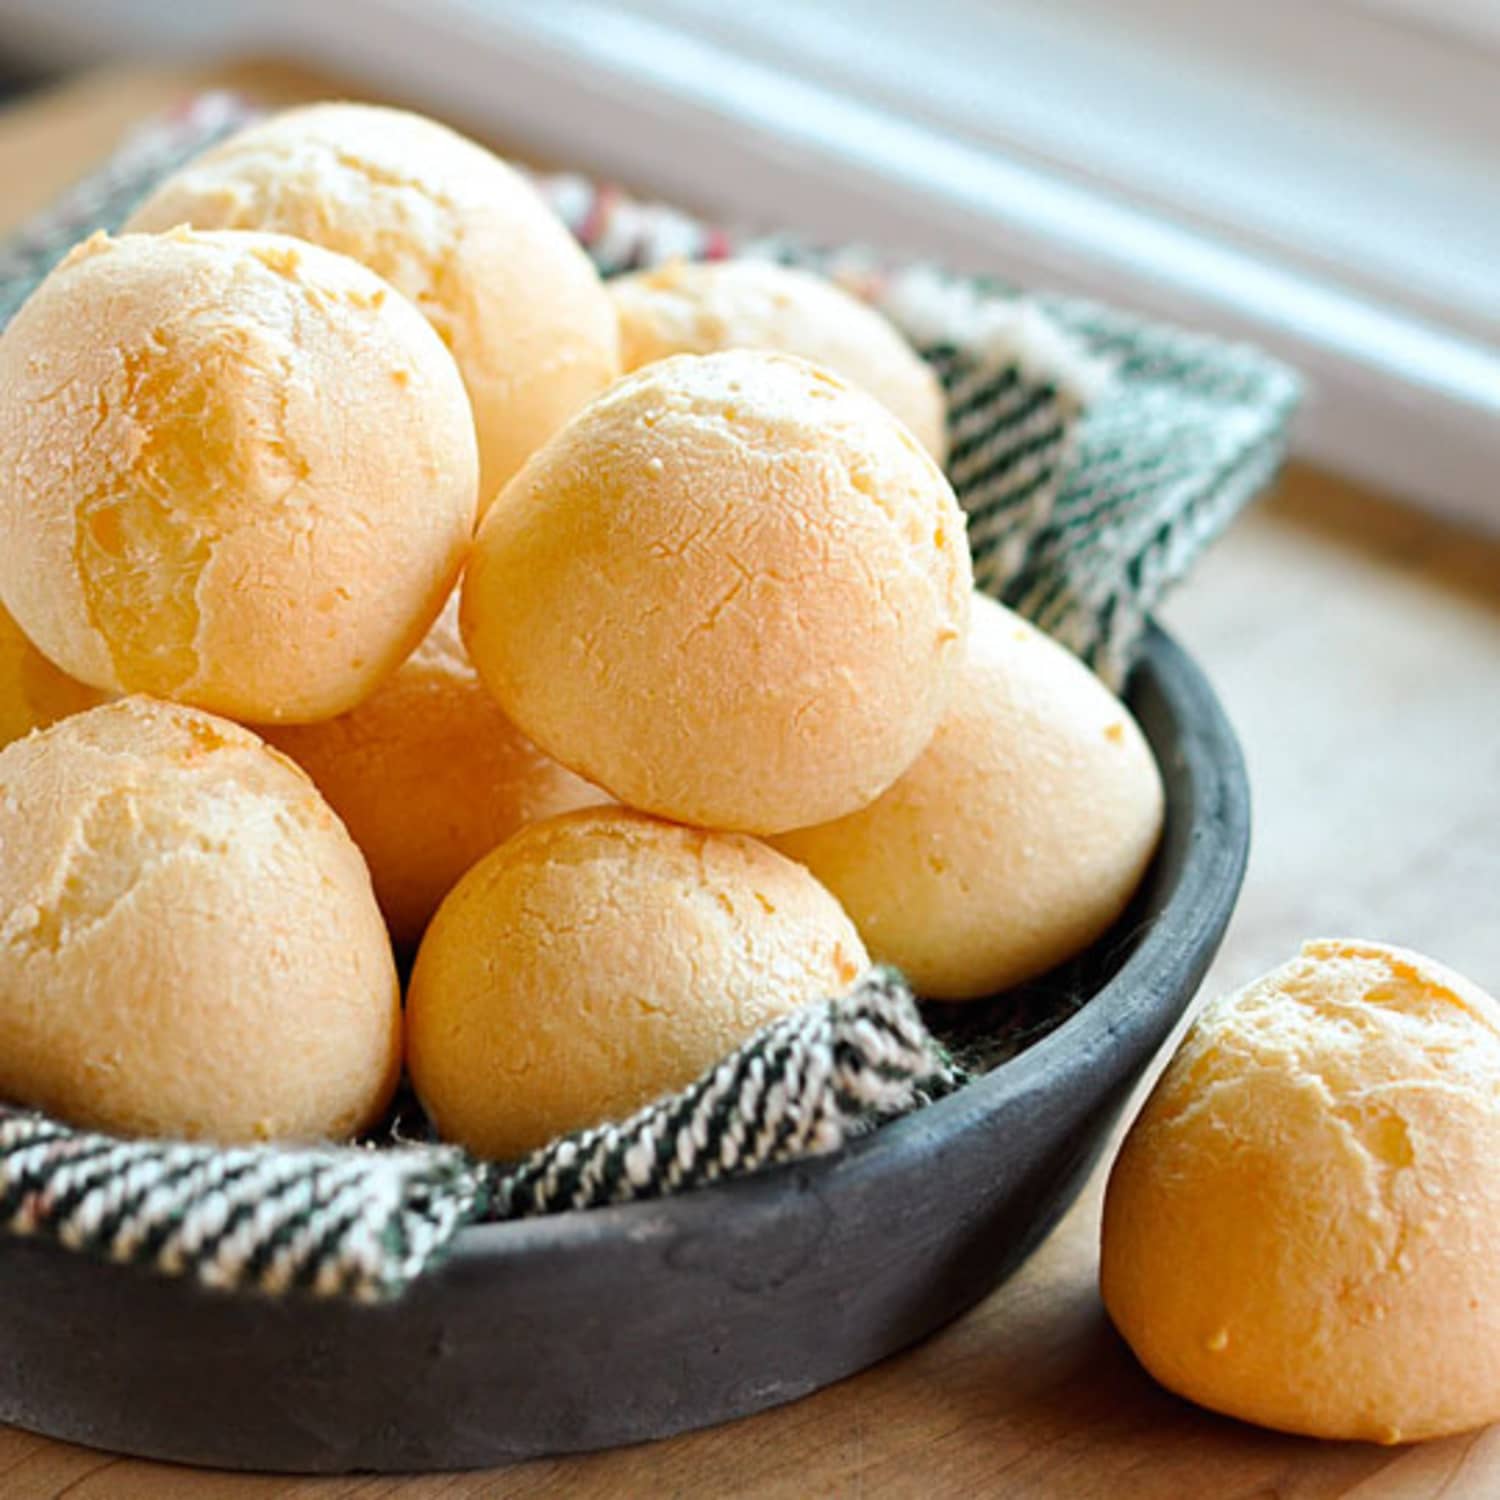
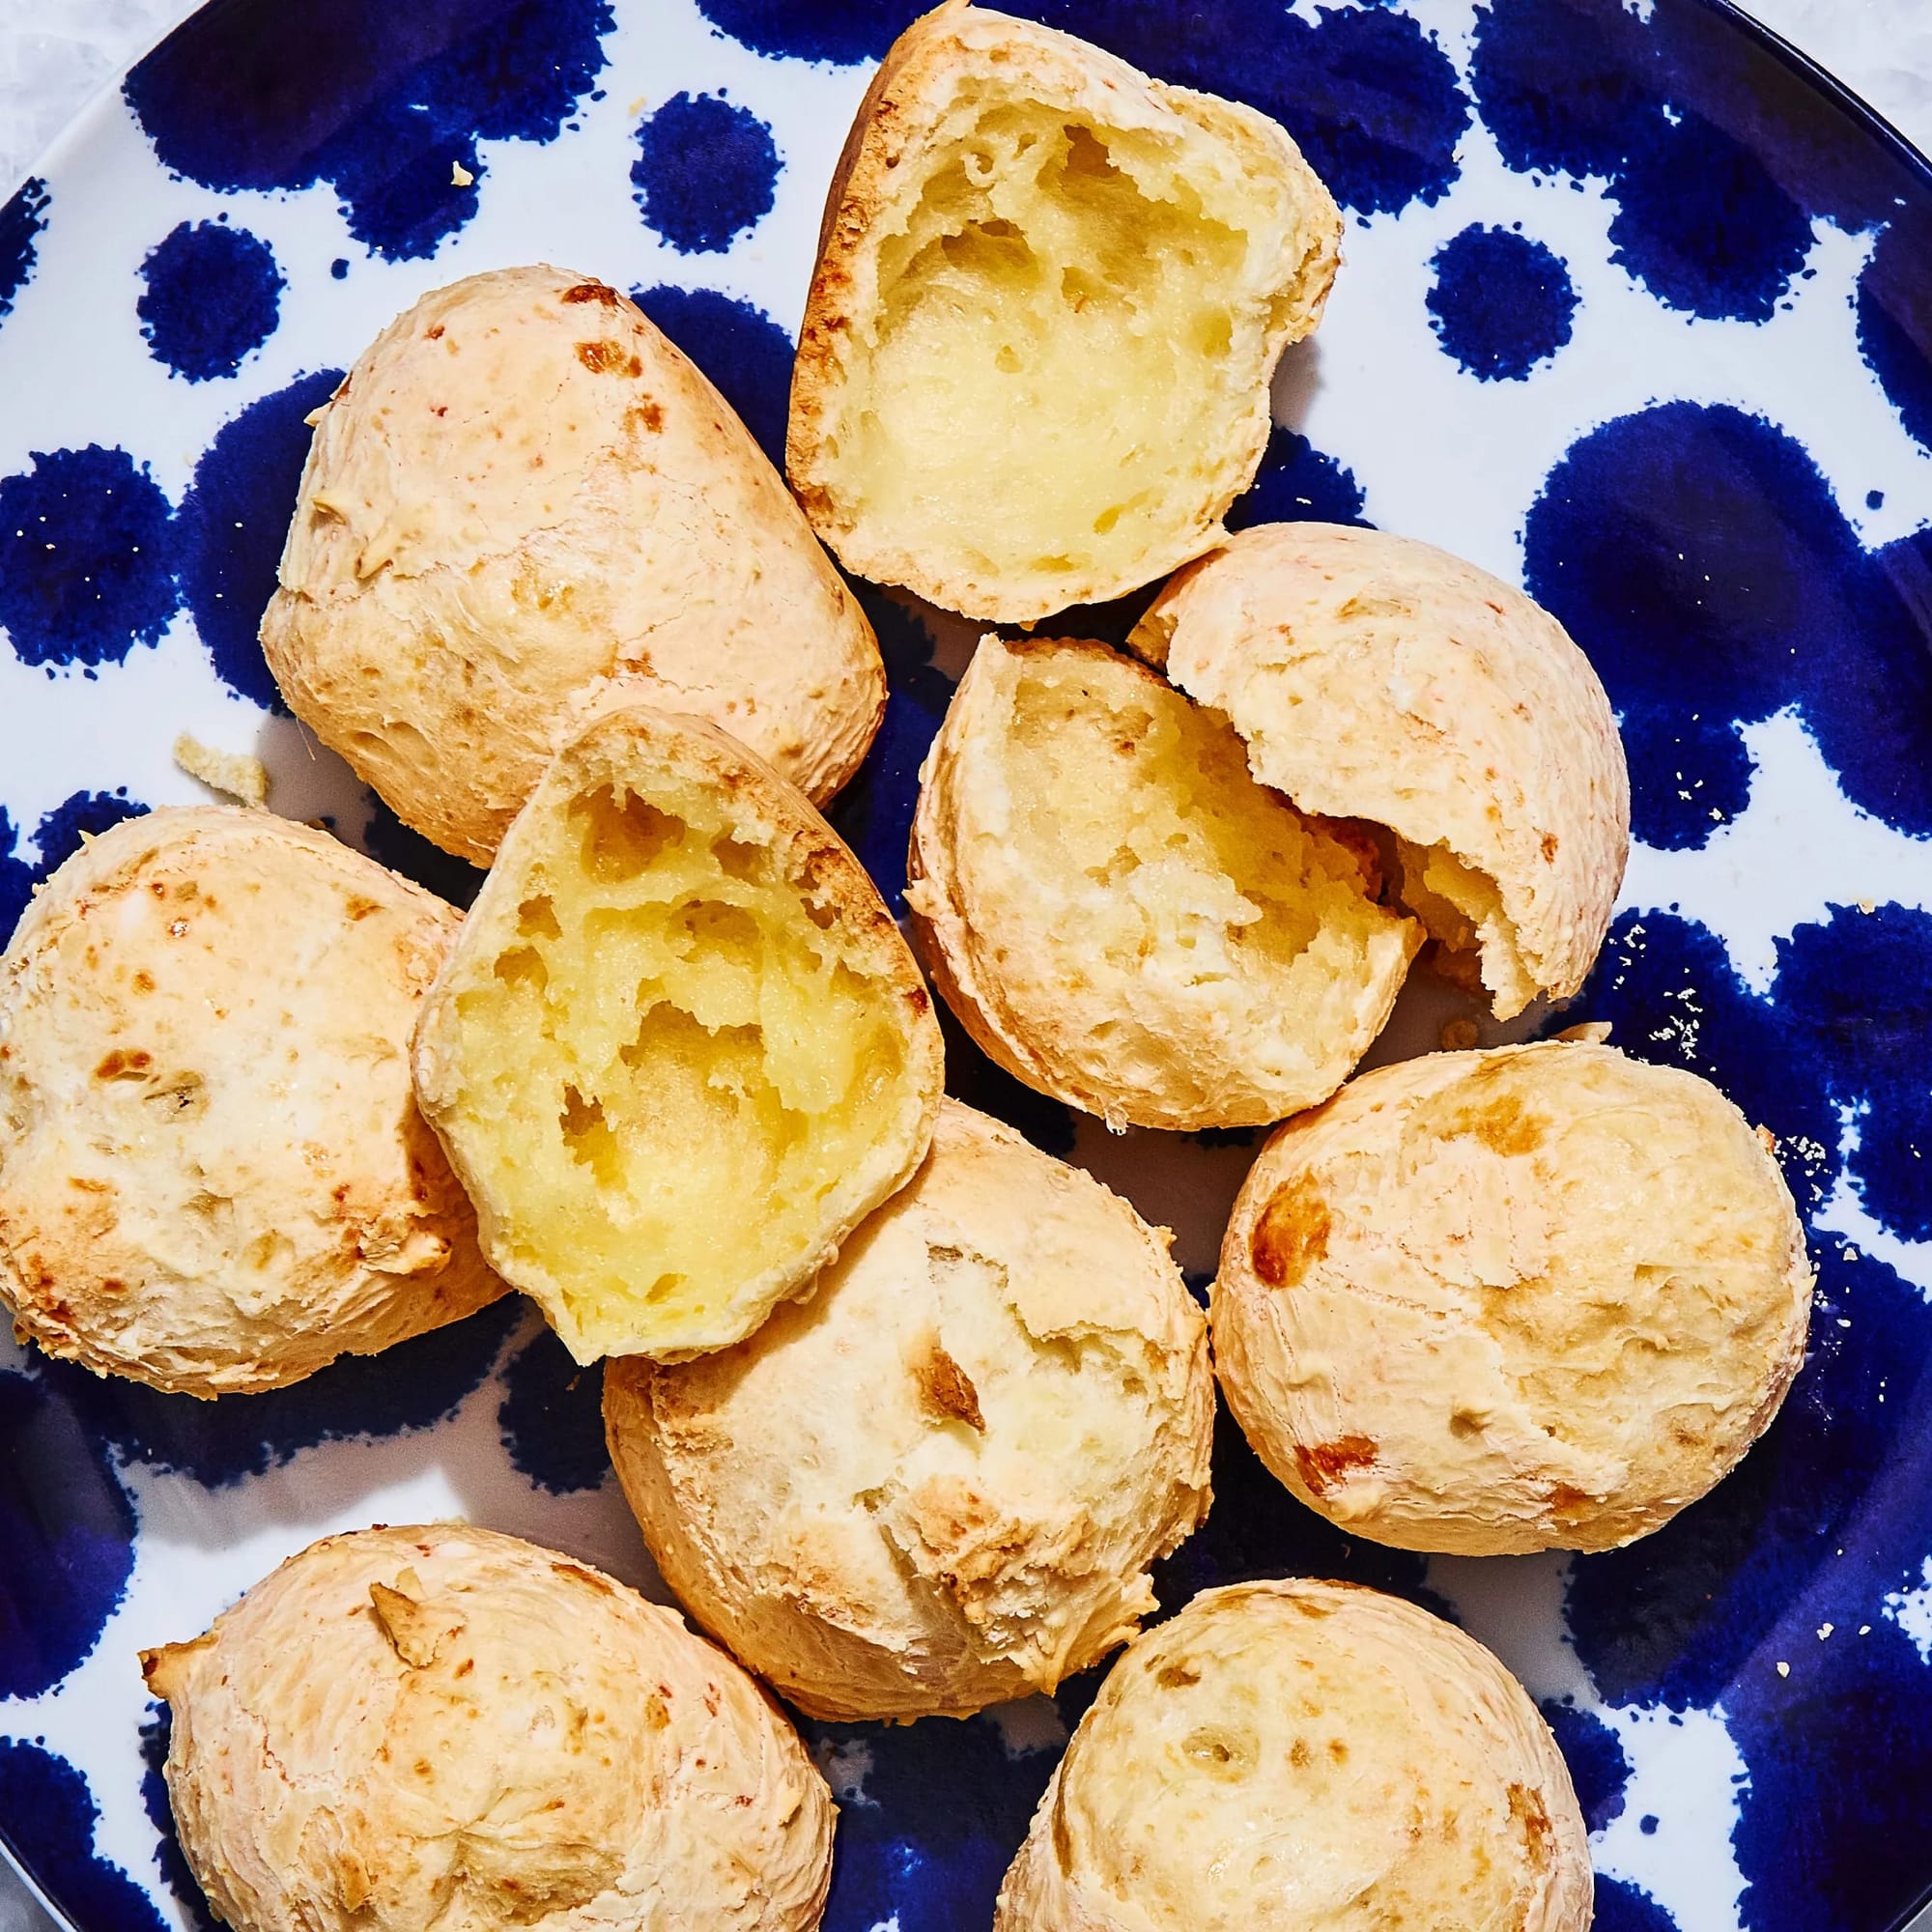
These little cheese puffs are crispy on the outside, chewy on the inside, and completely addictive from the first warm, cheesy bite.
If you’ve never tried pão de queijo before, you’re in for a treat that will make you wonder where these have been all your life.
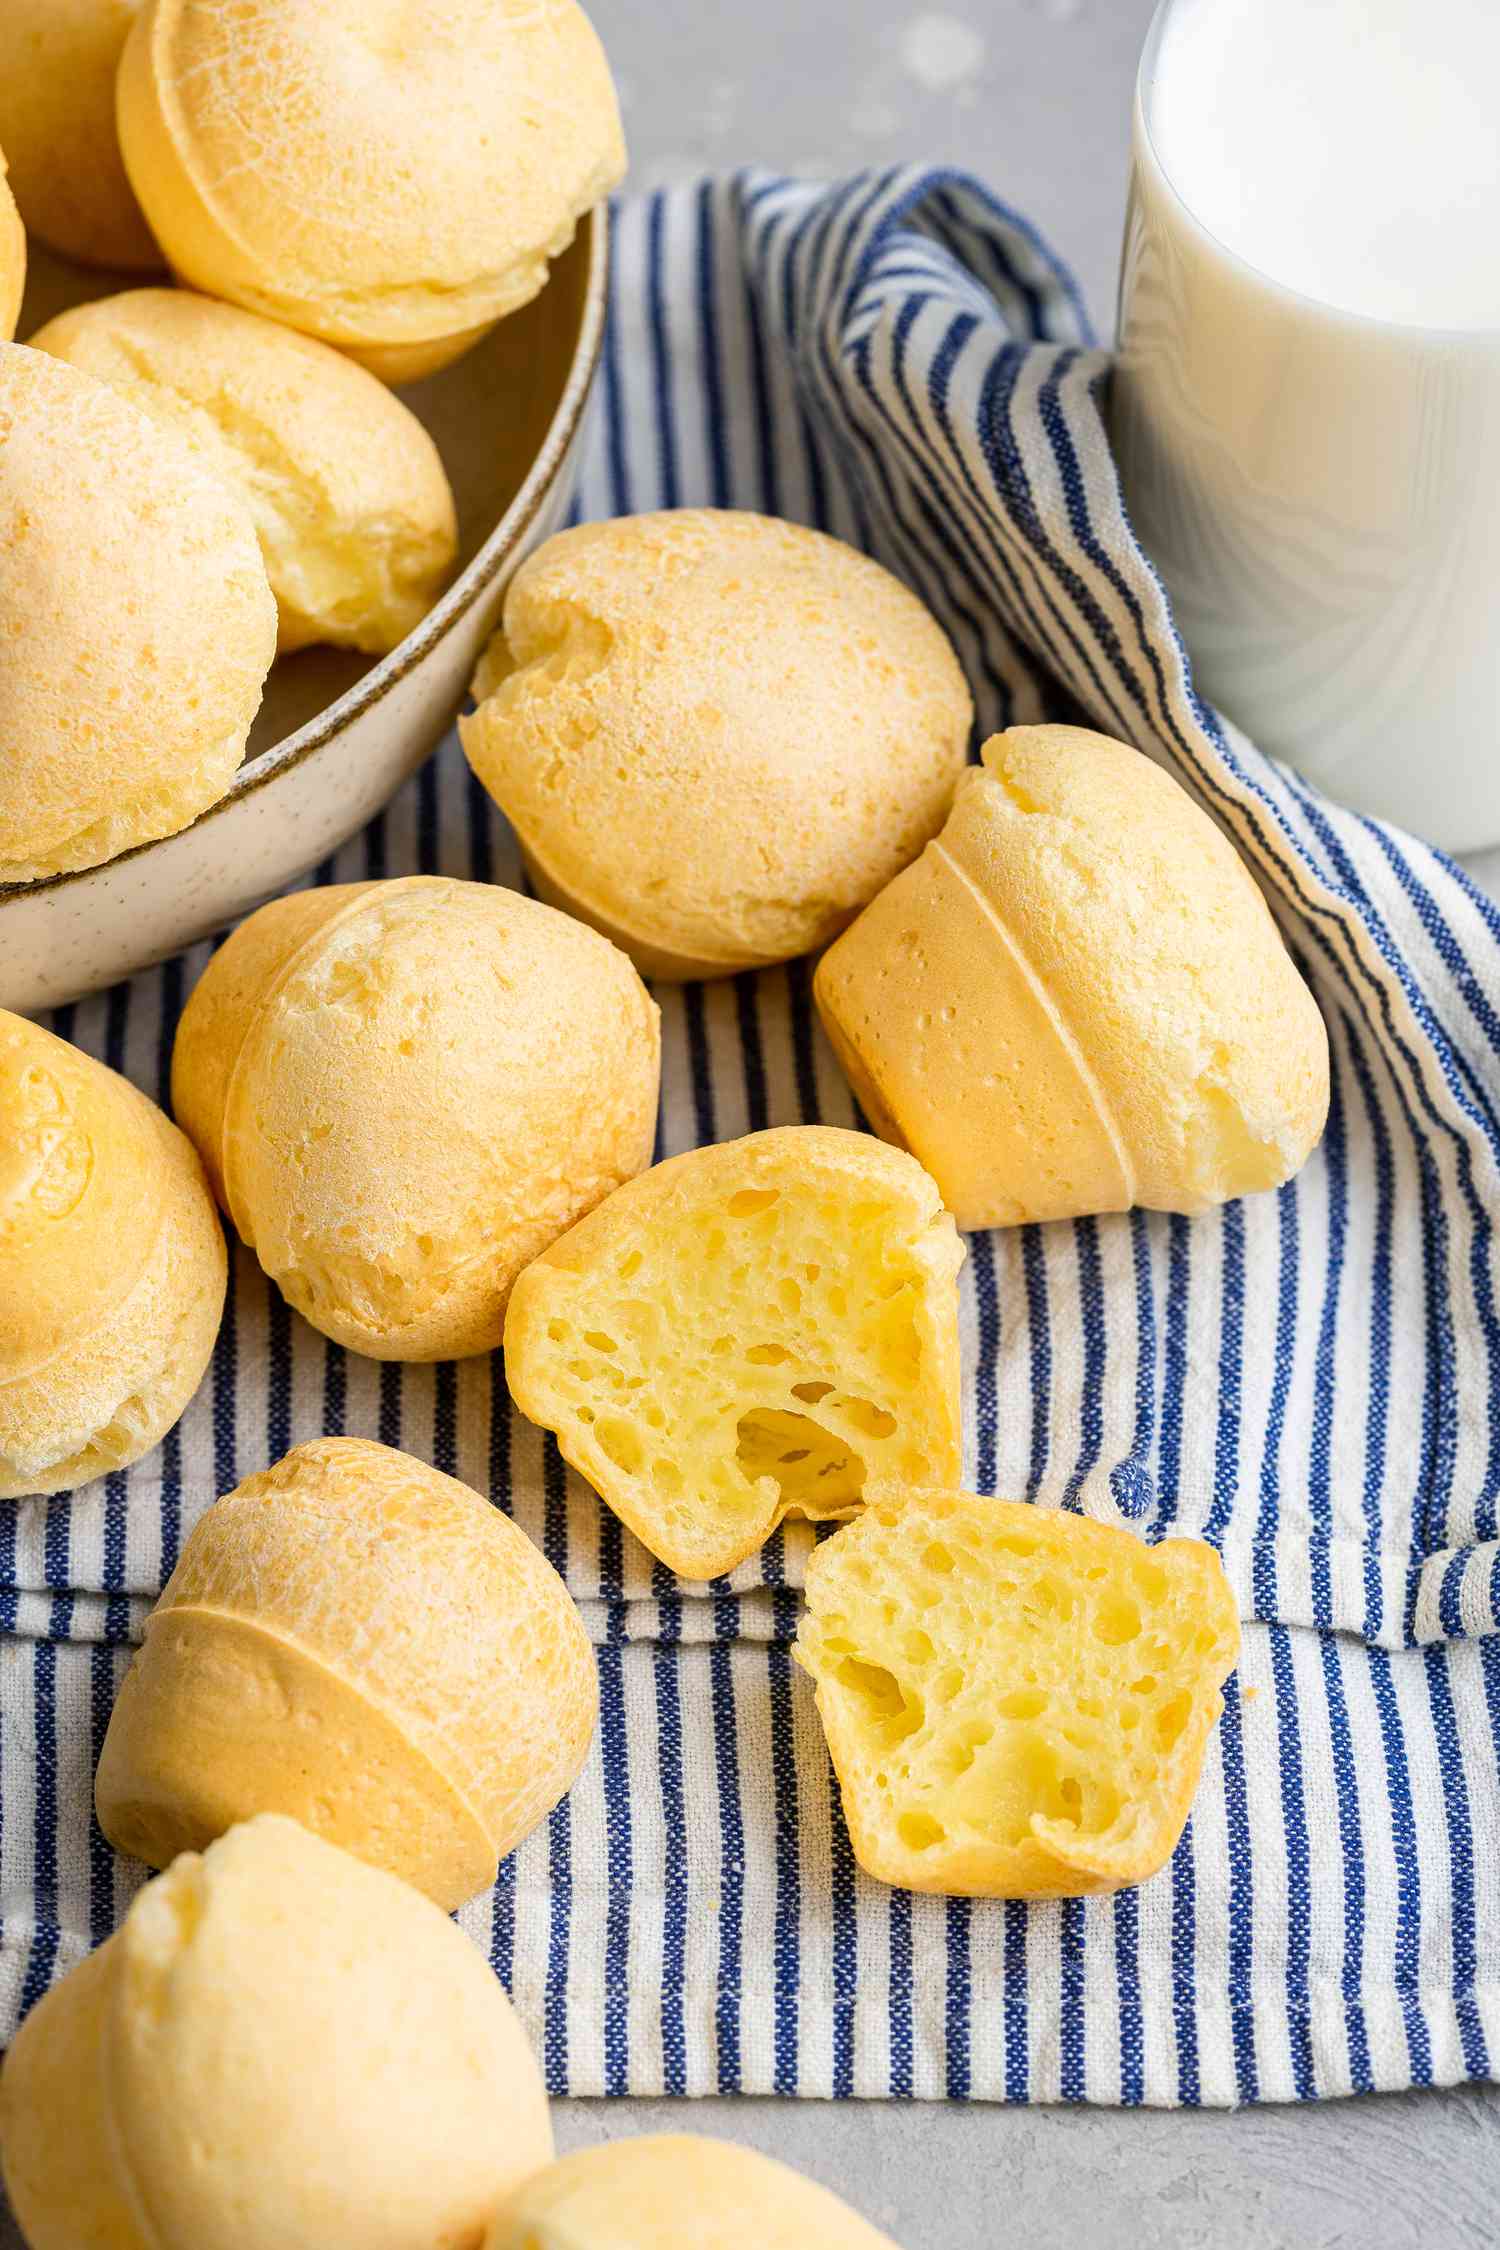
What makes these irresistible morsels so special is their unique texture – somewhere between bread and a chewy pastry – thanks to tapioca flour.
They’re naturally gluten-free, ridiculously easy to make (just blend and bake!), and perfect for everything from breakfast to midnight snacking.
The best part?
You only need 6 ingredients and about 20 minutes to bring a taste of Brazil straight to your kitchen.

Ingredients
- 1 large egg, room temperature
- 1/3 cup extra virgin olive oil, plus more for greasing the pan
- 2/3 cup milk
- 1 1/2 cups (170 g) tapioca flour
- 1/2 cup (66 g) packed grated or crumbled cheese, your preference
- 1 teaspoon salt (or more to taste)
Steps

- Preheat and prepare: Set your oven to 400°F (205°C). Lightly oil each well of a non-stick mini muffin tin, making sure to coat the sides evenly. This prevents sticking and helps create that perfect crispy exterior.
- Blend the ingredients: Add all ingredients to a blender and pulse until completely smooth, about 30-45 seconds. You’ll likely need to stop once or twice to scrape down the sides with a spatula. The batter should be the consistency of a thick, pourable cake batter – not too thick or too runny.
- Make-ahead tip: At this point, you can cover the batter and refrigerate for up to 1 week. Before baking, let it come to room temperature (about 30 minutes) and whisk to recombine.
- Fill the muffin tin: Pour the batter into each prepared well, filling to about 1/8 inch from the top. Don’t overfill or the cheese breads may overflow during baking. A small cookie scoop works perfectly for mess-free portioning.
- Bake to perfection: Place in the preheated oven and bake for 15-20 minutes until puffy and golden brown. Check at the 15-minute mark – they should be well-risen with a slightly cracked top and golden edges. Underbaking will result in a gummy interior, while overbaking can make them too dry.
- Cool briefly: Remove from the oven and let cool on a rack for 3-5 minutes. This allows them to set slightly but ensures you still enjoy them while warm and at their most delicious. If they stick, gently loosen the edges with a butter knife.
- Serve and store: Enjoy while warm or at room temperature. The texture should be chewy and slightly elastic, similar to Japanese mochi. Store leftovers in an airtight container at room temperature for 1 day or in the refrigerator for up to 1 week. To reheat, microwave for 10-15 seconds or place in a 300°F (150°C) toaster oven for 1-2 minutes until warmed through. For longer storage, freeze for up to 1 month and reheat directly from frozen in a 325°F (165°C) oven until crisp and heated through, about 5-7 minutes.

Smart Swaps
- Parmesan cheese can be swapped for mozzarella (or any cheese you prefer) – each creates a different flavor profile
- Coconut milk instead of regular milk works beautifully for a dairy-sensitive version (keep the cheese if you can tolerate it)
- Add 1 tablespoon fresh herbs (chopped rosemary, thyme, or chives) to the batter for an aromatic twist
Make It Diabetes-Friendly
- Tapioca flour is naturally lower on the glycemic index than wheat flour
- Use unsweetened almond milk instead of regular milk to reduce carbs by approximately 6g per batch
- Add 1 tablespoon ground flaxseed to the batter to increase fiber, which helps slow carbohydrate absorption
- Pair with protein to further reduce glycemic impact
- Keep portions small – 2 mini puffs makes a satisfying serving with approximately 15g of carbs
Pro Tips
- For the best cheese flavor, try a mix of sharp cheddar and parmesan (¼ cup of each)
- The batter will seem very liquid – that’s normal! Trust the process
- Let the mini muffin tin cool completely before washing to prevent warping
- If you don’t have a mini muffin tin, you can make larger puffs in a regular muffin tin – just increase baking time by 5-7 minutes
- For a crispier exterior, brush the tops with a tiny bit of olive oil before baking