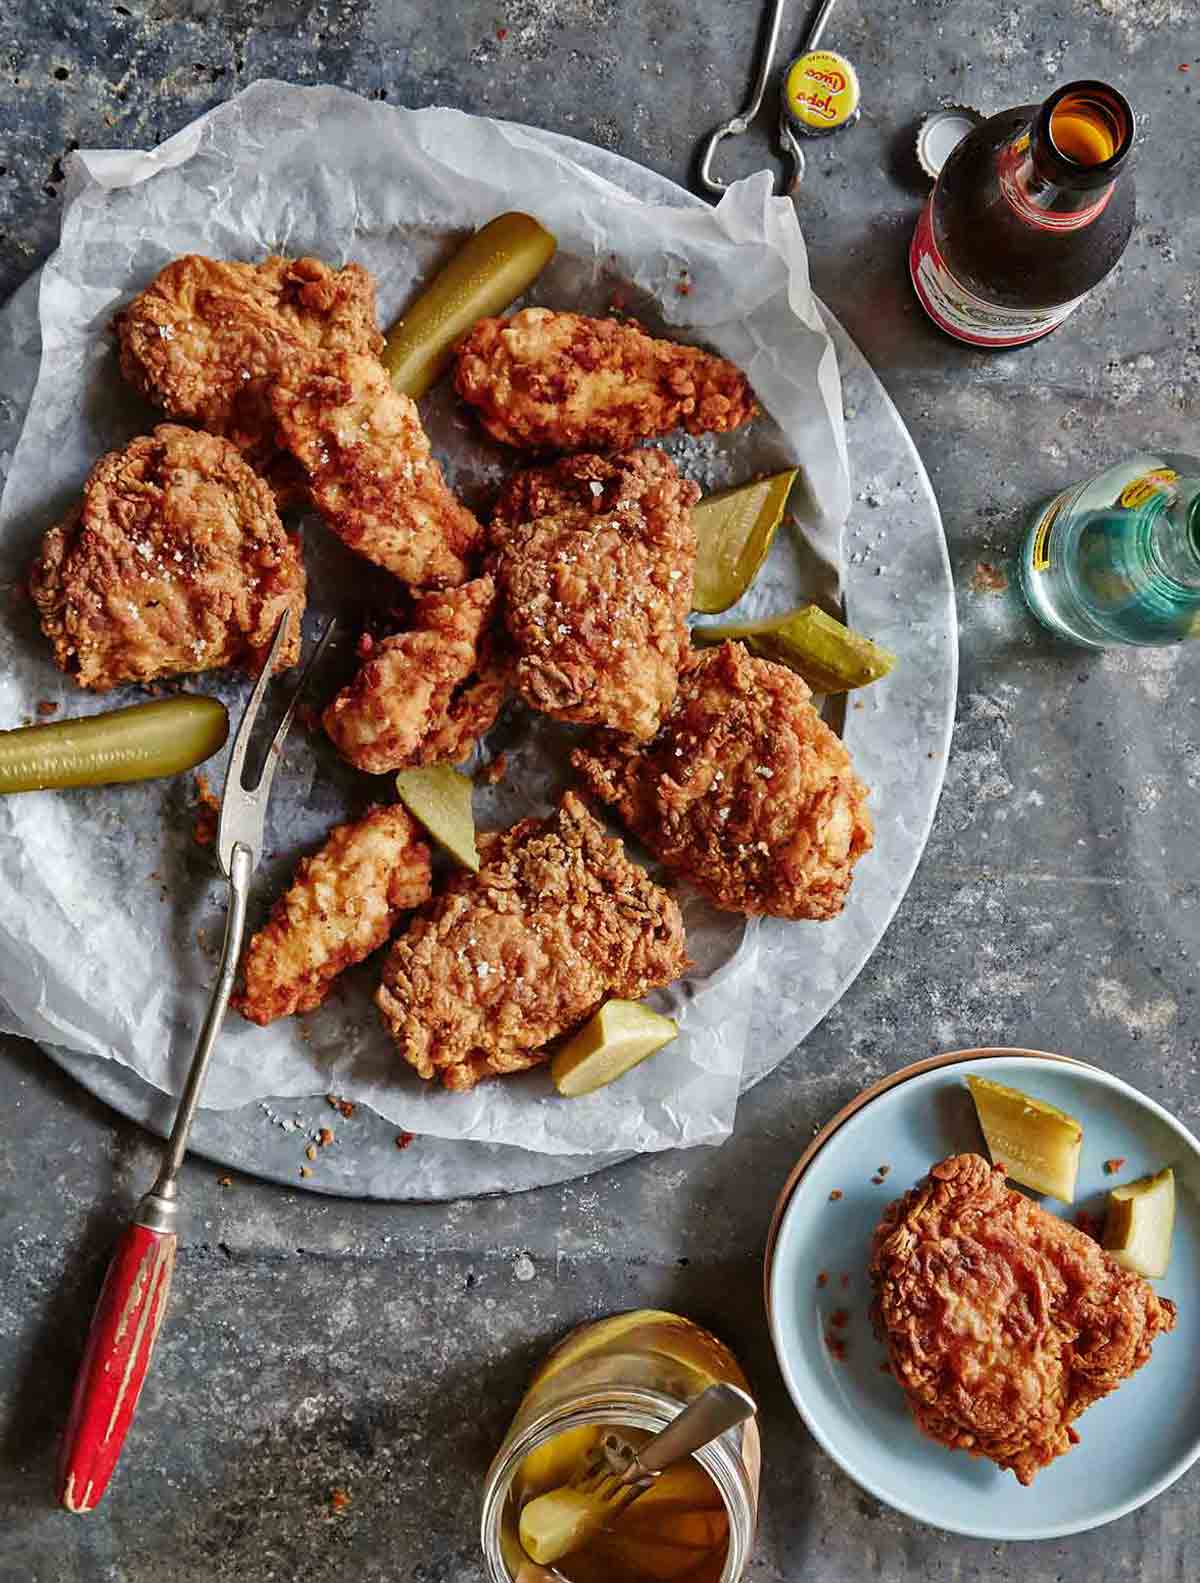
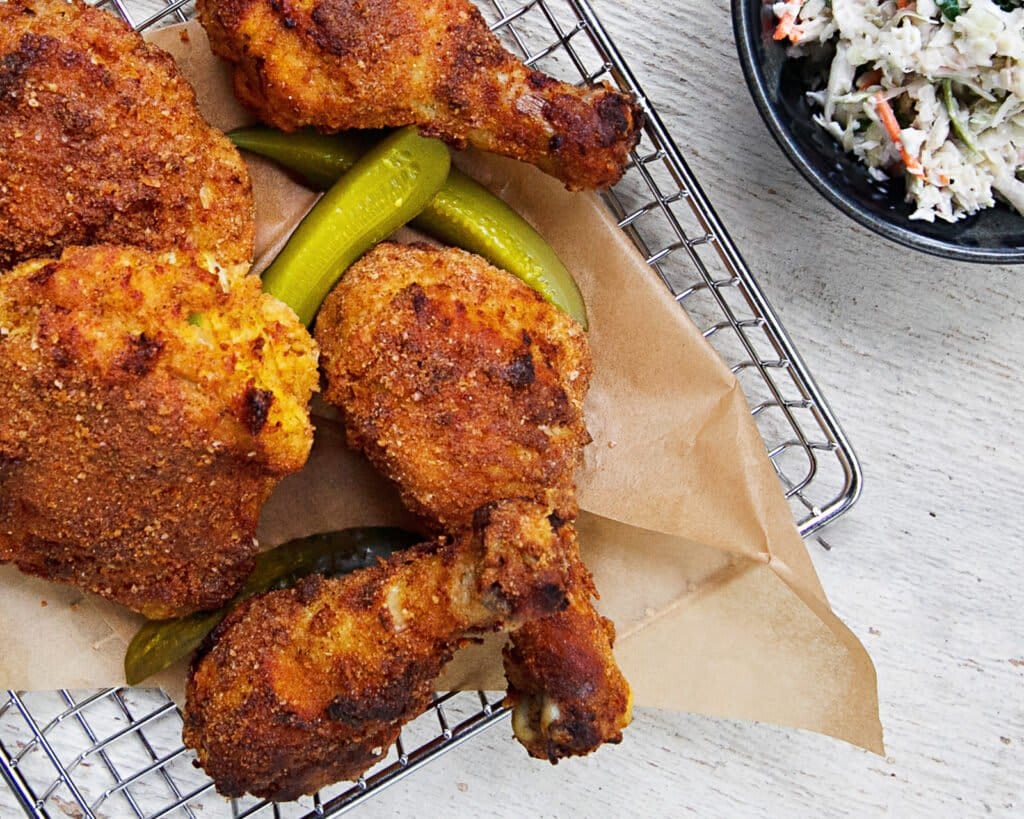
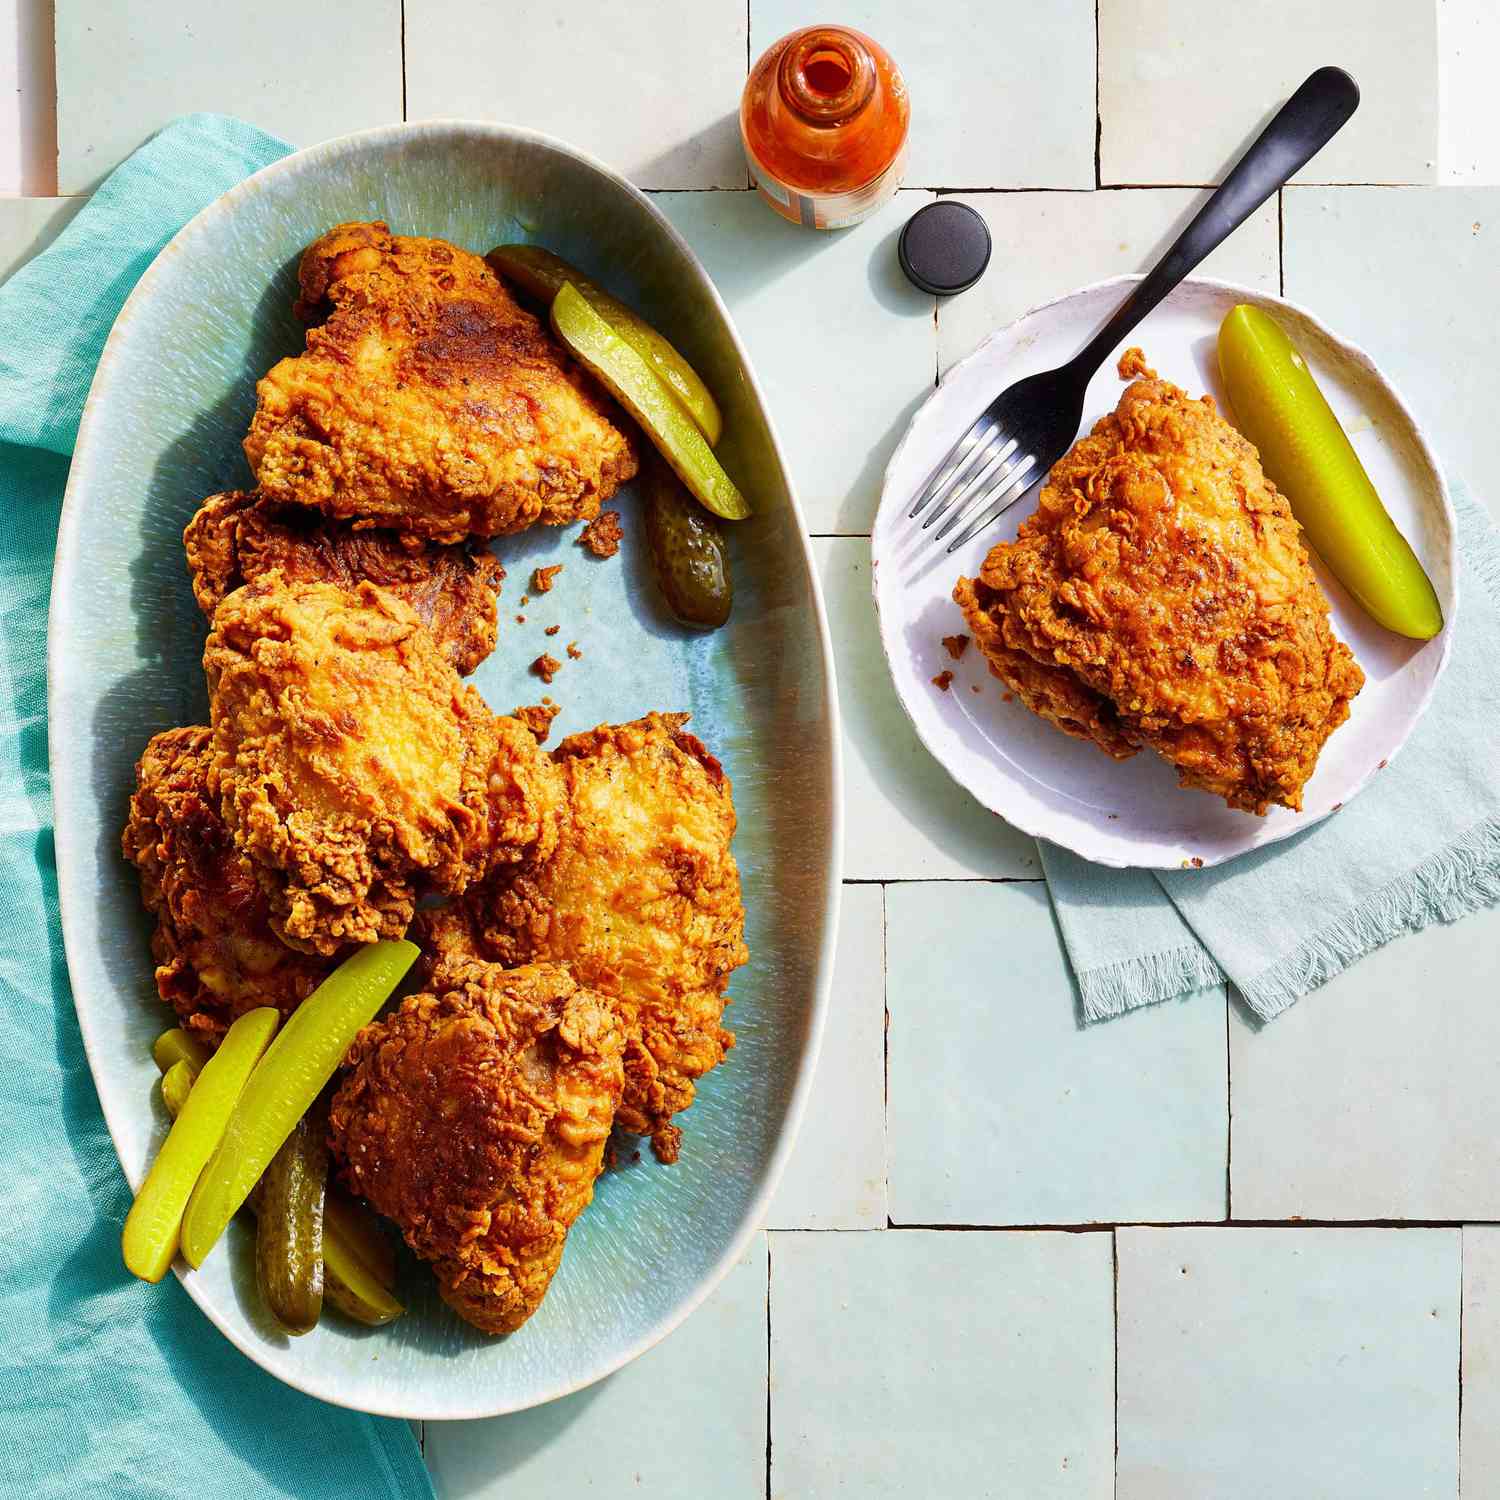
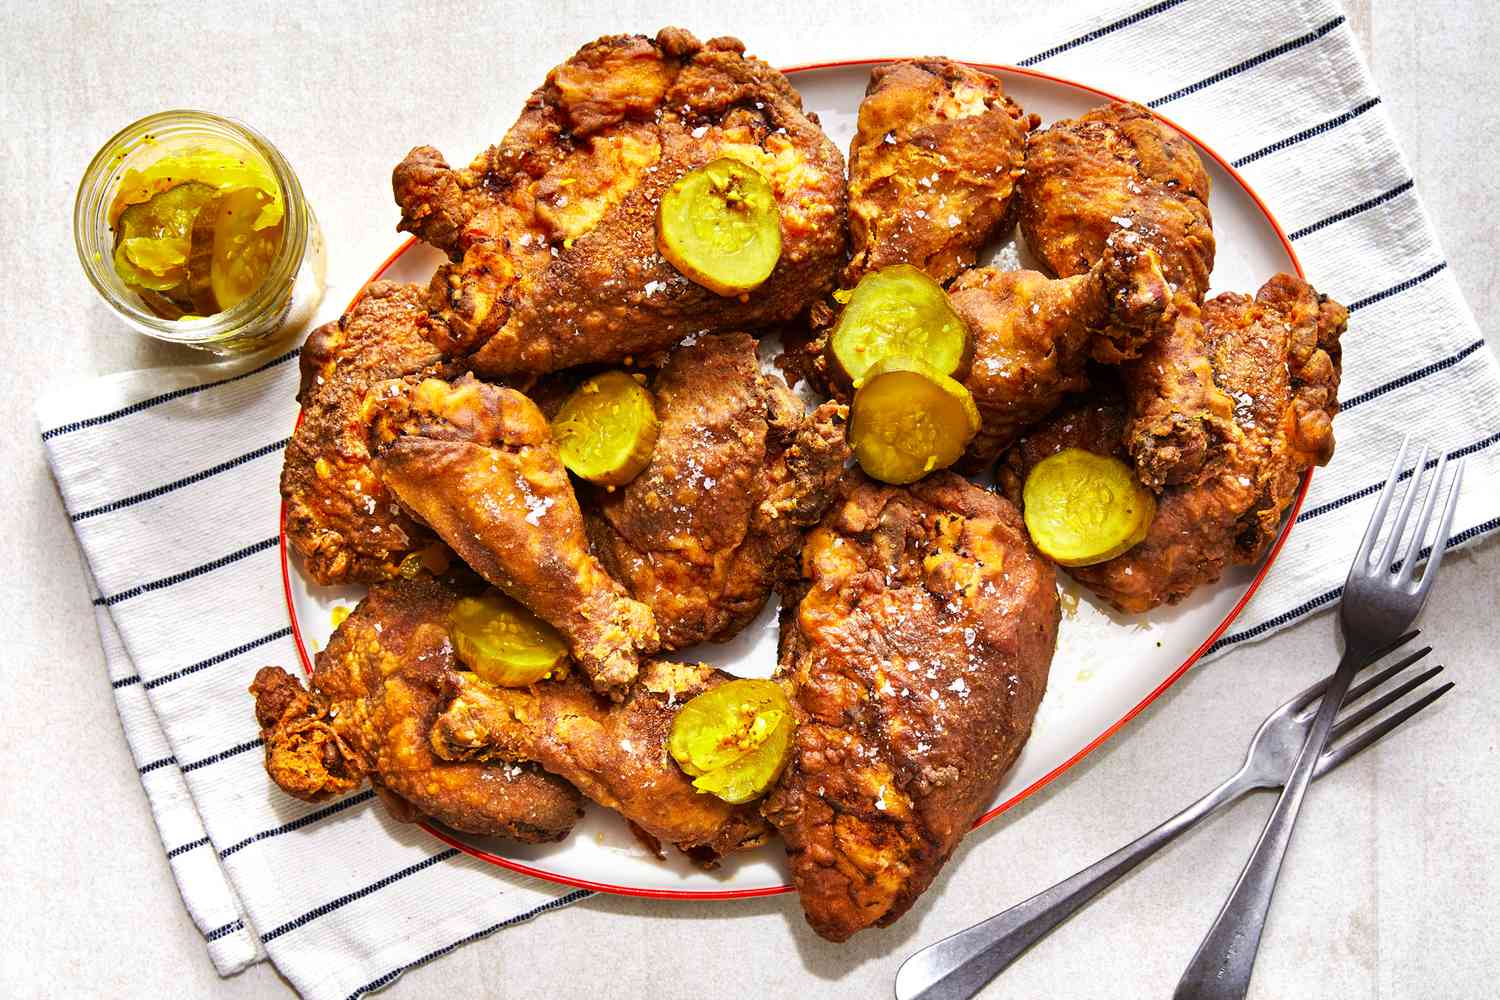
Pickle Brined Fried Chicken
Get ready for the crunchiest, juiciest fried chicken you’ve ever sunk your teeth into! This pickle-brined chicken delivers that perfect combination of tangy, savory goodness with a crackling exterior that’ll make your taste buds do a happy dance. The secret? That dill pickle juice brine that transforms ordinary chicken thighs into something extraordinary.
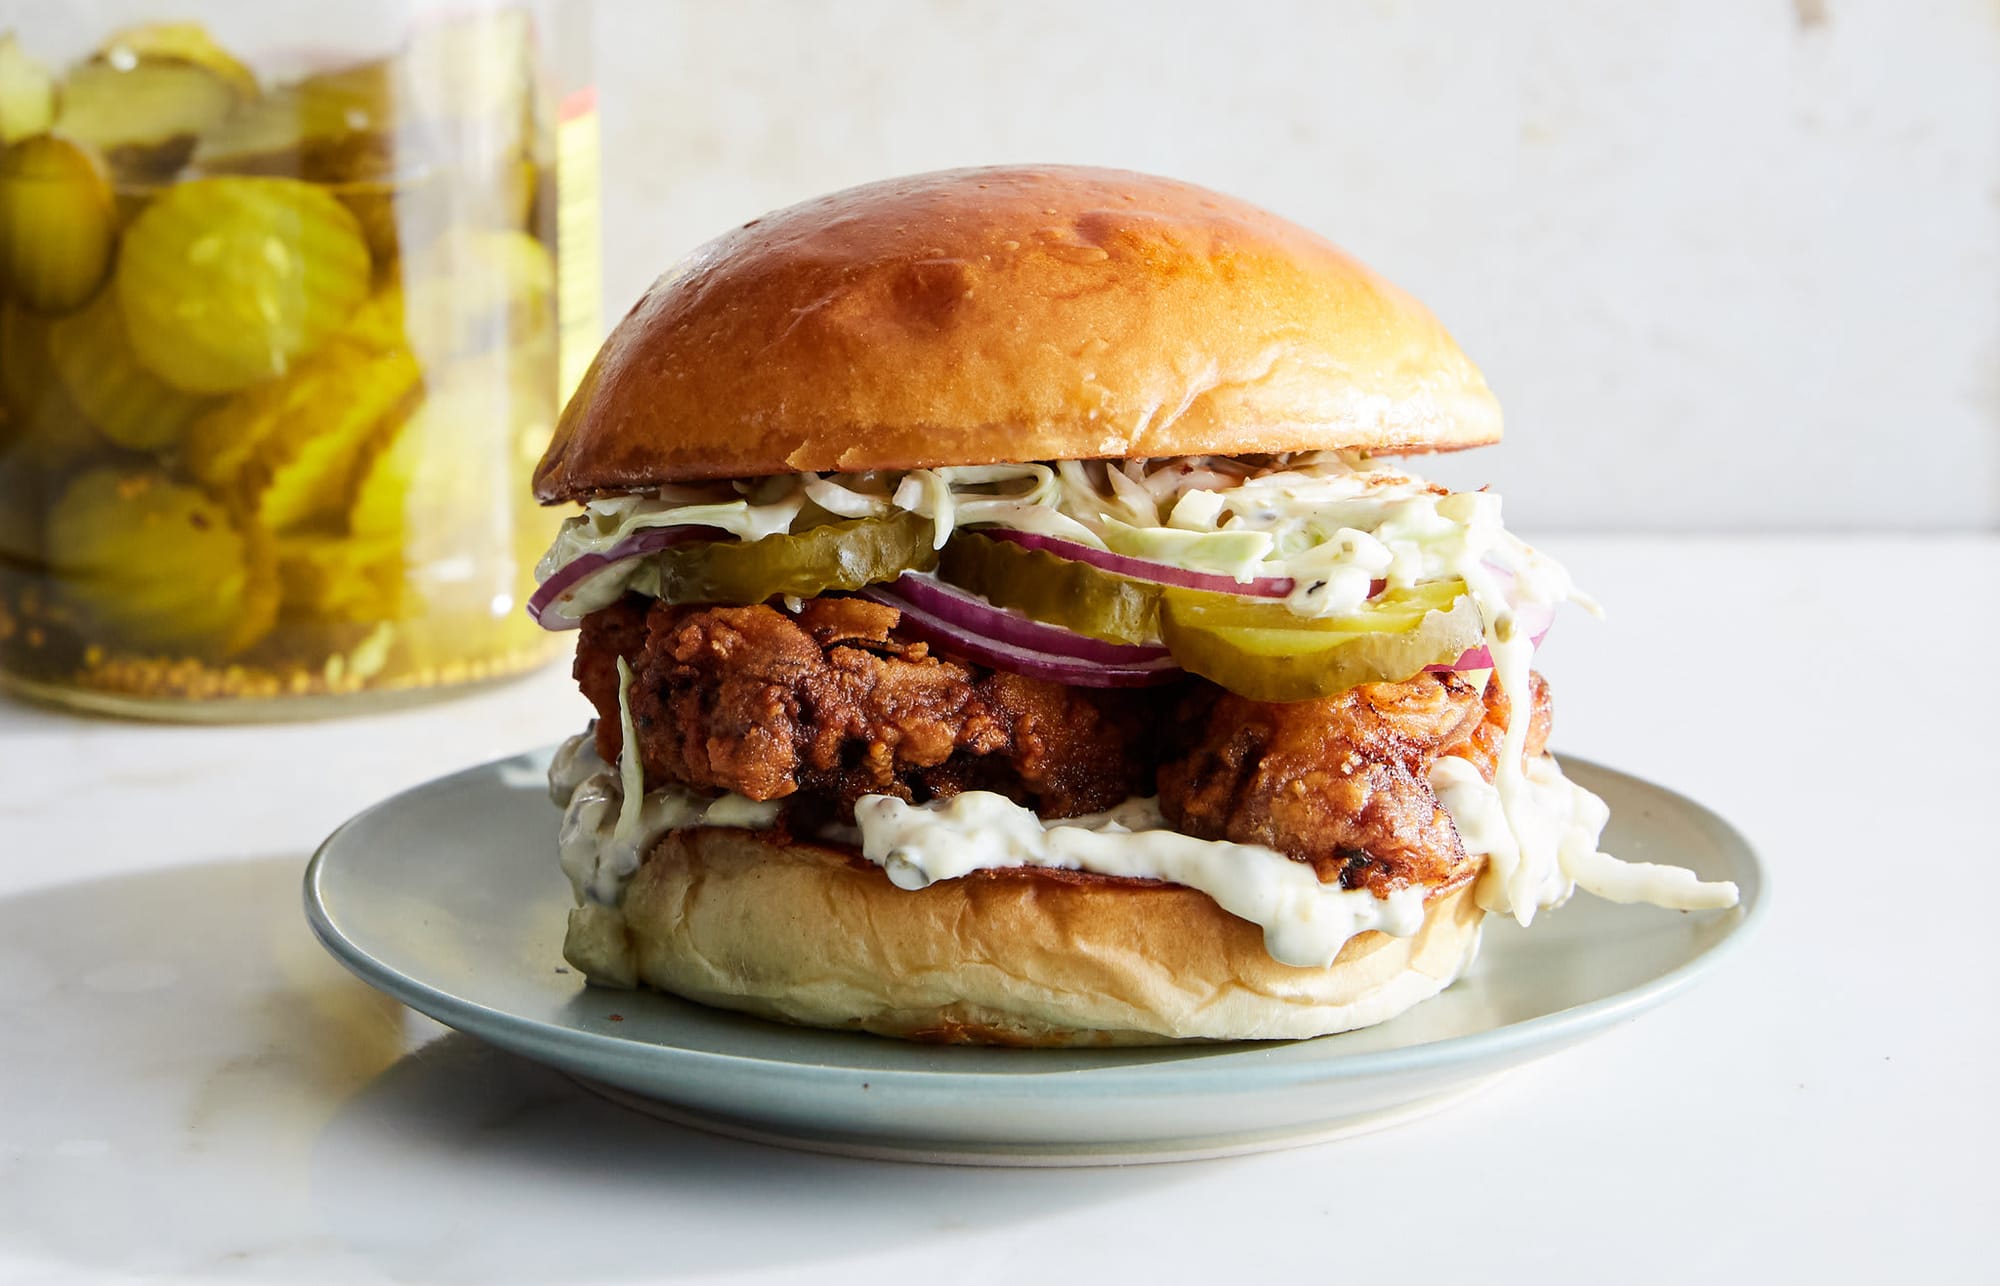
The pickle brine doesn’t just add flavor—it actually tenderizes the meat through a gentle acid bath, creating chicken that stays incredibly moist even through the frying process. And that double dredge in buttermilk and seasoned flour? That’s what creates those gorgeous, craggy edges that shatter with each bite. Trust me, this isn’t just any fried chicken—it’s a game-changer that’ll have everyone asking for your secret.
Ingredients
For the Chicken:
- 4 (5-ounce) chicken thighs
- 2 cups dill pickle juice
- 1 cup vegetable oil for frying, or more as needed
For the Coating:
- 1 cup buttermilk
- 1 cup all-purpose flour
- 1 teaspoon salt
- ¾ teaspoon ground black pepper
Steps
- Place chicken thighs in a resealable plastic bag; cover completely with pickle juice. Seal tightly, removing as much air as possible, and refrigerate for 3 hours. This brining time is crucial—any less and you won’t get the full flavor benefit, any more and the acid might start to “cook” the proteins.
- Drain pickle juice from thighs and pat them dry with paper towels. Cover chicken and refrigerate until ready to fry or up to 1 day. This resting period allows the flavors to penetrate deeper into the meat.
- Preheat the oven to 350°F (175°C). Set a wire rack over a baking sheet—this setup ensures air circulation for even cooking and prevents the chicken from getting soggy on the bottom.
- Heat 2 inches of oil in a Dutch oven over medium-high heat to 350°F (175°C). Use a candy or deep-fry thermometer for accuracy—too cool and your chicken will be greasy, too hot and the coating will burn before the inside cooks.
- Pour buttermilk into a bowl. In another bowl, combine flour, salt, and pepper. Create a dredging station in this order: chicken, buttermilk, flour mixture. Dredge chicken in buttermilk, allowing excess to drip off, then thoroughly coat in flour mixture. Return to buttermilk and dredge in flour a second time—this double-dipping creates those extra-crispy nooks and crannies. Place coated chicken on the wire rack.
- Carefully lower chicken thighs into the preheated oil, adding as many as possible without crowding (typically 2-3 thighs depending on your pot size). Overcrowding causes the temperature to drop too much. Fry until golden brown, 5 to 7 minutes per side, adjusting heat as needed to maintain temperature. Transfer fried thighs to a clean baking sheet and repeat until all pieces are fried.
- Bake in the preheated oven until no longer pink in the center and the juices run clear, 5 to 8 minutes. An instant-read thermometer inserted into the thickest part should read at least 165°F (74°C). This final oven step ensures even cooking throughout without burning the coating.
Smart Swaps
- Use boneless chicken breasts instead of thighs (reduce cooking time by 2 minutes)
- Substitute gluten-free flour blend for all-purpose flour (1:1 ratio)
- Try avocado oil instead of vegetable oil for a higher smoke point and healthier fats
Make It Diabetes-Friendly
- Use skinless chicken thighs to reduce fat content by approximately 7g per serving
- Replace all-purpose flour with almond flour (use 1¼ cups instead of 1 cup) to lower carbs from 12g to 3g per serving
- Consider air frying instead of deep frying: spray with 1 tablespoon oil and cook at 400°F (205°C) for 12-15 minutes, turning halfway
- Serve with non-starchy vegetables instead of traditional high-carb sides to keep the glycemic impact low
Pro Tips
- The pickle brine works best when it’s cold, so refrigerate it first if you’re using juice straight from the jar
- For extra flavor, add 1 teaspoon of pickle brine to your flour mixture
- Let the coated chicken rest on the wire rack for 10 minutes before frying for better coating adhesion
- If your chicken is browning too quickly, reduce heat slightly and continue cooking
- Always let fried chicken rest for 5 minutes before serving to allow juices to redistribute