Rosette Cookies
Ever tried a cookie so delicate it practically shatters with a whisper?
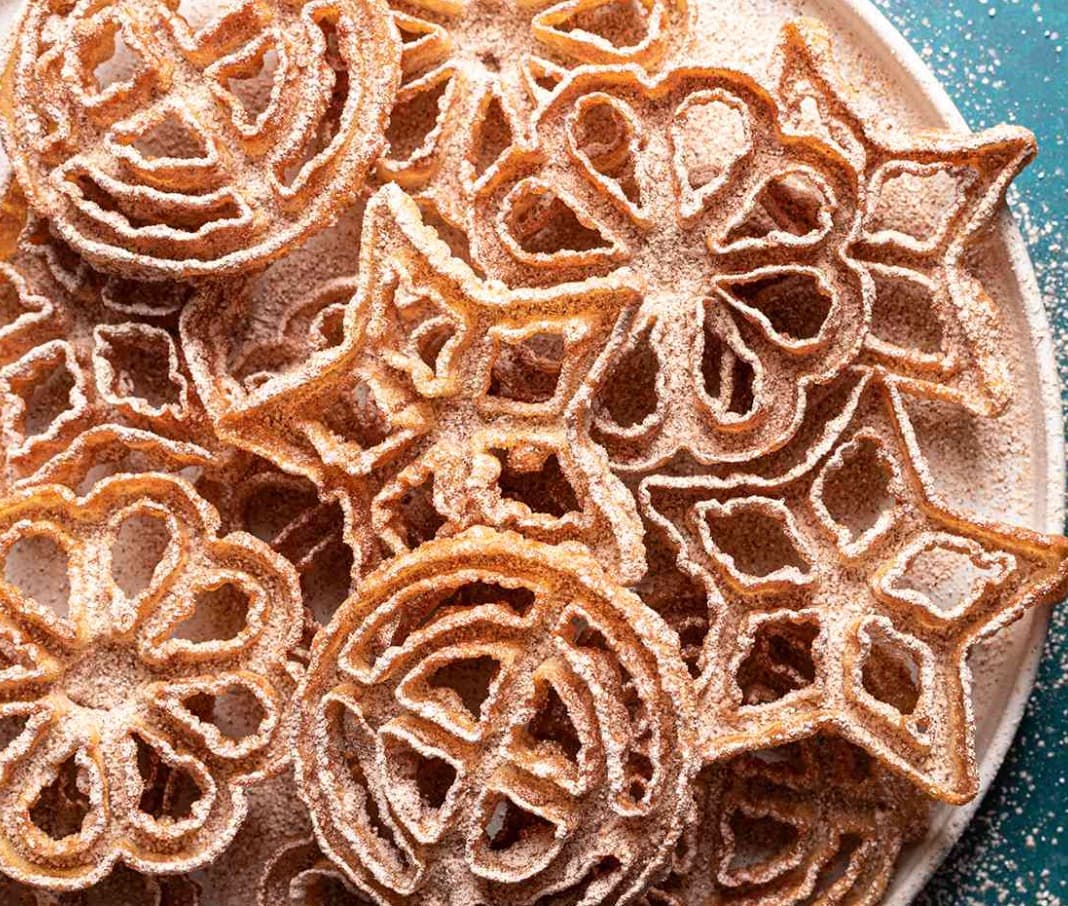
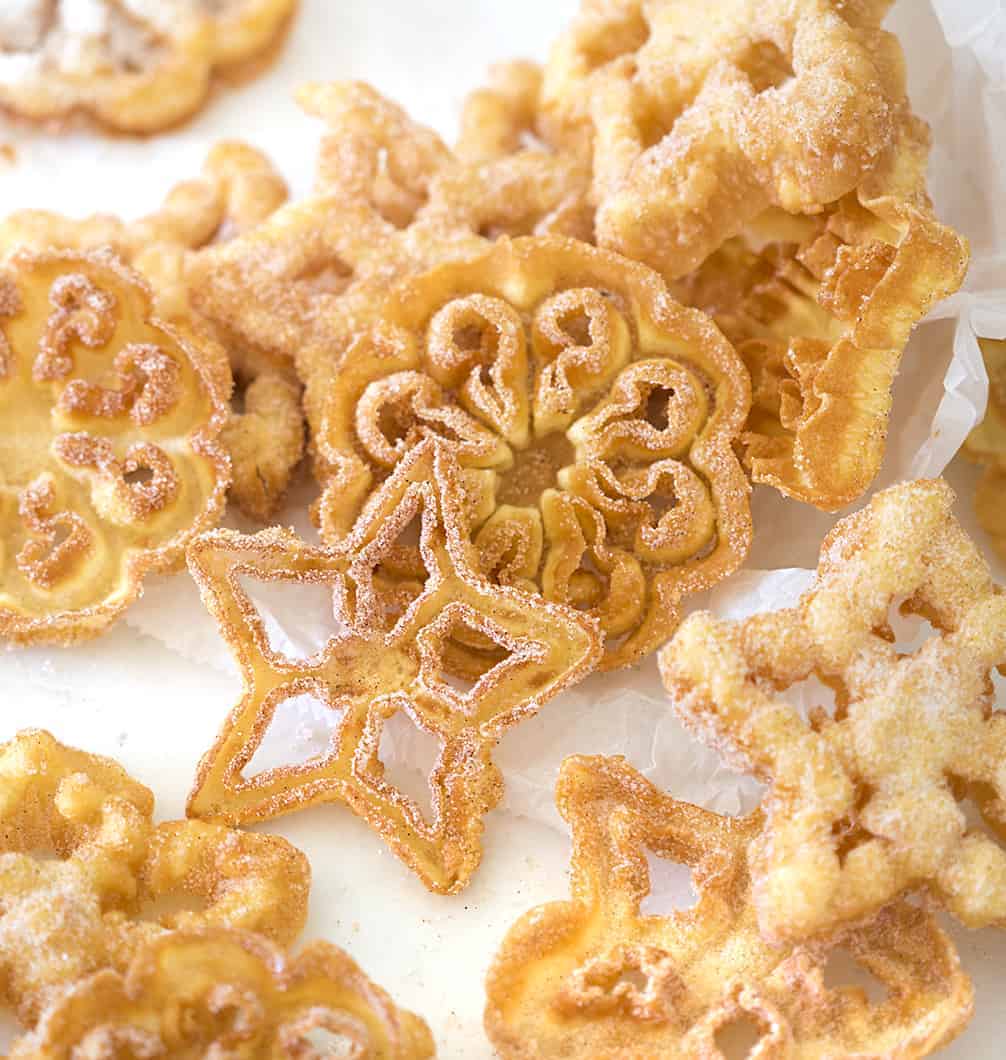
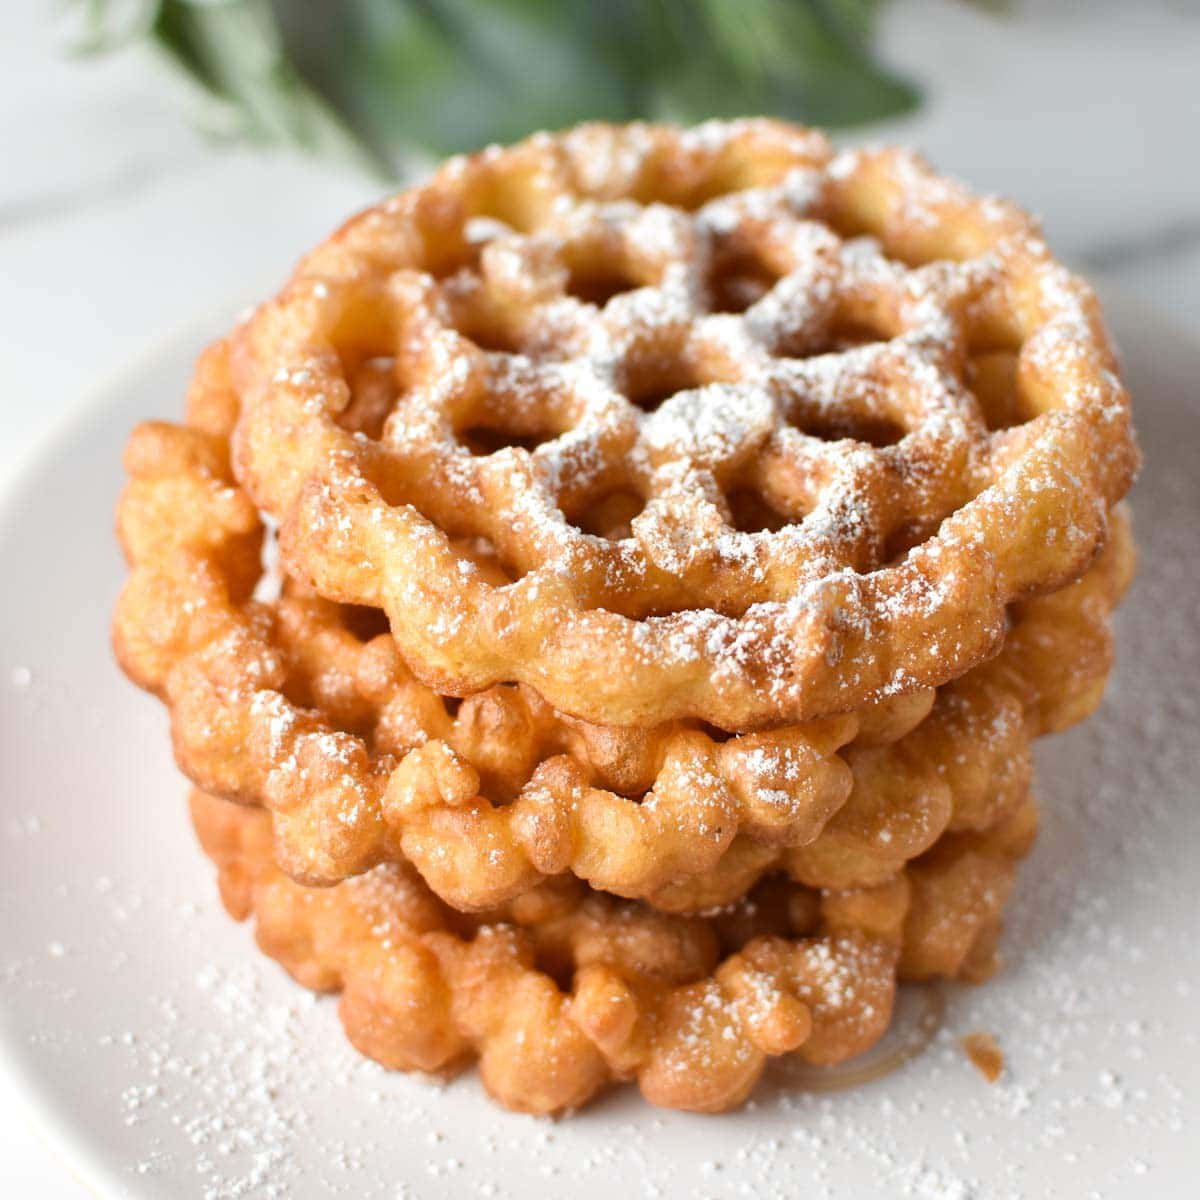
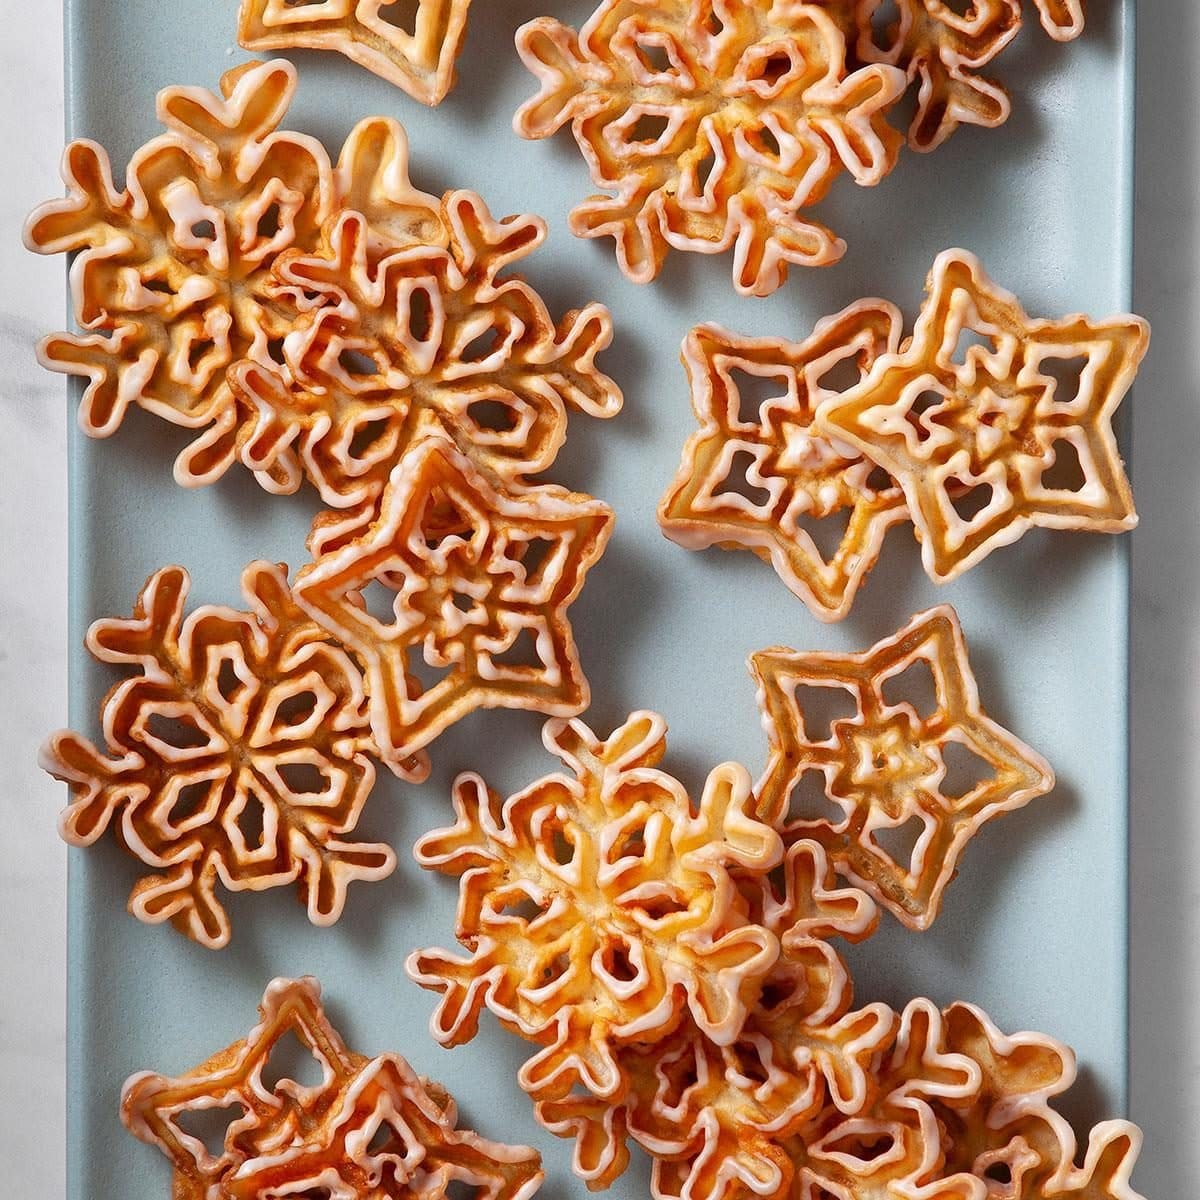
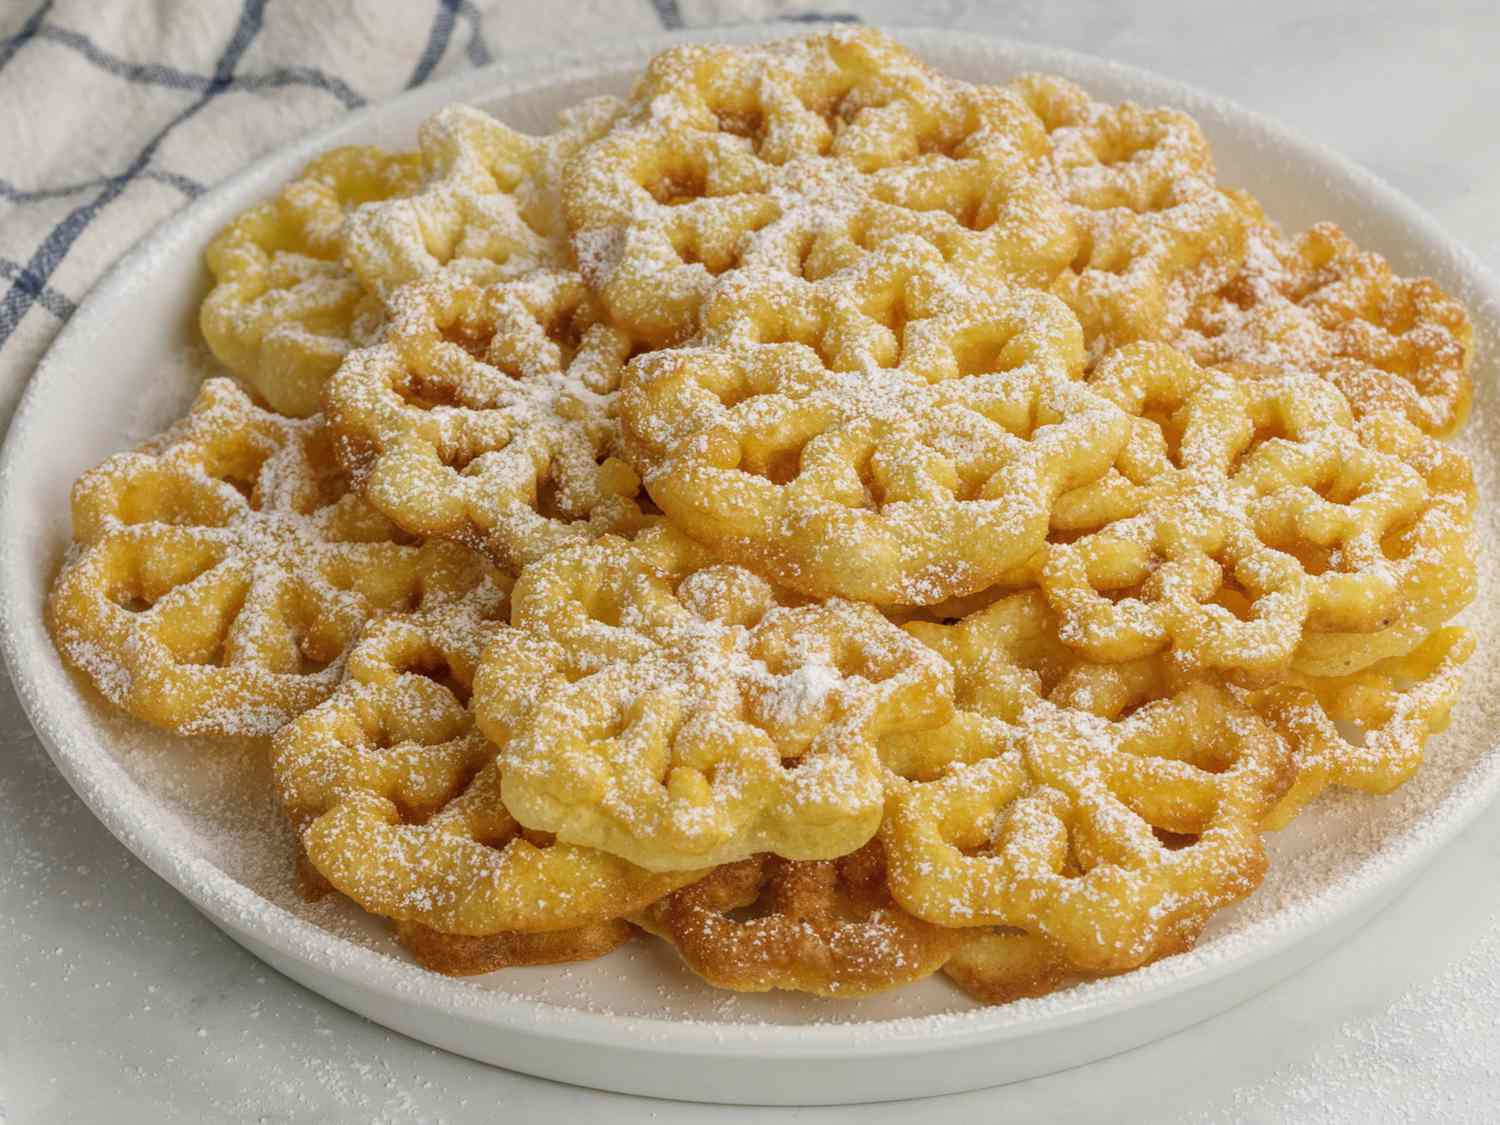
That’s the magic of rosette cookies—crispy, lacy confections that look like you spent hours making them (but actually take just minutes!).
These traditional Scandinavian treats are the perfect balance of delicate crunch and sweet simplicity.

What makes rosette cookies truly special is their stunning snowflake-like appearance paired with that impossibly light texture.
Each bite delivers a satisfying crispness followed by a melt-in-your-mouth sweetness that’s utterly addictive. And that hint of cinnamon?
Pure genius.
Trust me, you’ll want to make a double batch—these disappear faster than you can say “seconds, please!”
Ingredients
For the Batter:
- 2 eggs
- 1 cup all-purpose flour (131g)
- 2 tsp granulated sugar (11g)
- ¼ tsp kosher salt
- 1 cup milk (240ml)
- dash of vanilla
- 2 cups cooking oil (480ml)
For the Sugar Dust:
- ½ cup granulated sugar
- ½ tsp ground cinnamon
Steps
- Prep your workspace first. Layer 2-3 sheets of paper towels next to the stove to create a drip station for the cookies. This prevents excess oil from making your cookies soggy.
- Make the batter. In a medium bowl, vigorously beat the eggs with a whisk until frothy, about 30 seconds. This aeration helps create a lighter cookie texture.
- Pour in the 2 tsp sugar and 1 cup milk. Mix together until fully incorporated, about 15 seconds.
- Add the 1 cup sifted flour and ¼ tsp salt. Sifting prevents lumps that could clog your rosette iron.
- Mix and beat until you get a smooth, liquidy consistency similar to crepe batter (about 1 minute). The batter should coat the back of a spoon but run off easily. If too thick, add 1-2 tbsp milk; if too thin, add 1 tbsp flour.
- Add in the dash of vanilla and stir just to combine.
- Prepare the sugar coating. Sift ½ cup sugar and ½ tsp cinnamon together and spread evenly on a plate. The sifting prevents clumps for even coating.
- Heat your oil properly. In a heavy-bottomed pan, heat 2 cups cooking oil to 375°F (190°C). Use a thermometer for accuracy—oil that’s too cool makes soggy cookies, while too hot burns them quickly.
- Prepare your rosette iron. Immerse the rosette mold completely into the heated oil for 30 seconds before first use. This heating prevents the batter from sticking.
- Dip the hot mold into the batter, being careful not to submerge it completely (batter should not go over the top of the mold).
- Immediately dip the batter-coated mold back into the hot oil. The batter will pull away from the mold within 3-5 seconds and form a thin cookie.
- Let it fry on one side for 2-4 seconds until light golden, then gently flip it using tongs or a slotted spoon. Cook the second side until both sides are golden brown (about 30 seconds total).
- Perfect your removal technique. Lift the cookie out and hold it briefly over the pan to let excess oil drip back, then transfer to your paper towel station. If the cookie sticks to the mold, gently loosen it with a knife.
- After a brief cooling period (2-4 seconds), while still warm, dredge each cookie in the cinnamon-sugar mixture or dust with confectioners’ sugar. The warmth helps the sugar adhere perfectly.

Smart Swaps
- Use almond extract instead of vanilla for a traditional Scandinavian flavor profile
- Try coconut oil instead of regular cooking oil for a subtle tropical undertone
- Substitute 1 cup almond milk for regular milk for a dairy-free version with nutty notes
Make It Diabetes-Friendly
- Replace regular sugar with 2 tsp monk fruit sweetener in the batter (reduces carbs by 8g per serving)
- For the coating, use ¼ cup powdered erythritol mixed with cinnamon instead of granulated sugar (cuts carbs by 12g per serving)
- Add ¼ tsp cardamom to the sugar alternative mix to enhance flavor without adding carbs
- Limit portion size to 2 cookies per serving (approximately 15g of carbs total)
- Pair with a small protein source to reduce glycemic impact
Pro Tips
- If your cookies aren’t releasing from the mold, it’s likely not hot enough—reheat it in the oil for 20-30 seconds
- Work quickly once you start frying—these cookies cook in seconds!
- Store completely cooled cookies in an airtight container with parchment paper between layers for up to 5 days
- To refresh day-old cookies, place them in a 300°F (150°C) oven for 3-5 minutes