Saltine Crusted Chicken Tenders
Forget everything you thought you knew about chicken tenders. These aren’t your drive-thru disappointments or freezer-burned failures.
These saltine-crusted beauties are about to make your tastebuds do a happy dance while your family fights over the last piece. (And trust me, there will be fighting.)
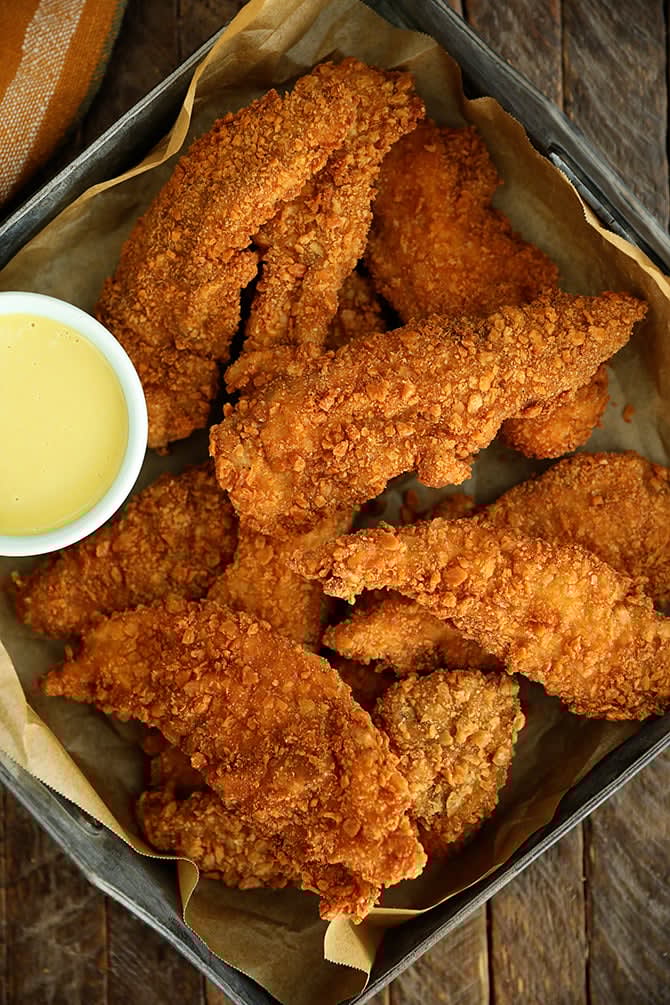
What makes these tenders magical? It’s that saltine cracker coating that creates the perfect golden crust – simultaneously light, crispy, and somehow buttery without adding any butter.
The secret weapon is that crushed chicken bouillon cube mixed right into the seasoning, infusing every bite with savory depth that’ll make you wonder why you ever settled for plain breadcrumbs.

Ingredients
For the chicken:
- 2 pounds chicken tenderloins (tenders)
- 1/2 teaspoon salt
- 1/2 teaspoon black pepper
- 1 teaspoon garlic powder
- 1/4 teaspoon poultry seasoning
- 1 chicken bouillon cube, crushed (or 1 teaspoon chicken bouillon powder)
For the coating:
- 2 sleeves saltine crackers (about 72 crackers)
- 2 large eggs, beaten until smooth
- 1/2 cup all-purpose flour
- Vegetable or peanut oil for frying
Steps

- In a small bowl, whisk together the 1/2 teaspoon salt, 1/2 teaspoon black pepper, 1 teaspoon garlic powder, 1/4 teaspoon poultry seasoning, and 1 crushed chicken bouillon cube until fully combined. Add the chicken tenders to a large bowl or zip-top bag, sprinkle with the seasoning mixture, and toss until every piece is evenly coated. Let them marinate for 20 minutes – this resting time allows the flavors to penetrate the meat rather than just sitting on the surface.
- While the chicken marinates, finely crush the 2 sleeves of saltine crackers using a food processor (pulse in 3-second bursts to avoid turning them to dust) or place in a zip-top bag and crush with a rolling pin (use gentle, even pressure). The texture should be like coarse sand with some slightly larger pieces – this variation creates the perfect crispy texture.
- Set up your dredging station by placing the 1/2 cup flour, beaten eggs, and crushed crackers in three separate, similarly-sized shallow dishes. Arrange them in order (flour, eggs, crackers) from left to right if you’re right-handed, or right to left if you’re left-handed to minimize mess and cross-contamination.
- Working with one tender at a time, coat each piece completely in flour, gently shaking off excess (too much flour creates a gummy layer). Dip in egg wash, ensuring both sides are coated, then hold above the dish for 5 seconds to allow excess egg to drip away (excess egg makes the cracker coating soggy). Finally, press firmly into the cracker crumbs, flipping and pressing several times to ensure maximum adhesion. Place prepared tenders on a baking sheet, leaving space between each piece to prevent them from sticking together.
- Pour 2-3 inches of cooking oil into a deep dutch oven or heavy-bottomed pot. Heat over medium heat until oil reaches 365°F (185°C) – use a thermometer for accuracy as visual cues are unreliable. Test with a few cracker crumbs; they should sizzle immediately but not burn. Working in small batches of 3-4 tenders at a time (overcrowding causes temperature drops and soggy coating), carefully lower tenders into the hot oil and fry for 4 minutes, turning halfway through, until golden brown and internal temperature reaches 165°F (74°C) on an instant-read thermometer. Thicker tenders may need an additional 1-2 minutes.
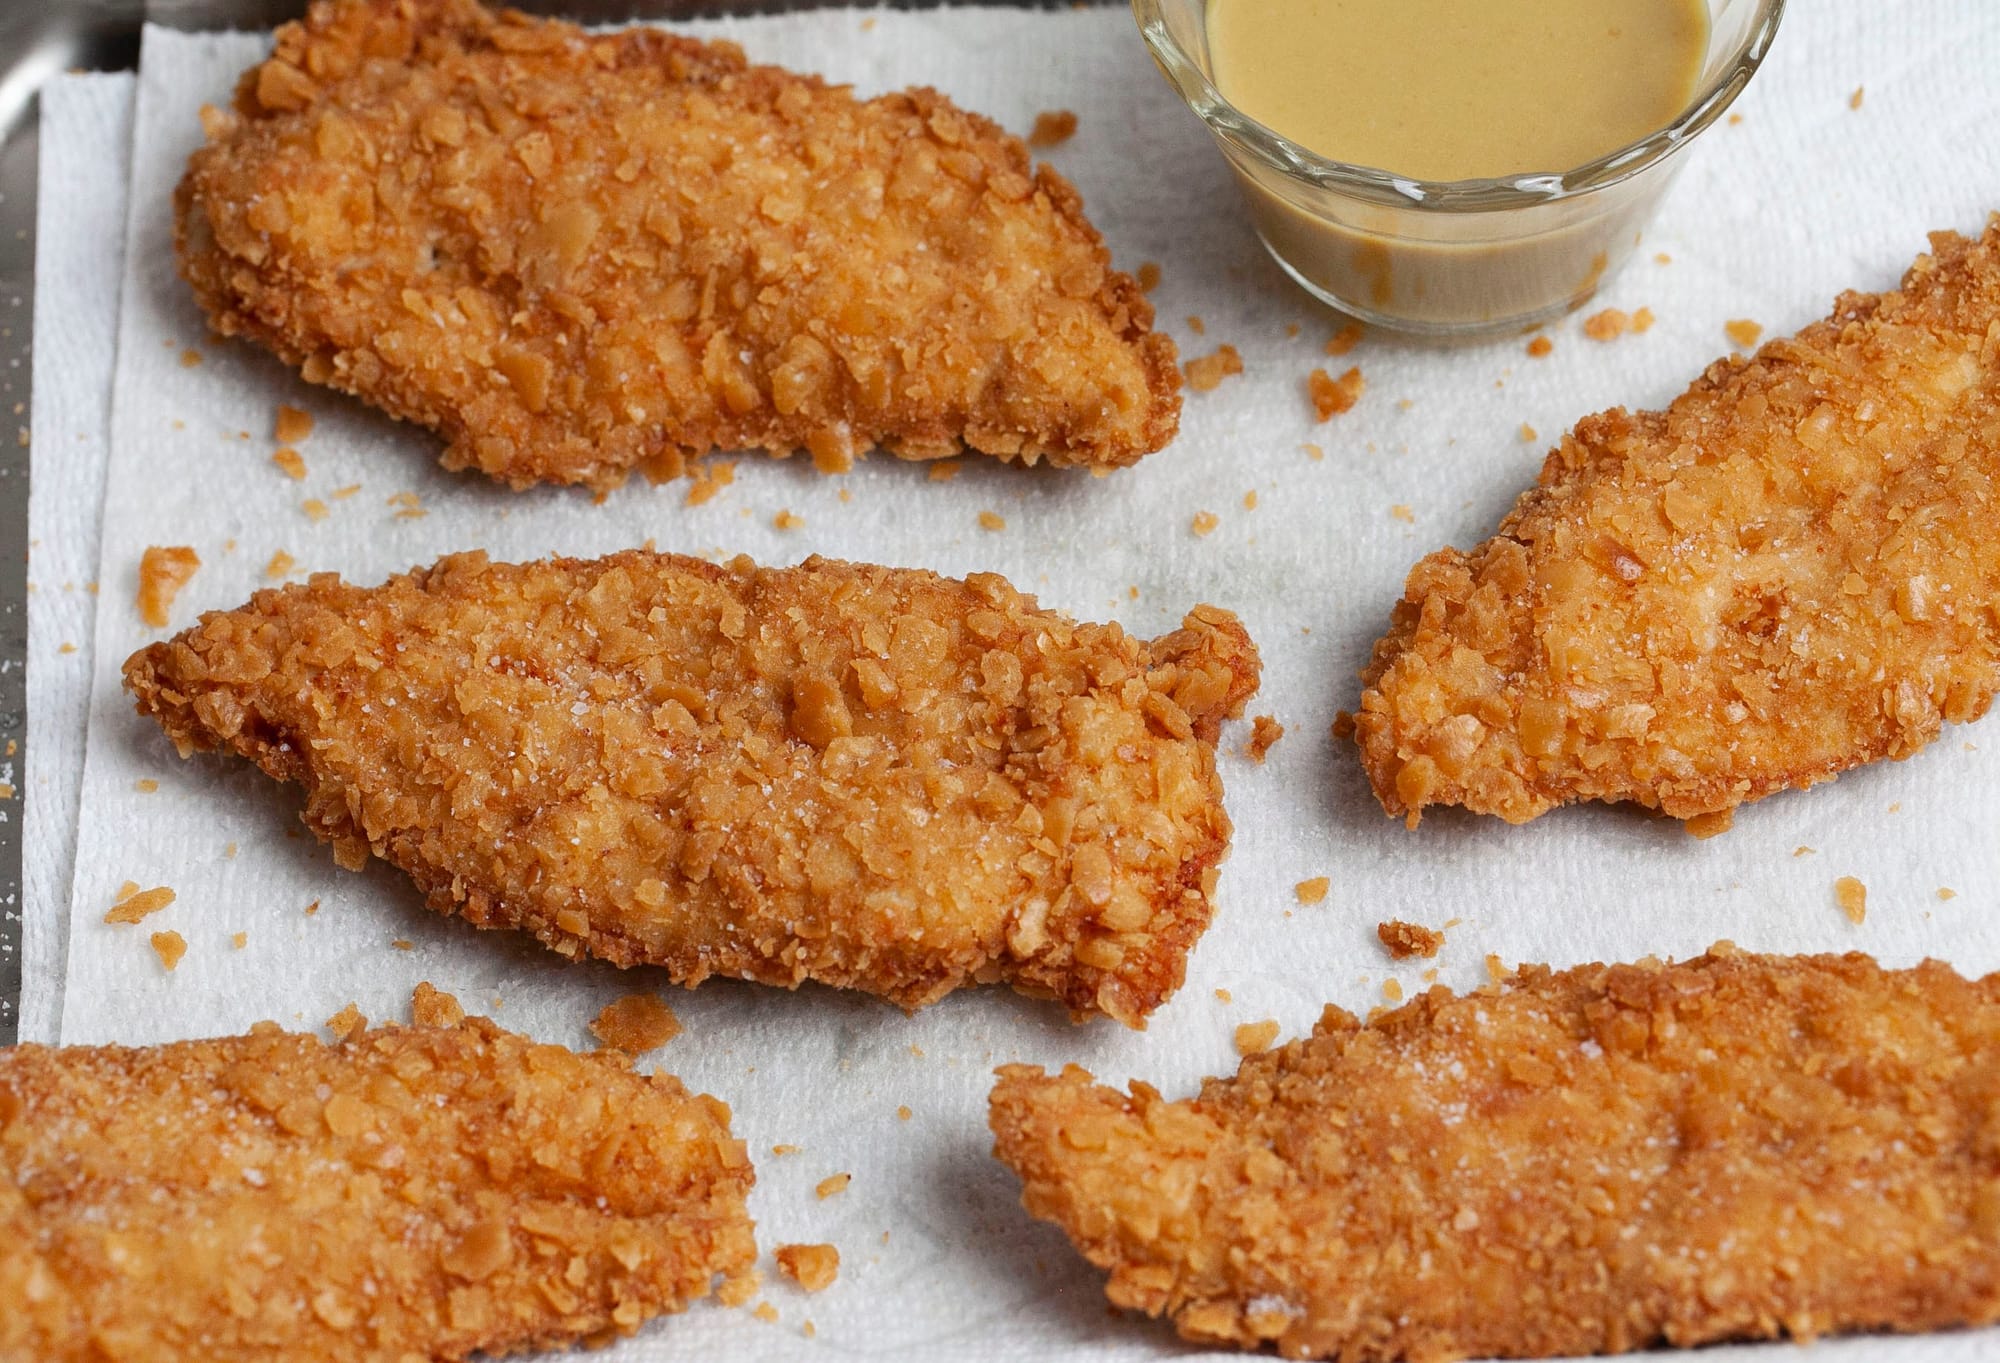
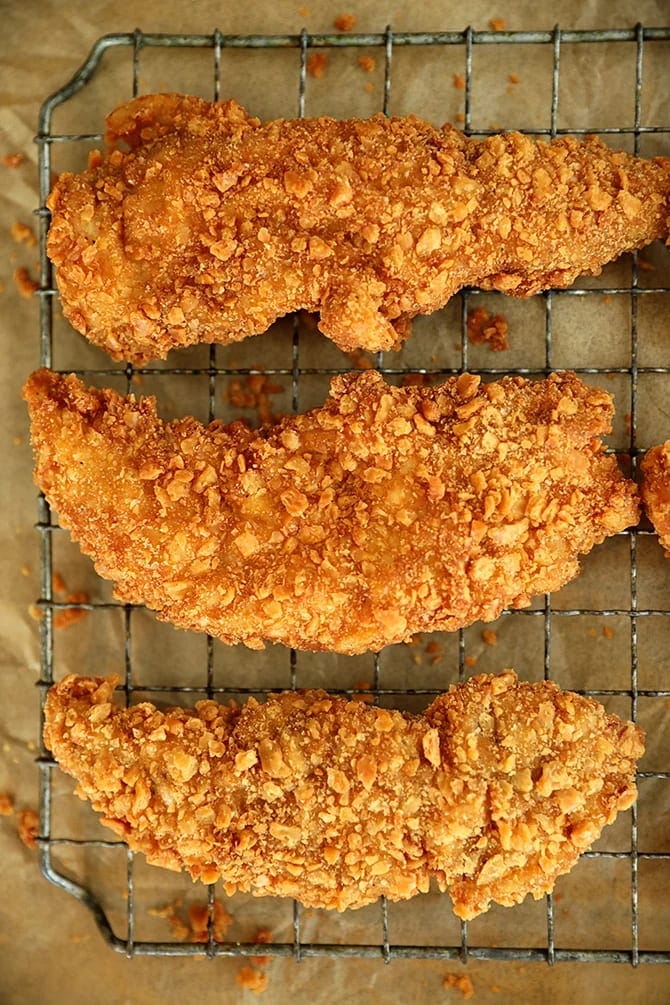
- Transfer cooked tenders to a baking sheet lined with a cooling rack (never paper towels, which trap steam and make the coating soggy). Maintain oil temperature between 360-370°F (182-188°C) between batches by adjusting heat as needed. Keep finished tenders warm in a 200°F (93°C) oven while completing remaining batches. Allow tenders to rest for 3-5 minutes before serving to let the juices redistribute throughout the meat.
Smart Swaps
- Use gluten-free saltines and gluten-free flour (same measurements) for a celiac-friendly version
- Substitute 1 teaspoon smoked paprika for the poultry seasoning for a smokier flavor profile
- Try air frying at 400°F (204°C) for 8-10 minutes, flipping halfway through (spray with oil first for best results)
Make It Diabetes-Friendly
- Replace saltines with 1 cup almond flour + 1/2 cup crushed pork rinds to reduce carbs by approximately 18g per serving
- Skip the all-purpose flour dredge and use 1/2 cup coconut flour instead, which has lower glycemic impact and adds 8g of fiber
- Air fry instead of deep frying to reduce fat absorption by approximately 40%
- Serve with cauliflower mash instead of potatoes to keep the total meal under 15g net carbs
- Portion into 4oz servings (about 2 tenders) paired with non-starchy vegetables to minimize blood sugar spikes
Pro Tips
- Pat chicken completely dry before seasoning – moisture is the enemy of crispy coating
- For extra-crunchy tenders, double-dip: flour → egg → crumbs → egg → crumbs again
- Let the coated chicken rest for 10 minutes before frying to help the coating adhere better
- The oil should be at least 2 inches deeper than your food is thick to ensure even cooking
- Store leftovers in the refrigerator for up to 3 days and reheat in a 375°F (190°C) oven for 8-10 minutes to maintain crispness (microwaving will make them soggy)