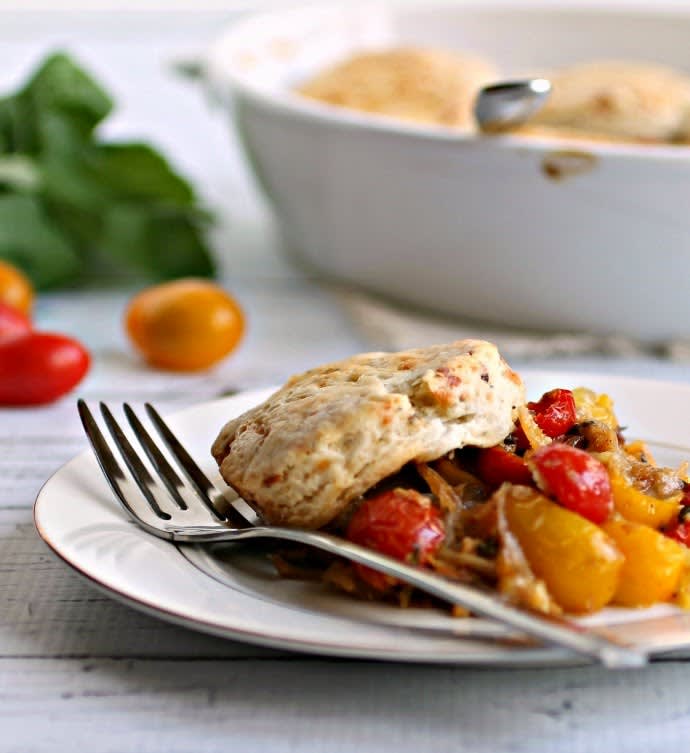
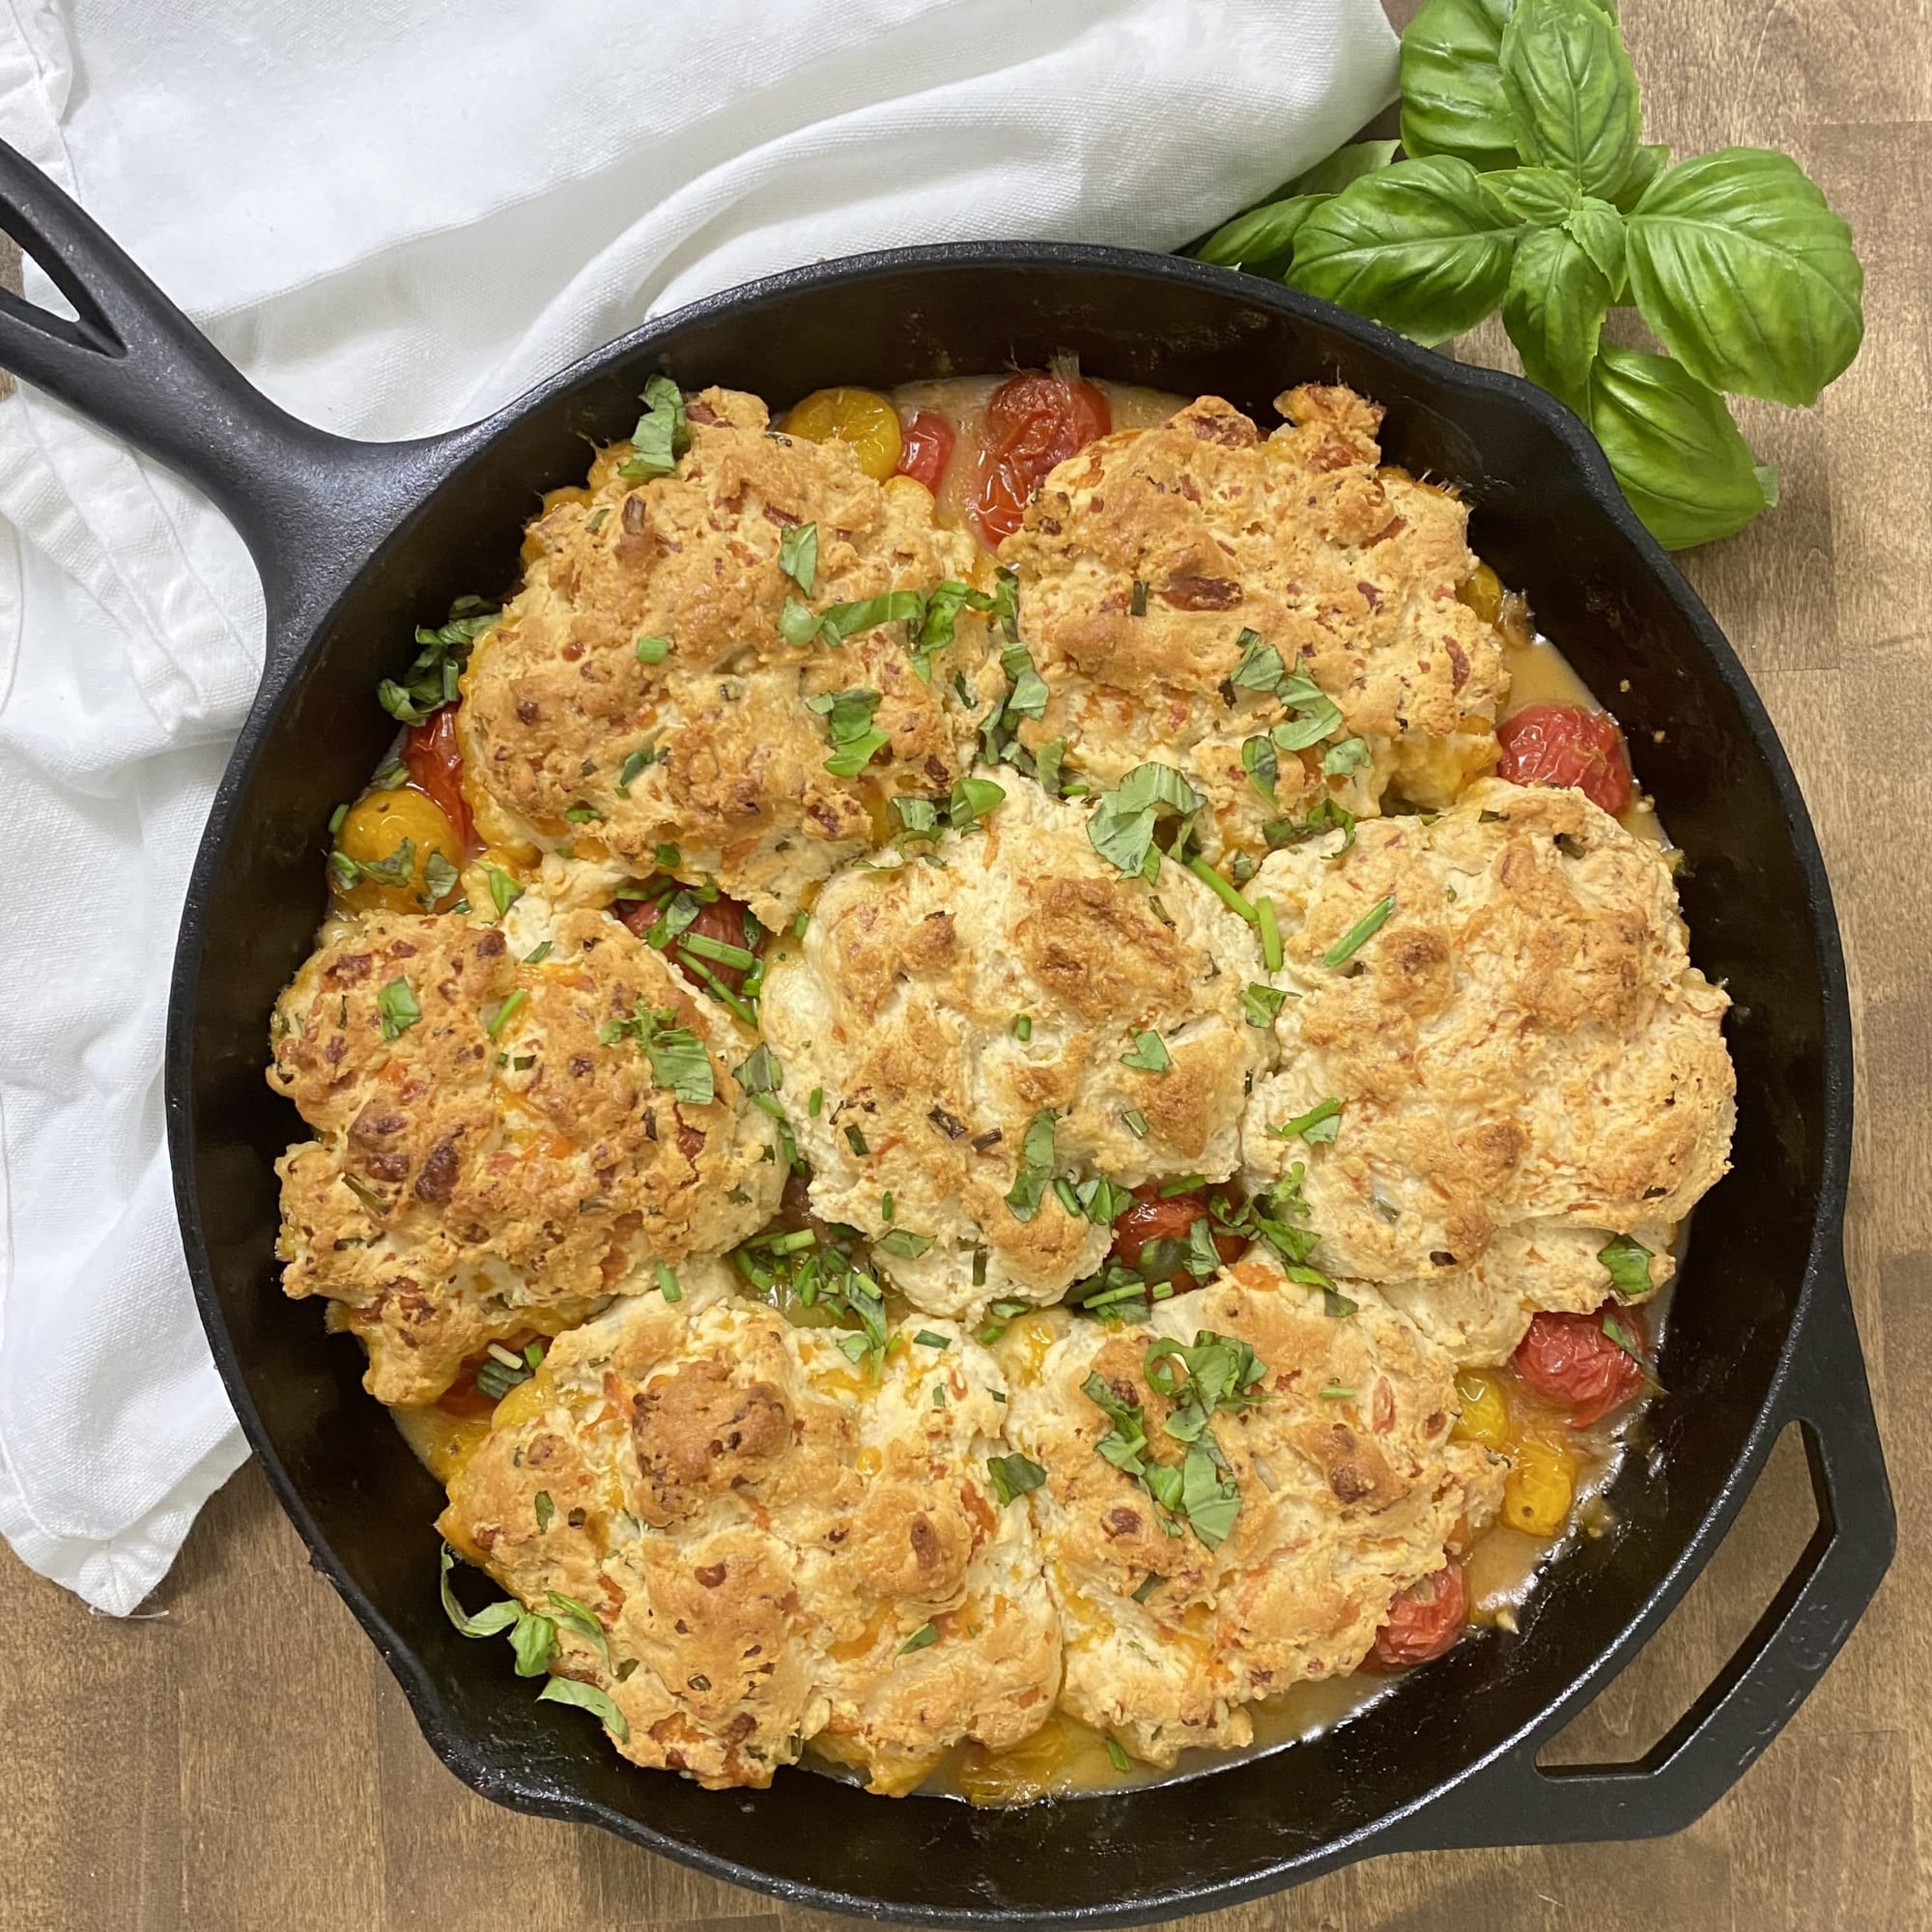
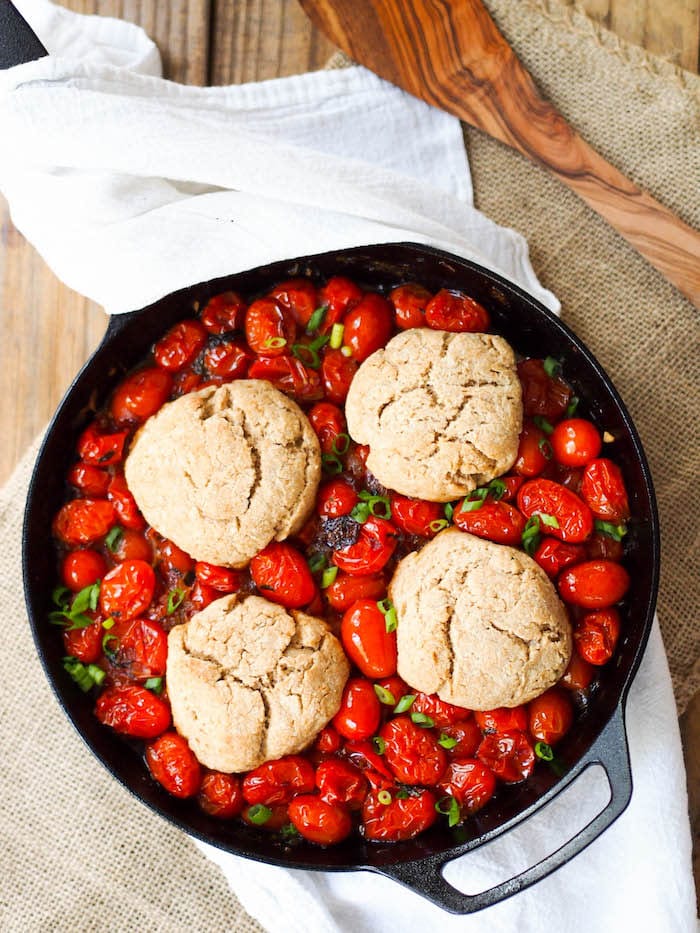
Savory Tomato Cobbler
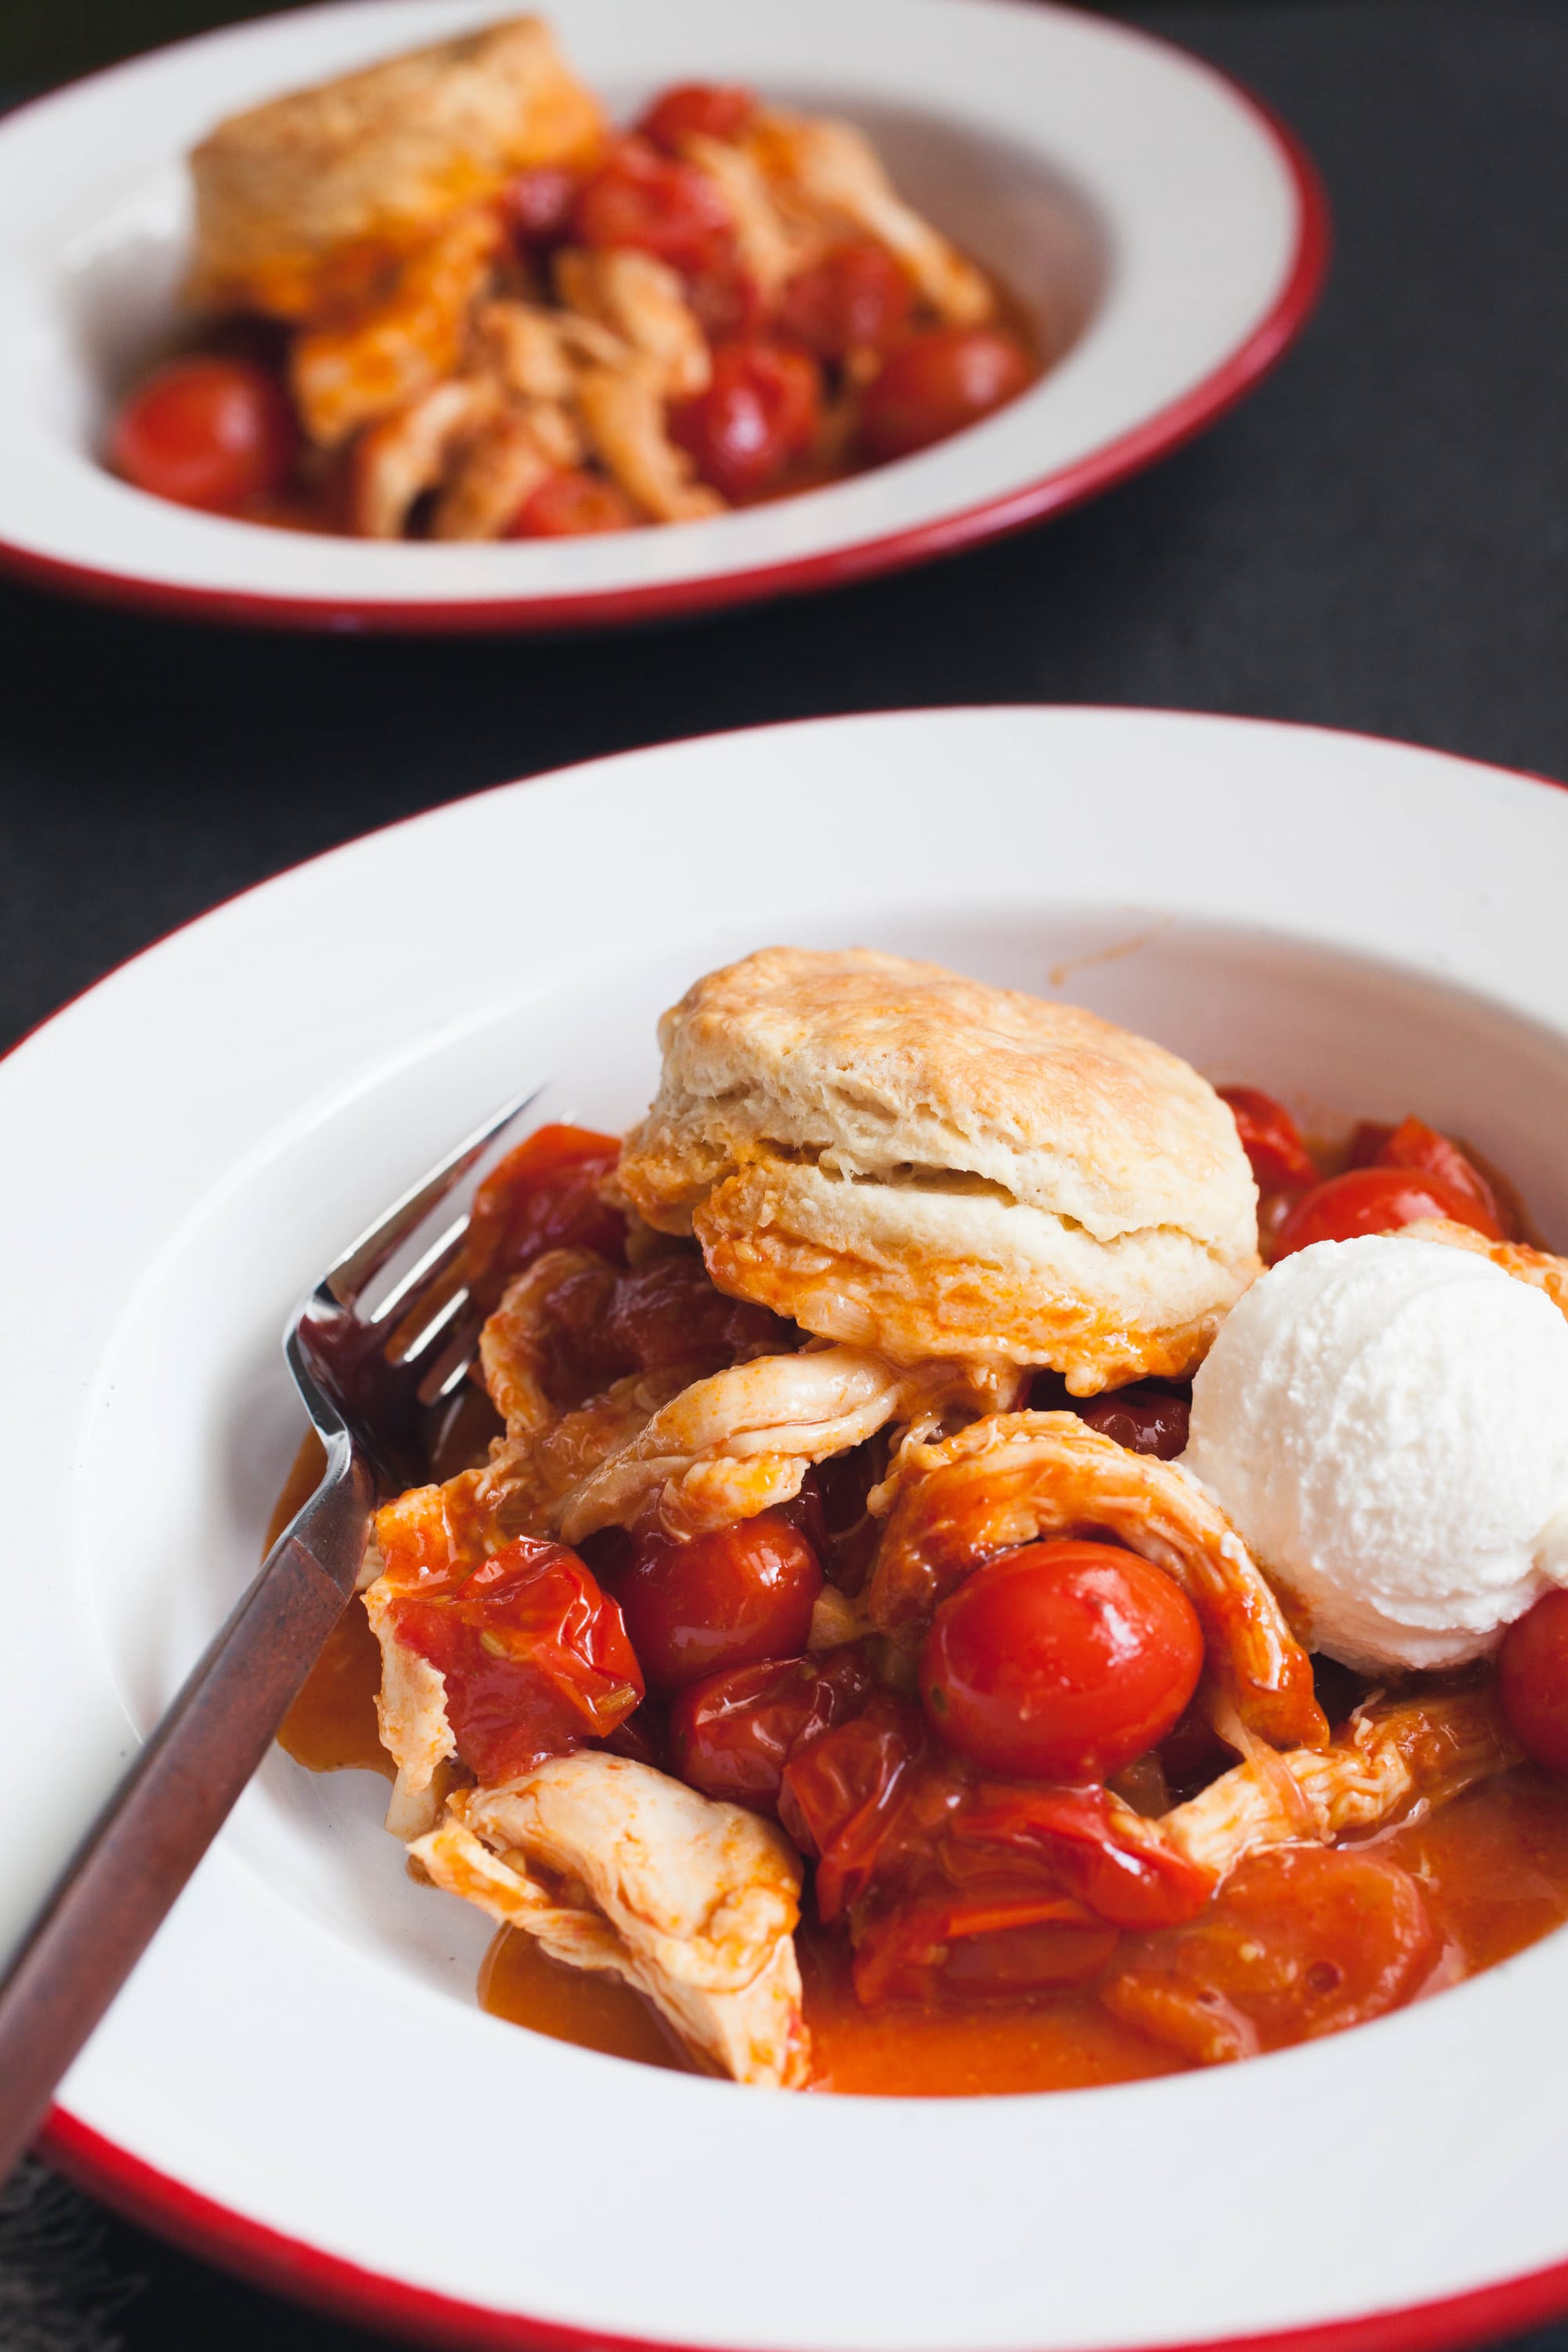
Oh. My. Goodness. If you’ve never had a savory cobbler before, prepare to have your mind blown. This Savory Tomato Cobbler is what happens when peak-season tomatoes meet cheesy, flaky biscuits in a bubbling skillet of pure comfort food magic. It’s the dish that makes everyone at the table suddenly go quiet because they’re too busy savoring every bite.
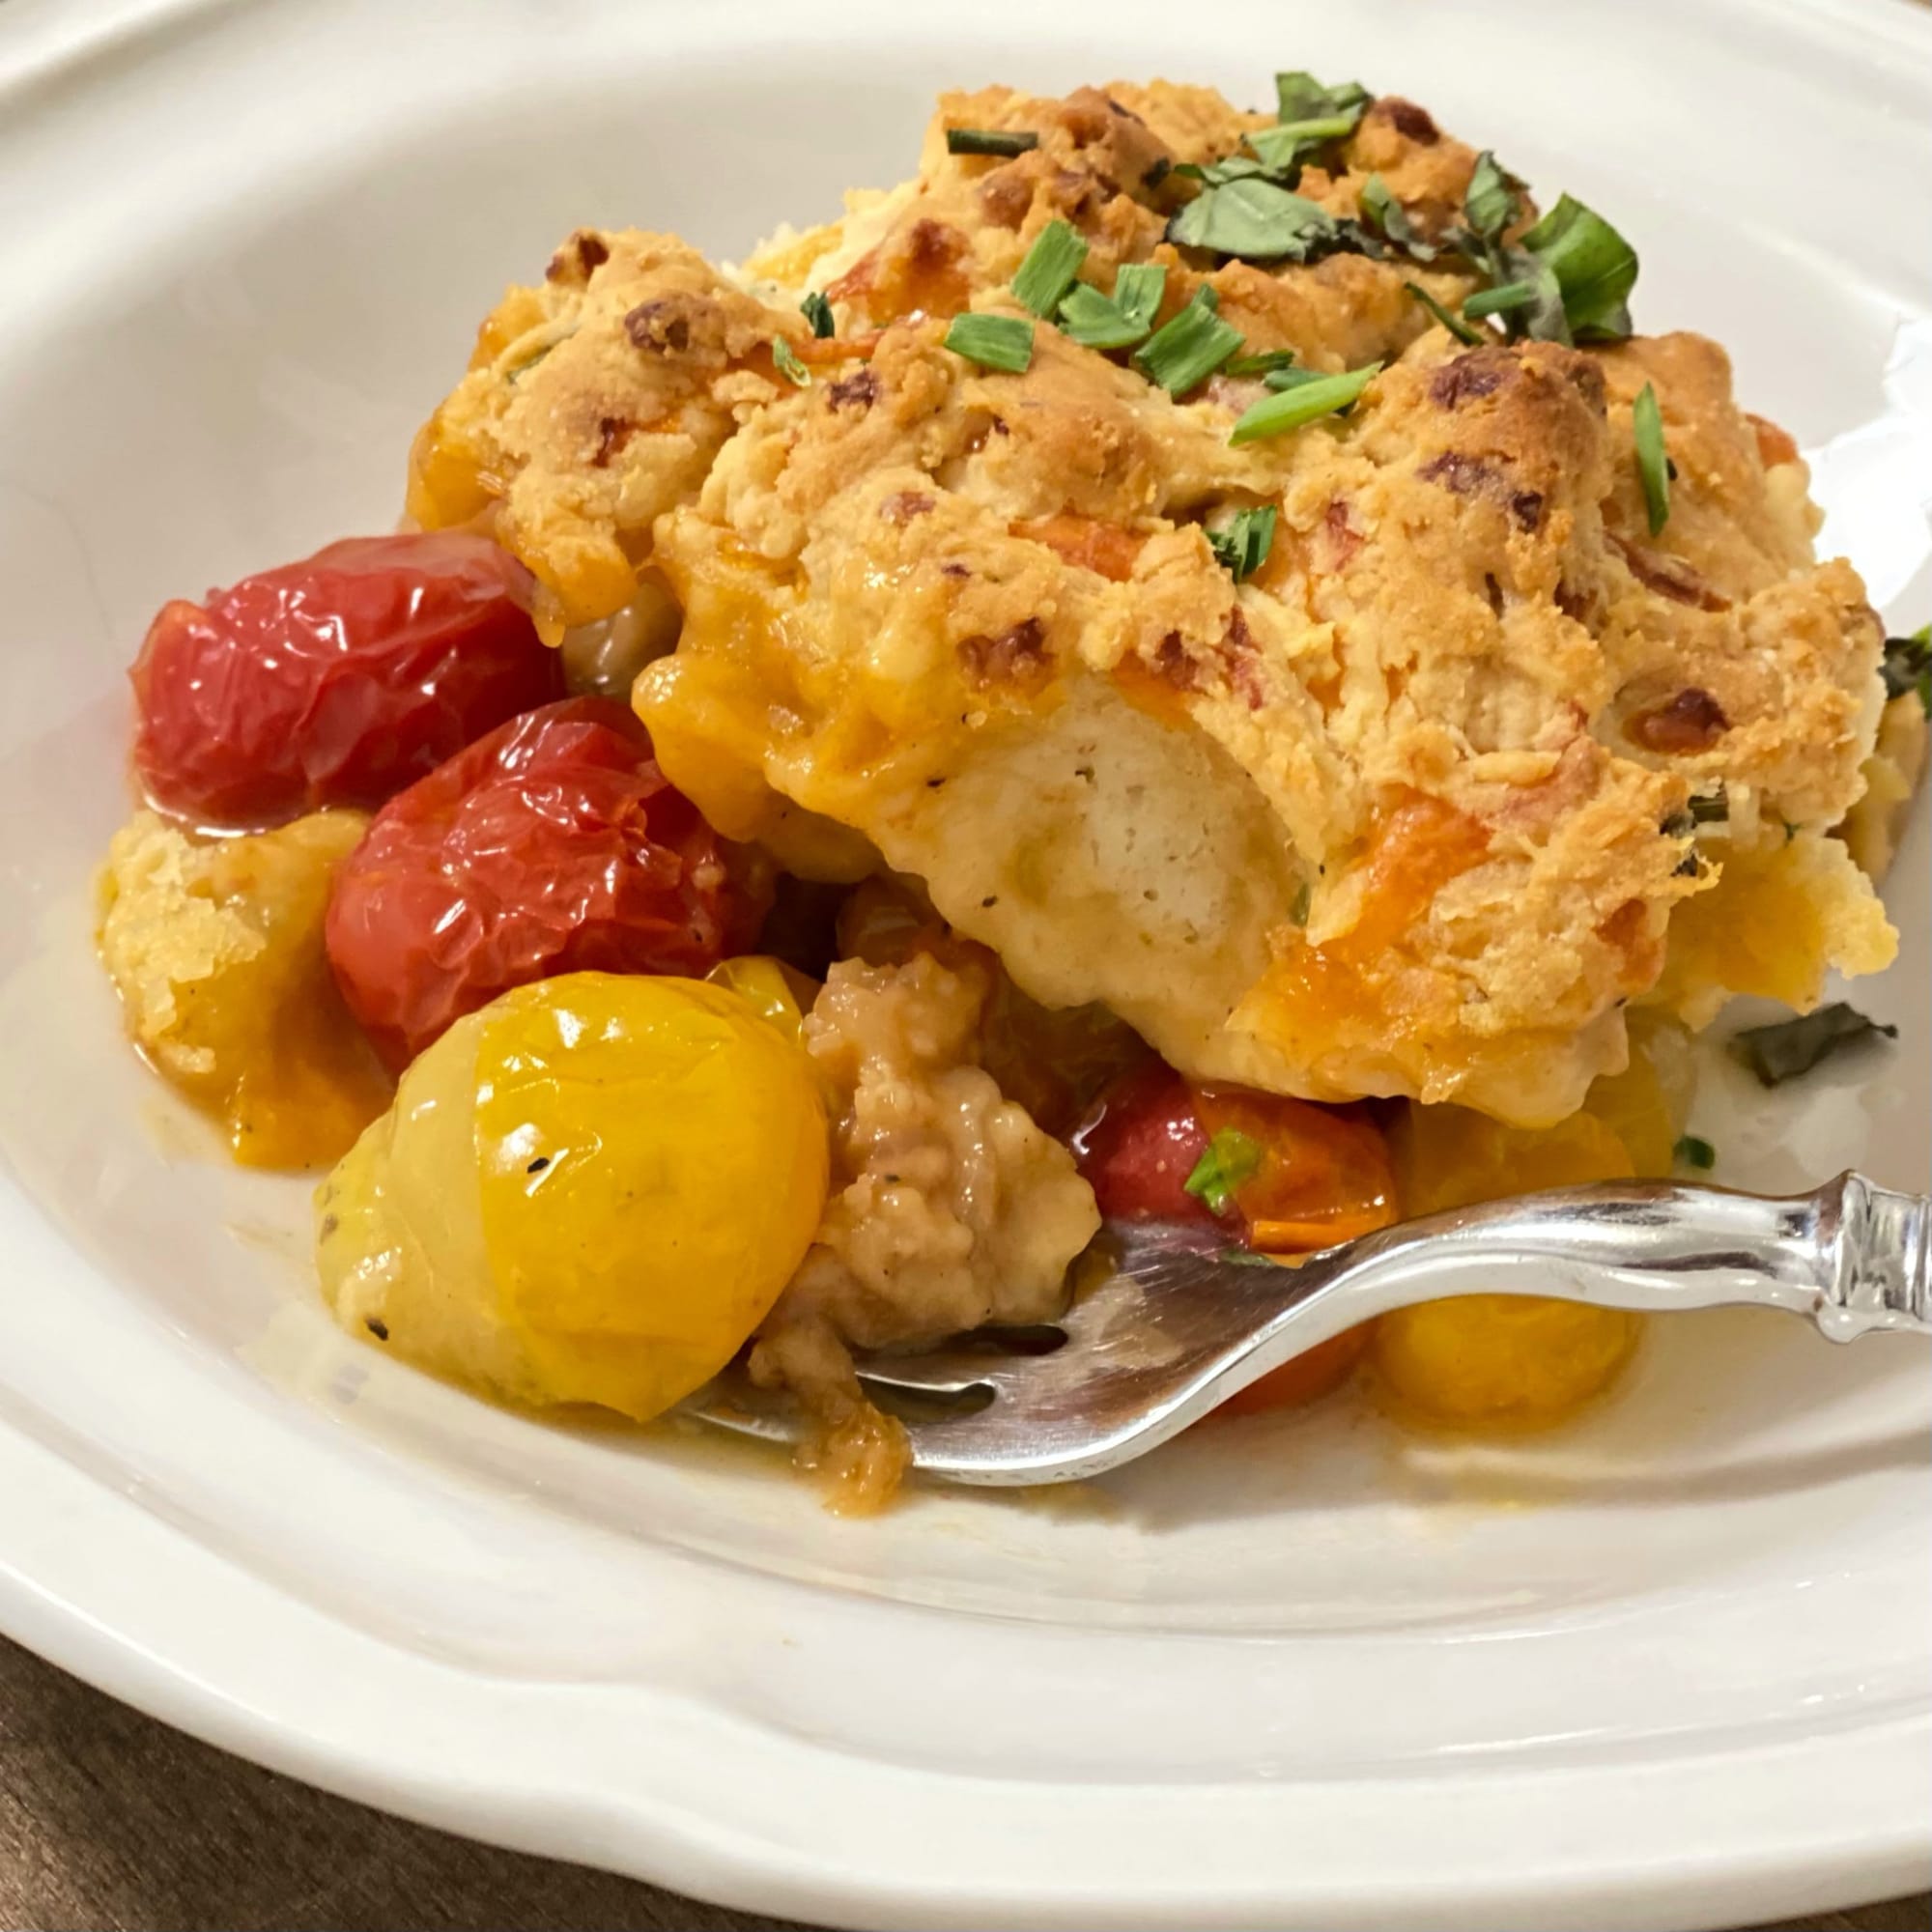
The genius of this recipe is how it transforms simple cherry tomatoes into something extraordinary. As they cook down, they release their sweet-tart juices that mingle with balsamic vinegar and butter to create a sauce that’s practically drinkable. Then those fluffy cheddar biscuits on top? They soak up just enough of that tomato goodness while staying crisp on top. This is the recipe that’ll have your dinner guests asking, “Can I lick the skillet?” (The answer is yes, but maybe wait until everyone leaves.)
Ingredients
For the Drop Biscuits:
- 1 box Bisquick Pancake and Baking Mix* or 2 boxes Gluten-Free Red Lobster Cheddar Bay Biscuit Mix (GF option)
- 1 cup cheddar cheese, shredded
- 1/2 ounce chives, chopped and divided
For the Tomato Filling:
- 4 tablespoons butter, divided
- 2.5 pounds assorted heirloom cherry and grape tomatoes, divided
- 1 teaspoon sea salt, divided
- 1/2 medium red onion, thinly sliced
- 2 cloves garlic, minced
- 1/4 cup butter
- 1/4 cup all-purpose flour or gluten-free flour (GF option)
- 1 tablespoon Balsamic vinegar
For Garnish:
- One bunch of fresh basil, chopped
- Chopped chives
Steps
- Preheat oven to 375°F (190°C). Make sure your rack is positioned in the center of the oven for even heat distribution.
- Make a double batch of drop biscuits according to the box directions, adding in 1 cup of cheddar cheese and 2 tablespoons of chopped fresh chives. The cheese should be at room temperature for best incorporation. For the gluten-free biscuit option, the cheddar cheese is already included in the box instructions, but you’ll still need to add the chives. The biscuit dough should be slightly sticky but hold together when dropped from a spoon – if it’s too dry, add 1-2 tablespoons of milk.
- For the filling: In a 10-inch cast-iron skillet, heat 1 tablespoon of butter over medium heat until it begins to foam (about 30 seconds). Add half of the tomatoes (1.25 pounds), 1/2 teaspoon of salt, and some fresh ground pepper. Cook, stirring frequently, until tomatoes are just soft and beginning to burst, about 5 minutes. You’ll know they’re ready when they start to release their juices but still maintain some shape. Remove the tomatoes from the skillet and place them in a bowl.
- Repeat the same cooking process with the remaining tomatoes (1.25 pounds). You’re cooking in batches to avoid overcrowding the pan, which would steam rather than sauté the tomatoes. Remove them from the skillet and add to the bowl with the first batch.
- Heat 1 tablespoon of butter in the same skillet over medium heat. Add onion; cook, stirring occasionally, until tender and translucent but not browned, about 5 minutes. If the onions start to brown, reduce heat to medium-low. Stir in garlic; cook for 1 minute until fragrant but not browned (burnt garlic will taste bitter).
- Stir the remaining 2 tablespoons of butter into the onion until completely melted. Sprinkle in the 1/4 cup flour and stir constantly for 1 minute to cook out the raw flour taste. The mixture should look like a thick paste (roux) and smell slightly nutty.
- Stir in 1 tablespoon balsamic vinegar to deglaze the pan, scraping up any browned bits from the bottom of the skillet – these contain tons of flavor! Add the reserved tomatoes with all their accumulated juices; cook, stirring frequently, until the mixture thickens and is heated through, 3-5 minutes. The filling should coat the back of a spoon but still be slightly loose as it will thicken more during baking. Remove from heat.
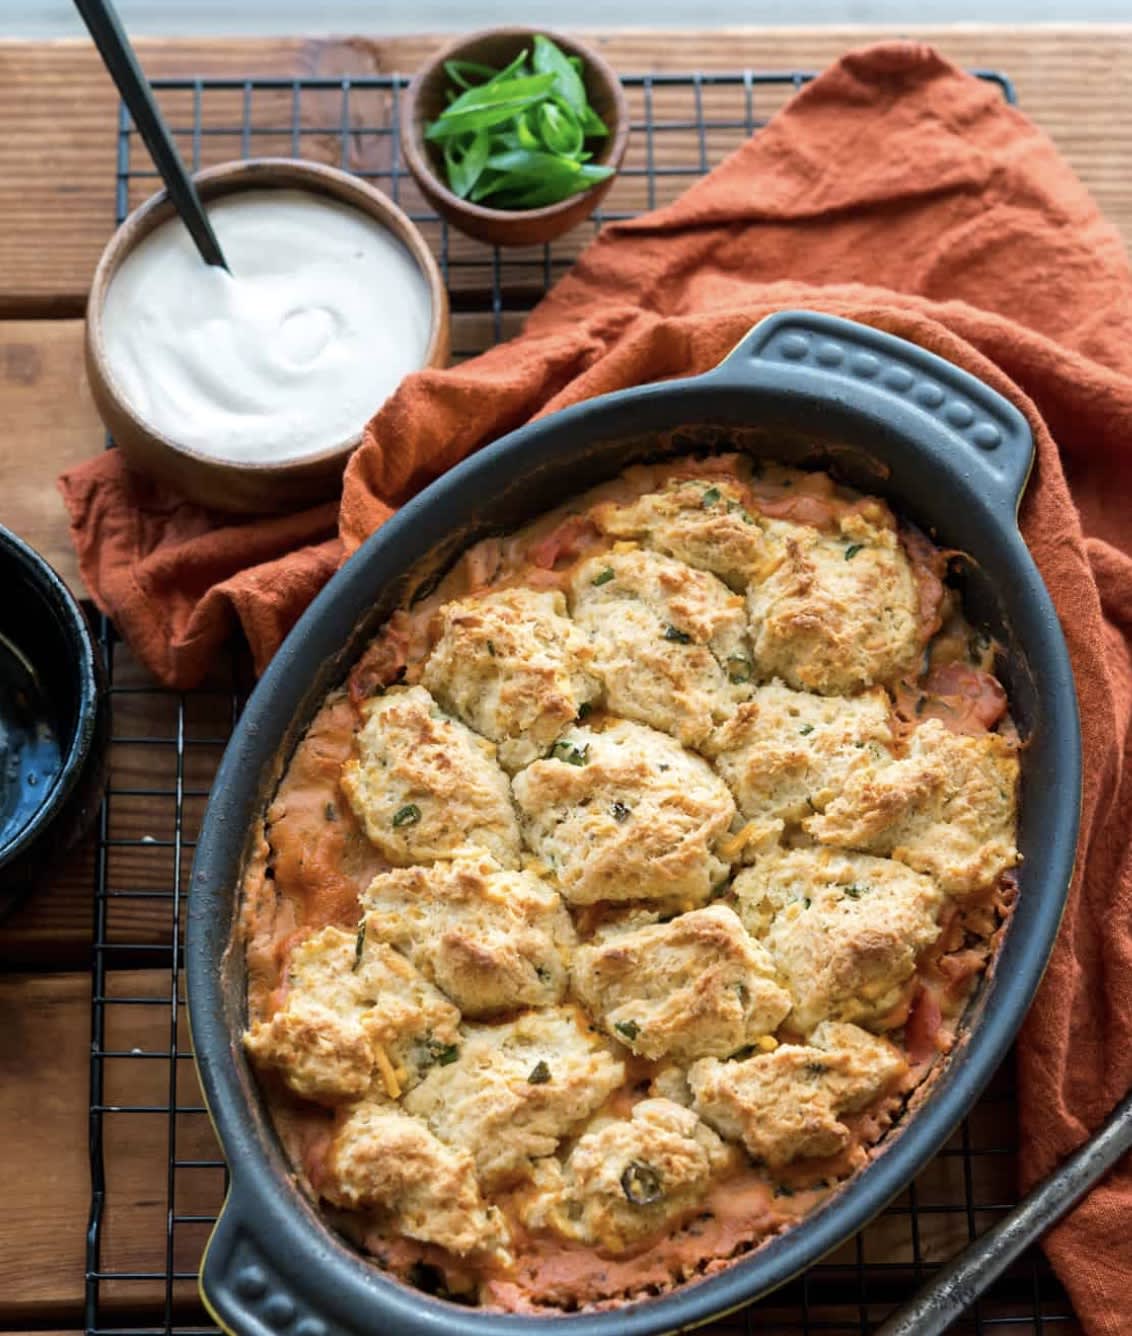
- Drop the biscuit dough by heaping 1/3 cup fulls onto the warm tomato mixture, leaving some space between each biscuit for expansion. Aim for 6-8 evenly spaced biscuits depending on your skillet size.
- Bake until biscuits are golden brown and the filling is hot and bubbly, 30-35 minutes. Watch for visual cues: the filling should be bubbling around the edges and the biscuits should be firm to the touch and golden on top. With about 10 minutes left of baking, cover the cobbler with foil to ensure the biscuits don’t get over-brown.
- Let cool for 15 minutes before serving. This resting time is crucial as it allows the filling to set slightly and prevents burn injuries from the extremely hot filling. Garnish with fresh basil and additional chives just before serving for the brightest flavor.
Smart Swaps
- Replace 1/4 cup butter in the filling with 3 tablespoons olive oil for a Mediterranean twist
- Swap regular flour for 1/4 cup whole wheat flour to add nutty flavor and extra fiber
- Try 1/2 cup crumbled goat cheese instead of cheddar for a tangy variation
- Add 1 tablespoon fresh thyme along with the chives for an herbal dimension
Make It Diabetes-Friendly
- Use a gluten-free biscuit mix with almond flour base to reduce carbs by approximately 15g per serving
- Replace half the biscuit topping with a thin layer of parmesan cheese (saves approximately 18g carbs per serving)
- Add 1/2 cup diced zucchini to the tomato mixture to increase fiber without adding significant carbs
- Serve with a side salad dressed with olive oil and vinegar to slow carbohydrate absorption
- Portion size matters: limit to a 1/2 cup serving (approximately 15g net carbs) and pair with protein
Pro Tips
- For the juiciest tomato filling, let tomatoes sit at room temperature for at least 30 minutes before cooking
- The cast iron skillet is key for even heat distribution, but any oven-safe skillet will work in a pinch
- For extra-flaky biscuits, chill the dough for 10 minutes before dropping onto the tomato mixture
- This dish reheats beautifully at 350°F (175°C) for 15-20 minutes covered with foil