Tater Tot Chicken Pot Pie
This is the recipe that makes people think you’ve got your culinary life figured out, even if you’re just winging it with whatever’s in your freezer.
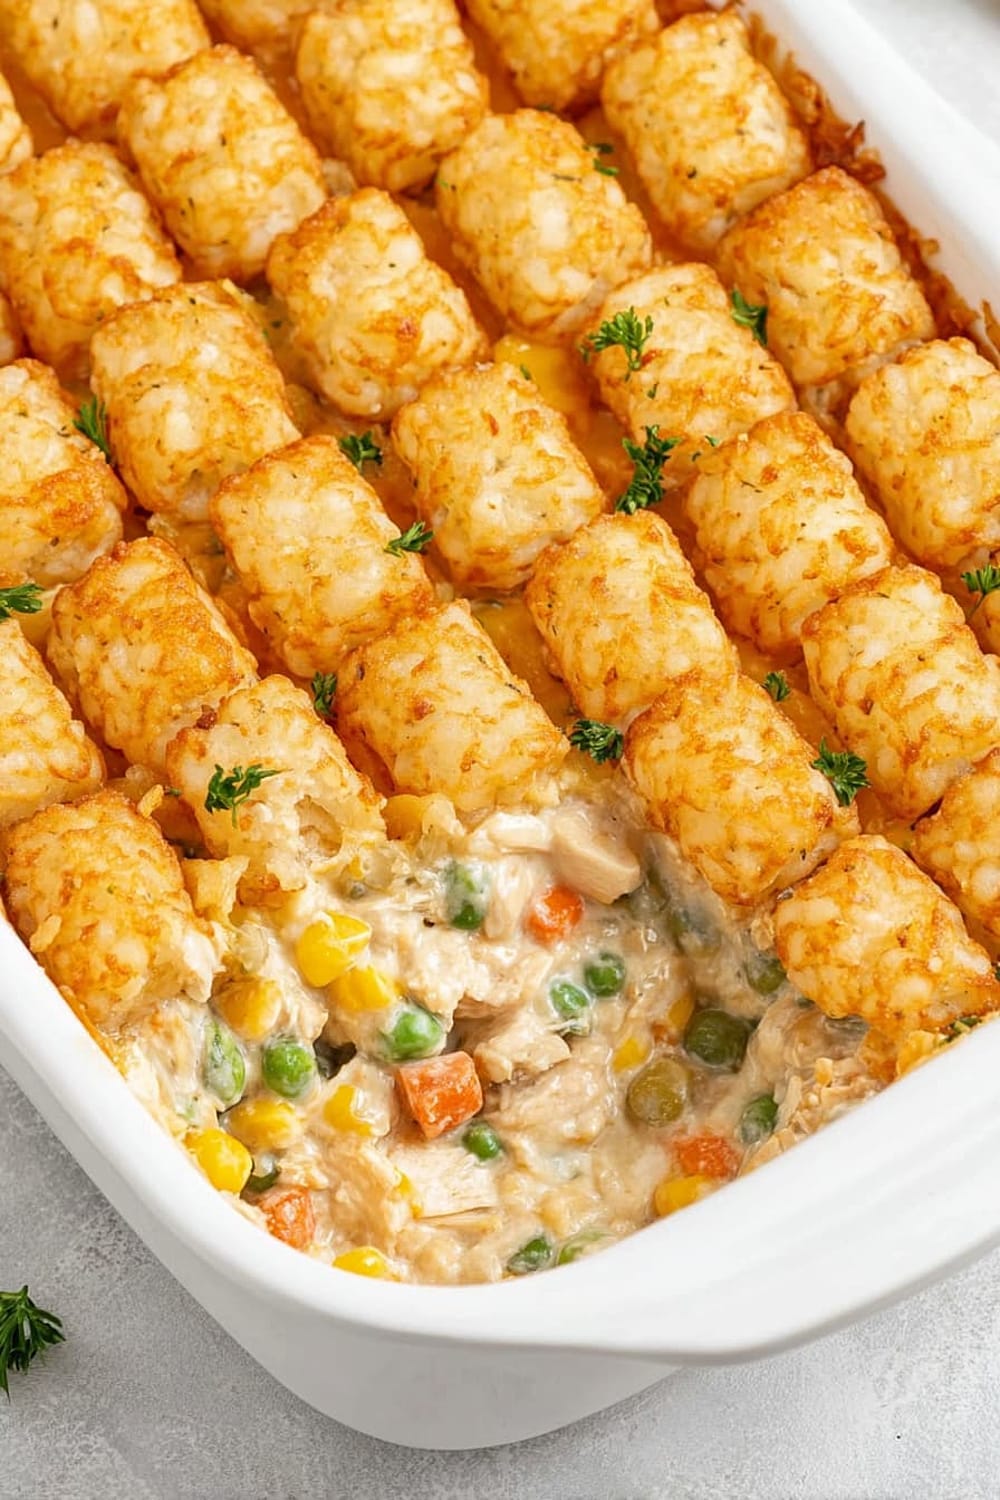
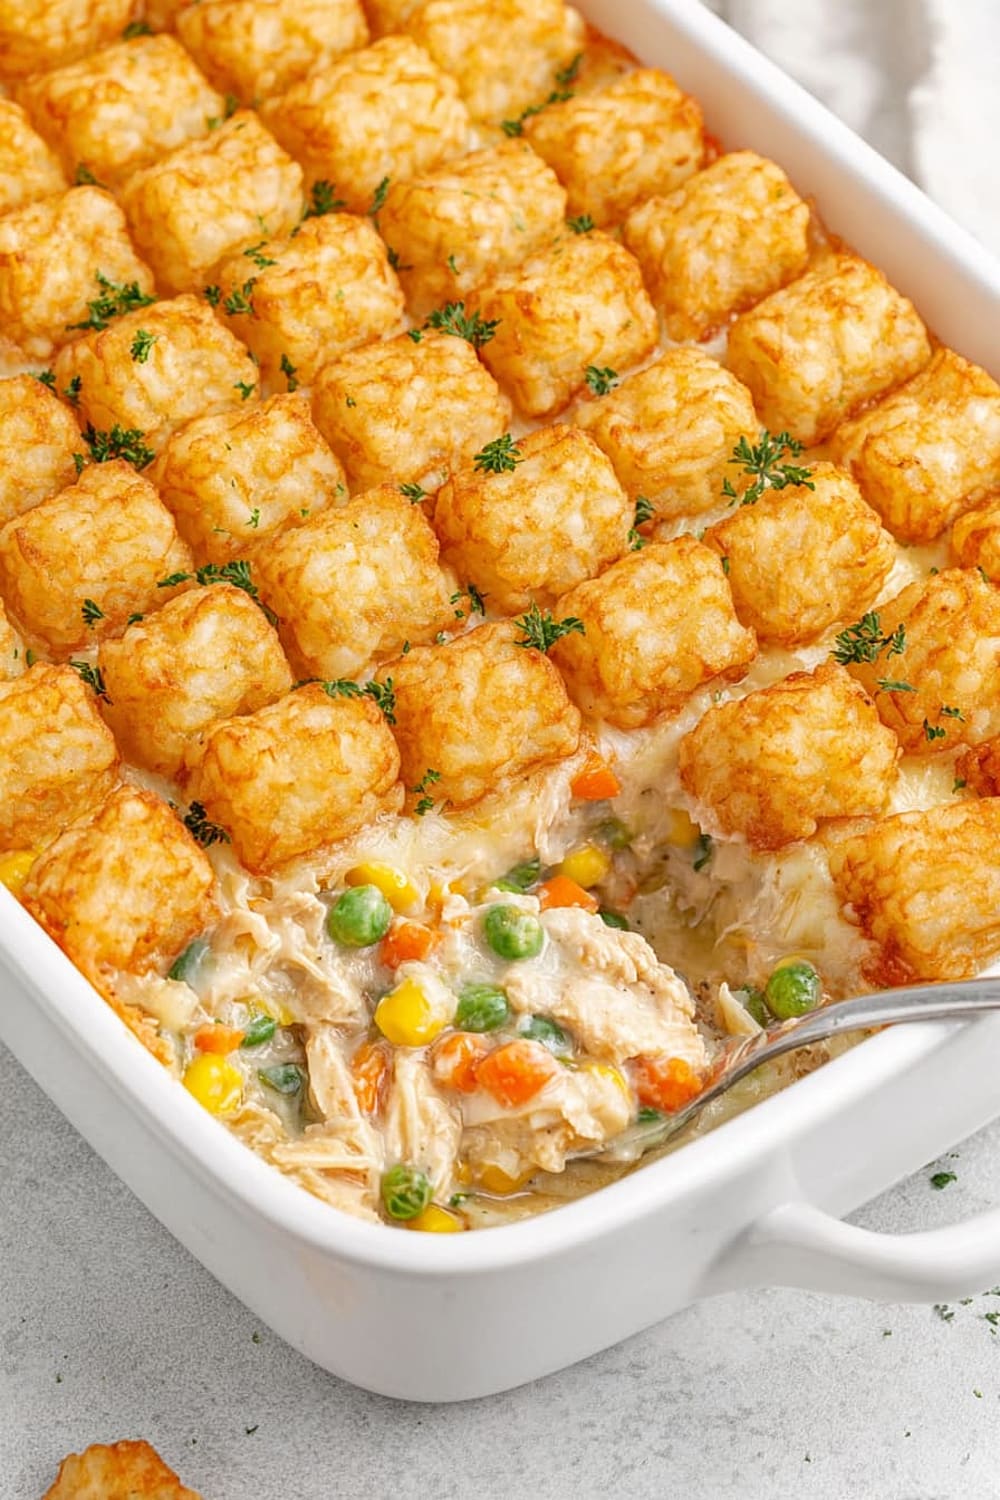
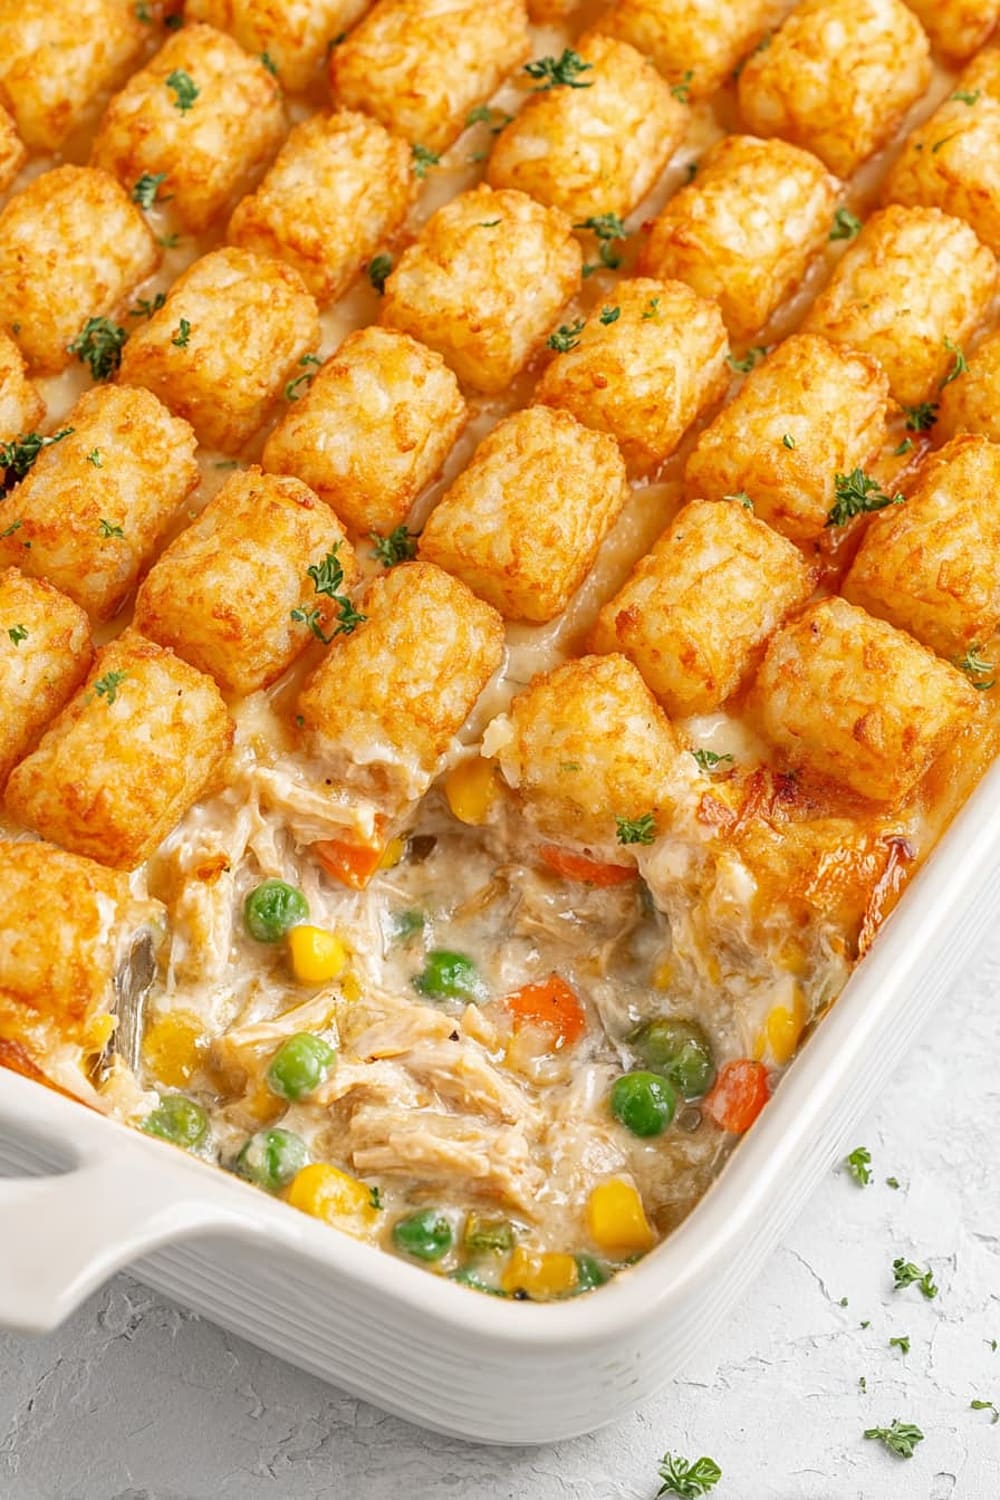
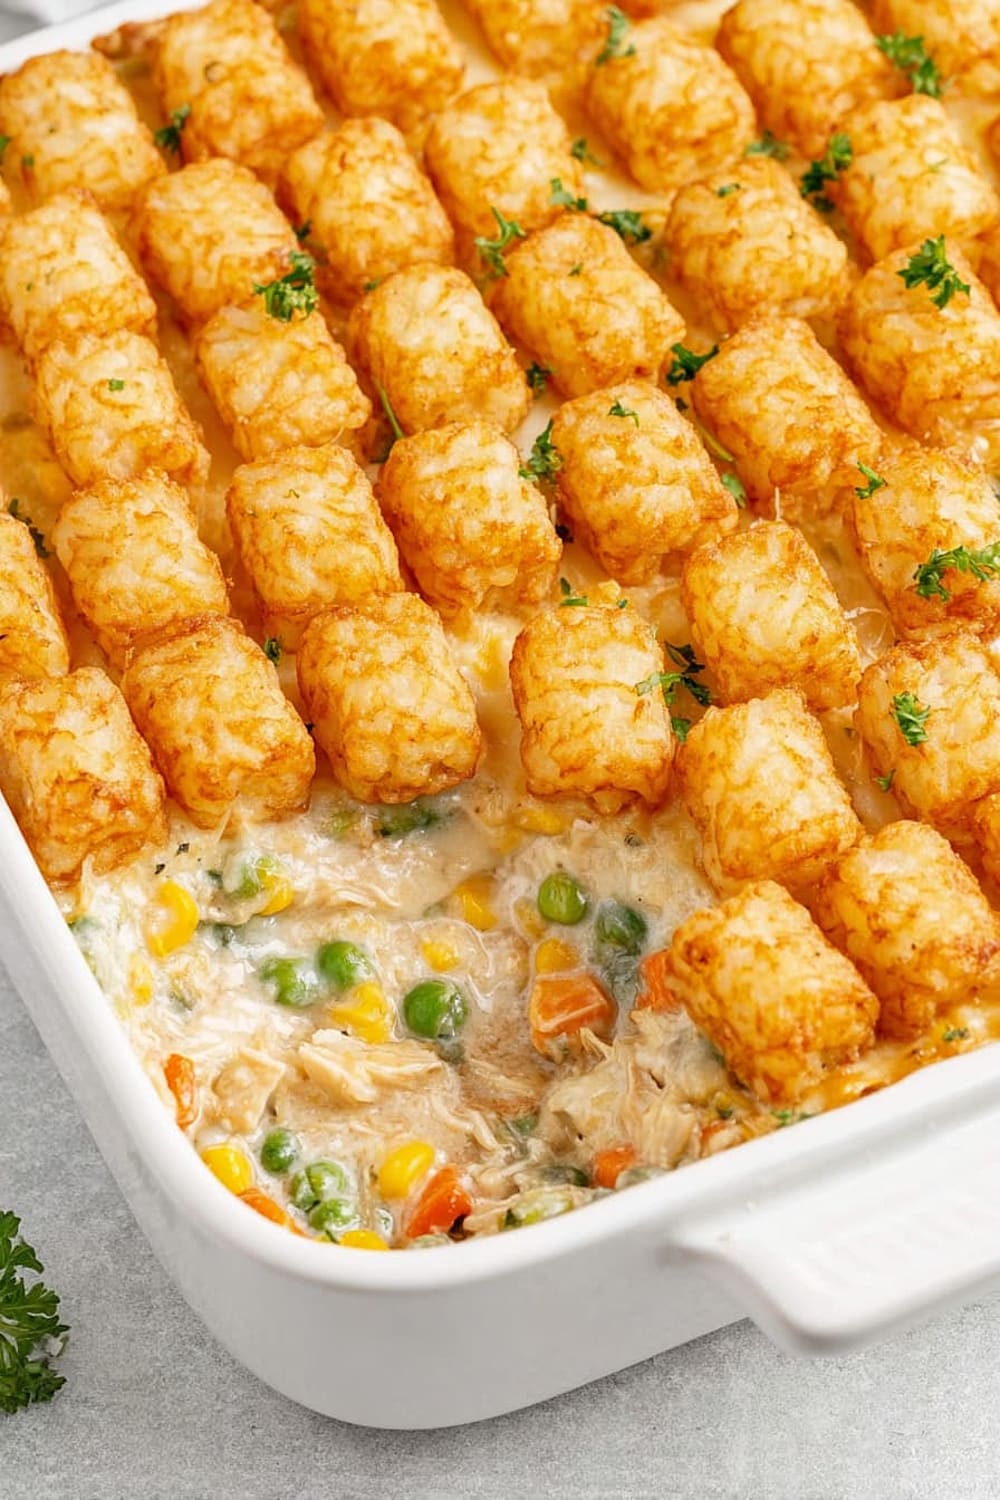
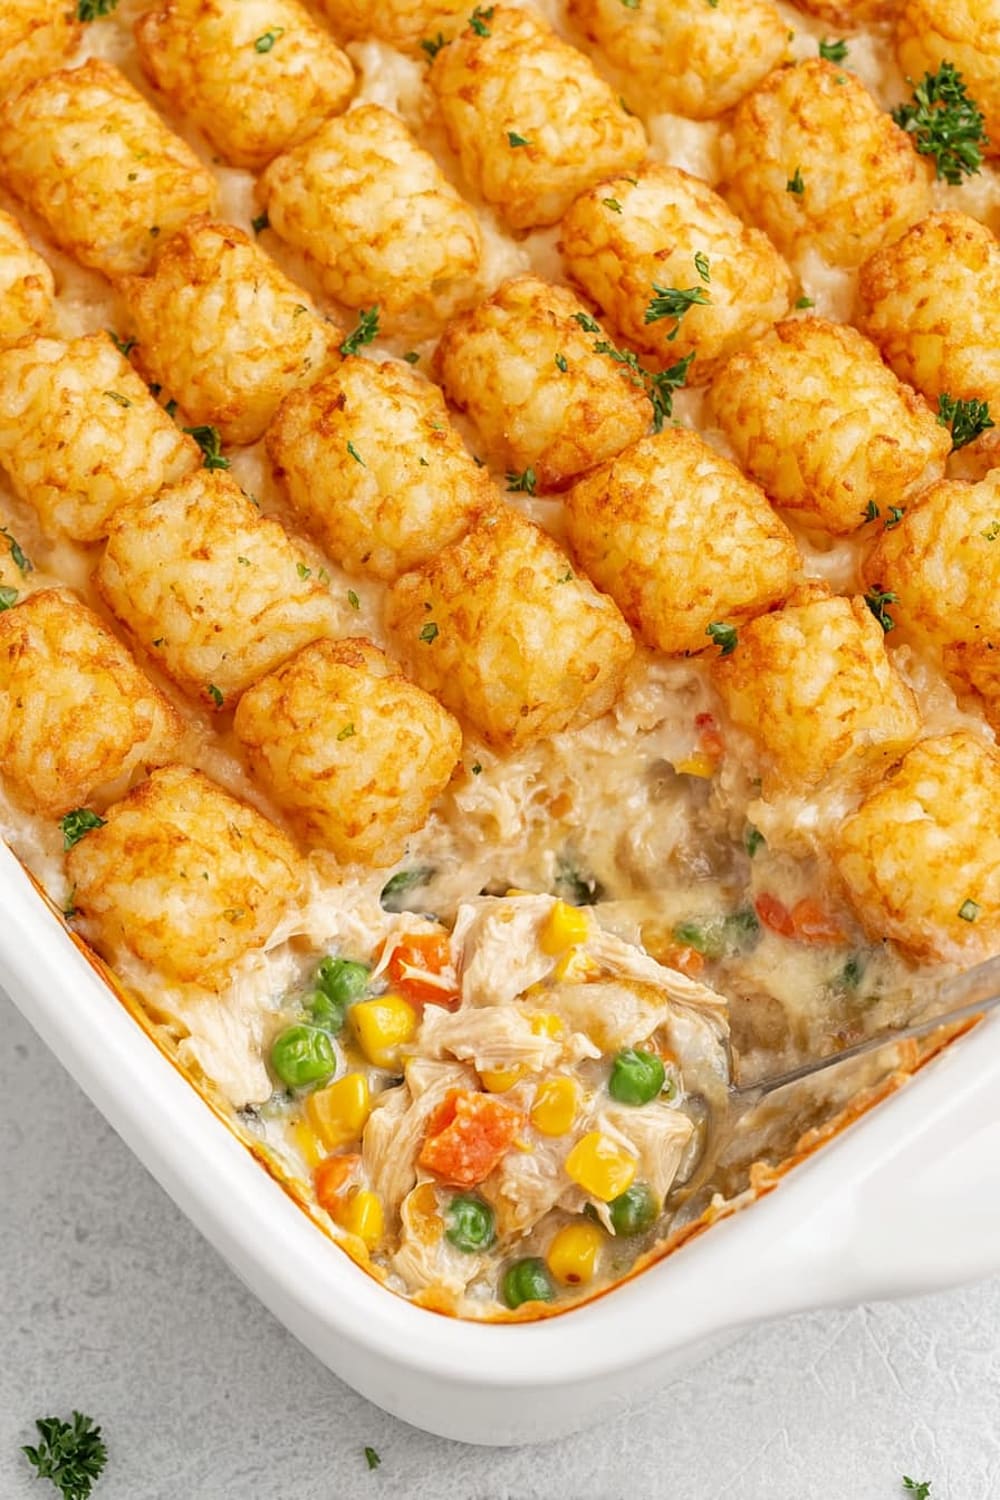
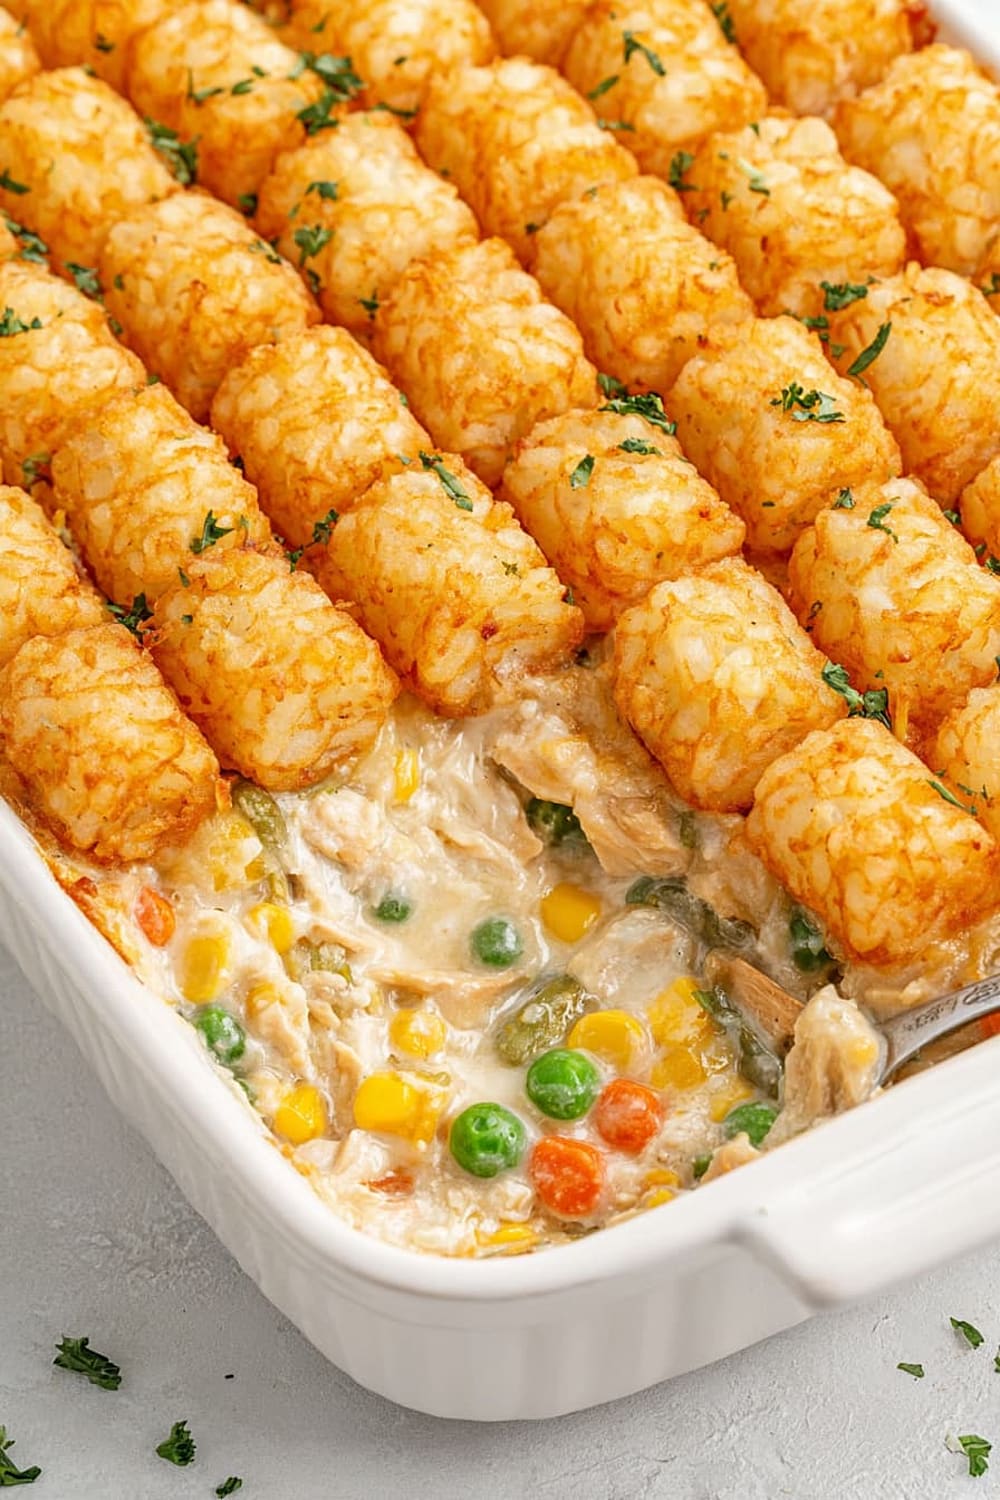
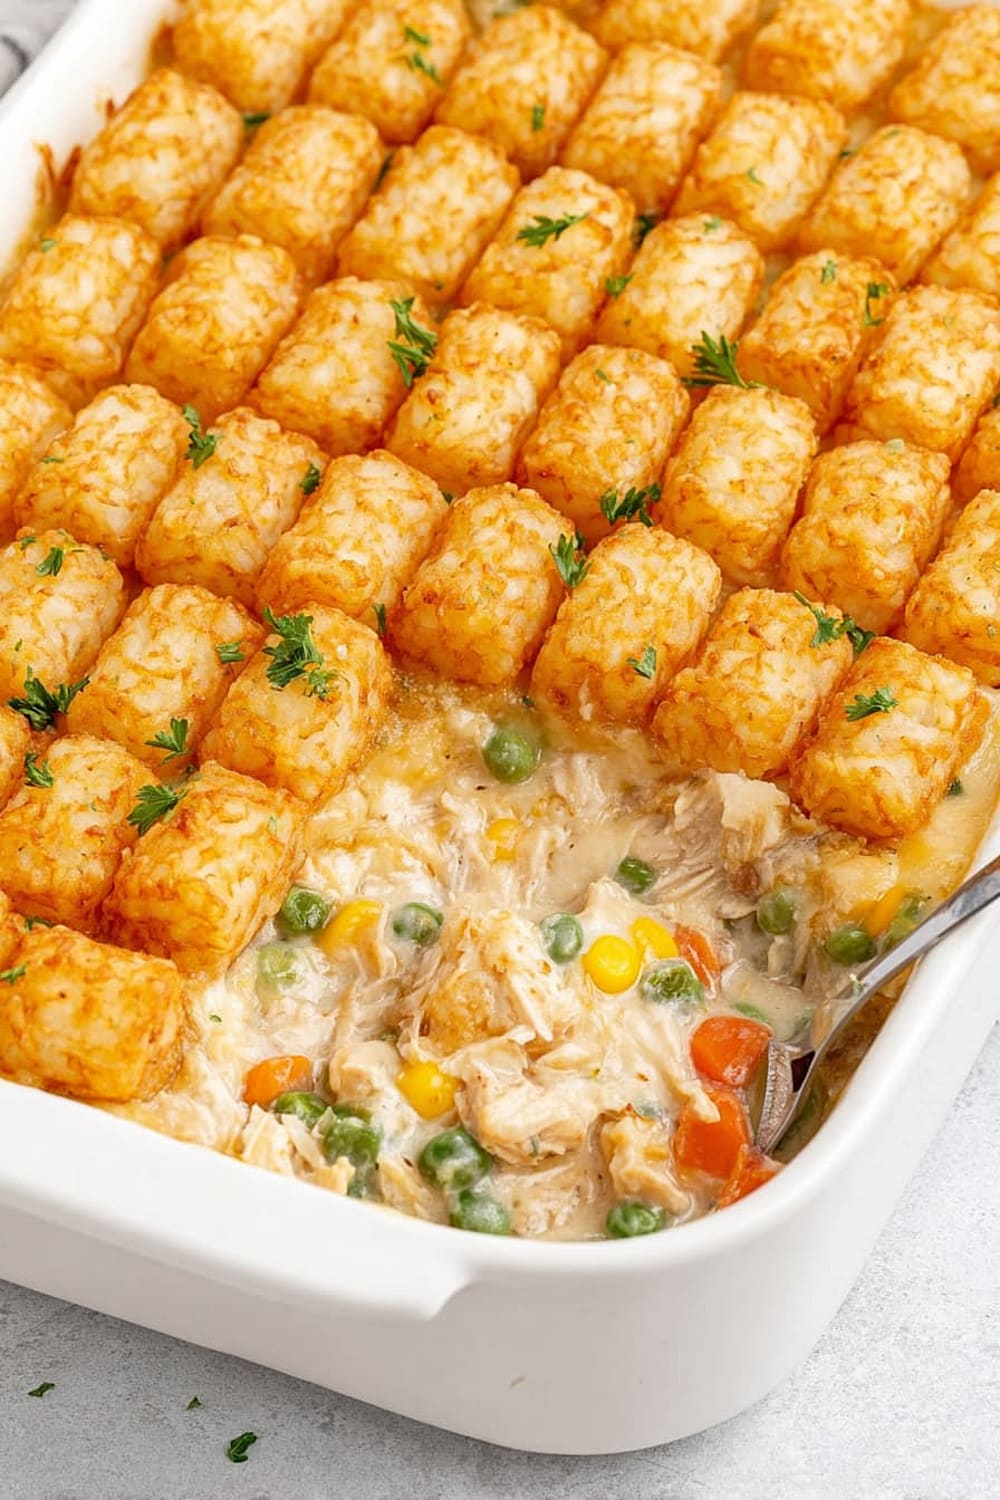
Picture this: a bubbling casserole where creamy chicken and vegetables hide beneath a golden crown of crispy tater tots that crunch with every single bite.

It’s comfort food that doesn’t require you to roll out pastry or stress about whether your crust will actually cooperate today.
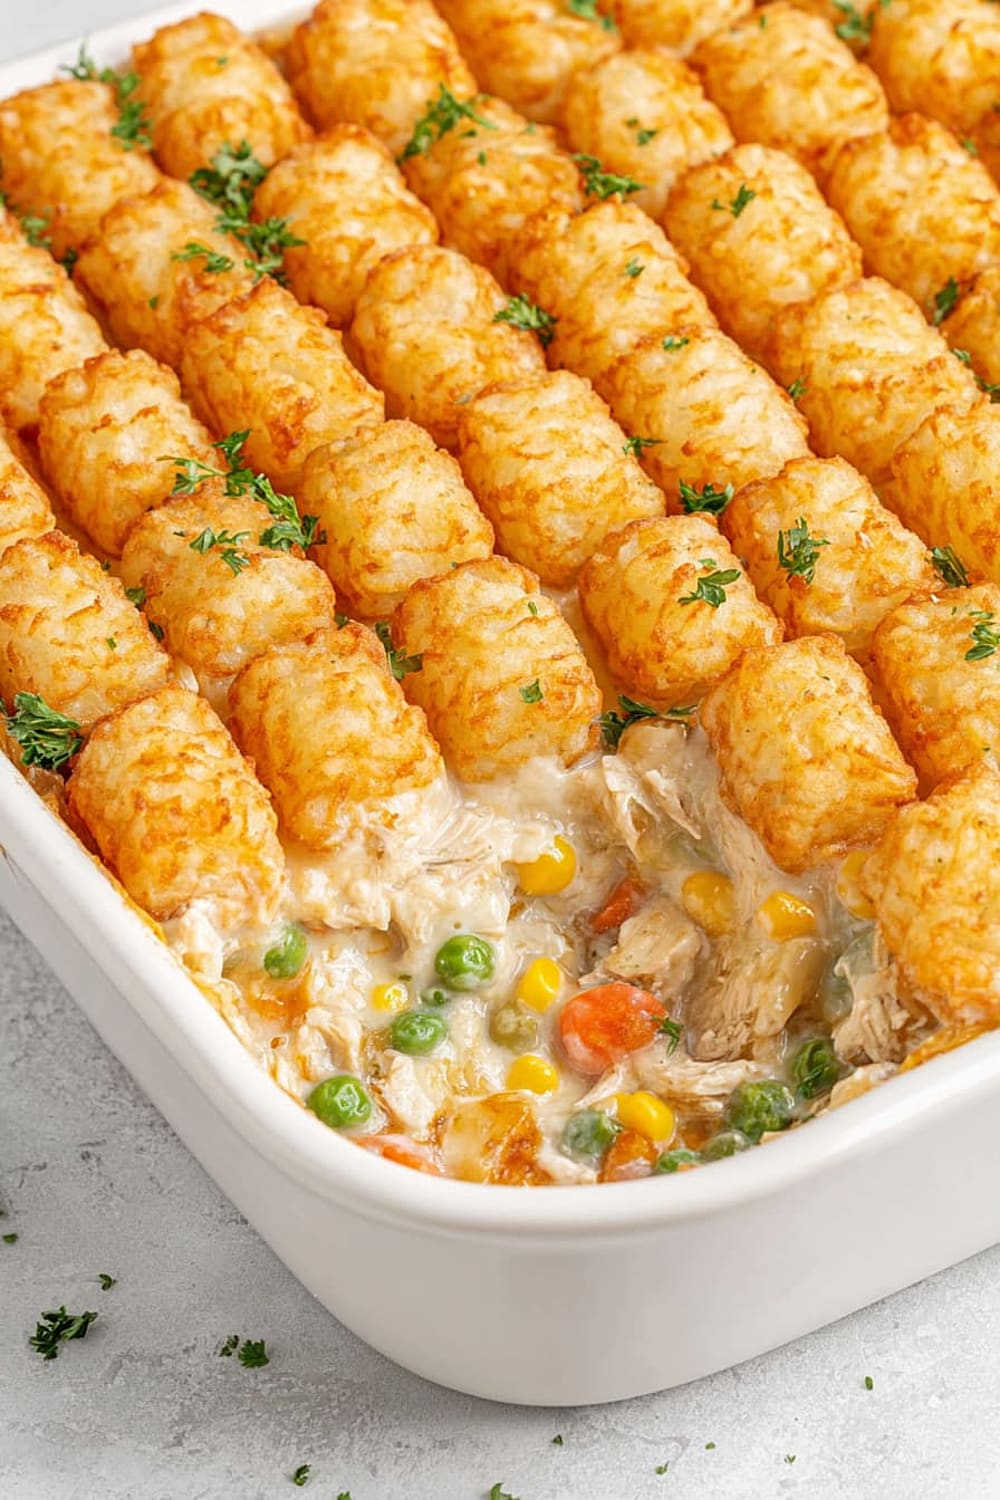
The magic happens when that rich, savory filling meets those perfectly golden tots, creating layers of texture that’ll have everyone scraping their plates clean.
This is basically the grown-up version of your childhood favorites, all baked together in one glorious 9×13-inch baking dish that feeds a crowd.
Warning: making this will result in people asking for the recipe, and you’ll get to casually mention how “simple” it was while secretly feeling like a kitchen genius.
Ingredients
For the Creamy Base
- 1 /4 cup unsalted butter
- 1 medium yellow onion, diced
- 3 cloves garlic, minced
- 1 /4 cup all-purpose flour
For the Filling
- 1 1/2 cups milk
- 1 cup chicken broth
- 3 cups cooked chicken, diced or shredded
- 2 cups frozen mixed vegetables
- 3 /4 teaspoon salt
- 1 /2 teaspoon black pepper
For the Topping
- 1 cup shredded cheddar cheese (optional)
- 32 -ounce bag frozen tater tots
Instructions
Preparation
- 1 Preheat your oven to 375°F (190°C) and lightly grease a 9×13-inch baking dish with butter or cooking spray. This prevents sticking and makes cleanup much easier later.
- 2 Gather all your ingredients and have them measured and ready. This recipe moves quickly once you start the roux, so having everything prepped prevents scrambling mid-process.
Create the Base
- 3 In a large skillet or cast iron pan, melt the 1/4 cup butter over medium heat until it’s completely melted and starting to foam slightly. Add the diced onion and cook for 3-4 minutes until softened and translucent, stirring occasionally to prevent browning.
- 4 Add the minced garlic and cook for an additional 30 seconds to 1 minute until fragrant. You’ll smell that amazing garlic aroma when it’s ready – don’t let it brown or it becomes bitter.
- 5 Sprinkle the 1/4 cup flour evenly over the onion and garlic mixture, stirring constantly with a whisk or wooden spoon to coat everything. Cook for 1-2 minutes to remove the raw flour taste. This creates your roux base for thickening.
Build the Filling
- 6 Gradually whisk in the 1 1/2 cups milk and 1 cup chicken broth, adding about 1/2 cup at a time while stirring continuously. This prevents lumps from forming. Continue stirring until the mixture thickens to a creamy consistency, about 5-7 minutes. It should coat the back of a spoon when ready.
- 7 Add the 3 cups cooked chicken, 2 cups frozen mixed vegetables, 3/4 teaspoon salt, and 1/2 teaspoon black pepper, mixing until everything is evenly combined. The mixture should be thick enough to hold its shape but still creamy.
Assemble and Bake
- 8 Pour the chicken mixture into your prepared baking dish and spread it out evenly with a spatula, making sure it reaches all corners. If using cheese, sprinkle the 1 cup shredded cheddar evenly over the surface.
- 9 Arrange the frozen tater tots in a single, even layer on top of the casserole. Don’t overlap them – each tot needs space to get properly crispy. You want complete coverage for the best texture contrast.
- 10 Bake for 35-40 minutes until the tater tots are golden brown and crispy on top, and the filling is bubbling around the edges. The internal temperature should reach 165°F (74°C) for food safety.
- 11 Let the casserole rest for 5 minutes before serving. This allows the filling to set slightly and prevents it from being too liquidy when you cut into it.
Recommended Equipment and Kitchen Tools
Recommended Tools (for best results)
- Large skillet or cast iron pan – Essential for building the roux and creating a smooth, lump-free base. Cast iron retains heat beautifully and transfers from stovetop to oven if needed
- 9×13-inch baking dish – The standard size ensures proper cooking time and even heat distribution throughout the casserole
- Wire whisk – Critical for incorporating the liquid gradually and preventing lumps in your cream sauce
- Measuring cups and spoons – Accurate measurements ensure the proper consistency and flavor balance
Helpful Upgrades
- Kitchen scale – For more precise flour measurements, especially helpful if you’re scaling the recipe up or down
- Instant-read thermometer – Takes the guesswork out of checking if your filling has reached the safe internal temperature
- Silicone spatula – Perfect for scraping every bit of that delicious filling from your skillet into the baking dish
Nice-to-Have Options
- Food processor – Makes quick work of dicing onions if you’re making multiple batches or have sensitive eyes
- Immersion blender – Can smooth out any lumps in your sauce if they do develop, though proper whisking should prevent this
Recipe Variations and Dietary Modifications
Gluten-Free Adaptation
- Replace 1/4 cup all-purpose flour with 3 tablespoons cornstarch or 1/4 cup gluten-free flour blend
- Whisk cornstarch with a small amount of cold milk before adding to prevent clumping
- Cooking time remains the same, but the sauce may thicken slightly faster
- Check that your chicken broth is certified gluten-free
Dairy-Free Modifications
- Substitute unsalted butter with 3 tablespoons olive oil or vegan butter
- Replace milk with unsweetened oat milk or cashew milk for creaminess
- Use nutritional yeast instead of cheddar cheese for a cheesy flavor without dairy
- The texture will be slightly less rich but still deliciously satisfying
Vegetarian Version
- Replace chicken with 3 cups diced firm tofu, cooked lentils, or chickpeas
- Use vegetable broth instead of chicken broth
- Add 1 tablespoon soy sauce for extra umami depth
- Consider adding mushrooms for meaty texture and enhanced flavor
Flavor Variations
- Mexican-inspired: Add cumin, chili powder, and diced jalapeños to the base
- Herb-crusted: Mix dried thyme, rosemary, and sage into the filling
- Cheesy upgrade: Layer cream cheese into the filling for extra richness
- Veggie-packed: Add diced bell peppers, corn, or green beans for more vegetables
Nutritional Information and Health Benefits
Key Nutritional Highlights
This hearty casserole provides approximately 380-420 calories per serving when cut into 8 portions. The combination of chicken, vegetables, and potatoes creates a well-balanced macronutrient profile with 25-30 grams protein, 35-40 grams carbohydrates, and 15-18 grams fat per serving. The frozen mixed vegetables contribute significant fiber content (4-6 grams per serving) and essential vitamins.
Health Benefits of Main Ingredients
The chicken provides high-quality complete protein containing all essential amino acids, supporting muscle maintenance and satiety. Frozen mixed vegetables retain most of their nutritional value and offer vitamin A from carrots, vitamin C from peas, and folate from various vegetables. The milk contributes calcium and vitamin D for bone health, while onions and garlic provide antioxidants and anti-inflammatory compounds like quercetin and allicin.
Dietary Considerations
This recipe contains gluten (flour), dairy (milk, butter, optional cheese), and is naturally nut-free. The moderate sodium content comes primarily from the chicken broth and added salt. For portion control, this recipe serves 6-8 people generously, making it excellent for meal prep or family dining. The combination of protein and complex carbohydrates provides sustained energy and helps maintain stable blood sugar levels.
Smart Swaps and Ingredient Substitutions
Common Substitutions:
- Cooked chicken → Rotisserie chicken (shredded), turkey, or cooked ground chicken in equal amounts
- Frozen mixed vegetables → Fresh vegetables (blanched for 3-4 minutes first), corn and peas, or diced bell peppers and carrots
- All-purpose flour → Cornstarch (use 2 tablespoons instead of 1/4 cup), arrowroot powder, or gluten-free flour blend
- Milk → Heavy cream (for richer flavor), half-and-half, or unsweetened plant milk
Budget-Friendly Swaps:
- Fresh garlic → Garlic powder (1/2 teaspoon instead of 3 cloves)
- Chicken broth → Bouillon cubes dissolved in water or vegetable broth
- Butter → Vegetable oil or margarine in equal amounts
- Shredded cheddar → Any melting cheese you have on hand or skip entirely
Pantry Emergency Substitutions:
- Yellow onion → Onion powder (1 tablespoon) or shallots (2 medium)
- Tater tots → Hash browns, diced potatoes, or even crushed crackers for topping
- Mixed vegetables → Any single vegetable like corn, peas, or green beans
Pro Tips for Substitutions:
- When using cornstarch instead of flour, always mix it with cold liquid first to prevent lumps
- Plant-based milks may result in a slightly thinner sauce, so reduce liquid by 2-3 tablespoons
Make It Diabetes-Friendly
Carb Modifications:
- Replace tater tots with cauliflower tots or roasted cauliflower florets to reduce carbs by approximately 25-30 grams per serving
- Use almond flour (3 tablespoons) instead of all-purpose flour to cut 15-20 grams carbs total
- Increase non-starchy vegetables like broccoli, zucchini, or bell peppers to add volume without carbs
Portion & Timing Tips:
- Stick to 1/8 of the pan per serving (approximately 30-35 grams carbs with traditional ingredients)
- Pair with a large green salad dressed with olive oil to add fiber and healthy fats
- Serve with steamed broccoli or roasted Brussels sprouts for additional nutrients and fiber
- Consider eating this as your main meal rather than alongside other carb-heavy sides
Ingredient Swaps for Blood Sugar Control:
- Use unsweetened almond milk instead of regular milk to reduce natural sugars
- Add extra protein like Greek yogurt mixed into the sauce for better blood sugar stability
- Include fiber-rich vegetables like chopped spinach or diced bell peppers in the filling
Total Carb Reduction: These modifications can reduce carbs from 35-40 grams to 15-20 grams per serving
Perfect Pairing Suggestions
Beverage Pairings
A crisp white wine like Chardonnay or Pinot Grigio complements the creamy richness without overwhelming the comfort food flavors. For beer lovers, a light lager or wheat beer provides refreshing contrast to the hearty casserole. Non-alcoholic options include sparkling water with lemon, iced tea, or apple cider for a cozy autumn feel.
Side Dish Recommendations
Fresh garden salad with mixed greens and vinaigrette cuts through the richness beautifully, while roasted Brussels sprouts or steamed broccoli add nutritious green vegetables. Cranberry sauce or applesauce provides a sweet-tart contrast that enhances the savory flavors. Dinner rolls complete the comfort food experience, though they’re not necessary given the substantial nature of this dish.
Complete Meal Ideas
Start with tomato soup or mixed green salad as an appetizer. For dessert, keep it simple with vanilla ice cream, apple crisp, or chocolate chip cookies. This casserole works beautifully for Sunday family dinners, potluck gatherings, or weeknight meals when you want something satisfying without complicated preparation.
Occasion Suggestions
Perfect for cold weather dining, holiday gatherings, church potlucks, and meal prep sessions. The make-ahead friendly nature makes it ideal for busy weeknights or entertaining when you want to spend time with guests rather than in the kitchen.
Pro Tips and Troubleshooting
Professional Techniques
Cook your roux for the full 1-2 minutes to eliminate any raw flour taste – this step is crucial for a smooth, professional-tasting sauce. When adding liquid to the roux, add gradually and whisk constantly to prevent lumps. If lumps do form, use an immersion blender directly in the pan or strain the mixture through a fine-mesh sieve.
Storage and Make-Ahead Strategies
This casserole can be assembled completely and refrigerated up to 24 hours before baking – just add 5-10 extra minutes to the cooking time. Leftover portions keep in the refrigerator for 3-4 days and reheat beautifully in a 350°F (175°C) oven for 15-20 minutes. For freezing, assemble without baking, wrap tightly, and freeze for up to 3 months. Thaw overnight before baking.
Troubleshooting Common Issues
If your sauce seems too thick, gradually whisk in more broth until you reach the desired consistency. Too thin? Mix 1 tablespoon cornstarch with 2 tablespoons cold milk and stir into the mixture. Tater tots not crispy? Increase oven temperature to 400°F (200°C) for the last 10 minutes of baking.
Recipe Scaling
This recipe doubles perfectly for crowd feeding – use a disposable aluminum pan or two 9×13 dishes. For half portions, use an 8×8 square pan and reduce baking time to 25-30 minutes.
This Tater Tot Chicken Pot Pie proves that the best comfort food doesn’t require complicated techniques or fancy ingredients – just quality basics combined thoughtfully. Whether you’re feeding a hungry family on a busy weeknight or bringing a crowd-pleasing dish to your next gathering, this recipe delivers the perfect combination of creamy, savory filling and crispy, golden topping that’ll have everyone asking for seconds.