The Crispiest, Juiciest Fried Chicken EVER
Let’s be honest – is there anything more satisfying than biting through that perfect shatteringly crisp crust into juicy, tender chicken? That moment when the crunch hits your ears before the flavor explosion hits your mouth? This isn’t just fried chicken – it’s an event, a celebration, a masterpiece that’ll have everyone at the table falling silent except for the occasional “mmm” and “oh my god.”
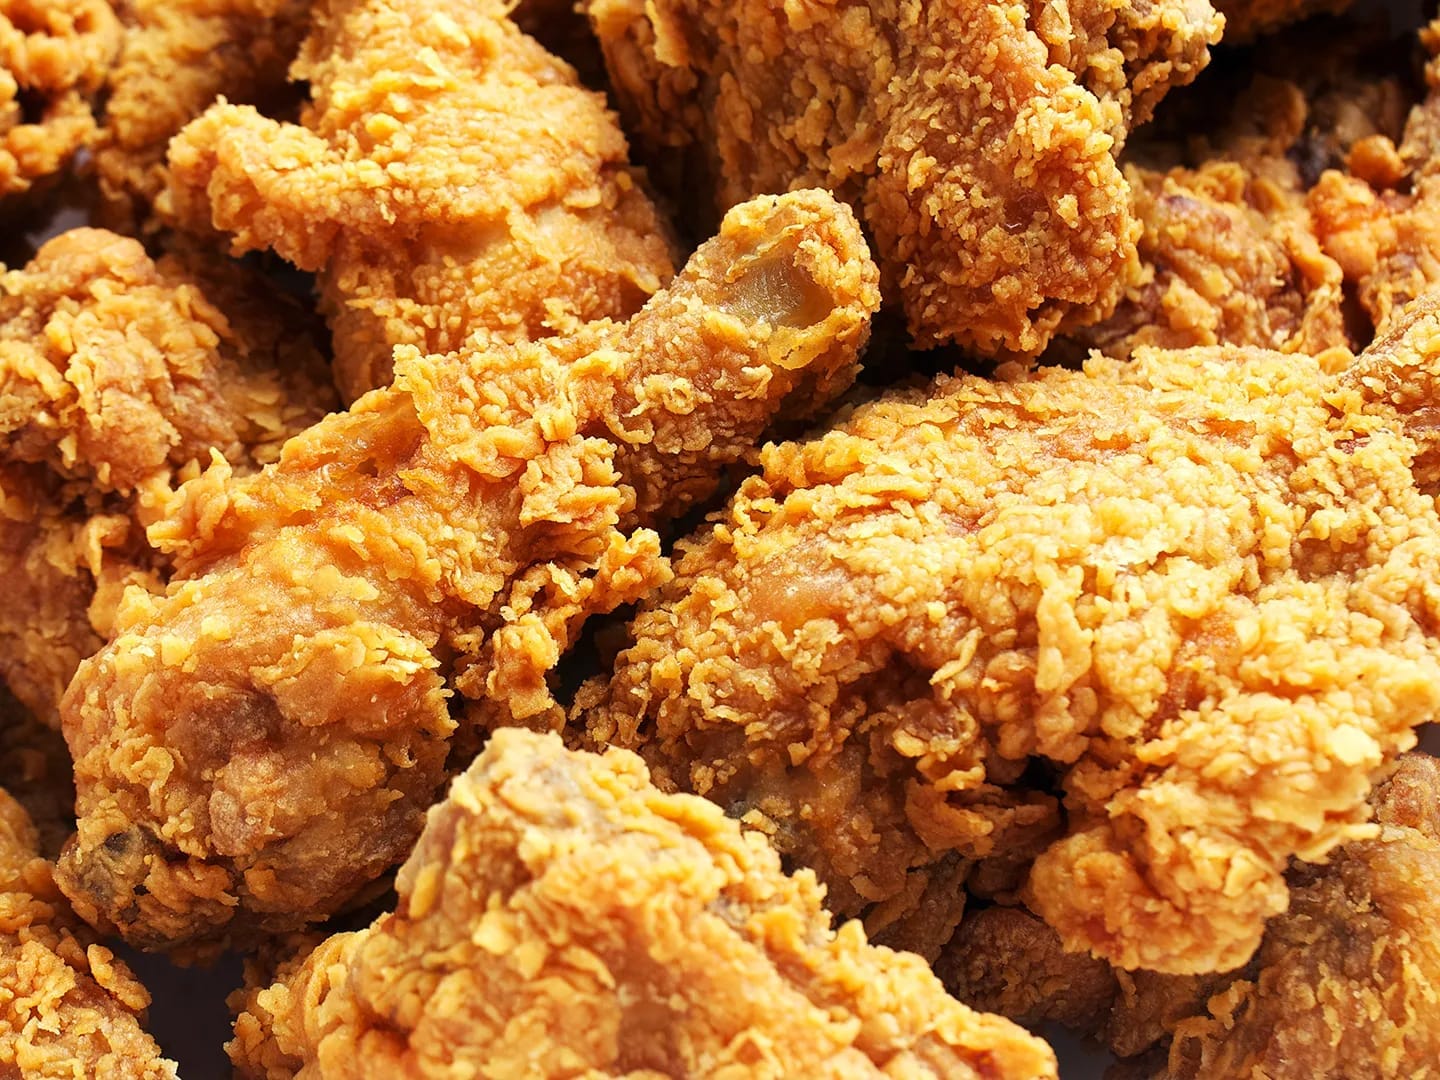
What makes this recipe the absolute BEST is the game-changing 24-hour buttermilk brine that tenderizes the chicken to ridiculous levels of juiciness. Then there’s the secret to that earth-shattering crunch: a specially formulated flour coating with cornstarch and baking powder that creates micro-bubbles when it hits the hot oil. The result? Chicken with a crust so crispy it practically sings when you bite into it, while the meat inside stays moist and flavorful all the way to the bone.
Ingredients

For the chicken:
- 4 chicken thighs
- 4 drumsticks
For the buttermilk brine:
- 3 cups buttermilk
- 1 egg
- 2 tsp salt
- 1 tsp black pepper
- 1 tsp garlic powder
- ½ tsp cayenne pepper
For the flour coating:
- 2 cups flour
- 3/4 cup cornstarch
- 1 tsp baking powder
- 2 tsp salt
- 1 tsp black pepper
- 1 tsp garlic powder
- 1 tsp celery salt
- 1 tsp onion powder
- 2 tsp dried oregano
- 1 tsp cayenne pepper
- 1 tsp smoked paprika
For frying:
- 8 cups oil for frying (vegetable, canola, or peanut oil)
Steps
- In a large measuring jug or bowl, thoroughly whisk together the buttermilk brine ingredients: 3 cups buttermilk, 1 egg, 2 tsp salt, 1 tsp black pepper, 1 tsp garlic powder, and ½ tsp cayenne pepper until completely smooth. The egg helps the brine adhere to the chicken, creating a better base for your coating.
- Place chicken pieces in a gallon-sized ziplock bag and pour the brine over them. Seal the bag, removing as much air as possible, then massage the bag to ensure each piece is fully coated. Place in the refrigerator for at least 4 hours, but ideally 24 hours for maximum tenderness. The longer brining time allows the salt and acid in the buttermilk to break down proteins, resulting in significantly juicier chicken.
- When ready to cook, prepare your dredging station. In a large, shallow bowl, whisk together 2 cups flour, 3/4 cup cornstarch, 1 tsp baking powder, 2 tsp salt, 1 tsp black pepper, 1 tsp garlic powder, 1 tsp celery salt, 1 tsp onion powder, 2 tsp dried oregano, 1 tsp cayenne pepper, and 1 tsp smoked paprika. The cornstarch is crucial for achieving extra crispiness, while the baking powder creates tiny air pockets in the crust.
- Pour 8 cups of oil into a large, heavy-bottomed pot or Dutch oven (at least 6 quarts) to a depth of about 3 inches. Heat over medium-high heat until the oil reaches 350°F (175°C) on a thermometer. If you don’t have a thermometer, test by pressing a wooden spoon to the bottom of the pot – the oil is ready when bubbles form around the spoon. Too cool oil will make your chicken greasy; too hot will burn the coating before the chicken cooks.
- The secret to extra craggy crispiness: Add 4 tablespoons of the buttermilk brine directly to your flour mixture and work it in with your fingertips, creating small clumps. These clumps will create extra crunchy bits on your chicken’s exterior.
- Remove chicken pieces from the brine one at a time, letting excess liquid drip off for 5-10 seconds. Dredge each piece thoroughly in the flour mixture, pressing firmly to adhere the coating. For extra crispiness, really work the flour into every crevice of the chicken.
- Shake off excess flour and carefully lower each piece into the hot oil, working in batches of 3-4 pieces to avoid overcrowding (which would lower the oil temperature and make the chicken greasy). Maintain oil temperature between 325-350°F (165-175°C) throughout frying.
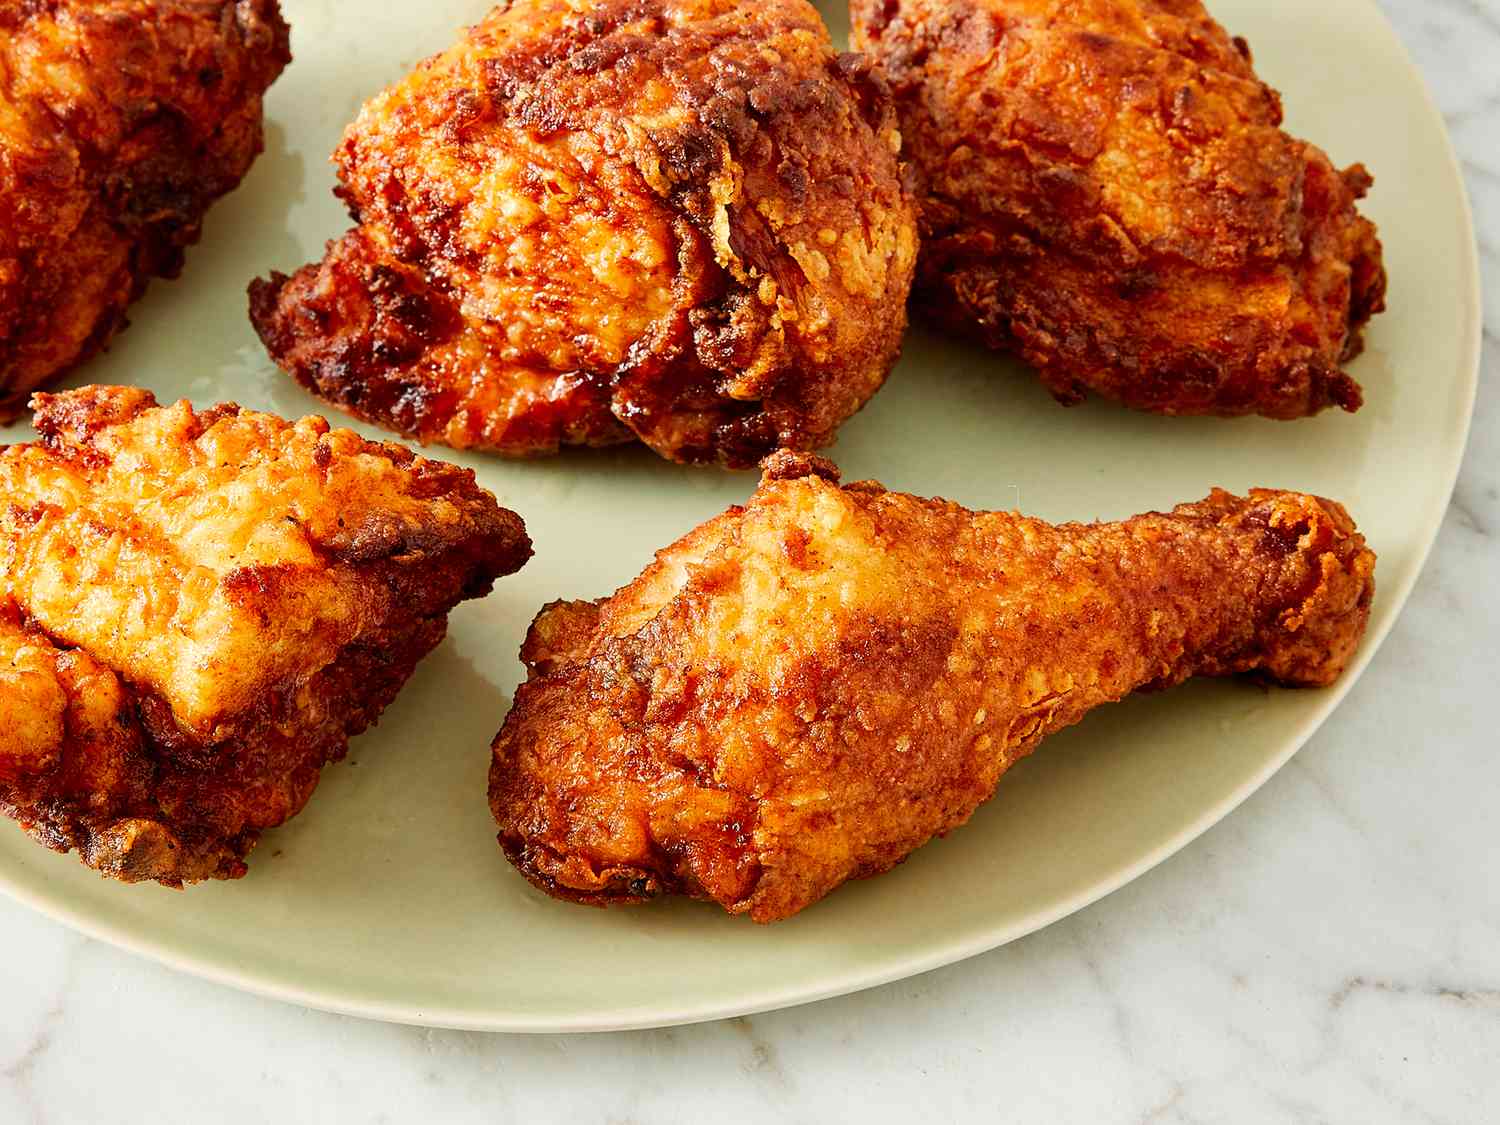
- Fry each piece for 4-5 minutes per side, turning occasionally with tongs, until the coating is deeply golden brown and crisp. Don’t judge doneness by color alone – the coating should feel firm and sound hollow when tapped with tongs.
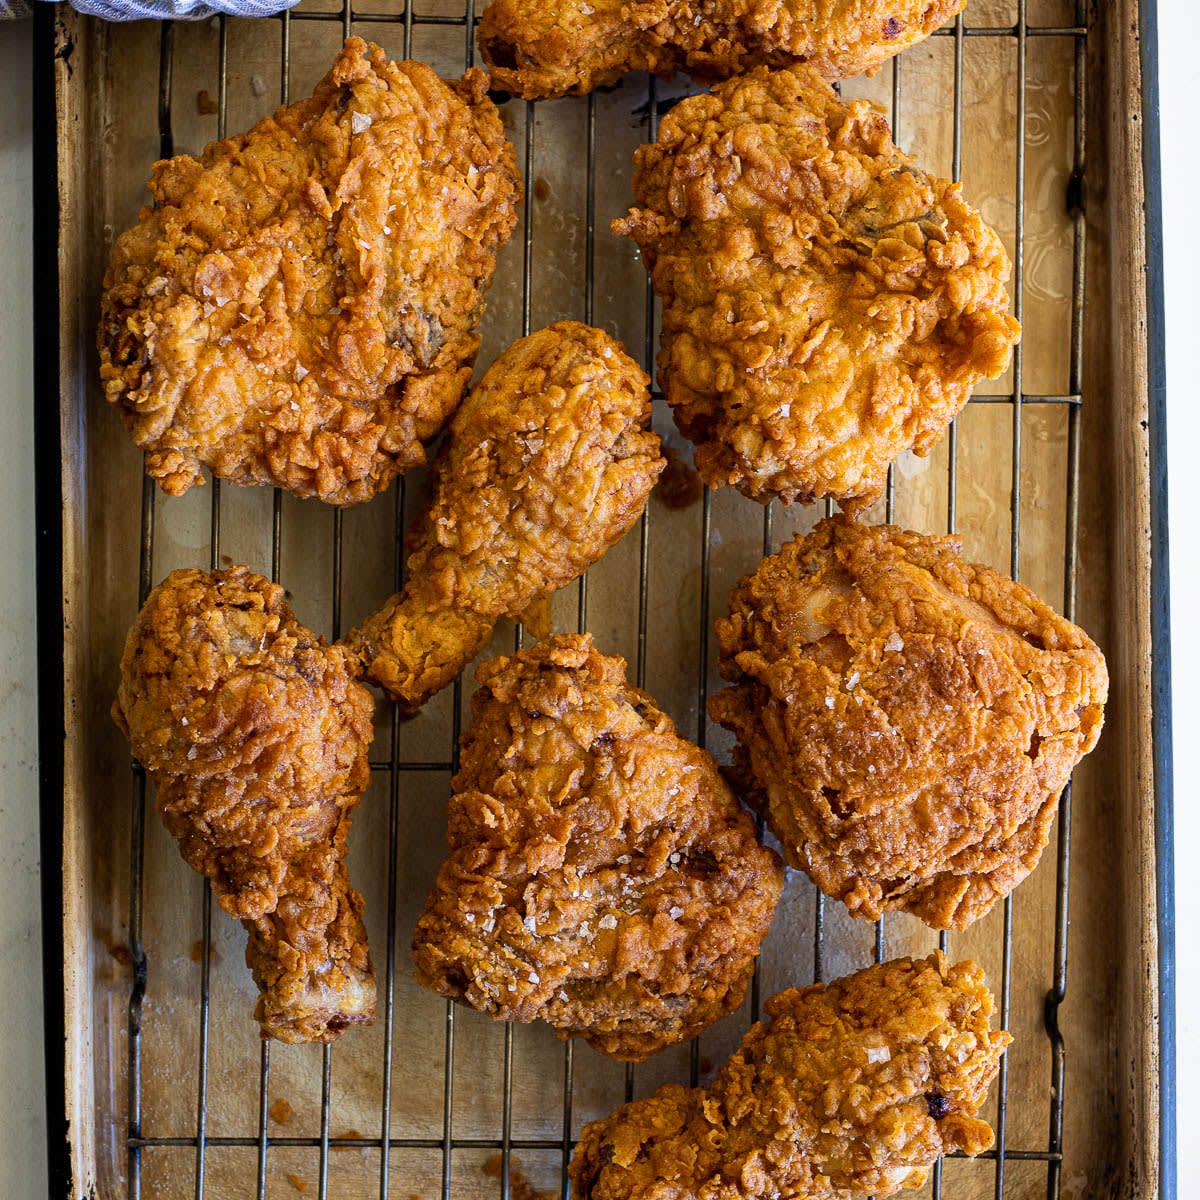
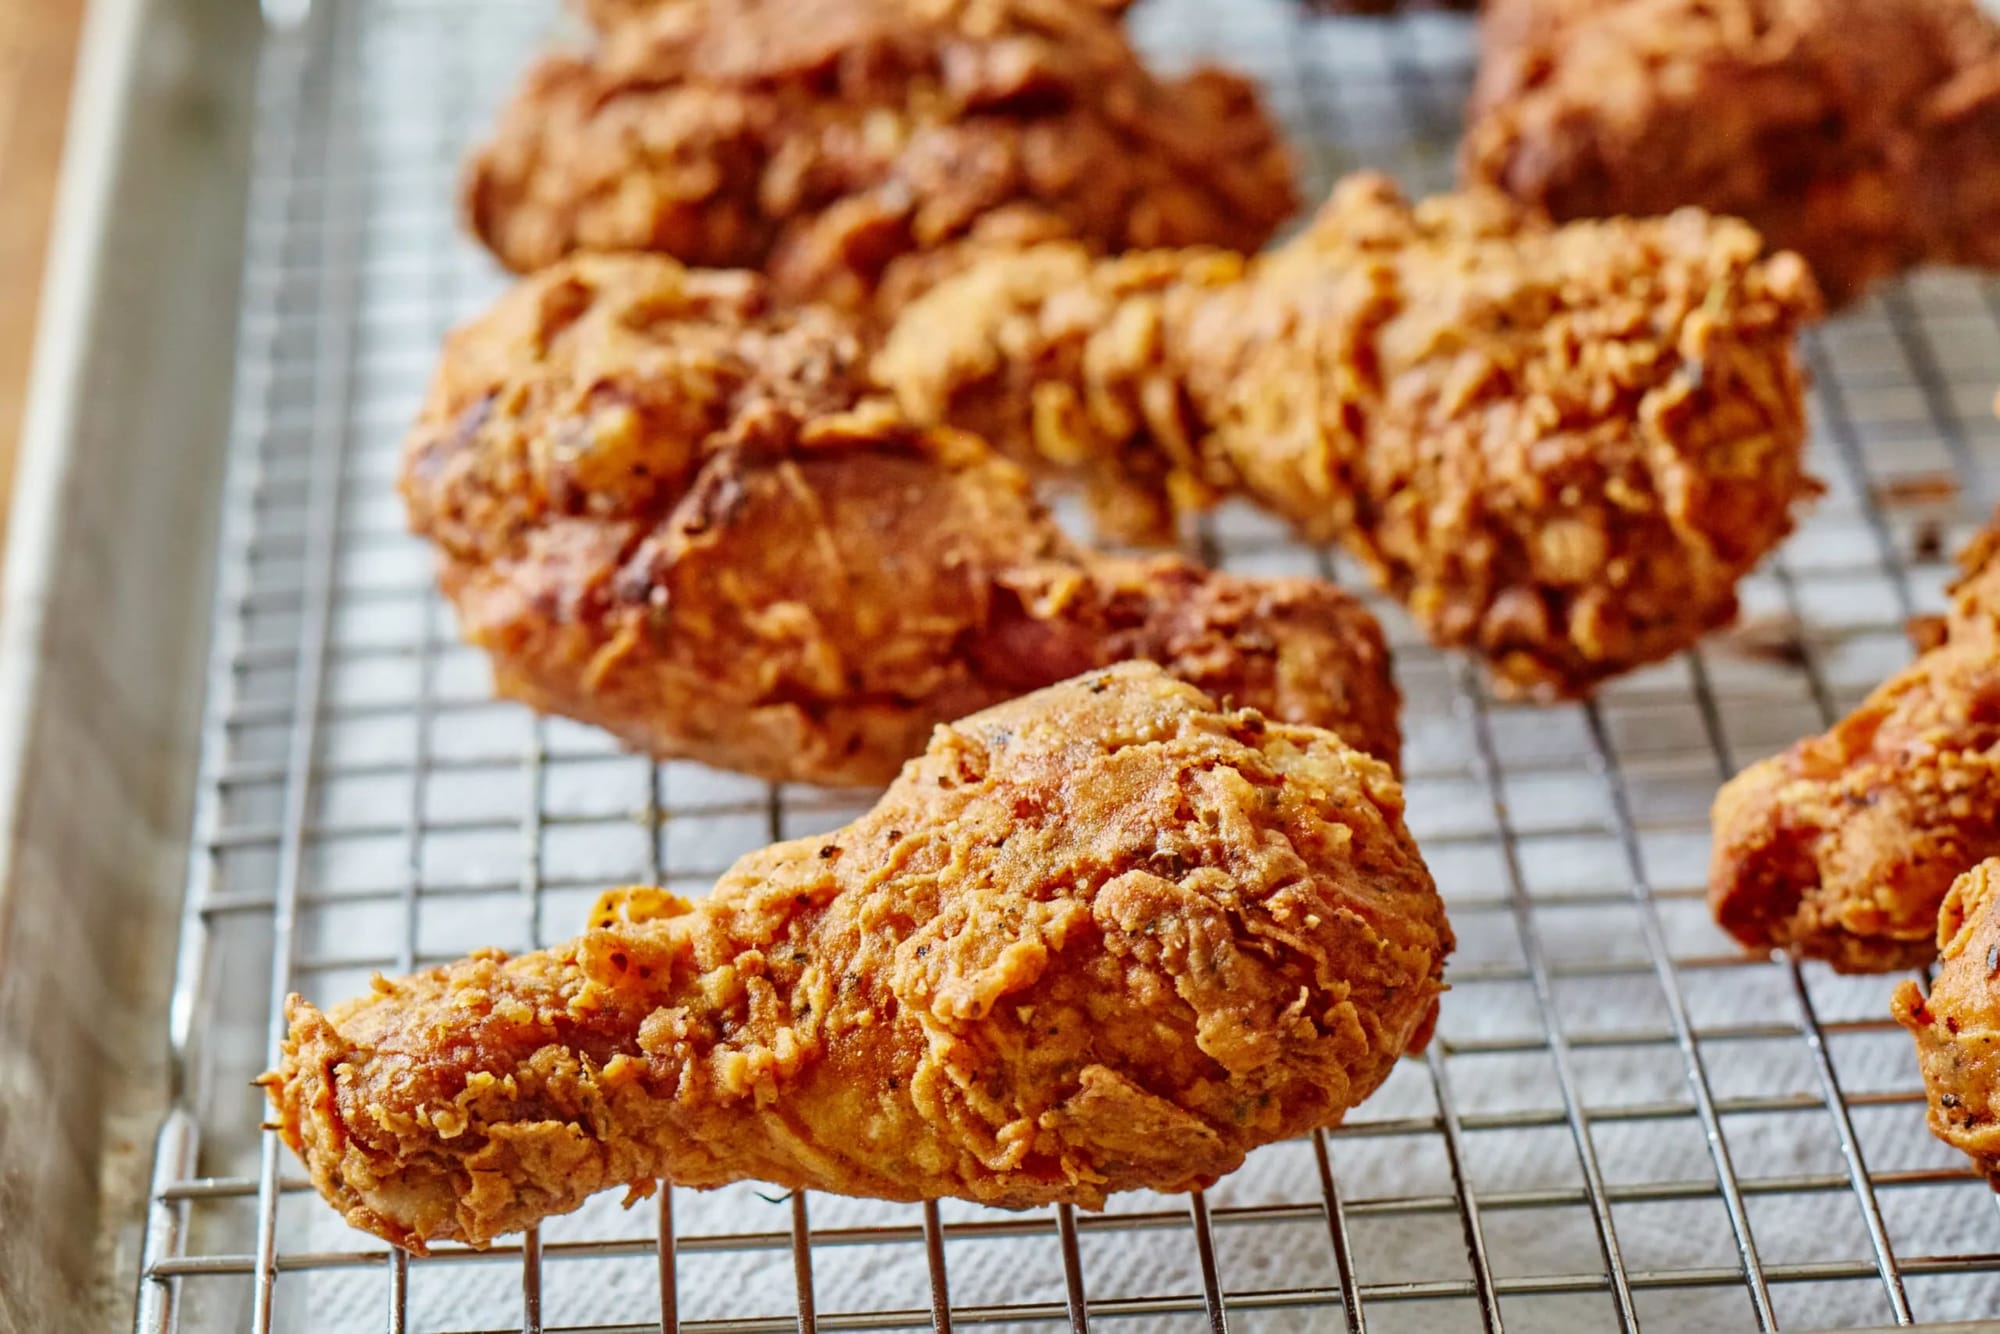
- Using a slotted spoon or spider, remove chicken from the oil and place on a wire rack set over a baking sheet – never on paper towels, which can make the bottom soggy from trapped steam.
- For perfectly cooked chicken, place the wire rack and baking sheet in a preheated 390°F (200°C) oven for 7-10 minutes. This ensures the chicken is cooked through without burning the coating. The internal temperature should reach 165°F (73°C) when tested with an instant-read thermometer inserted near the bone.
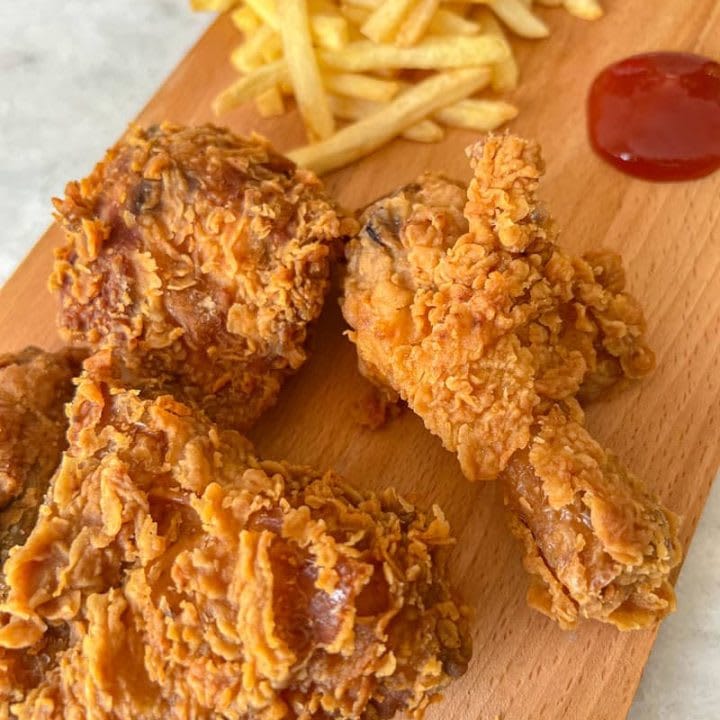
- Let the chicken rest on the rack for 5 minutes before serving – this allows juices to redistribute within the meat. Serve hot with your favorite sides like mashed potatoes, coleslaw, or cornbread.
Smart Swaps
- Replace buttermilk with 1 tablespoon vinegar or lemon juice mixed with 1 cup regular milk and let stand for 5 minutes
- Substitute 1 teaspoon garlic powder with 2 teaspoons fresh minced garlic for a more pronounced flavor
- Use gluten-free flour blend (1:1 ratio) plus 1/4 teaspoon xanthan gum for a gluten-free version
- Try bone-in chicken breasts cut in half (adjust cooking time to 12-15 minutes total)
Make It Diabetes-Friendly
- Use almond flour and coconut flour in a 3:1 ratio (reduces carbs by approximately 65% per serving)
- Skip the cornstarch and use 2 tablespoons ground flaxseed instead (reduces net carbs by 12g per serving)
- Air-fry instead of deep-frying: spray coated chicken with olive oil cooking spray and air-fry at 400°F (205°C) for 20-25 minutes, turning halfway
- Pair with non-starchy vegetables like roasted broccoli or a side salad to keep the overall glycemic impact low
- Remove the skin before eating to reduce fat content while still enjoying the flavor
Pro Tips
- For extra flavor, add 1 tablespoon hot sauce to the buttermilk brine
- Let the coated chicken rest on the rack for 15 minutes before frying – this helps the coating adhere better
- Use a deep-fry thermometer to maintain precise oil temperature – the difference of just 10°F can make or break your results
- Save the cooled, strained oil in an airtight container for up to 3 reuses (store in a cool, dark place)
- For maximum crispness when reheating leftovers, place in a 375°F (190°C) oven for 10-15 minutes rather than using a microwave