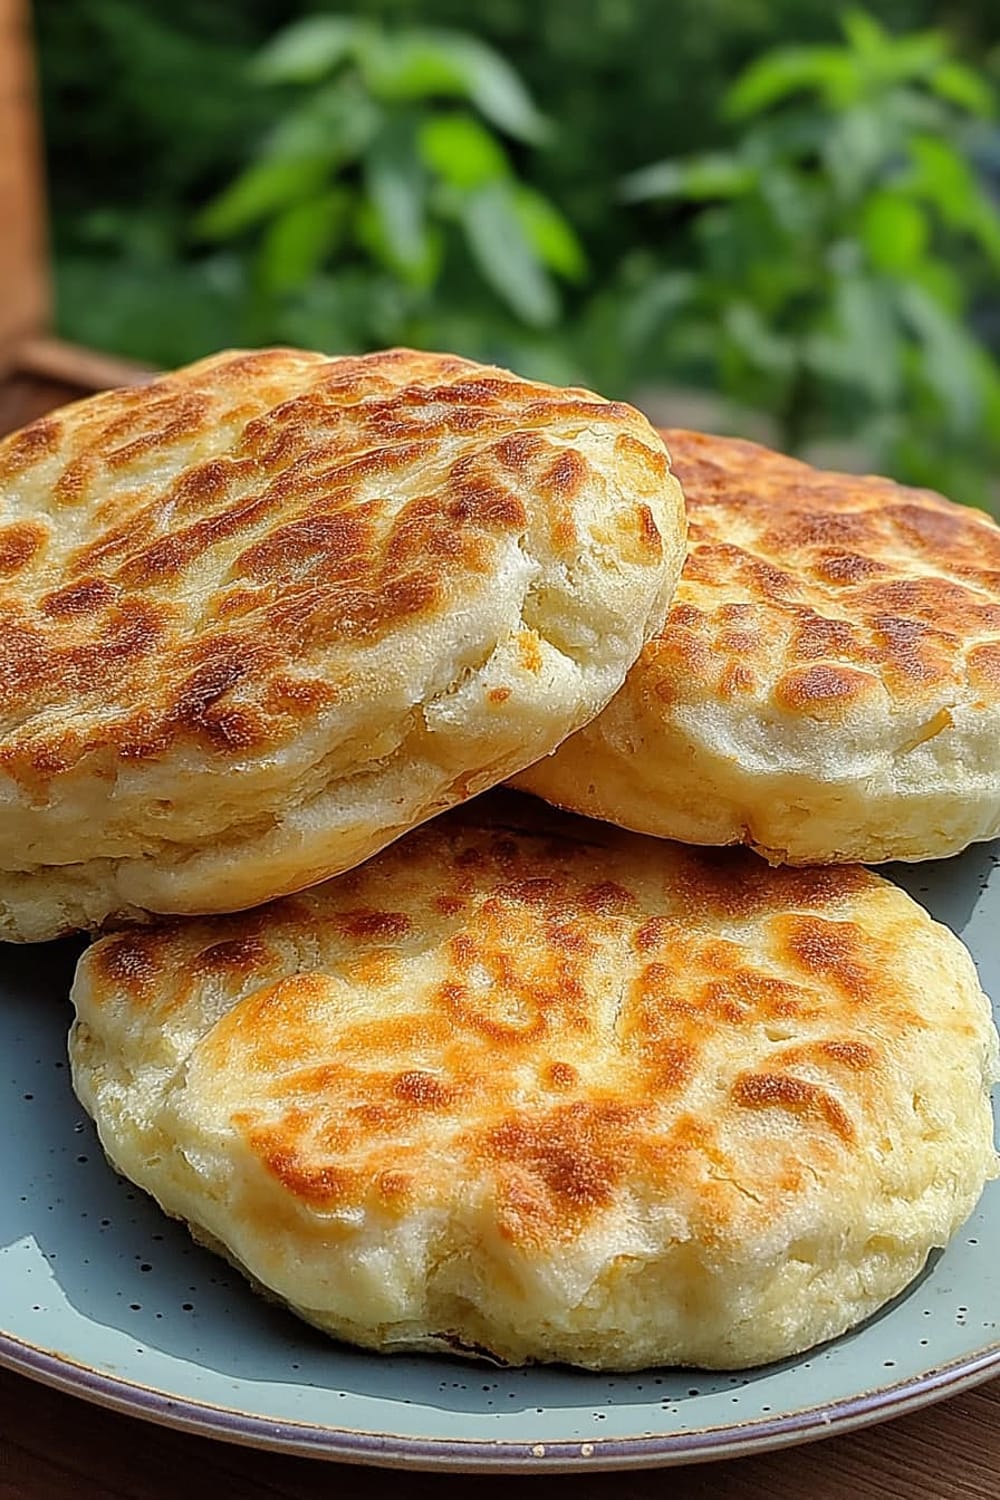
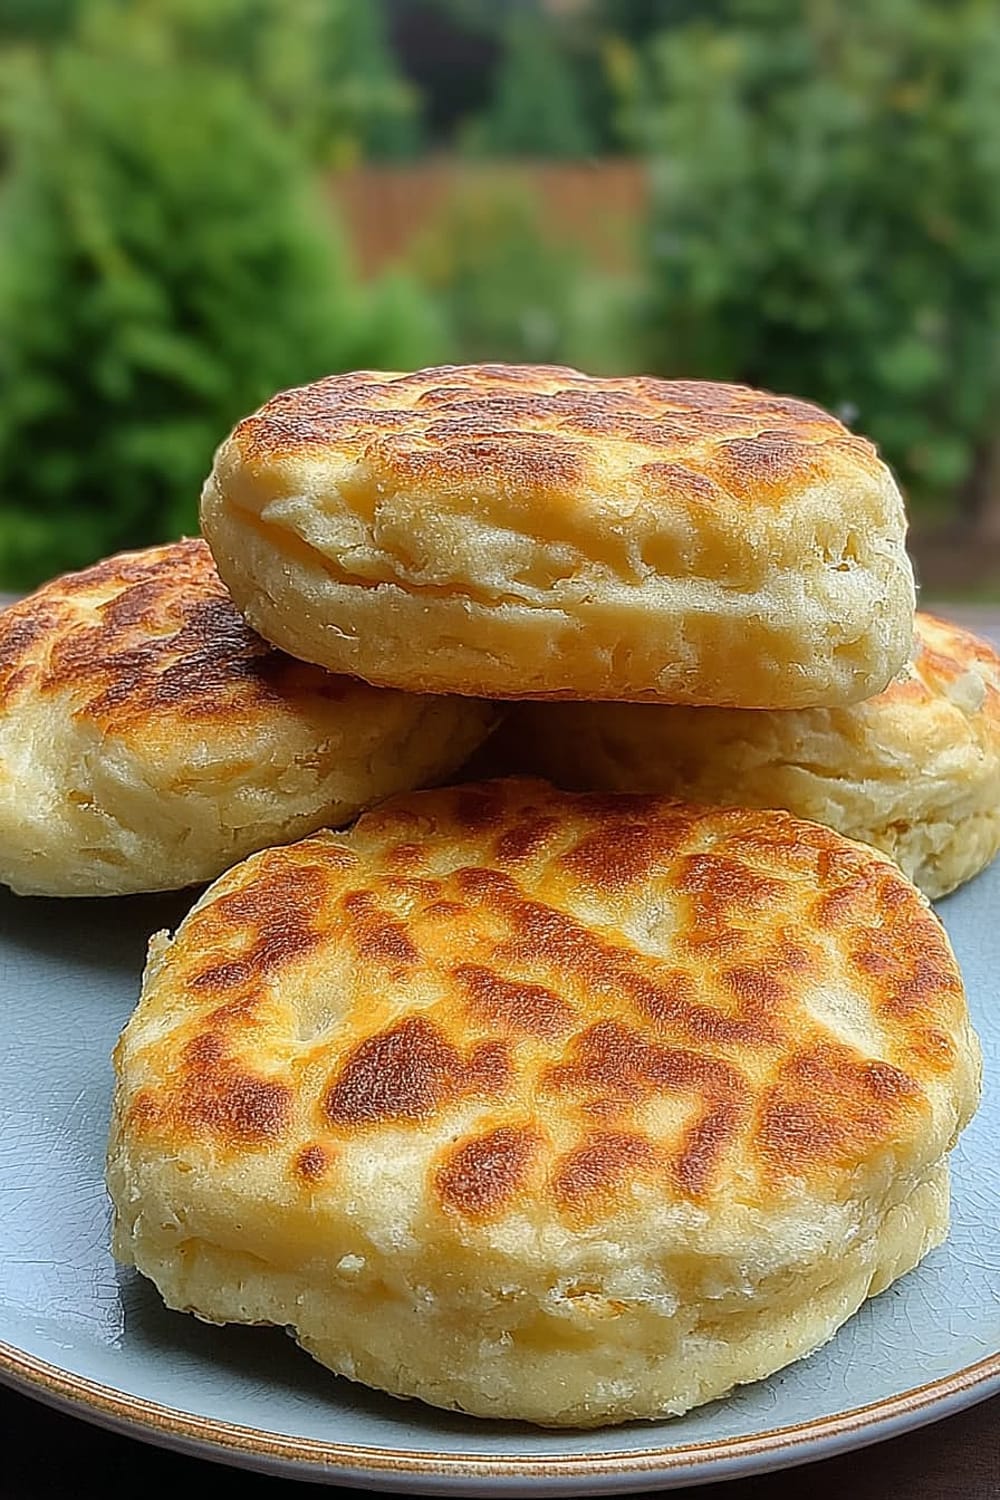
Traditional Bannock
This is the kind of bread that makes you feel like you’ve unlocked some ancient culinary secret, except it’s actually way easier than your overthinking brain wants to believe.
Traditional bannock is basically the ultimate “I can make bread without being intimidated” recipe that’ll have you feeling like a pioneer legend in your own kitchen.
The smell of this golden, crispy-outside-fluffy-inside bread cooking in a cast iron pan will make your neighbors suddenly very interested in being your best friend.
What makes this recipe absolutely brilliant is that it requires zero fancy equipment, no rising time, and definitely no bread-making anxiety attacks.
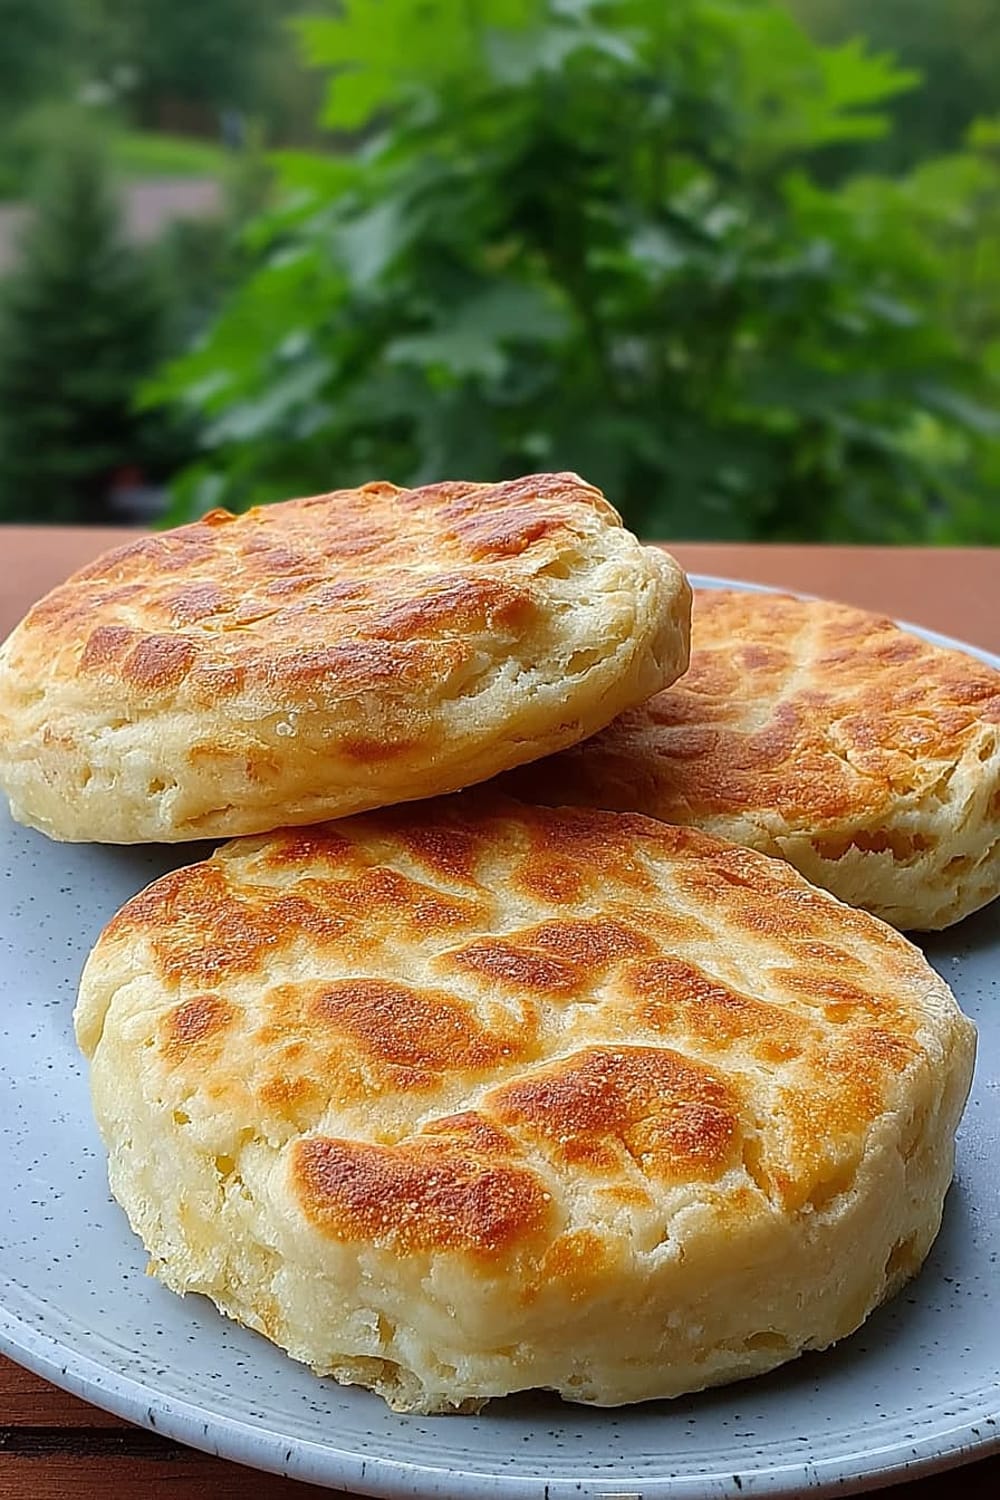
You’re about to discover why Indigenous communities have been perfecting this simple, satisfying bread for centuries – because sometimes the best recipes are the ones that just work, every single time.
Fair warning: once you realize how ridiculously simple it is to make fresh, warm bread from scratch, you might never look at store-bought bread the same way again.
Ingredients
For the Bannock
- 4 cups all-purpose flour
- 2 tablespoons baking powder
- 1 teaspoon salt
- ⅓ cup lard
- 1½ cups water
For Cooking
- Extra lard for frying (approximately 2-3 tablespoons)
For Serving
- Butter for spreading
- Honey or maple syrup for drizzling
- Your favorite jam for slathering
Instructions
Prepare the Dough
- 1 In a large mixing bowl, whisk together 4 cups all-purpose flour, 2 tablespoons baking powder, and 1 teaspoon salt until evenly combined. Using a kitchen scale for the flour ensures the most consistent results, but measuring cups work perfectly fine too.
- 2 Add ⅓ cup lard to the dry mixture and use two forks or your clean hands to cut the lard into small, evenly distributed pieces throughout the flour mixture. You’ll know it’s ready when the lard pieces are about the size of small peas and distributed throughout – this creates the perfect flaky texture.
- 3 Gradually add 1½ cups water to the mixture, starting with about 1 cup and adding more as needed to bring the dough together into a slightly sticky consistency. Knead the dough lightly with your hands just until it comes together and smooths out – overworking will result in dense, tough bannock instead of the tender texture you want.
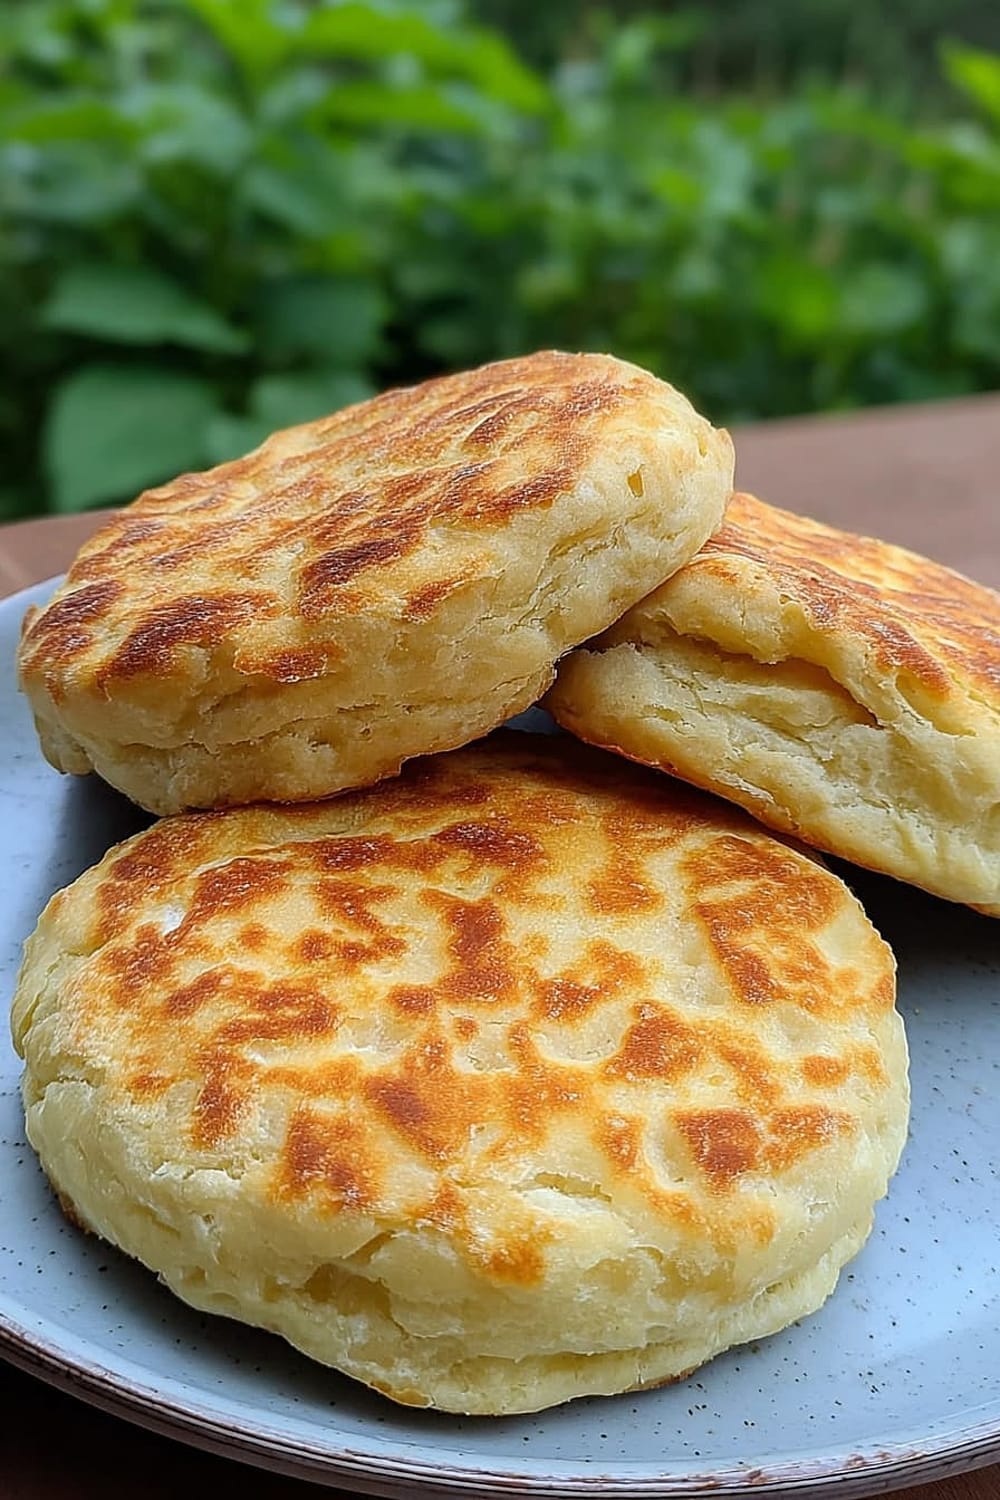
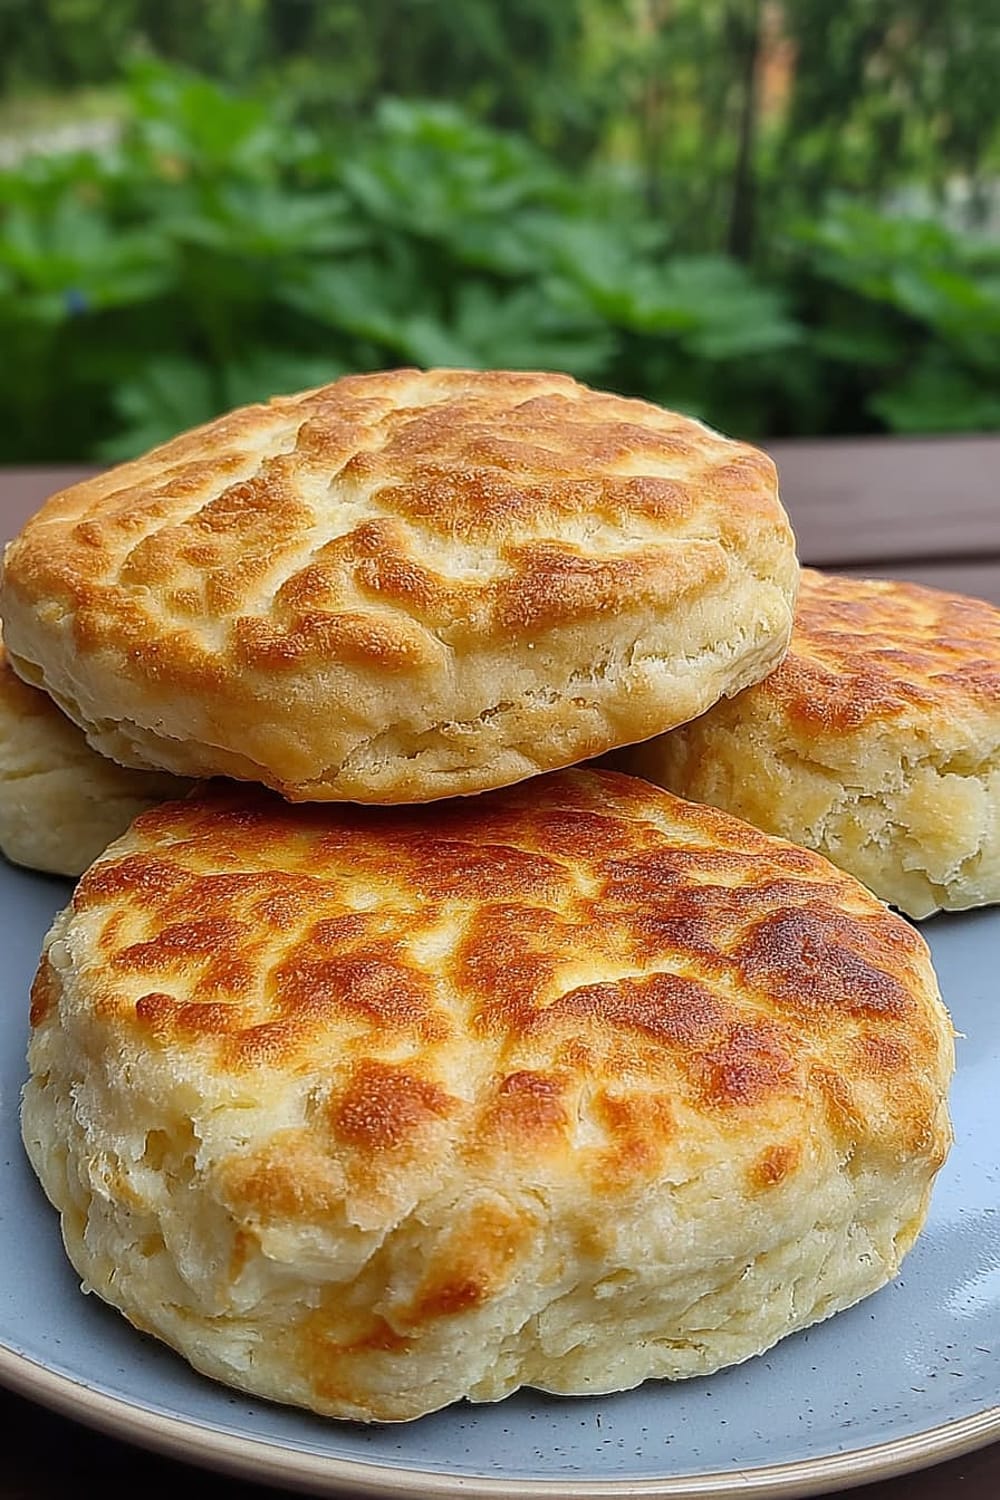
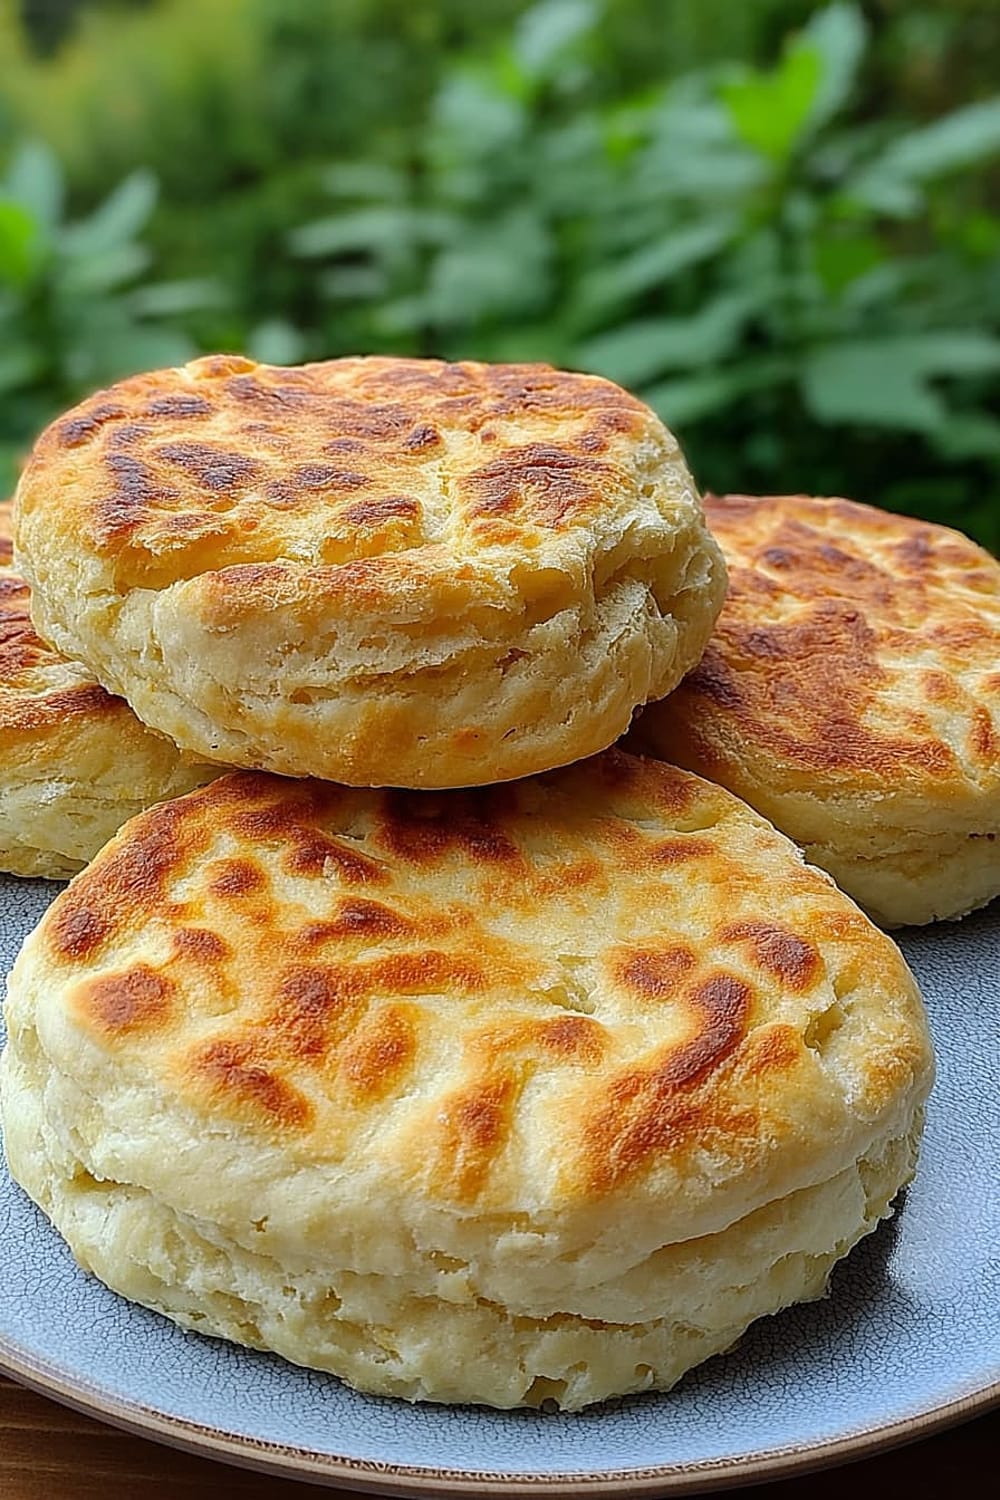
Cook the Bannock
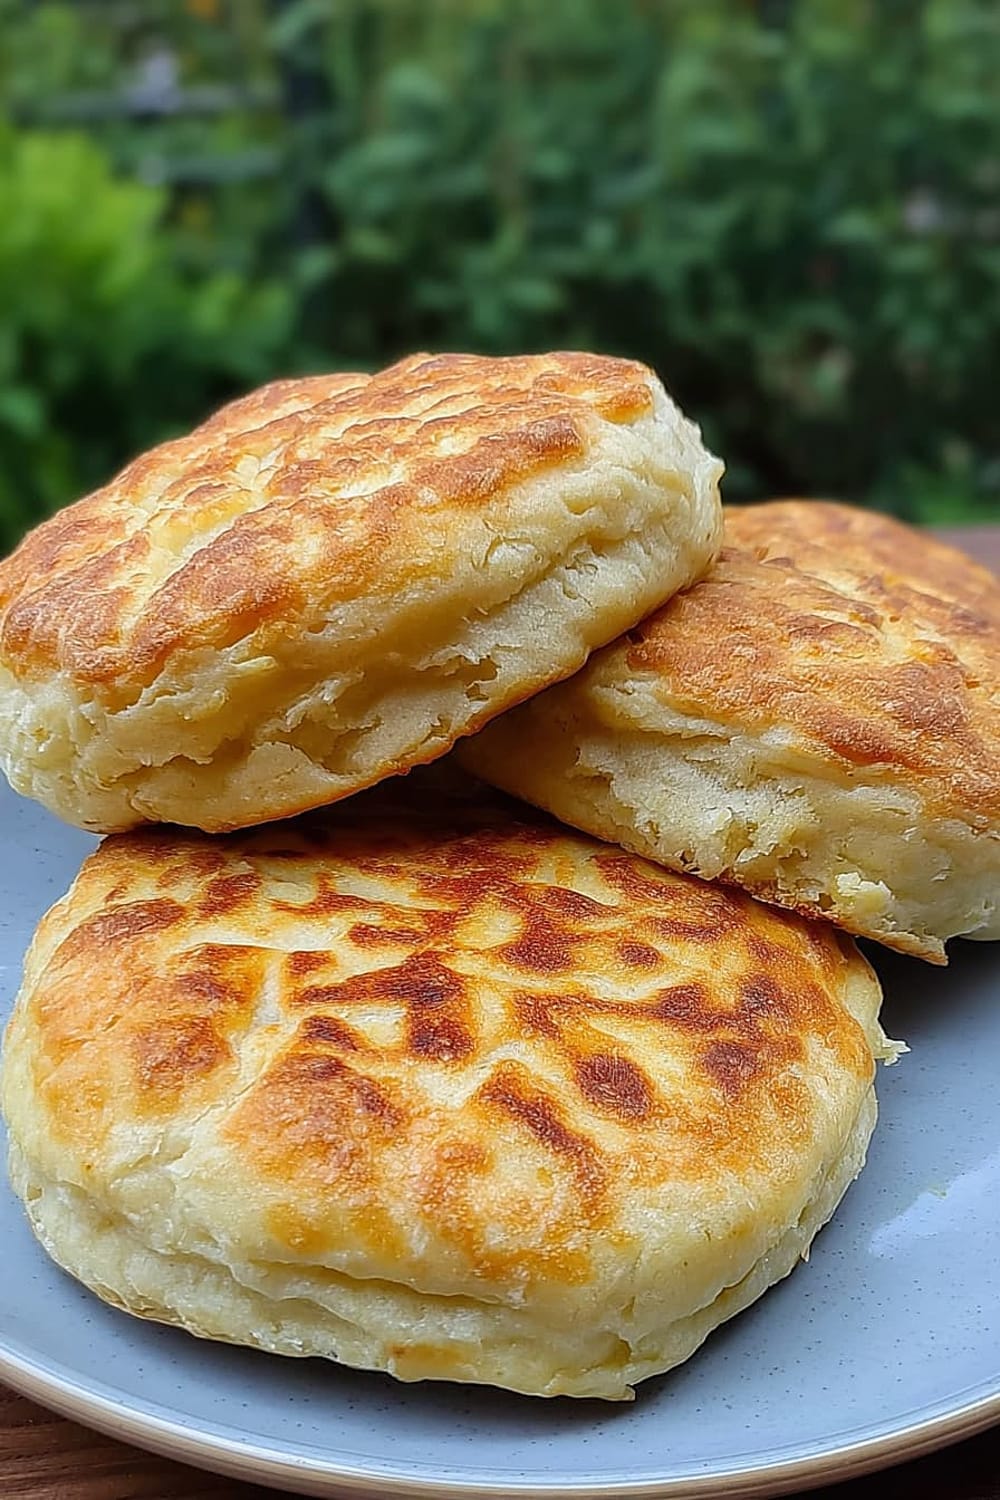
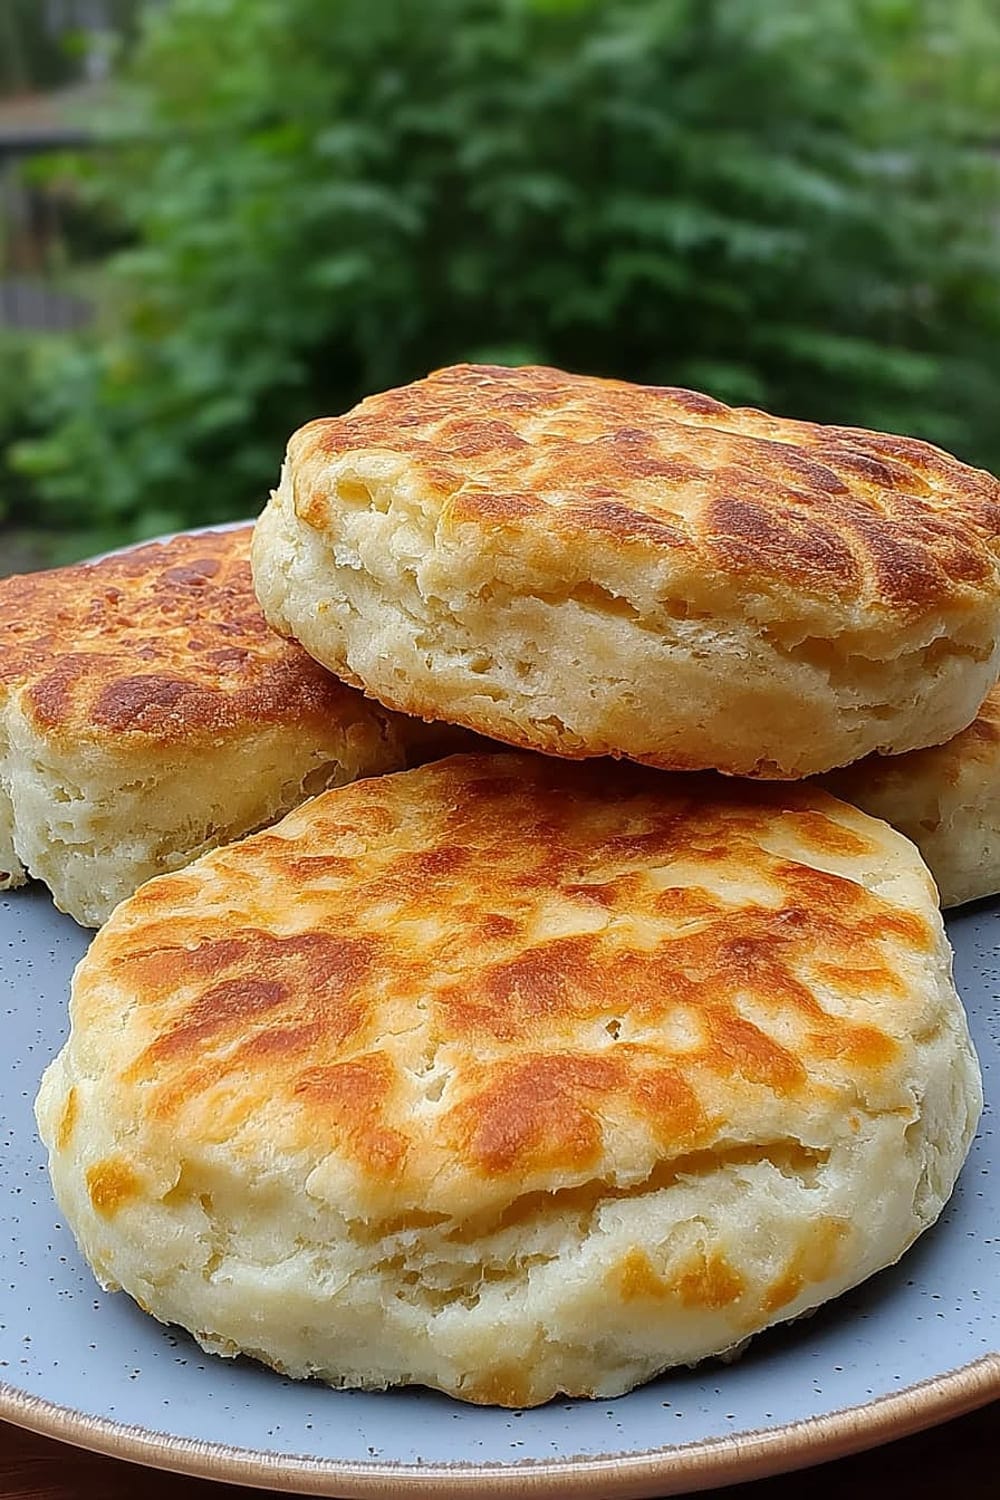
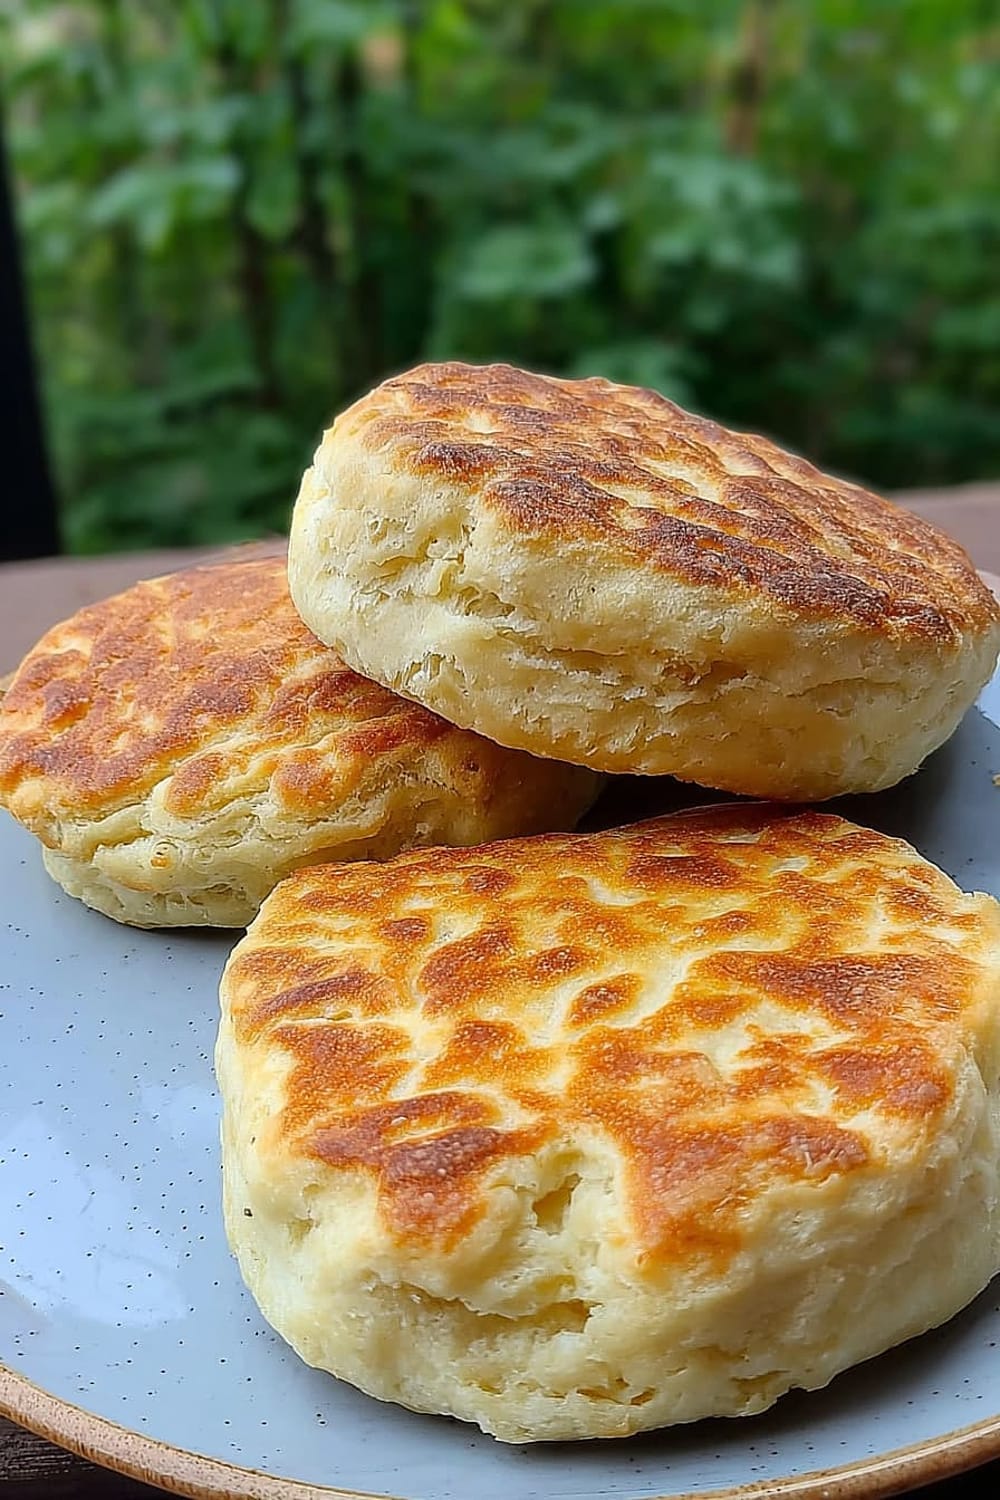
- 4 Heat 2-3 tablespoons lard in a large cast iron skillet over medium heat until melted and shimmering. The cast iron pan is crucial here because it provides even heat distribution and creates that perfect golden crust that makes bannock so irresistible.
- 5 Divide the dough into 8 roughly equal pieces using a bench scraper or knife. Place 3-4 pieces in the heated cast iron pan, leaving space between each piece. Let them sit for 30-45 seconds to begin forming a crust, then flip each piece and gently flatten with a silicone spatula to about 1 inch thick.
- 6 Cover the pan and cook for 4-5 minutes until the underside develops a beautiful golden-brown color. Flip the bannock pieces and continue cooking uncovered for another 4-5 minutes until the second side is equally golden brown and the bread sounds hollow when tapped.
- 7 Remove the cooked bannock to a clean kitchen towel to keep warm while you repeat the process with the remaining dough pieces, adding more lard to the pan as needed.
Alternative Baking Method
- 8 If you prefer to bake your bannock, preheat your oven to 400°F (200°C) and line a baking sheet with parchment paper for easy cleanup.
- 9 Form the entire batch of dough into one relatively even round shape about 1 inch thick on the prepared baking sheet. Score the top lightly with a knife to help with even cooking.
- 10 Bake for 18-22 minutes until the bannock is golden brown all over and sounds hollow when tapped on the bottom. An instant-read thermometer should register 190°F (88°C) when inserted into the center.
- 11 Serve immediately while warm with butter, honey, maple syrup, or your favorite jam for the ultimate comfort food experience.
Recommended Equipment and Kitchen Tools
Essential Tools (for best results)
- Cast iron skillet – This is absolutely crucial for achieving that perfect golden crust and even heat distribution that makes bannock so special. The seasoned surface prevents sticking and creates beautiful browning
- Large mixing bowls – You’ll need space to properly mix and knead the dough without making a mess all over your counter
- Silicone spatula – Perfect for flipping delicate bannock pieces without tearing them, plus it won’t scratch your cast iron pan’s seasoning
- Kitchen scale – While not mandatory, weighing your flour ensures consistent results every time you make this recipe
Helpful Upgrades
- Bench scraper – Makes dividing the dough into equal portions incredibly easy and keeps your hands cleaner during the process
- Instant-read thermometer – Takes the guesswork out of determining when baked bannock is perfectly cooked through
- Parchment paper – Essential if you choose the baking method, and makes cleanup absolutely effortless
Nice-to-Have Options
- Food processor – Can quickly cut the lard into the flour mixture if you prefer not to use your hands, though the traditional hand method works perfectly well
- Clean kitchen towels – Ideal for keeping cooked bannock warm while you finish the remaining batches
Recipe Variations and Dietary Modifications
Gluten-Free Adaptation
- Replace the 4 cups all-purpose flour with 3½ cups gluten-free flour blend plus ½ cup almond flour for better texture
- Add 1 teaspoon xanthan gum if your gluten-free flour blend doesn’t already contain it
- Expect a slightly denser texture, but the flavor remains authentically delicious
- Increase cooking time by 1-2 minutes per side to ensure thorough cooking
Dairy-Free Modifications
- The traditional recipe using lard is naturally dairy-free, but you can substitute ⅓ cup coconut oil (solid, not melted) or vegetable shortening if lard isn’t available
- Serve with dairy-free butter alternatives or coconut butter instead of regular butter
Vegan Version
- Replace lard with ⅓ cup solid coconut oil or vegan butter, keeping it cold for the best texture
- Use the same cutting-in technique to maintain the flaky consistency
- All other ingredients remain the same, making this an easy vegan adaptation
Flavor Variations
- Sweet Bannock: Add 2 tablespoons sugar and 1 teaspoon vanilla extract to the dry ingredients
- Herb Bannock: Mix in 2 tablespoons fresh chopped herbs like rosemary, thyme, or sage
- Cheese Bannock: Fold in 1 cup grated sharp cheddar after cutting in the lard
- Whole Grain Version: Replace 2 cups of the all-purpose flour with whole wheat flour for added nutrition and nutty flavor
Nutritional Information and Health Benefits
Key Nutritional Highlights
Each serving of traditional bannock contains approximately 230 calories, with the majority coming from complex carbohydrates that provide sustained energy. The recipe yields 8 generous servings, making it an economical choice for feeding families or groups. The lard contributes healthy fats that help with satiety and the absorption of fat-soluble vitamins, while the flour provides essential B vitamins and iron.
Health Benefits of Main Ingredients
The all-purpose flour provides essential carbohydrates for energy and contains enriched B vitamins, particularly folate and niacin, which support nervous system function and energy metabolism. Lard, despite its reputation, contains beneficial monounsaturated fats and is free from trans fats, making it a more natural choice than many processed shortenings. The baking powder ensures the bread rises properly without requiring yeast fermentation, making this recipe accessible for those with yeast sensitivities. This simple ingredient list means fewer additives and preservatives compared to commercial breads.
Dietary Considerations
Traditional bannock is naturally low in lactose since it contains no dairy products, making it suitable for those with lactose intolerance. However, it does contain gluten from the wheat flour, so it’s not appropriate for those with celiac disease without modification. The recipe is also vegetarian-friendly when served with plant-based toppings, though the traditional lard makes the base recipe non-vegan. Each piece provides approximately 4 grams of protein and 2 grams of fiber.
Smart Swaps and Ingredient Substitutions
Common Substitutions:
- All-purpose flour → Bread flour (1:1 ratio) for a chewier texture, or pastry flour for more tender results
- Lard → Cold butter (⅓ cup), vegetable shortening (⅓ cup), or solid coconut oil (⅓ cup)
- Water → Buttermilk (1½ cups) for tangier flavor and more tender crumb
- Baking powder → 2 teaspoons baking soda plus 4 teaspoons cream of tartar if you’re out of baking powder
Budget-Friendly Swaps:
- Lard → Vegetable oil (¼ cup) though texture will be less flaky
- All-purpose flour → Mix 3 cups all-purpose with 1 cup whole wheat flour to stretch premium flour further
- Store-bought lard → Rendered bacon fat (strained and cooled) for added smoky flavor
Pantry Emergency Substitutions:
- Baking powder → 1 teaspoon baking soda plus 2 tablespoons vinegar or lemon juice mixed into the wet ingredients
- Lard → Olive oil (¼ cup) or melted butter (⅓ cup, cooled slightly) in a pinch
- Water → Milk, plant-based milk, or even beer for different flavor profiles
Pro Tips for Substitutions:
- When using liquid fats instead of solid ones, reduce the liquid by 2-3 tablespoons to maintain proper dough consistency
- Store leftover lard in airtight containers in the refrigerator for up to 3 months or freeze for 6 months
Make It Diabetes-Friendly
Flour & Carb Modifications:
- Replace 2 cups of the all-purpose flour with almond flour or coconut flour to reduce total carbohydrates by approximately 30-40%
- Substitute 1 cup all-purpose flour with ground flaxseed meal for added fiber and protein while lowering net carbs
- Use whole wheat pastry flour instead of all-purpose to increase fiber content and slow glucose absorption
Portion & Timing Tips:
- Reduce serving size to 6 pieces instead of 8 to lower carbohydrate content per serving from approximately 38g to 25g per piece
- Pair each serving with 2-3 tablespoons of protein-rich nut butter or 1 ounce of cheese to help stabilize blood sugar response
- Serve alongside high-fiber vegetables or a small salad to further slow carbohydrate absorption
- Consider having bannock as part of a balanced meal rather than as a standalone snack
Cooking Method Adjustments:
- The pan-frying method actually helps create a lower glycemic response compared to baking due to the fat content and cooking process
- Add 1 tablespoon ground cinnamon to the dry ingredients, as cinnamon may help with glucose metabolism
Total Carb Reduction: These modifications can reduce net carbohydrates by 35-50% while maintaining the authentic taste and texture of traditional bannock.
Perfect Pairing Suggestions
Beverage Pairings
Traditional bannock pairs beautifully with strong black coffee or robust black tea, as the bread’s rich, slightly savory flavor complements bold, caffeinated beverages perfectly. For evening meals, consider amber ales or wheat beers that echo the bread’s hearty, grain-forward character. Fresh apple cider or cranberry juice work wonderfully for non-alcoholic options, especially when serving bannock with sweet toppings like honey or maple syrup.
Side Dish Recommendations
Bannock shines alongside hearty stews and soups, particularly beef stew, wild game chili, or split pea soup where it can soak up rich, flavorful broths. The bread’s neutral flavor makes it perfect with smoked salmon, cream cheese, and capers for an elevated brunch presentation. Try it with baked beans, coleslaw, and grilled sausages for an authentic camping-style meal, or serve with scrambled eggs and crispy bacon for a satisfying breakfast.
Complete Meal Ideas
Build a rustic dinner around bannock by serving it with slow-cooked pulled pork, pickled vegetables, and roasted root vegetables for a complete comfort food experience. For breakfast or brunch, create a spread with fresh berries, whipped cream, Canadian maple syrup, and crispy bacon alongside warm bannock pieces. The bread also works beautifully in a soup and bread combination with tomato basil soup or chicken and vegetable soup.
Occasion Suggestions
Bannock is perfect for camping trips, outdoor barbecues, and casual family gatherings where its rustic charm and easy preparation shine. It’s also wonderful for holiday brunches, potluck dinners, and cultural celebration meals where you want to share traditional foods with authentic stories.
Pro Tips and Troubleshooting
Professional Techniques
The key to perfect bannock lies in not overworking the dough – mix just until ingredients come together for the most tender results. Keep your lard cold until ready to use, as this creates steam pockets during cooking that result in flakier texture. When pan-frying, maintain consistent medium heat rather than rushing with high heat, which can burn the outside while leaving the inside undercooked. Test your first piece by cutting it open to check doneness before cooking the entire batch.
Common Mistakes and Solutions
If your bannock turns out dense and heavy, you likely overmixed the dough or used too much water – next time, mix just until combined and add water gradually. Uneven browning usually indicates inconsistent heat or overcrowding the pan – cook fewer pieces at once and adjust heat as needed. If the bread tastes bland, make sure you’re using fresh baking powder (replace every 6 months) and don’t skip the salt, which enhances all the other flavors.
Storage and Make-Ahead Strategies
Fresh bannock stays soft for 2-3 days stored in a plastic bag at room temperature, or up to 1 week in an airtight container in the refrigerator. The dough can be prepared up to 24 hours ahead and refrigerated, though you may need to add a tablespoon of water if it seems dry. Freeze cooked bannock for up to 3 months wrapped tightly in plastic wrap and foil – reheat directly from frozen in a 300°F (150°C) oven for 10-12 minutes.
Scaling and Presentation Tips
This recipe doubles perfectly for larger groups – just use your largest mixing bowl and cook in batches. For elegant presentation, cut bannock into triangular wedges and serve on wooden boards with small bowls of various toppings, allowing guests to customize their portions.
Perfect bannock is proof that the most satisfying recipes often come from the simplest ingredients and time-tested techniques. Whether you’re making it over a campfire or in your kitchen, this traditional bread connects you to centuries of culinary wisdom while filling your home with the irresistible aroma of fresh, homemade bread that never fails to bring people together around the table.