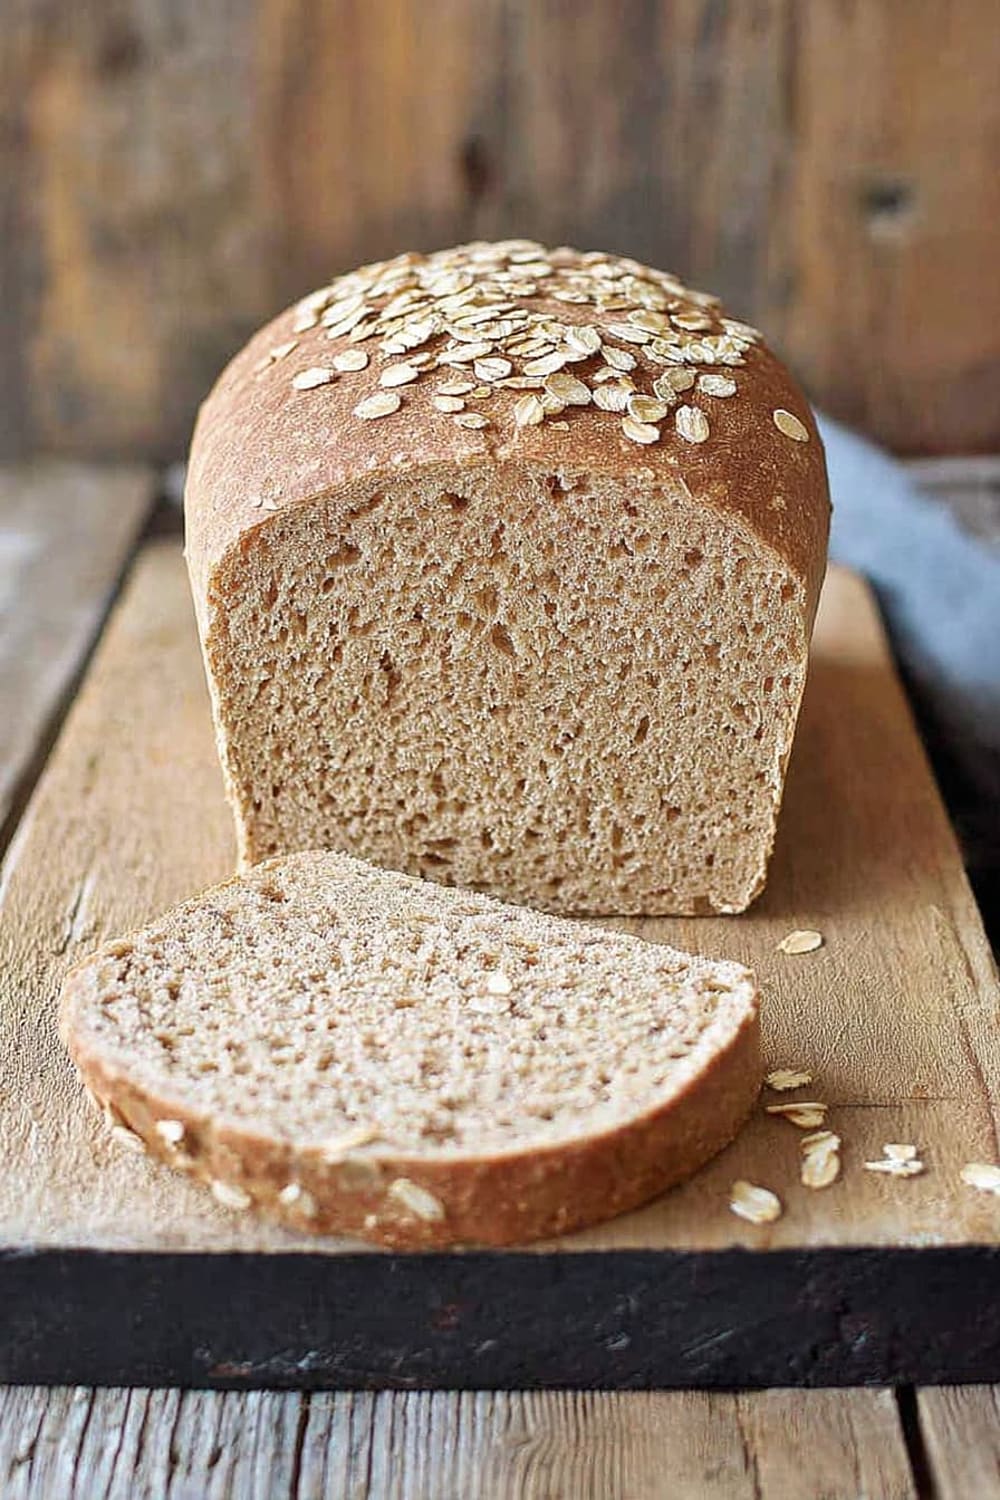
Wartime Loaf
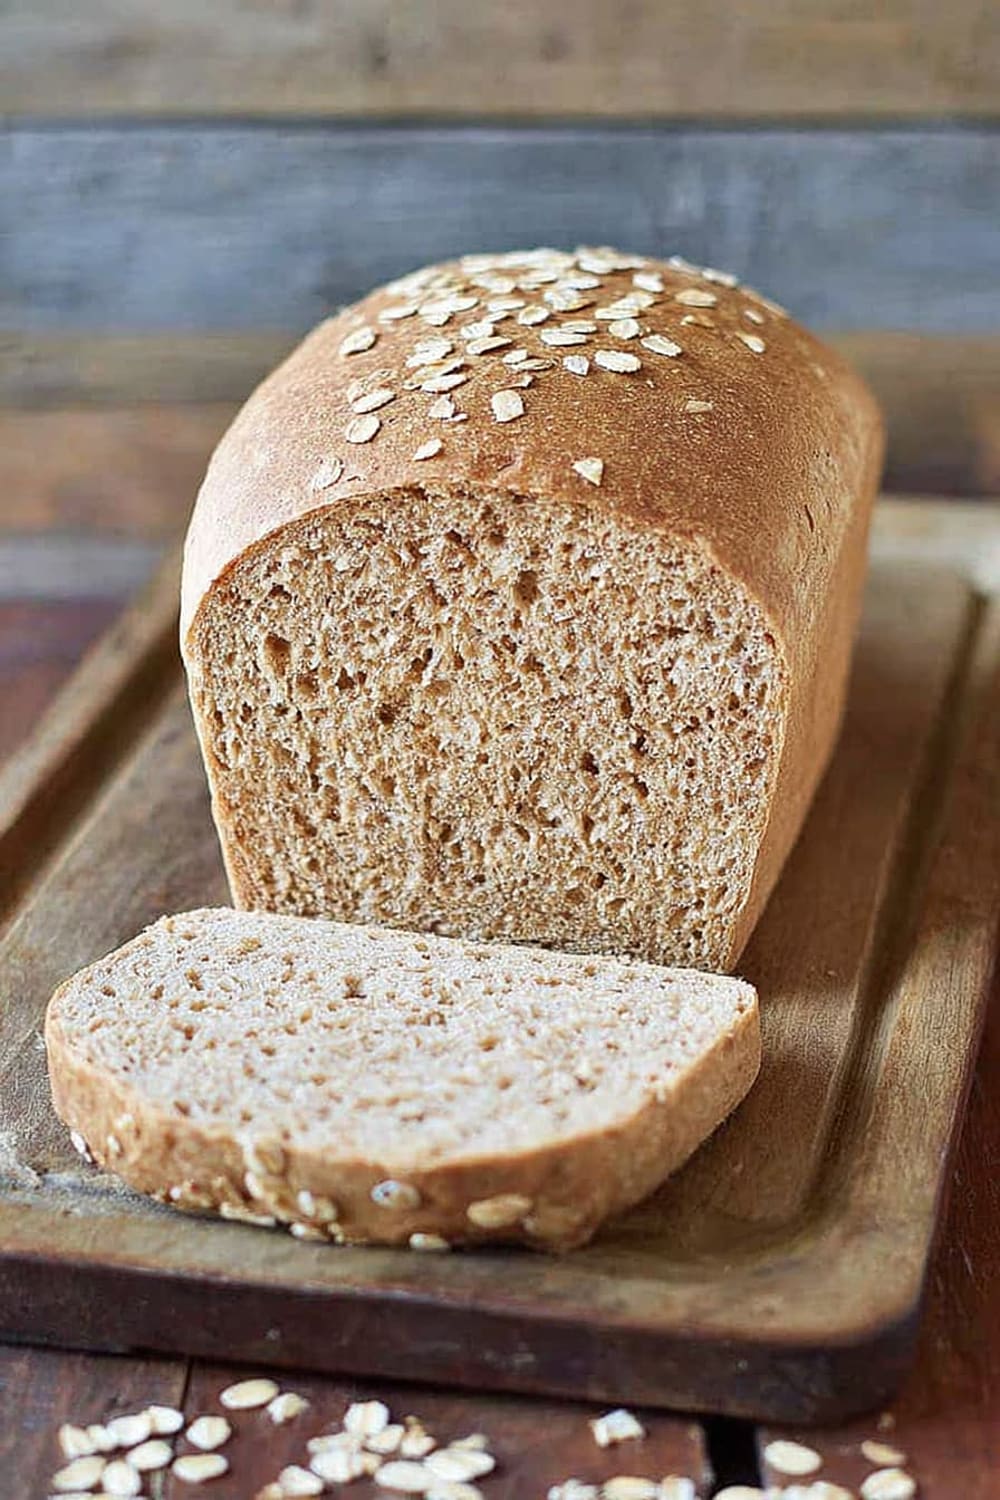
This hearty wholemeal bread is about to become your new obsession – dense, nutty, and satisfying in a way that makes store-bought loaves seem like cardboard.
The combination of wholemeal and strong white flour creates a texture that’s both rustic and refined, with enough structure to hold up to the heartiest toppings.
What makes this loaf special is its simplicity – no fancy ingredients, no complicated techniques, just honest bread that delivers incredible flavor from basic pantry staples.
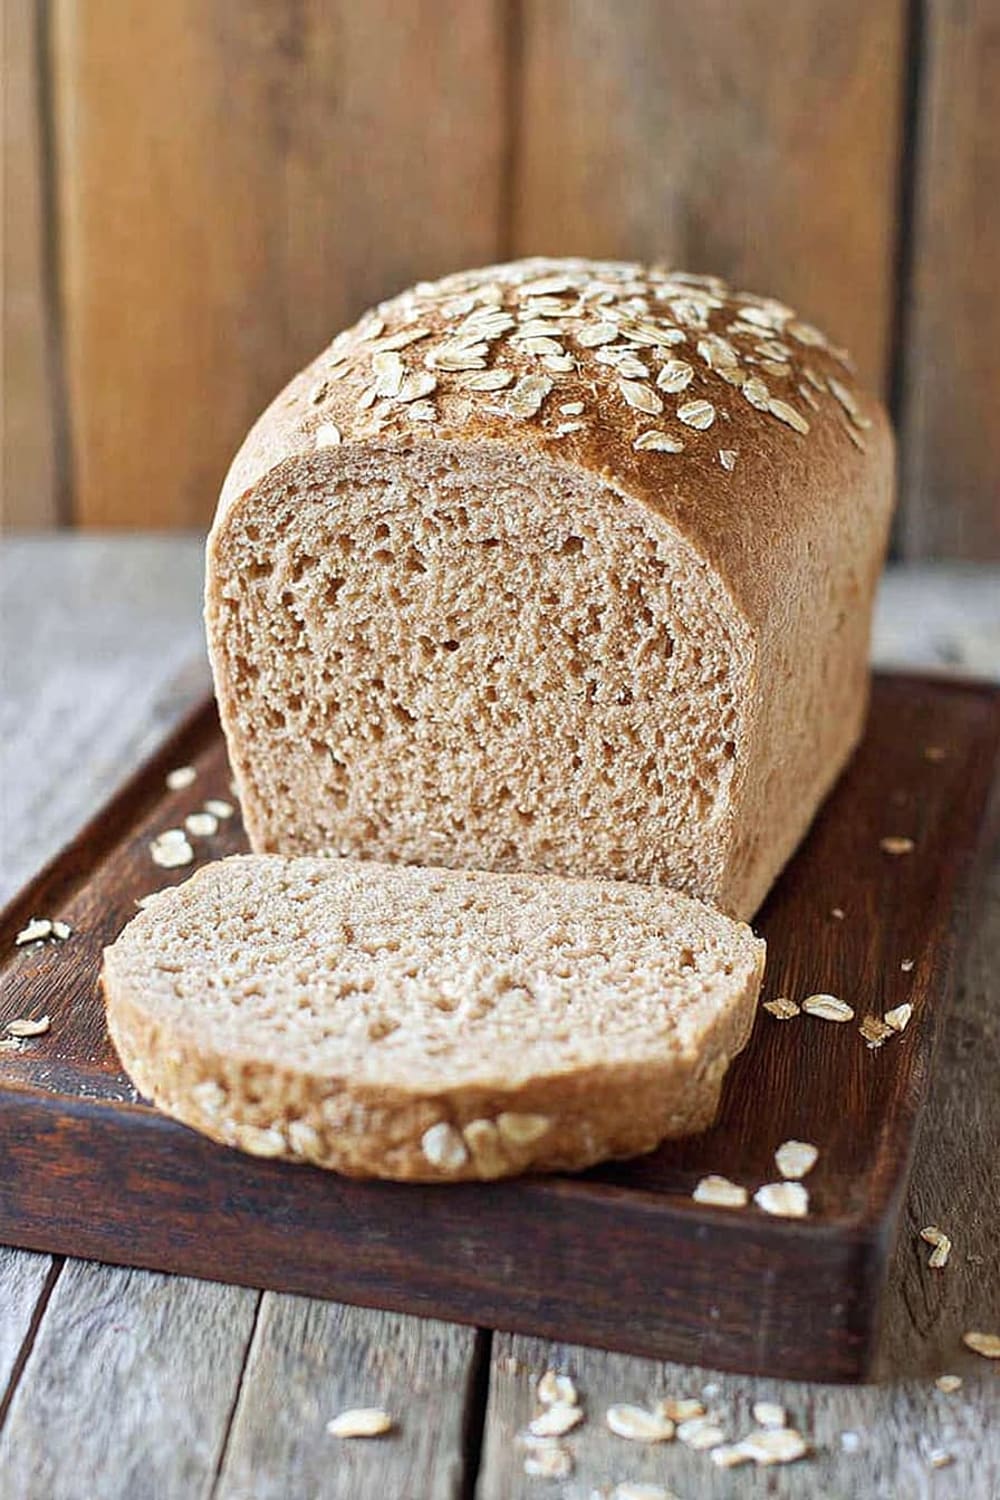
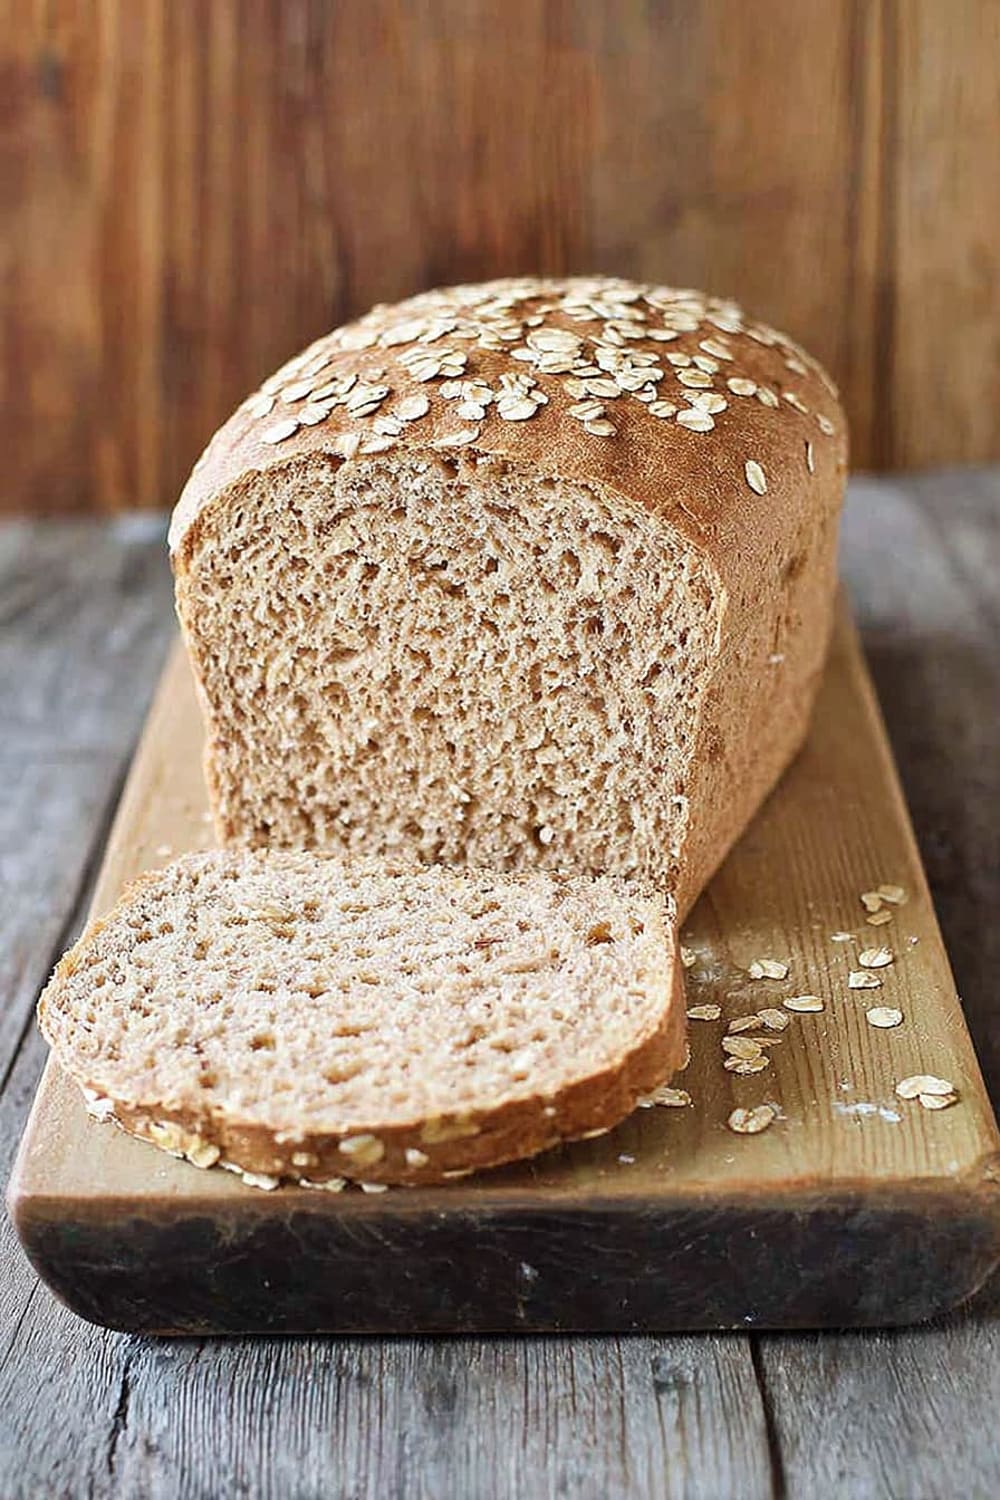
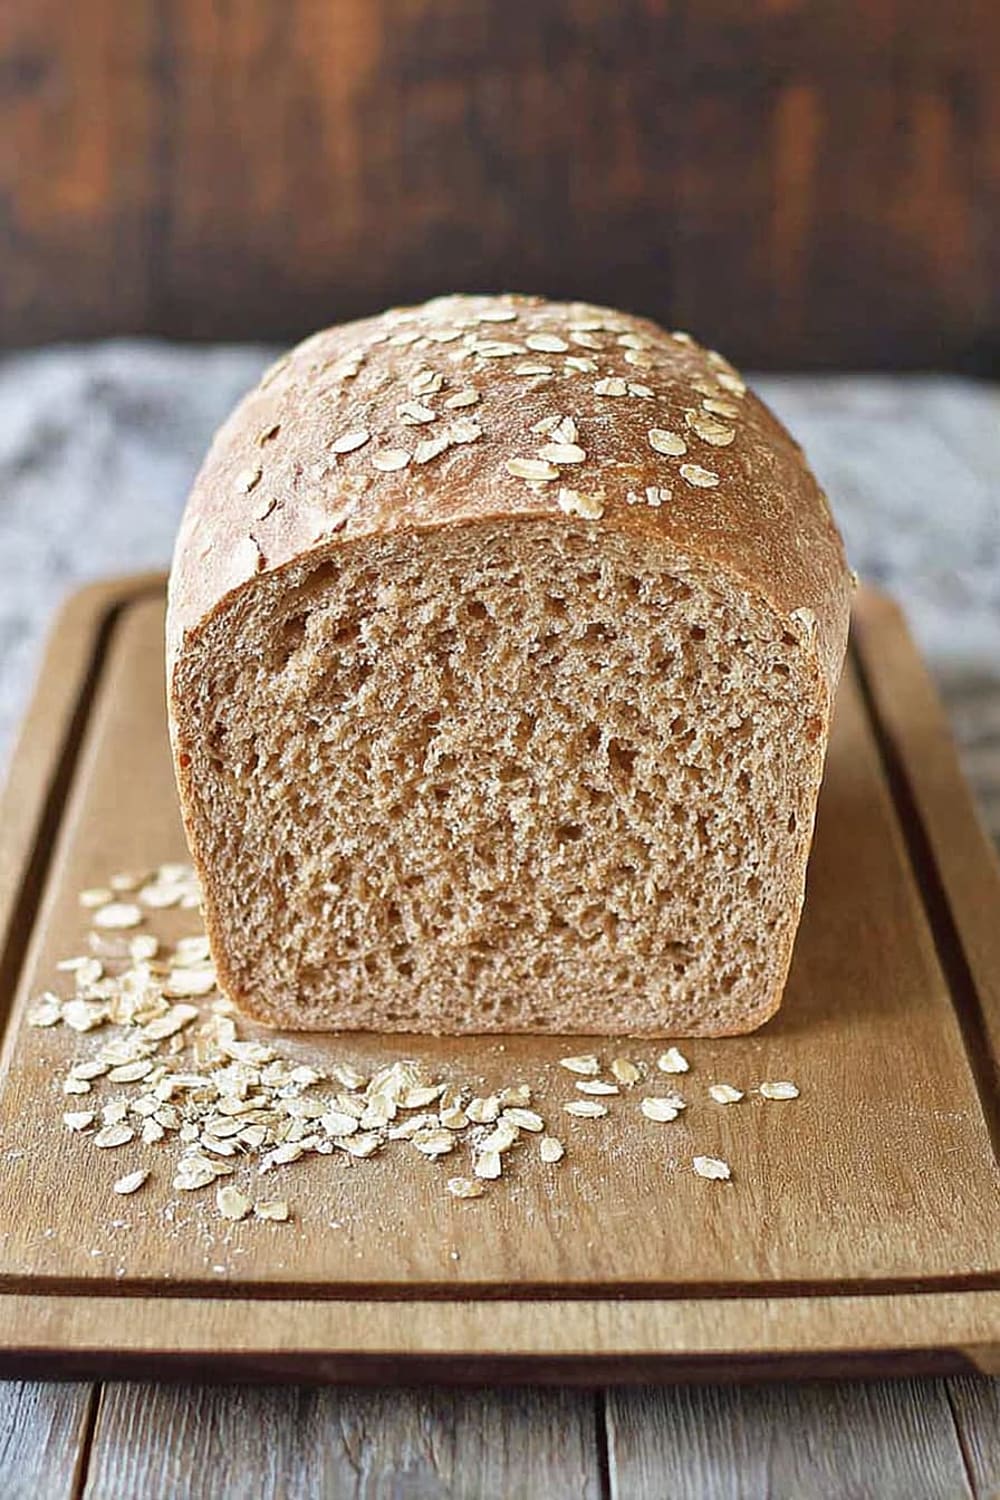
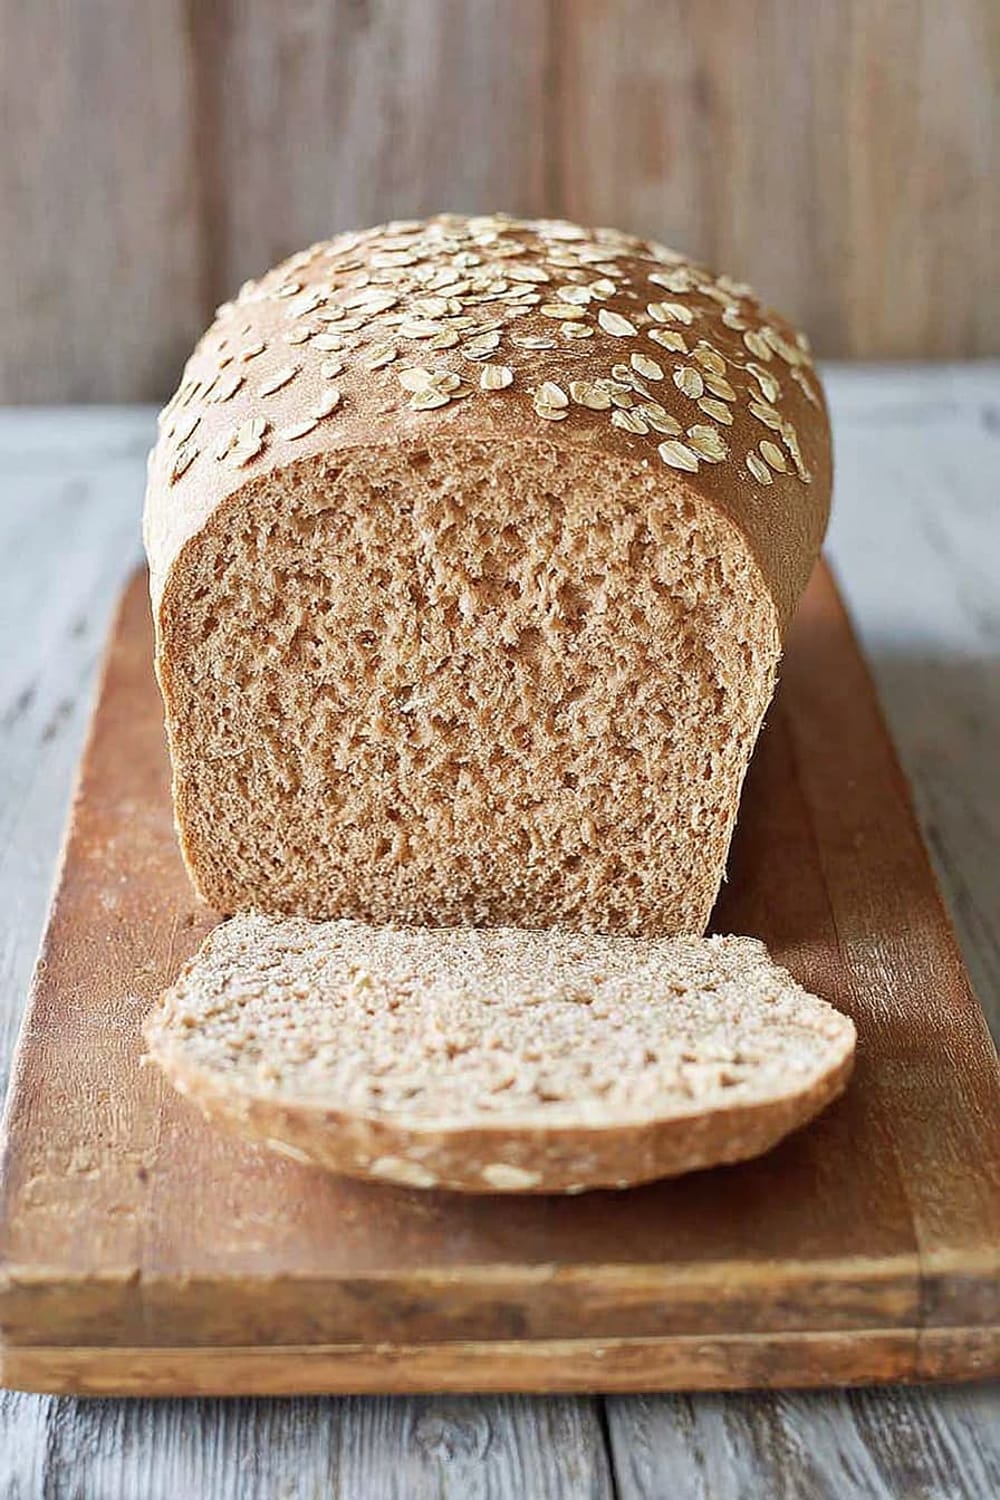
The rolled oats on top aren’t just for show; they add a delightful crunch that contrasts beautifully with the tender crumb inside.
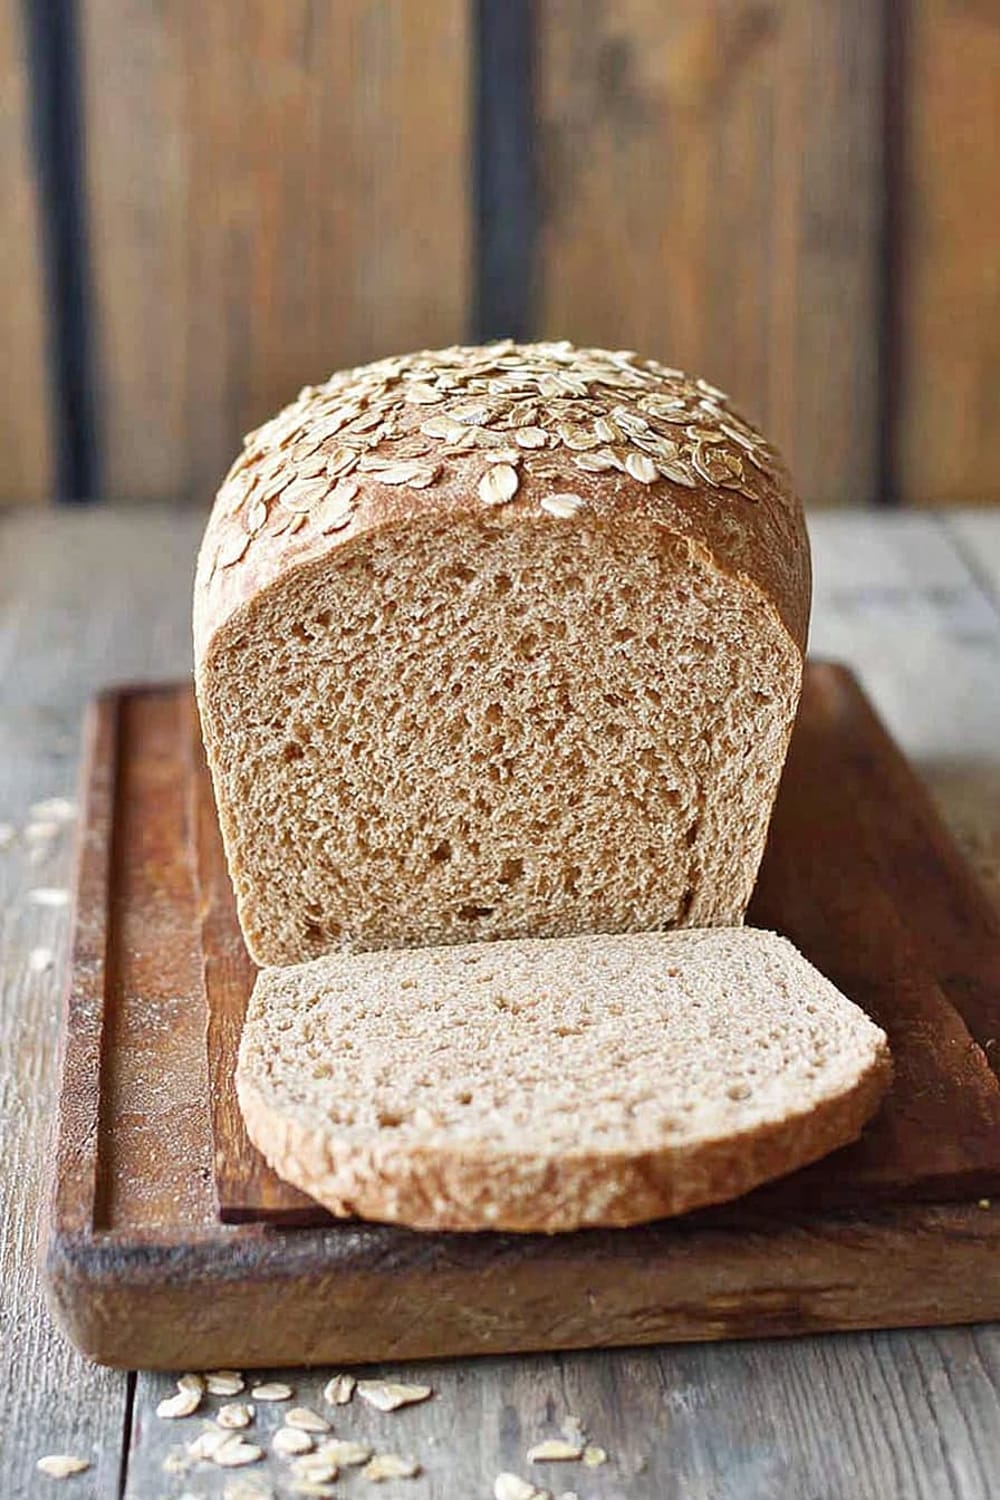
This recipe yields two full loaves, making it perfect for meal prep enthusiasts who want fresh, homemade bread throughout the week.
Once you smell this baking in your oven, you’ll understand why homemade bread never goes out of style – it’s pure comfort in loaf form.
Ingredients
For the bread
- 800 grams (6½ cups) wholemeal flour
- 100 grams (½ cup) strong white bread flour (all-purpose flour works too)
- 5 teaspoons easy blend yeast
- ¼ teaspoon sugar
- 1½ teaspoons salt
- 600 millilitres (1 pint) warm water
- 1 teaspoon vegetable oil
For finishing
- 1 tablespoon rolled oats for topping
- Extra oil for greasing bowl and tins
- Flour for dusting loaf tins
Instructions
Prepare the dough base
- 1 In a large bowl, combine 800 grams wholemeal flour and 100 grams strong white bread flour, whisking together until evenly distributed. Using a kitchen scale ensures the most accurate measurements for consistent results every time.
- 2 Add 5 teaspoons easy blend yeast, ¼ teaspoon sugar, 1½ teaspoons salt, and 1 teaspoon vegetable oil to the flour mixture. The sugar feeds the yeast for better rising, while the salt strengthens the gluten structure.
- 3 Pour in 600 millilitres warm water (it should feel comfortably warm to your wrist, around 100°F/38°C). Mix thoroughly by hand or using a stand mixer with dough hook attachment until all ingredients are well incorporated and no dry flour remains.
Knead and first rise
- 4 Once the dough comes together, knead by hand for 10 minutes or use a stand mixer on medium speed for 6-8 minutes until the dough becomes smooth and silky. Properly kneaded dough should spring back when gently poked and feel slightly tacky but not sticky.
- 5 Lightly oil a large bowl and place the kneaded dough inside, turning it to coat all surfaces with oil. Cover with a damp tea towel or plastic wrap to prevent the surface from drying out.
- 6 Let the dough rise in a warm, draft-free location for approximately 1 hour until doubled in size. The ideal rising temperature is 75-80°F (24-27°C) – you can create this environment by placing the bowl on top of your refrigerator or in an oven with just the light on.
Shape and second rise
- 7 Once doubled, knock back the dough by gently punching out the air, then knead briefly for 1-2 minutes to redistribute the yeast and create an even texture throughout.
- 8 Divide the dough into two equal portions using a bench scraper or sharp knife. Slightly flatten each portion, then roll up tightly from one end, tucking in the sides as you go to create surface tension.
- 9 Place each shaped loaf seam-side down into greased and floured 450-gram (1-pound) loaf tins. The dough should fill about two-thirds of each tin. Brush the tops lightly with water and sprinkle ½ tablespoon rolled oats over each loaf for texture and visual appeal.
Final rise and baking
- 10 Cover the shaped loaves and let rise for 20 minutes until they’ve increased in size by about half. Meanwhile, preheat your oven to 400°F (200°C) or 180°C fan.
- 11 Bake for 30-35 minutes until the loaves are golden brown and sound hollow when tapped on the bottom. An instant-read thermometer inserted into the center should read 190°F (88°C) for fully baked bread.
- 12 Remove from tins immediately and cool completely on a cooling rack for at least 2 hours before slicing. This cooling time allows the crumb to set properly and prevents gummy texture when sliced.
Recommended Equipment and Kitchen Tools
Essential Tools (for best results)
- Kitchen scale – Weighing ingredients ensures consistent results and proper hydration levels in your dough
- Large mixing bowl – Choose one with at least 4-quart capacity to accommodate the dough as it doubles
- Measuring spoons and measuring jug – Accurate measurements are crucial for proper yeast activation and salt balance
- Two 450-gram (1-pound) loaf tins – Heavy-duty aluminum or steel pans conduct heat evenly for uniform baking
Helpful Upgrades
- Stand mixer with dough hook – Makes kneading effortless and ensures thorough gluten development without overworking
- Bench scraper – Professional tool for dividing dough cleanly and transferring without sticking
- Instant-read thermometer – Takes the guesswork out of checking internal temperature for perfectly baked bread
- Cooling rack – Allows air circulation around cooling loaves to prevent soggy bottoms
Nice-to-Have Options
- Proofing basket – Creates beautiful patterns and helps maintain shape during final rise
- Silicone spatula – Perfect for scraping bowls clean and incorporating ingredients without waste
- Parchment paper – Can line loaf tins for easier release, though greasing and flouring works perfectly well
Recipe Variations and Dietary Modifications
Gluten-Free Adaptation
- Replace both flours with 900 grams gluten-free bread flour blend containing xanthan gum
- Add 2 teaspoons xanthan gum if your flour blend doesn’t contain it
- Increase liquid to 650 millilitres as gluten-free flours absorb more moisture
- Expect a denser texture and reduce rising time to 45 minutes for first rise
Dairy-Free Modifications
- This recipe is naturally dairy-free when using vegetable oil
- Substitute the oil with melted coconut oil or olive oil for different flavor profiles
- Ensure your flour and yeast are certified dairy-free if severe allergies are a concern
Flavor Variations
- Seeded version: Add 2 tablespoons mixed seeds (sunflower, pumpkin, sesame) to the flour mixture
- Herb bread: Incorporate 2 tablespoons dried herbs like rosemary, thyme, or oregano
- Sweet version: Increase sugar to 2 tablespoons and add 1 teaspoon cinnamon
- Protein boost: Replace 100 grams wholemeal flour with 100 grams vital wheat gluten for higher protein content
Whole Grain Variations
- Substitute 200 grams wholemeal flour with 200 grams spelt flour for nuttier flavor
- Add 50 grams rolled oats to the dough (not just topping) for extra texture
- Replace 100 grams flour with 100 grams ground flaxseed for omega-3 benefits
Nutritional Information and Health Benefits
Key Nutritional Highlights
Each slice (based on 20 servings) contains approximately 158 calories, with 32 grams carbohydrates, 5 grams protein, and 2 grams fat. The high wholemeal flour content provides 4 grams dietary fiber per slice, supporting digestive health and promoting satiety. This bread delivers essential B vitamins, particularly thiamine, niacin, and folate, which support energy metabolism and nervous system function.
Health Benefits of Main Ingredients
Wholemeal flour retains the bran and germ, providing manganese, phosphorus, and magnesium essential for bone health and energy production. The fiber content helps regulate blood sugar levels and supports healthy cholesterol levels. Easy blend yeast contributes B vitamins and selenium, an important antioxidant that supports immune function. The minimal oil content keeps saturated fat low while providing essential fatty acids for nutrient absorption.
Dietary Considerations
This bread contains gluten and is suitable for vegetarian and vegan diets. The high fiber content makes it more filling than white bread, potentially supporting weight management goals. The complex carbohydrates provide sustained energy release, making it an excellent choice for active individuals. With no added preservatives or artificial ingredients, it’s a clean eating option for health-conscious consumers.
Smart Swaps and Ingredient Substitutions
Common Substitutions:
- Strong white bread flour → All-purpose flour (1:1 ratio, slightly less chewy texture)
- Easy blend yeast → Active dry yeast (same amount, but proof in warm water first)
- Vegetable oil → Olive oil or melted butter (1:1 ratio, adds flavor complexity)
- Rolled oats topping → Sesame seeds, sunflower seeds, or everything bagel seasoning
Budget-Friendly Swaps:
- Wholemeal flour → Mix of all-purpose flour and wheat bran (¾ cup flour + ¼ cup bran per cup wholemeal)
- Specialty bread flour → All-purpose flour + vital wheat gluten (1 tablespoon gluten per cup flour)
Pantry Emergency Substitutions:
- Fresh yeast → Easy blend yeast (use half the amount of dried yeast)
- No kitchen scale → Volume measurements provided (though weighing is more accurate)
- No loaf tins → Free-form loaves on parchment-lined baking sheets (reduce baking time by 5-10 minutes)
Pro Tips for Substitutions:
- Store wholemeal flour in the refrigerator to prevent rancidity from natural oils
- When using different oils, consider their smoke points and flavor profiles
- Altitude adjustments: reduce yeast by 25% and increase liquid slightly at elevations above 3,000 feet
Make It Diabetes-Friendly
Flour & Carb Modifications:
- Replace 200 grams wholemeal flour with 200 grams almond flour to reduce total carbs by approximately 30 grams per loaf
- Substitute 100 grams flour with 100 grams ground flaxseed for added fiber and healthy fats
- Use vital wheat gluten to maintain structure when reducing flour content
- Consider coconut flour (use only ¼ the amount and increase liquid significantly)
Portion & Timing Tips:
- Cut into thinner slices (15-16 grams each) to reduce carb content per serving to 12-15 grams
- Pair with protein-rich toppings like nut butter, cheese, or eggs to slow glucose absorption
- Toast lightly to lower glycemic index through starch modification
- Consume earlier in the day when insulin sensitivity is typically higher
Enhanced Fiber Strategy:
- Add 2 tablespoons psyllium husk to increase fiber content and slow carb absorption
- Include 1 tablespoon chia seeds in the dough for additional fiber and omega-3 fatty acids
- The existing 4 grams fiber per slice already helps moderate blood sugar response
Total Carb Reduction: These modifications can reduce net carbs by 8-12 grams per slice while maintaining satisfying texture and flavor.
Perfect Pairing Suggestions
Beverage Pairings
This hearty wholemeal bread pairs beautifully with robust black teas like English Breakfast or Earl Grey, whose tannins complement the nutty grain flavors. For coffee lovers, try it with medium to dark roast coffee that won’t be overwhelmed by the bread’s substantial texture. Fresh fruit juices, particularly apple or orange, provide bright acidity that cuts through the dense crumb. For evening meals, consider light red wines like Pinot Noir or amber ales that echo the bread’s earthy, grainy notes.
Side Dish Recommendations
The rustic nature of this bread makes it perfect alongside hearty soups and stews – think lentil soup, vegetable minestrone, or classic beef stew. Pair with roasted root vegetables like carrots, parsnips, and beetroot for a wholesome, earthy meal. Sharp cheeses like aged cheddar or tangy goat cheese create delightful contrast with the mild, nutty bread. For lighter options, serve with fresh salads featuring bitter greens like arugula or watercress.
Complete Meal Ideas
Build a satisfying breakfast around toasted slices topped with avocado, poached eggs, and everything seasoning. For lunch, create substantial sandwiches with roasted turkey, sharp mustard, and crisp vegetables. Dinner applications include serving alongside grilled fish with herbs or using as a base for open-faced tartines topped with seasonal vegetables and cheese.
Pro Tips and Troubleshooting
Professional Bread-Making Secrets
Create steam in your oven during the first 10 minutes of baking by placing a metal pan with hot water on the bottom rack – this develops a better crust. Test dough hydration by performing the “windowpane test”: stretch a small piece of dough until it’s thin enough to see light through without tearing. For enhanced flavor development, try a cold fermentation by refrigerating the shaped loaves overnight before the final rise.
Common Troubleshooting Solutions
If your bread is too dense, check that your yeast is fresh and active – it should foam when mixed with warm water and sugar. Overly dry bread often results from too much flour or insufficient kneading; the dough should feel slightly tacky but not sticky. If loaves spread sideways rather than rising up, your dough may be too wet or under-kneaded. Gummy texture usually indicates cutting too soon – always cool completely before slicing.
Storage and Make-Ahead Strategies
Store completely cooled bread in airtight containers for up to 5 days at room temperature, or freeze whole loaves for up to 3 months. Pre-slice before freezing for easy single-serving access. The dough can be prepared through the first rise, then refrigerated for up to 24 hours – just bring to room temperature before shaping. For busy schedules, shape loaves the night before and refrigerate, then allow 45 minutes to come to room temperature before baking.
This wartime loaf proves that the best recipes often come from the simplest ingredients, creating something far greater than the sum of its parts. Whether you’re feeding a family, meal prepping for the week, or just craving the incomparable satisfaction of homemade bread, this recipe delivers consistent, delicious results that will have everyone asking for your secret.